What is your favourite colour? It feels like a question that should be easy to answer but the reality might be that you just don’t have one! Or your answer might depend on what mood you are in, what the weather is like outside or the emotions and memories triggered by different colours?
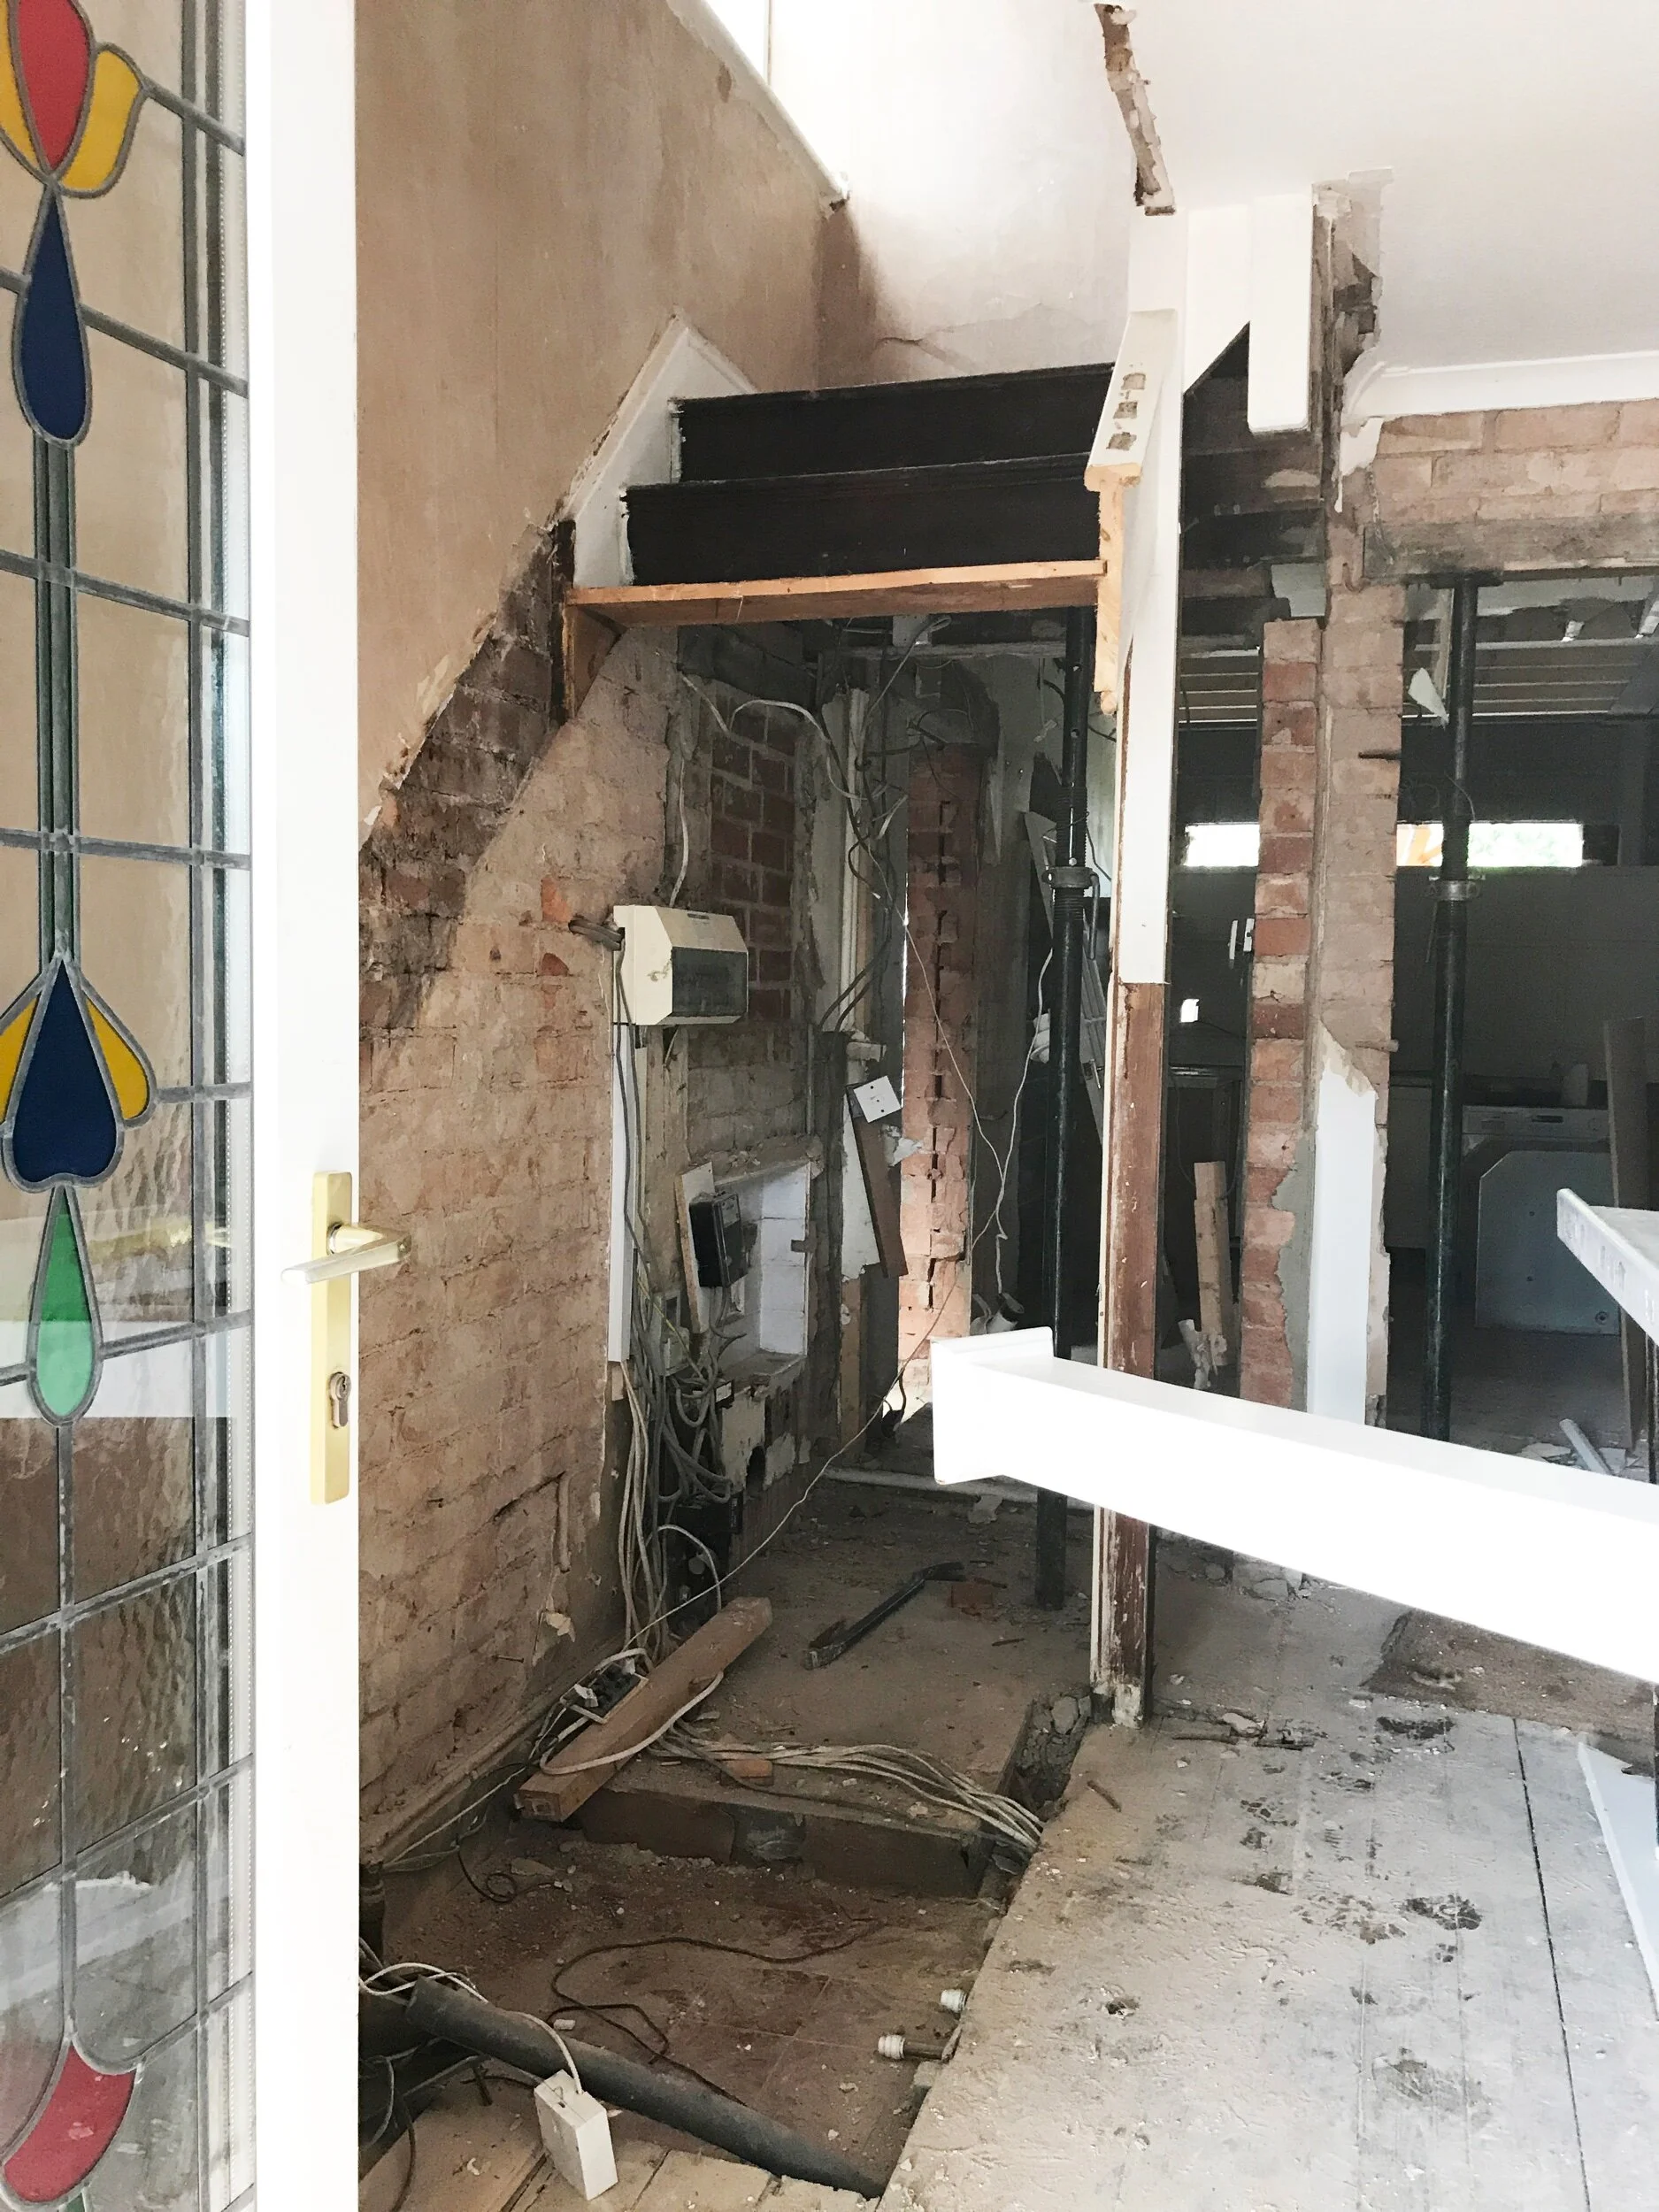
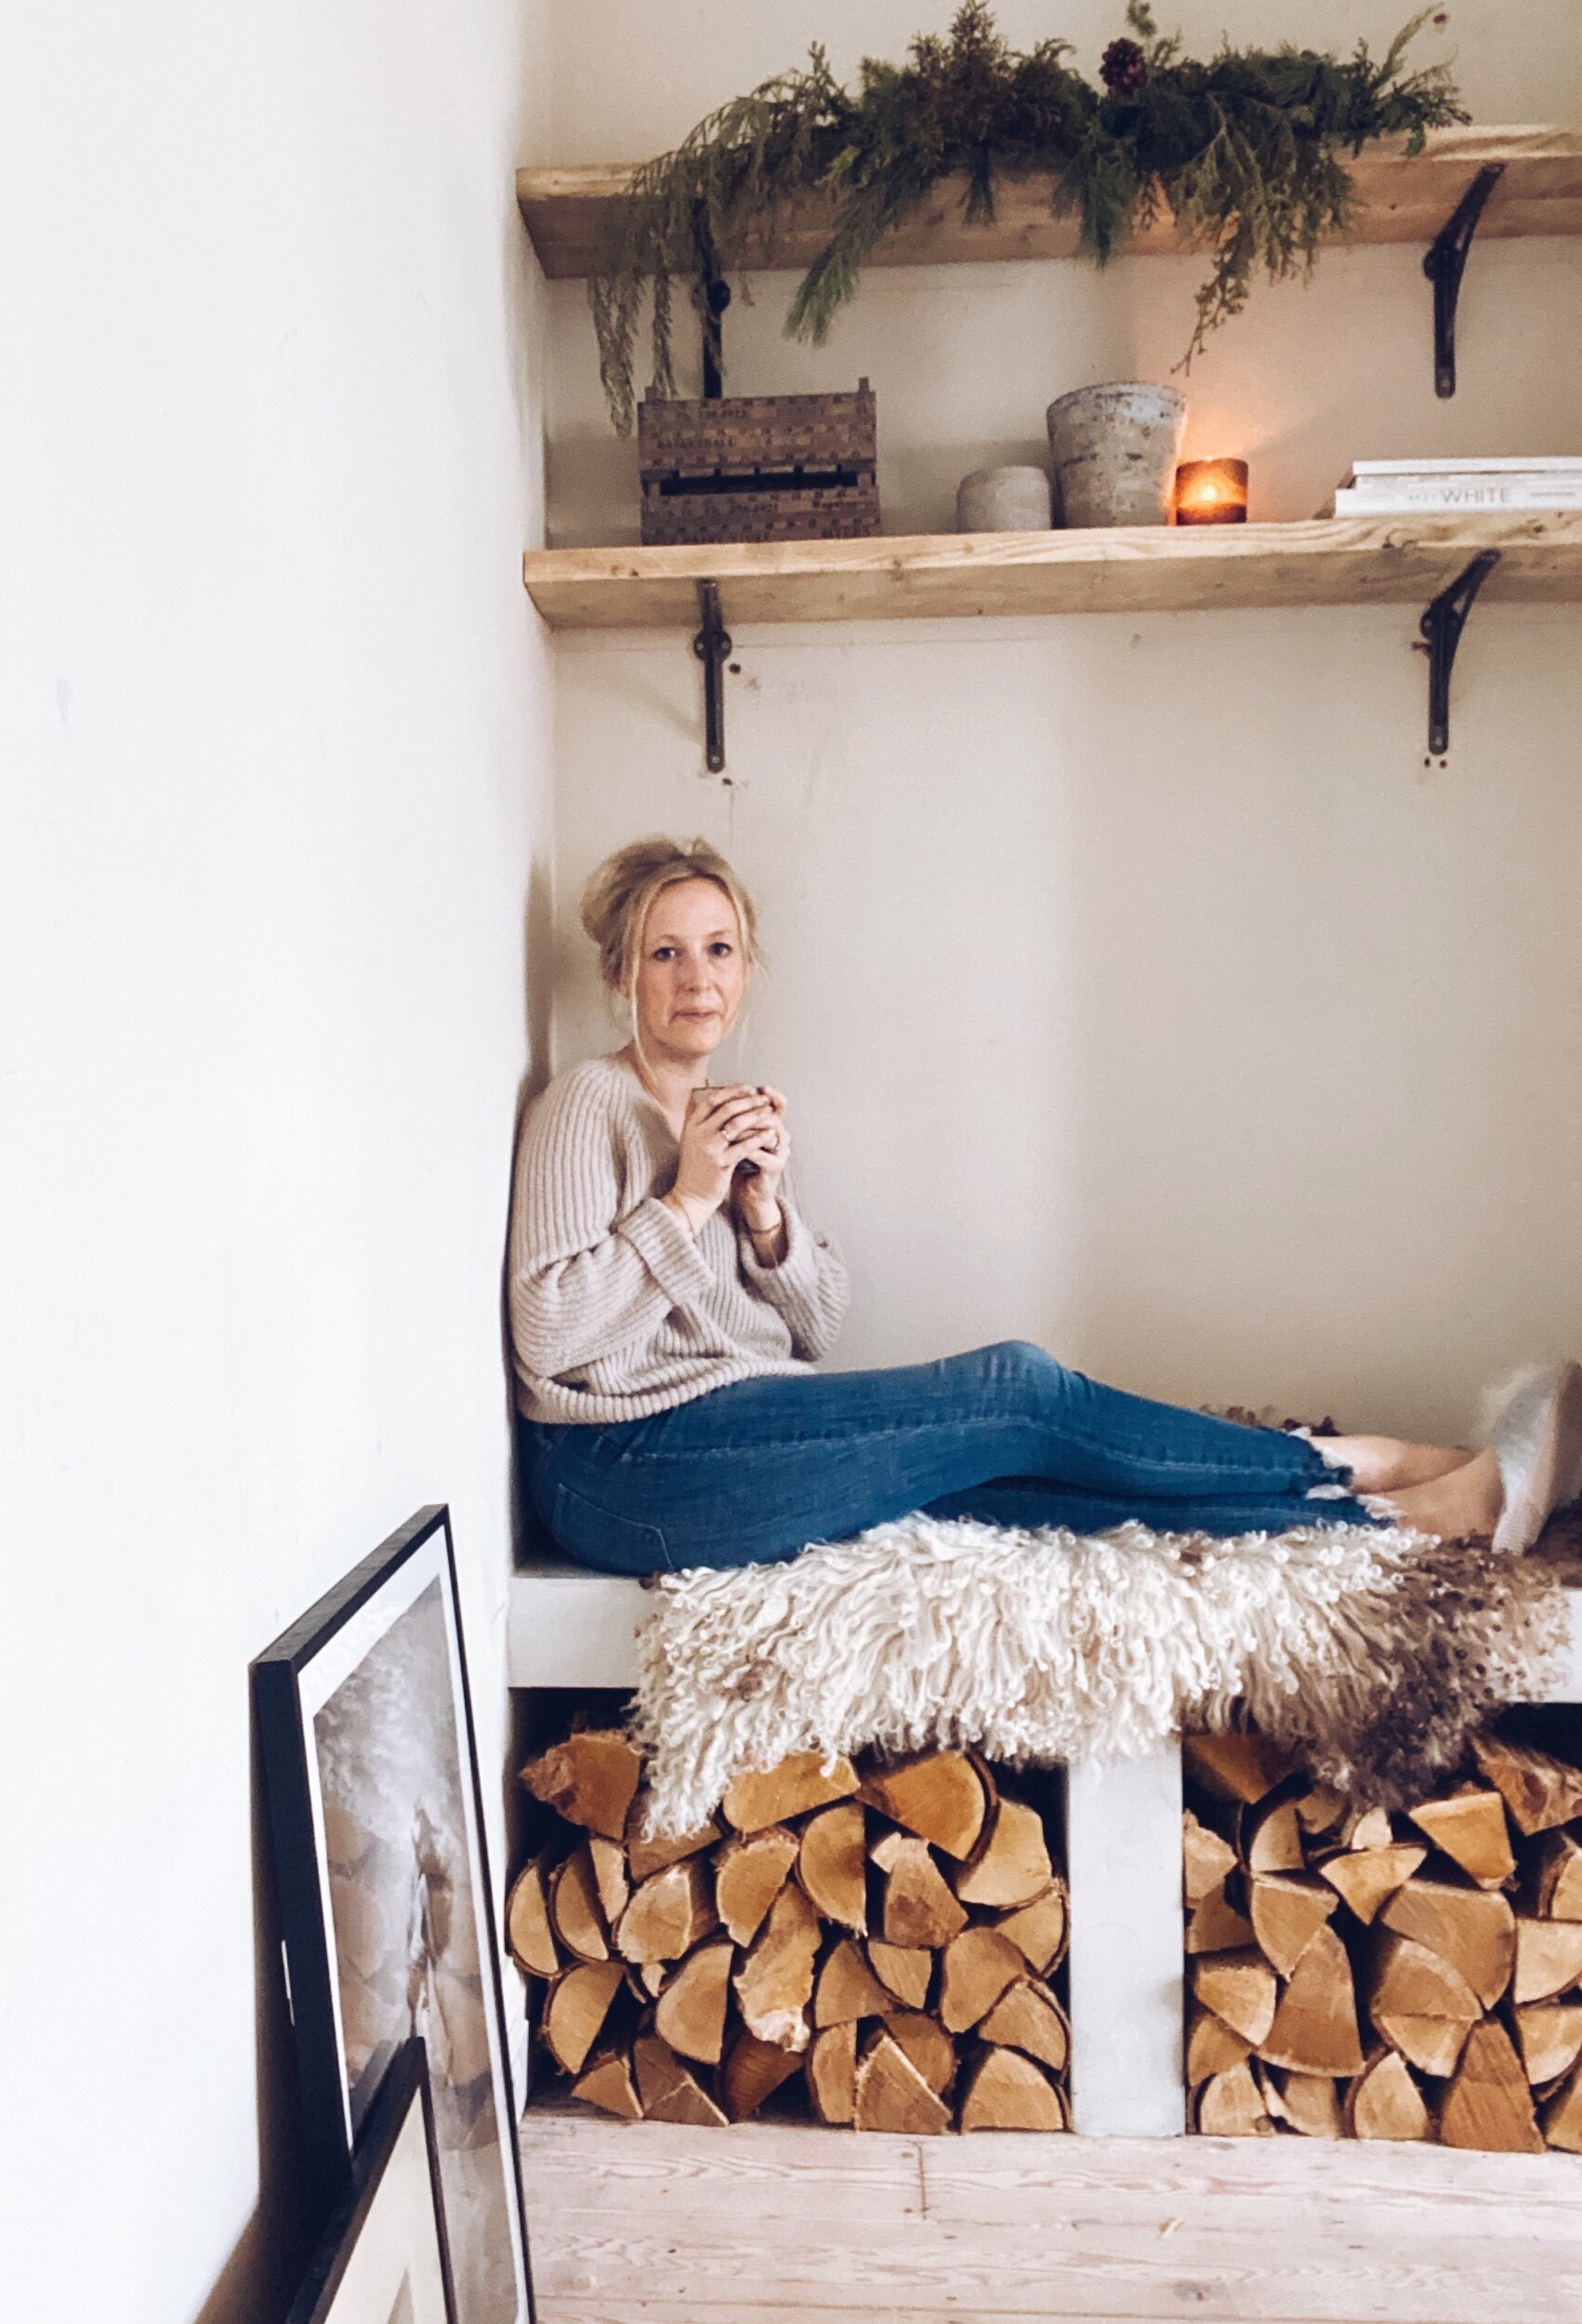
I discovered quite how difficult it is to choose one when in the midst of our renovation. I thought I knew what I wanted for the interior paint scheme - no surprises that it was a neutral shade - one that wasn’t too grey but not so warm as to be yellow. More beige than greige if you will!
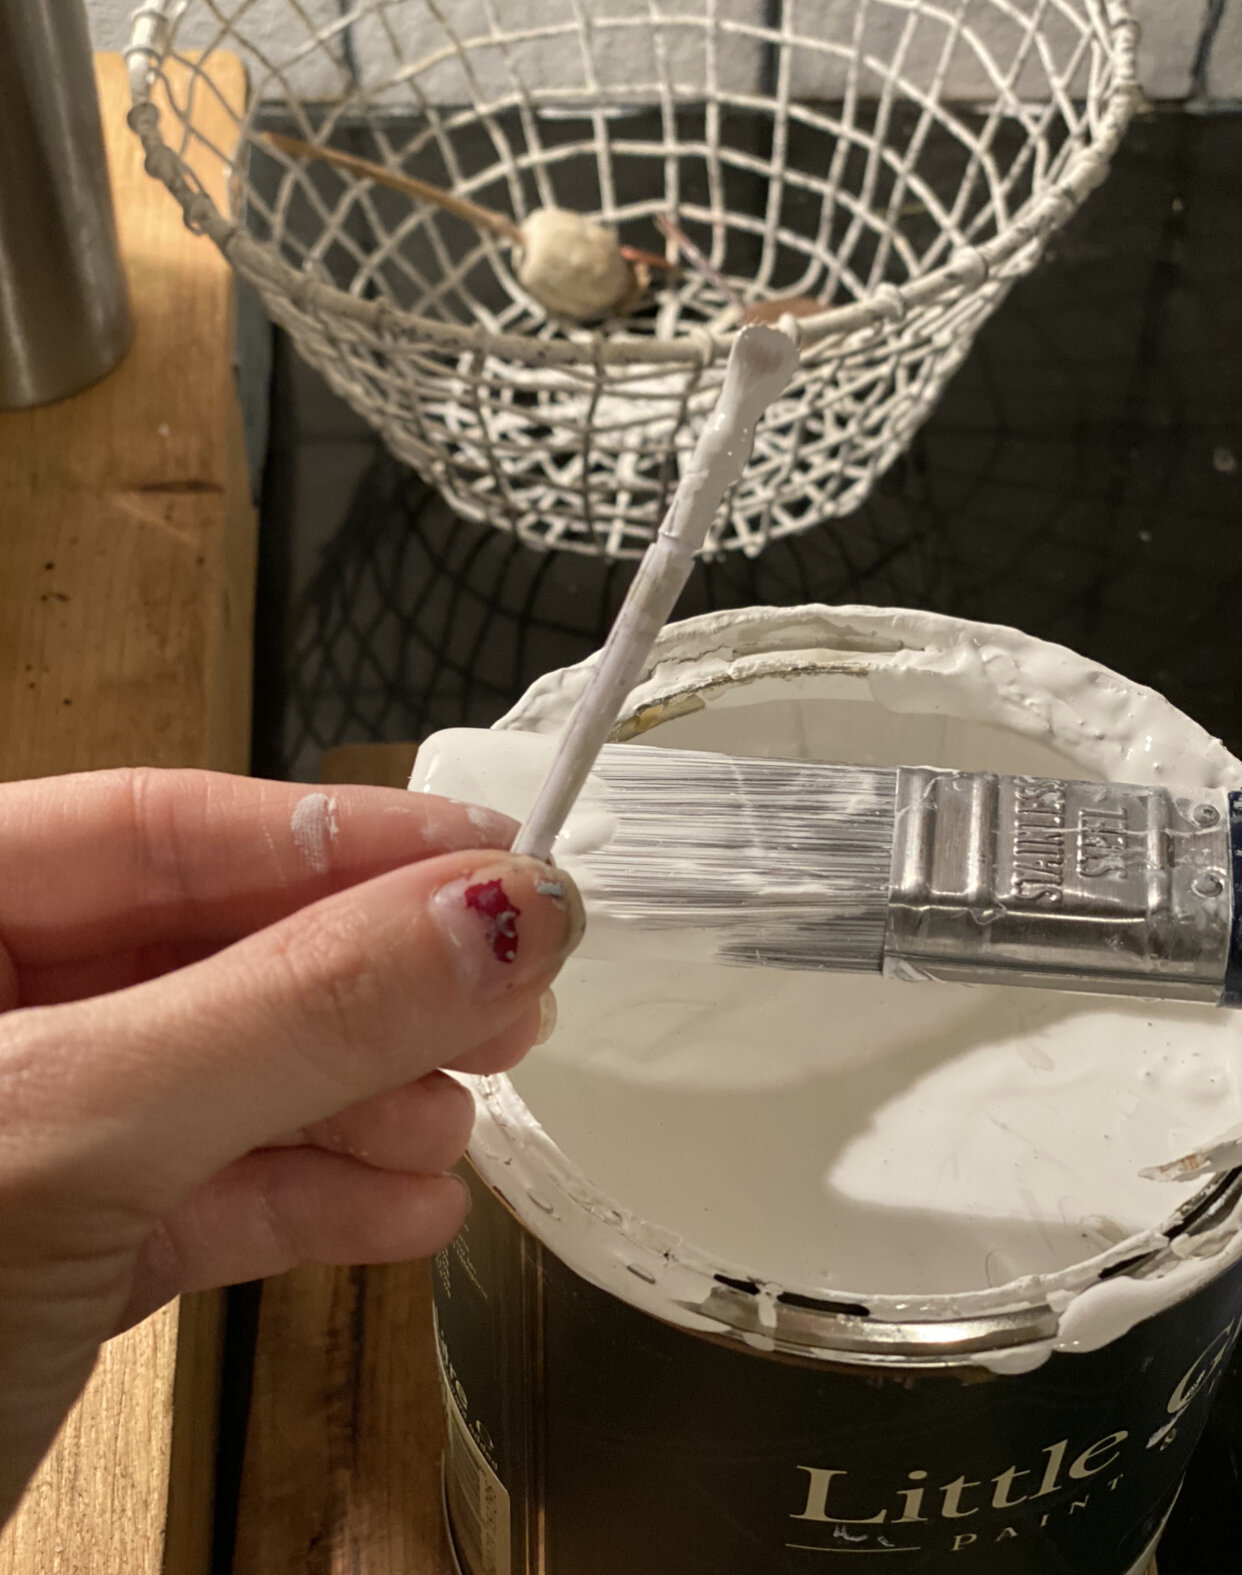
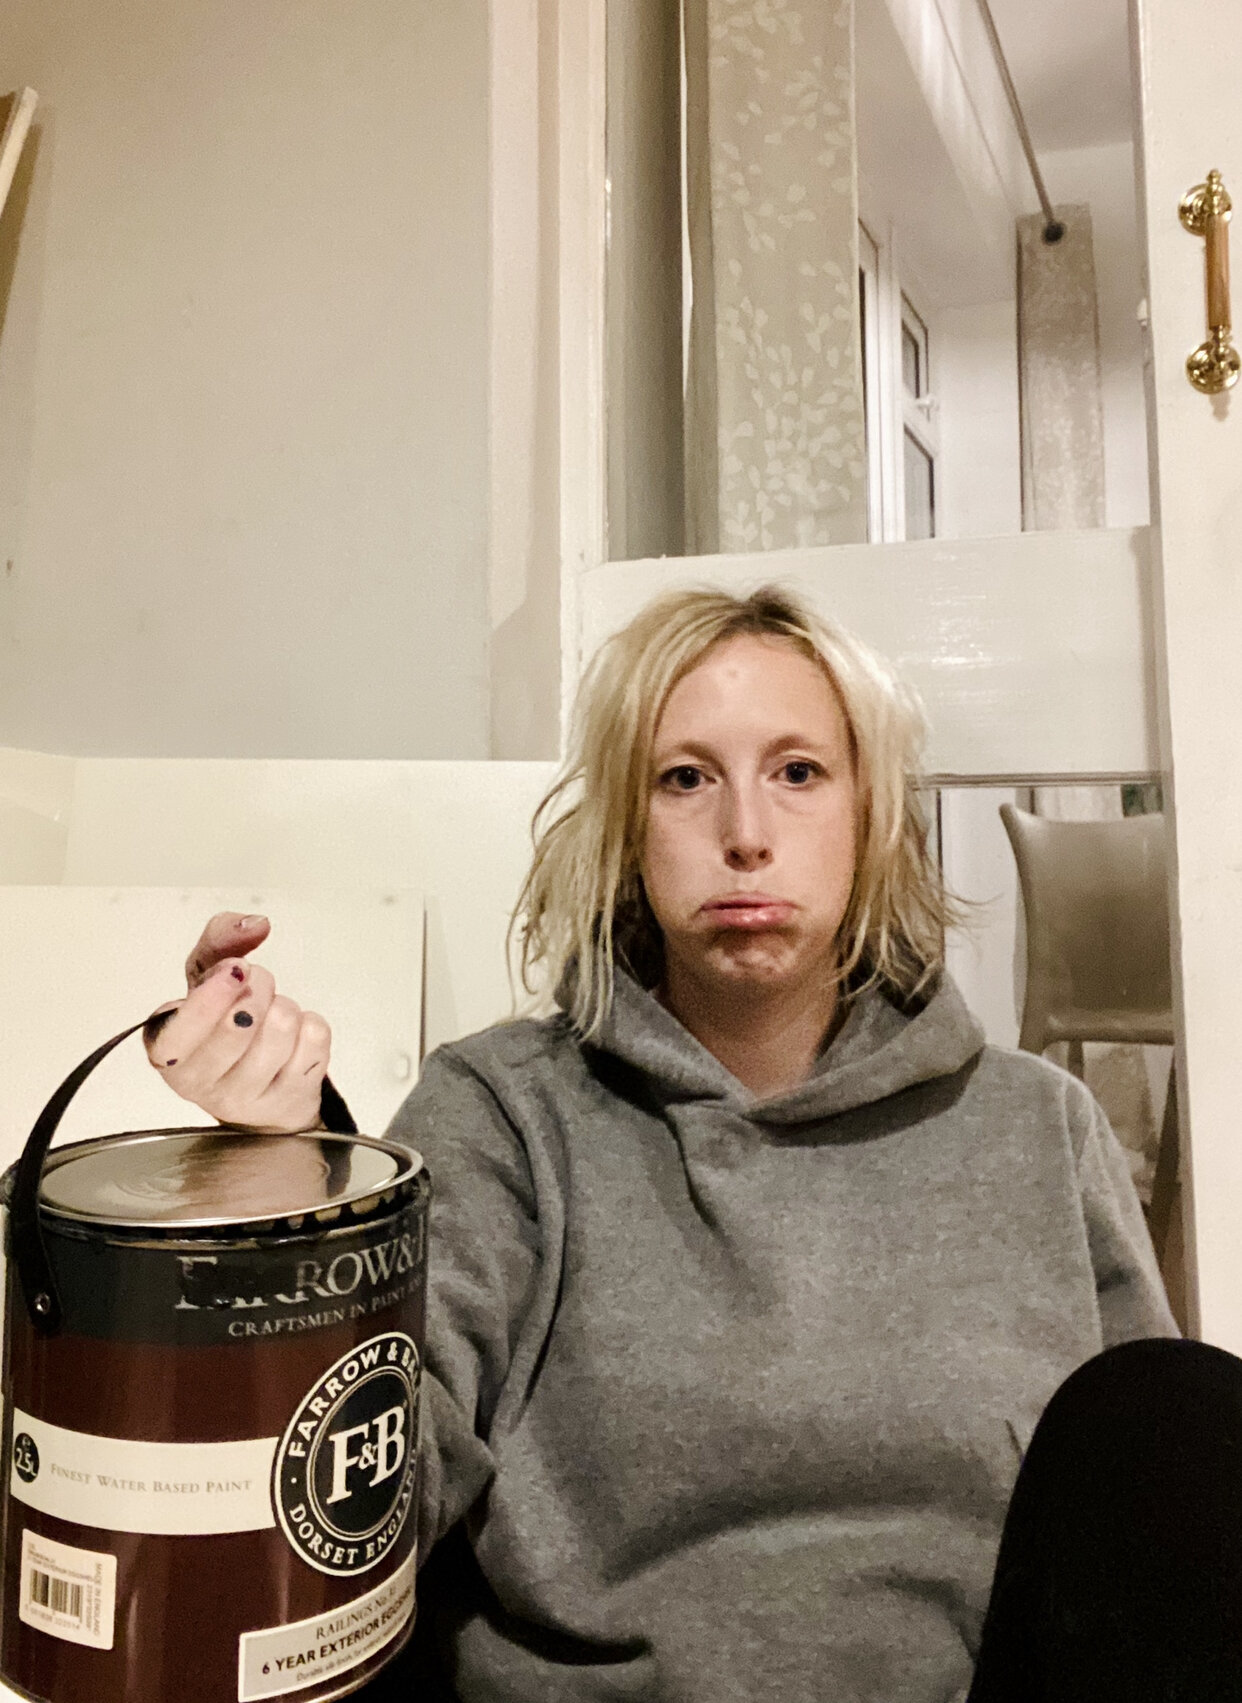
There followed a frenzied spell of paint sampling when I was never knowingly without a small tin of paint on my person! I thought I had finally found the one “one” when I alighted on the Portland Stone palette from Little Greene Paint Company. Until, that is, Little Greene sent me Katy, a colour consultants from their Marylebone store, for a home visit
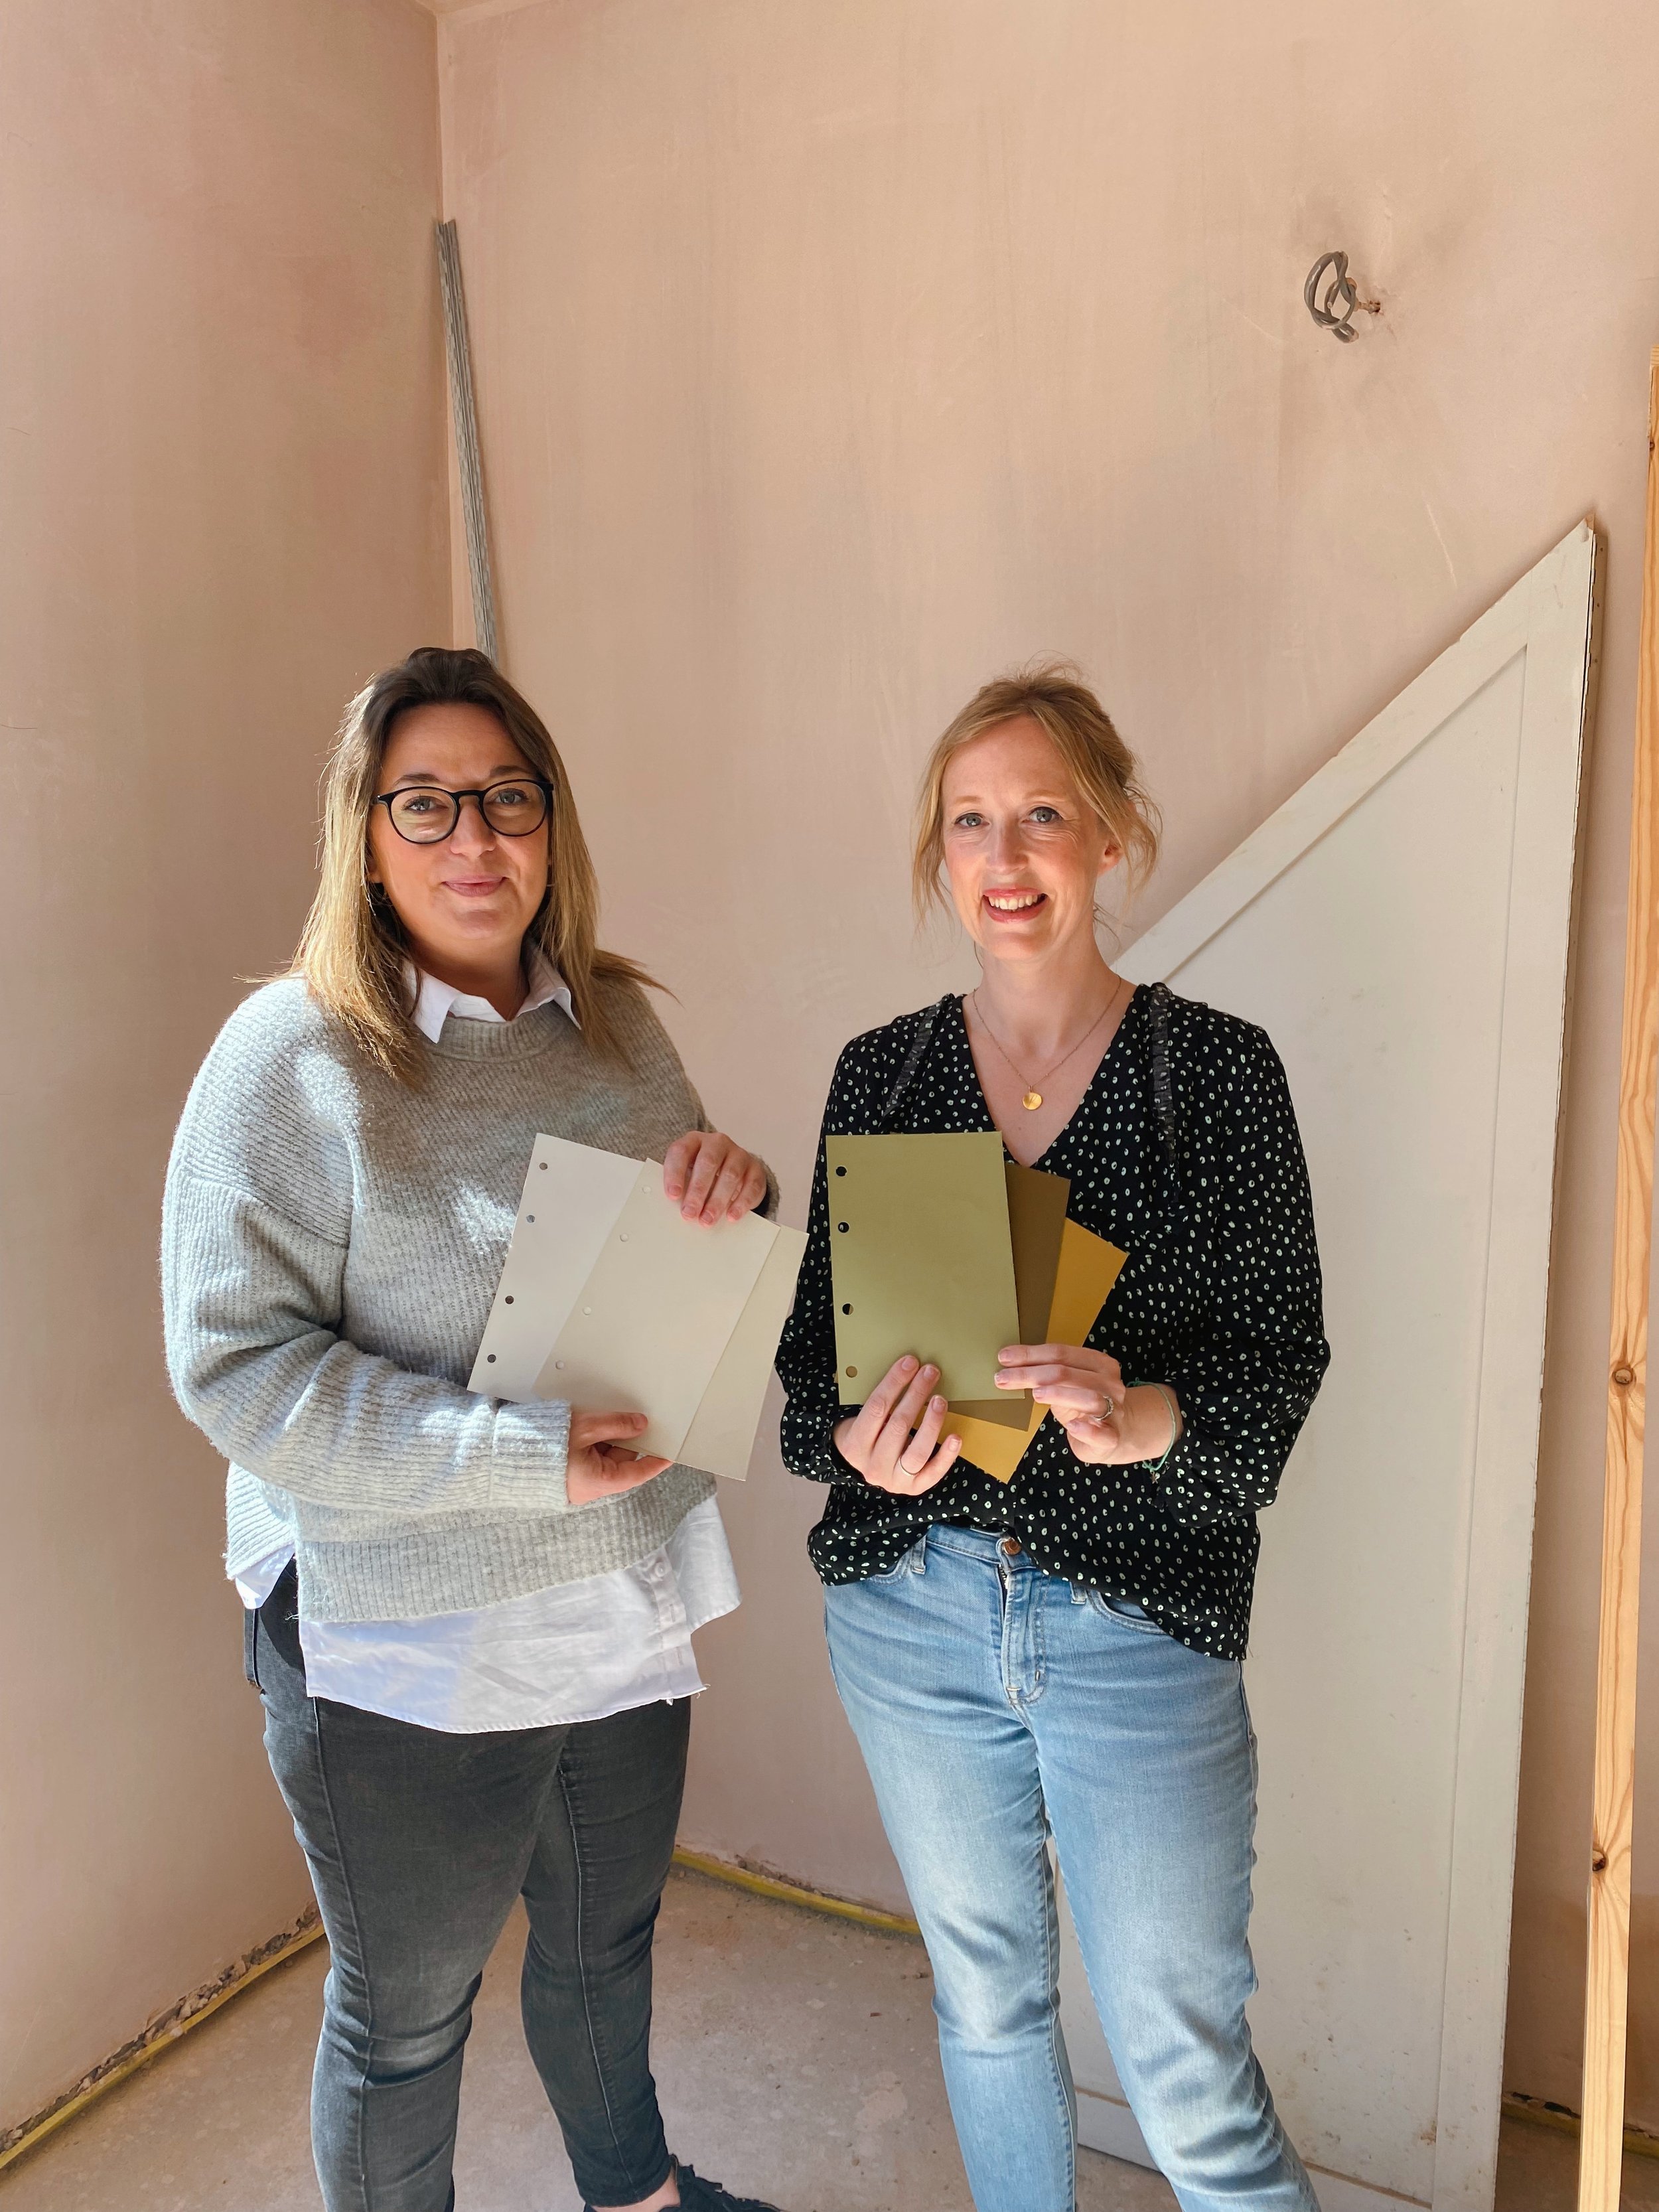
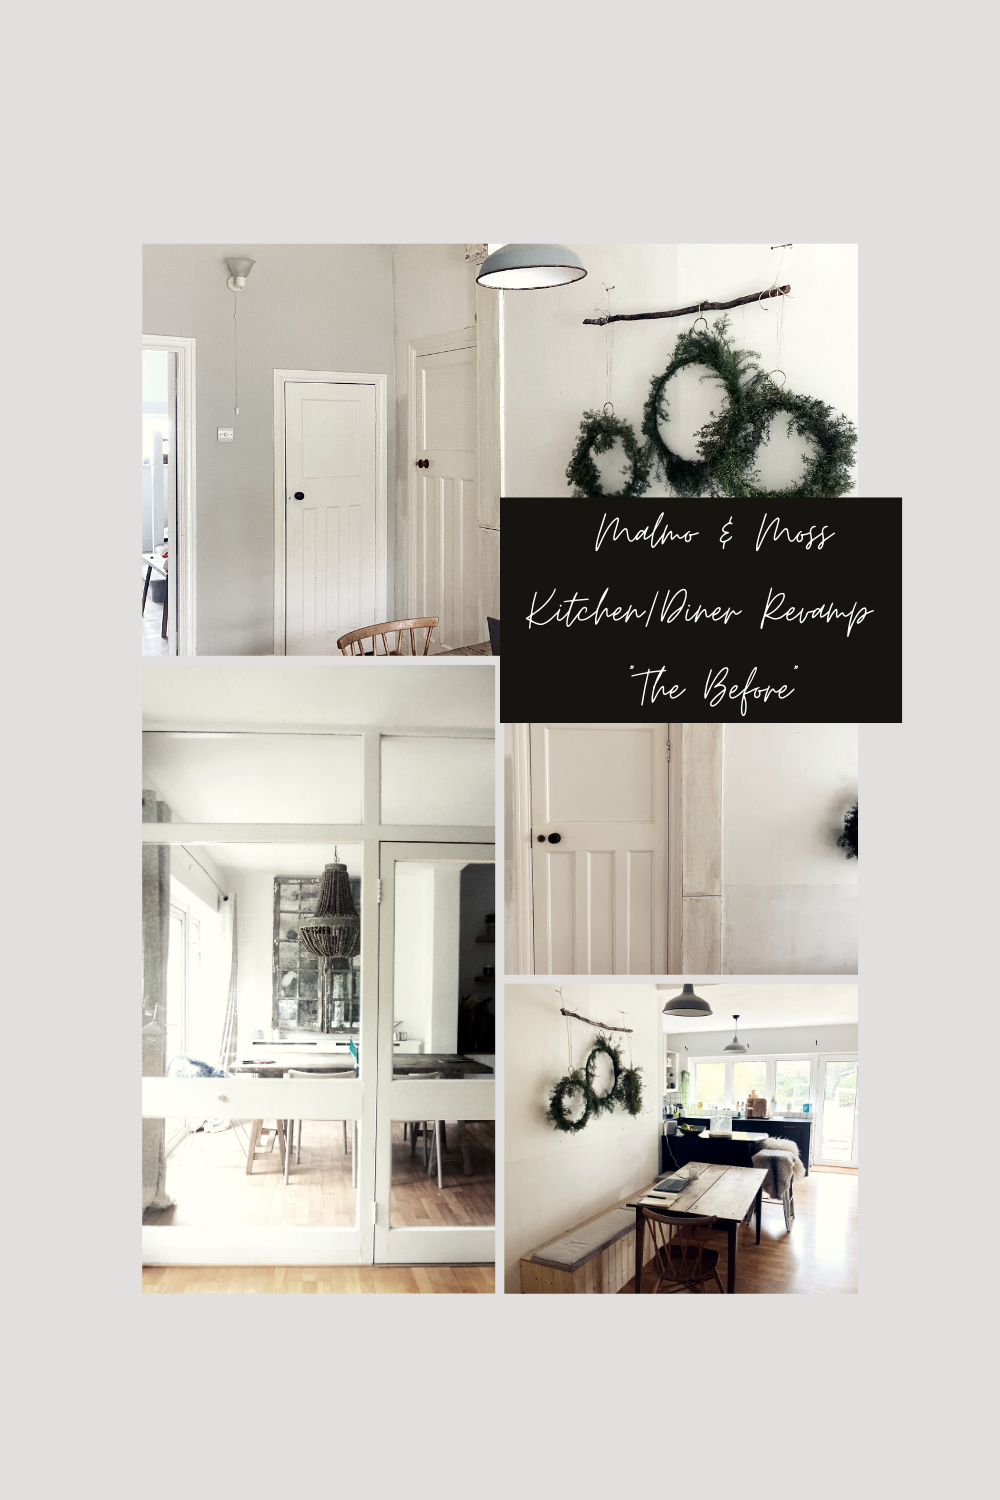
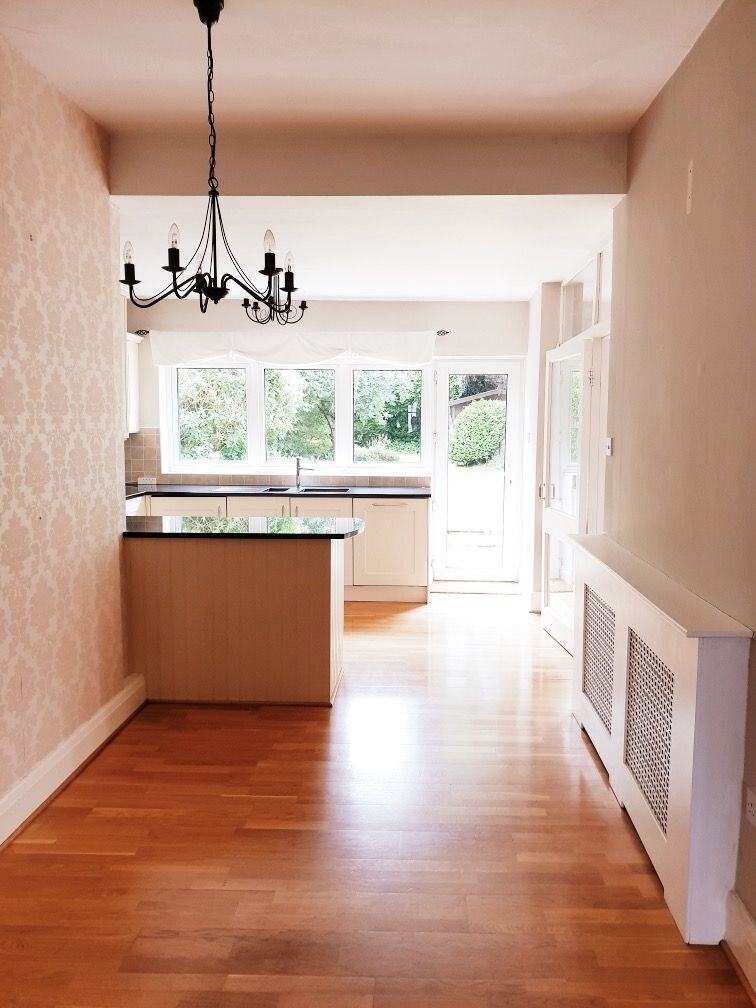
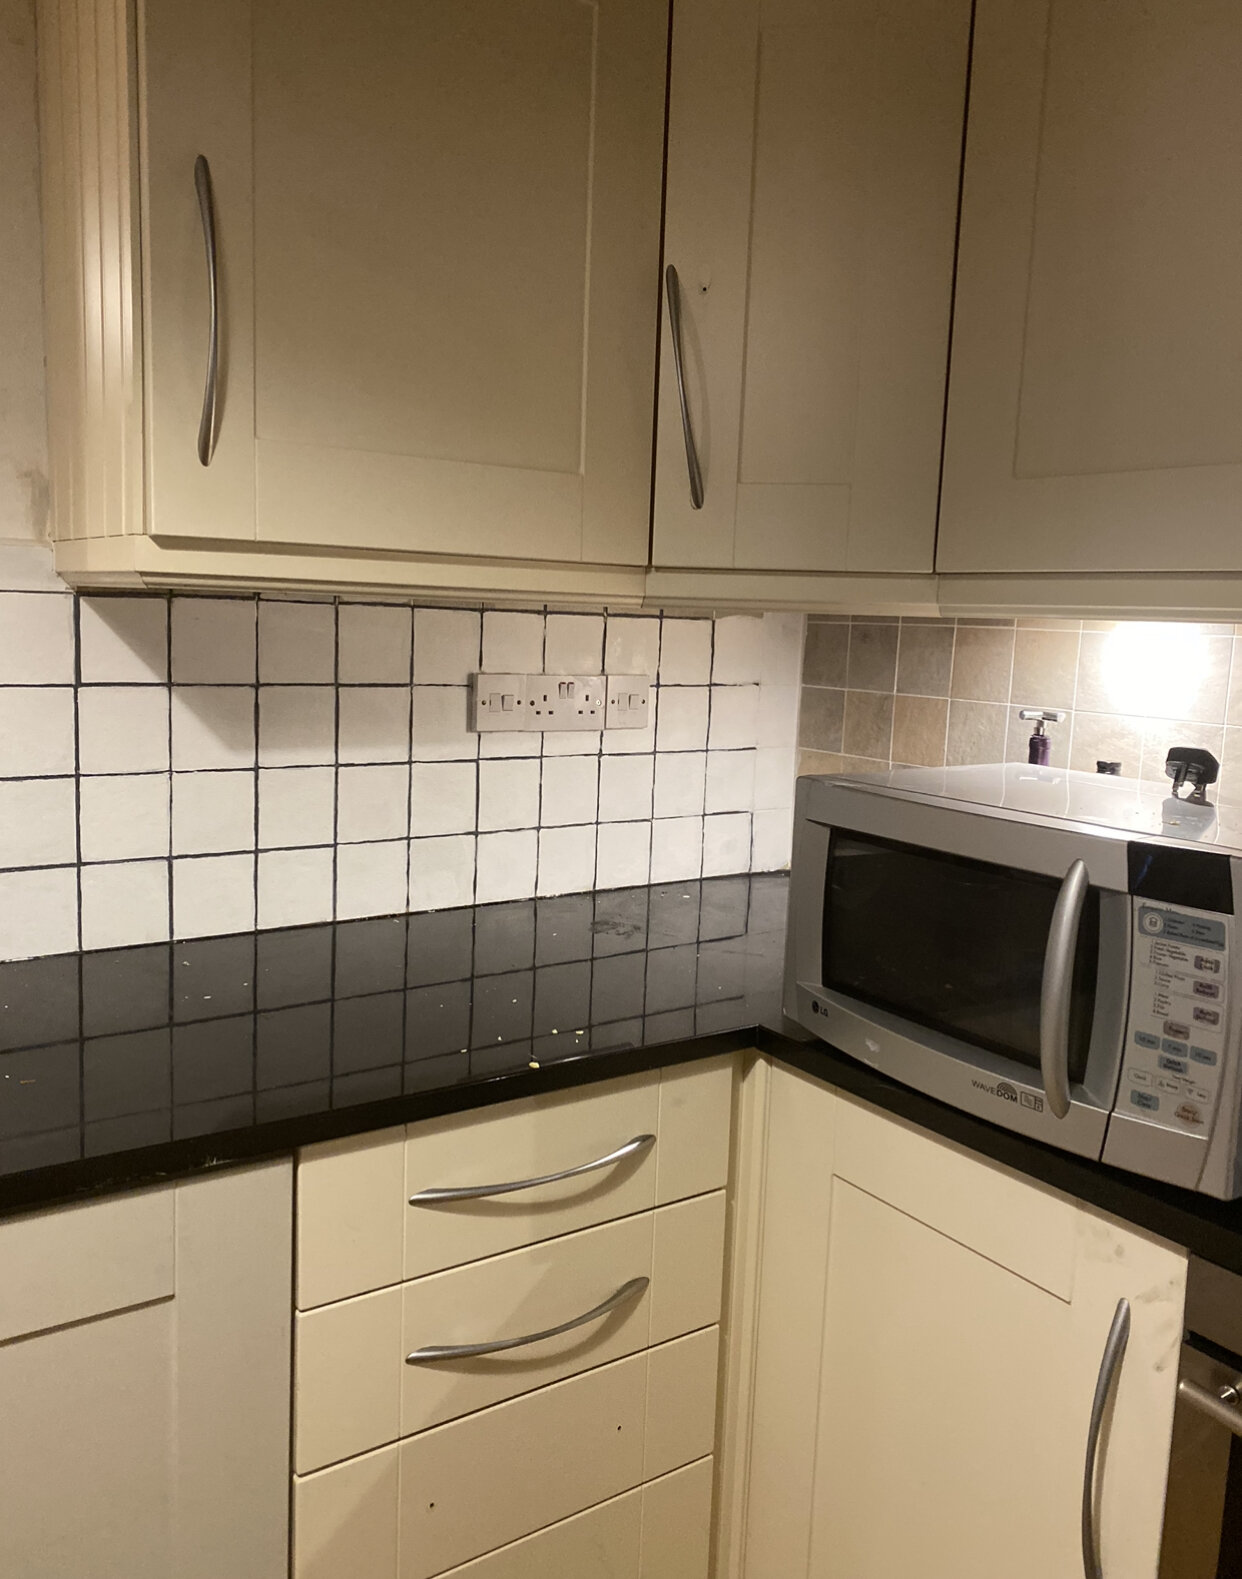
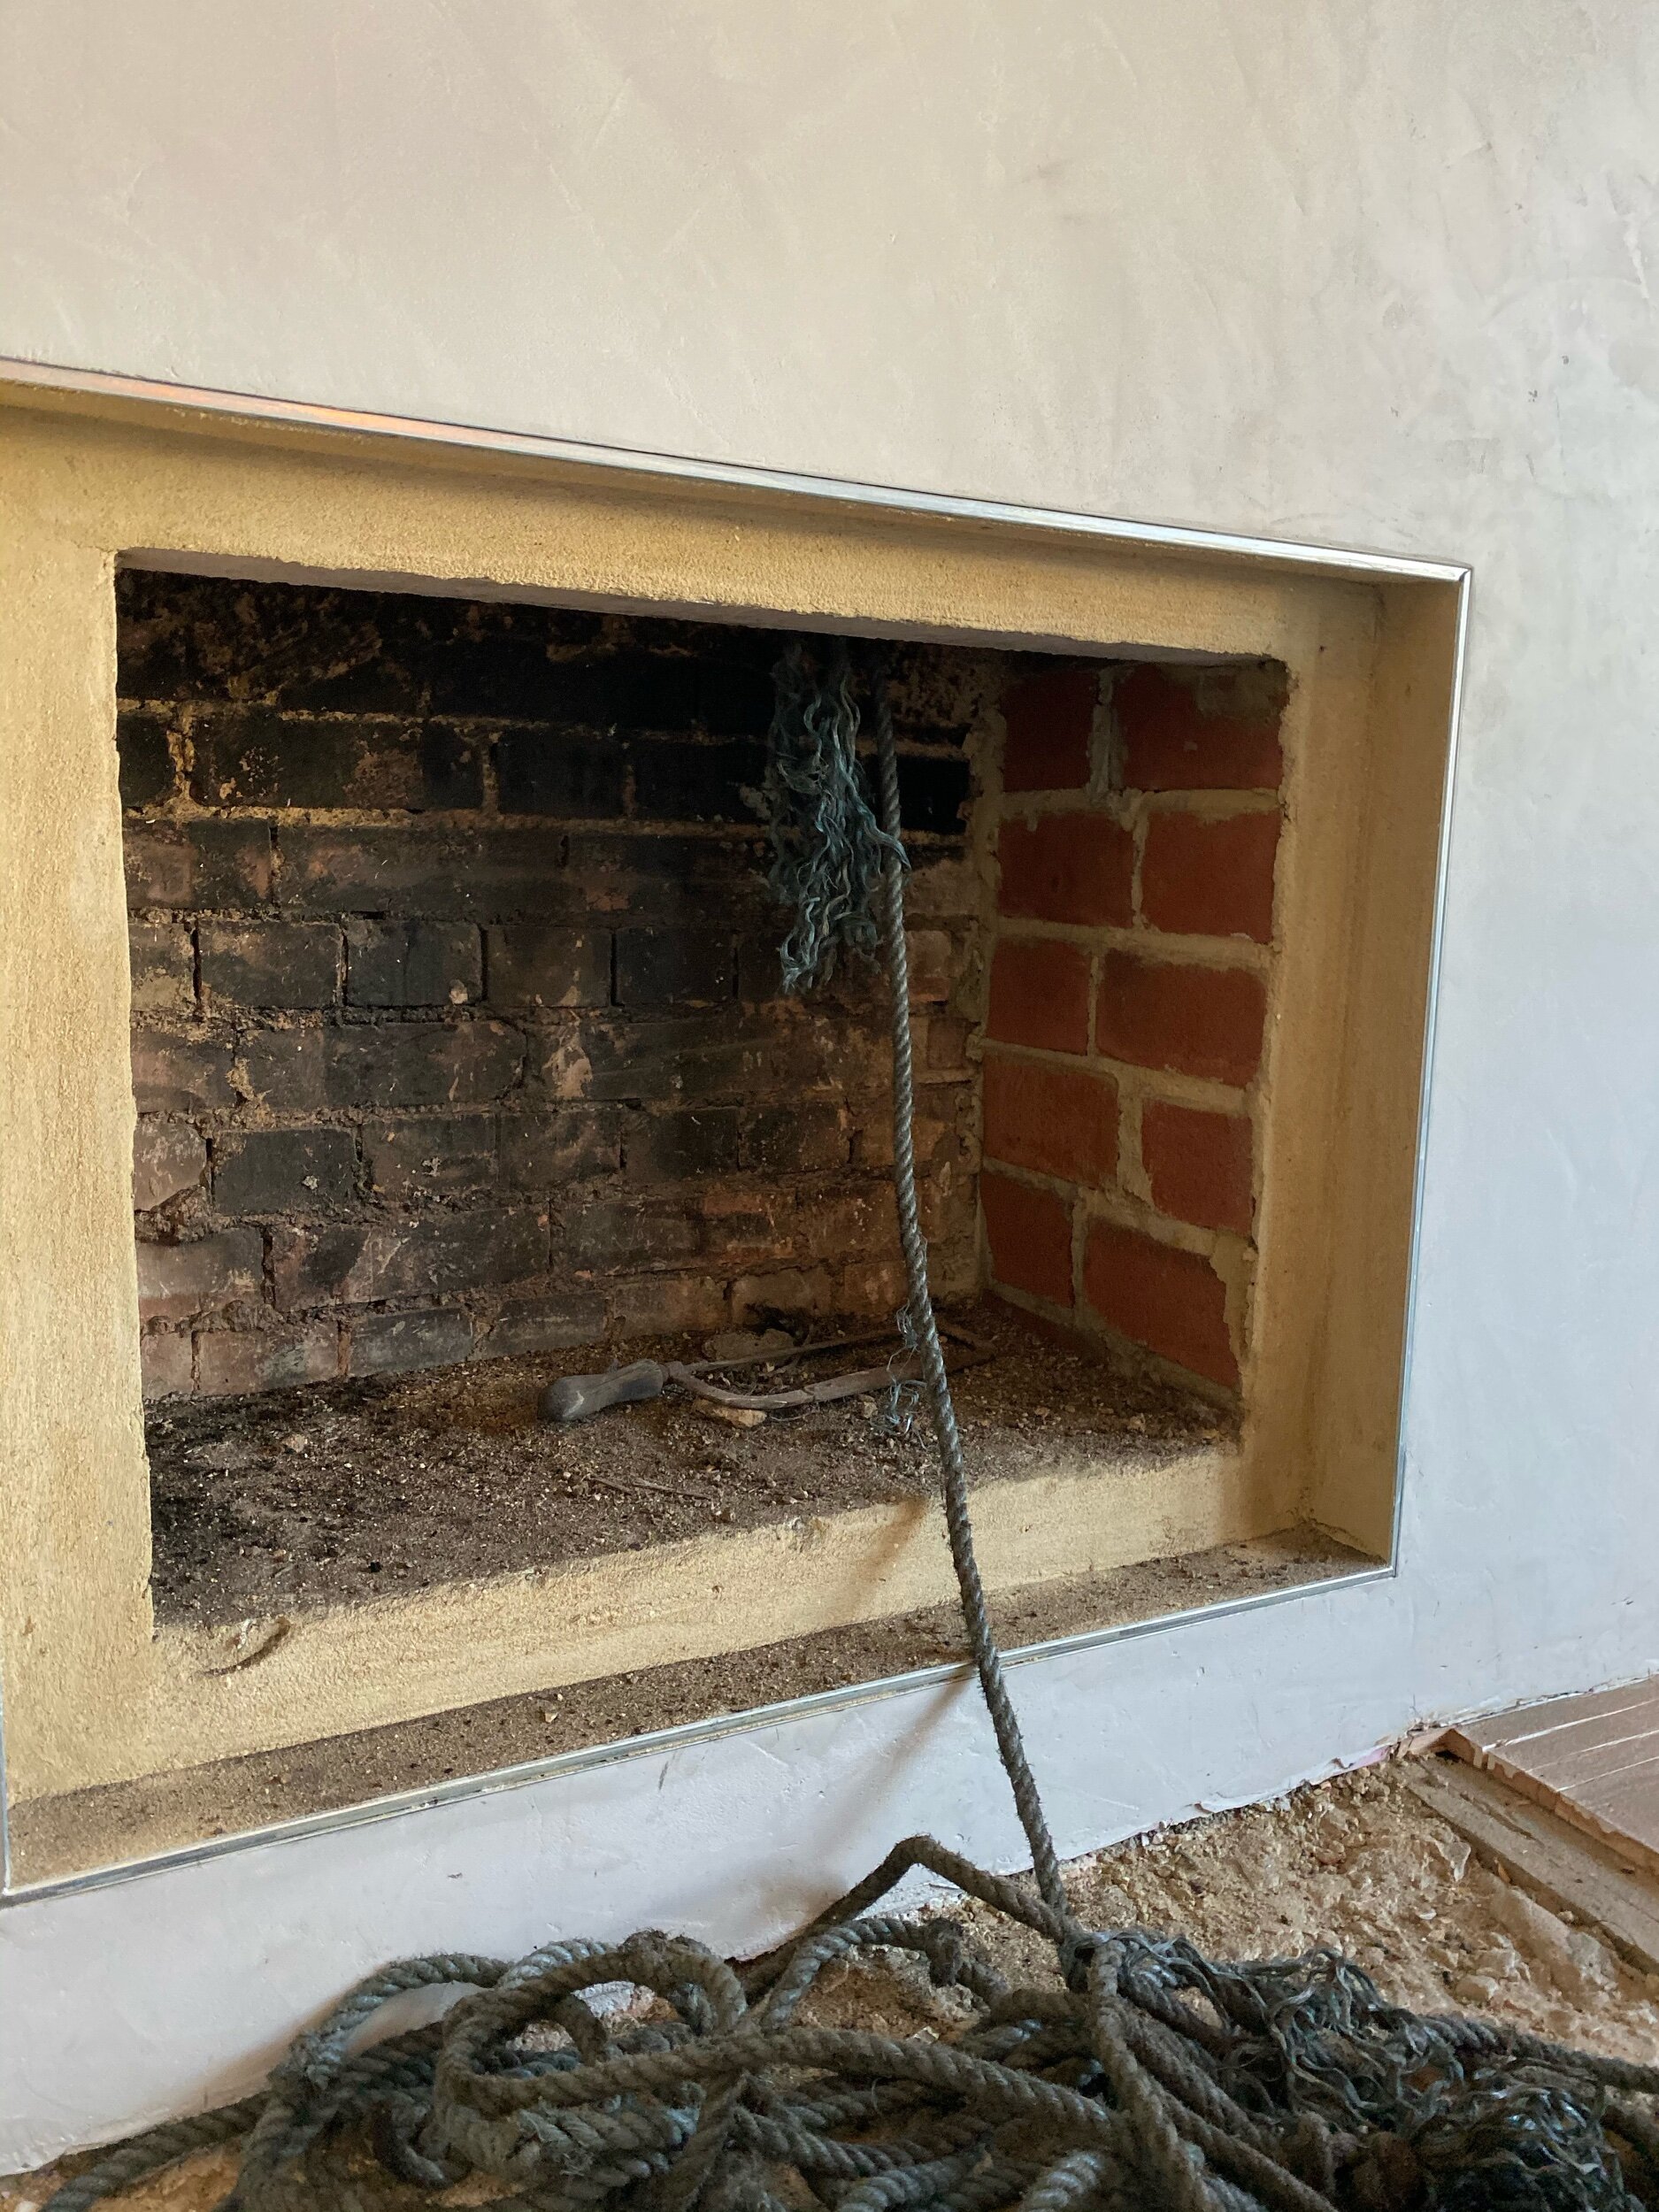
She arrived, sample book in hand, and proceeded to completely change my mind! Taking a series of sample cards (roughly half the size of a sheet of A4) we toured the house - which had bare plastered walls at that stage
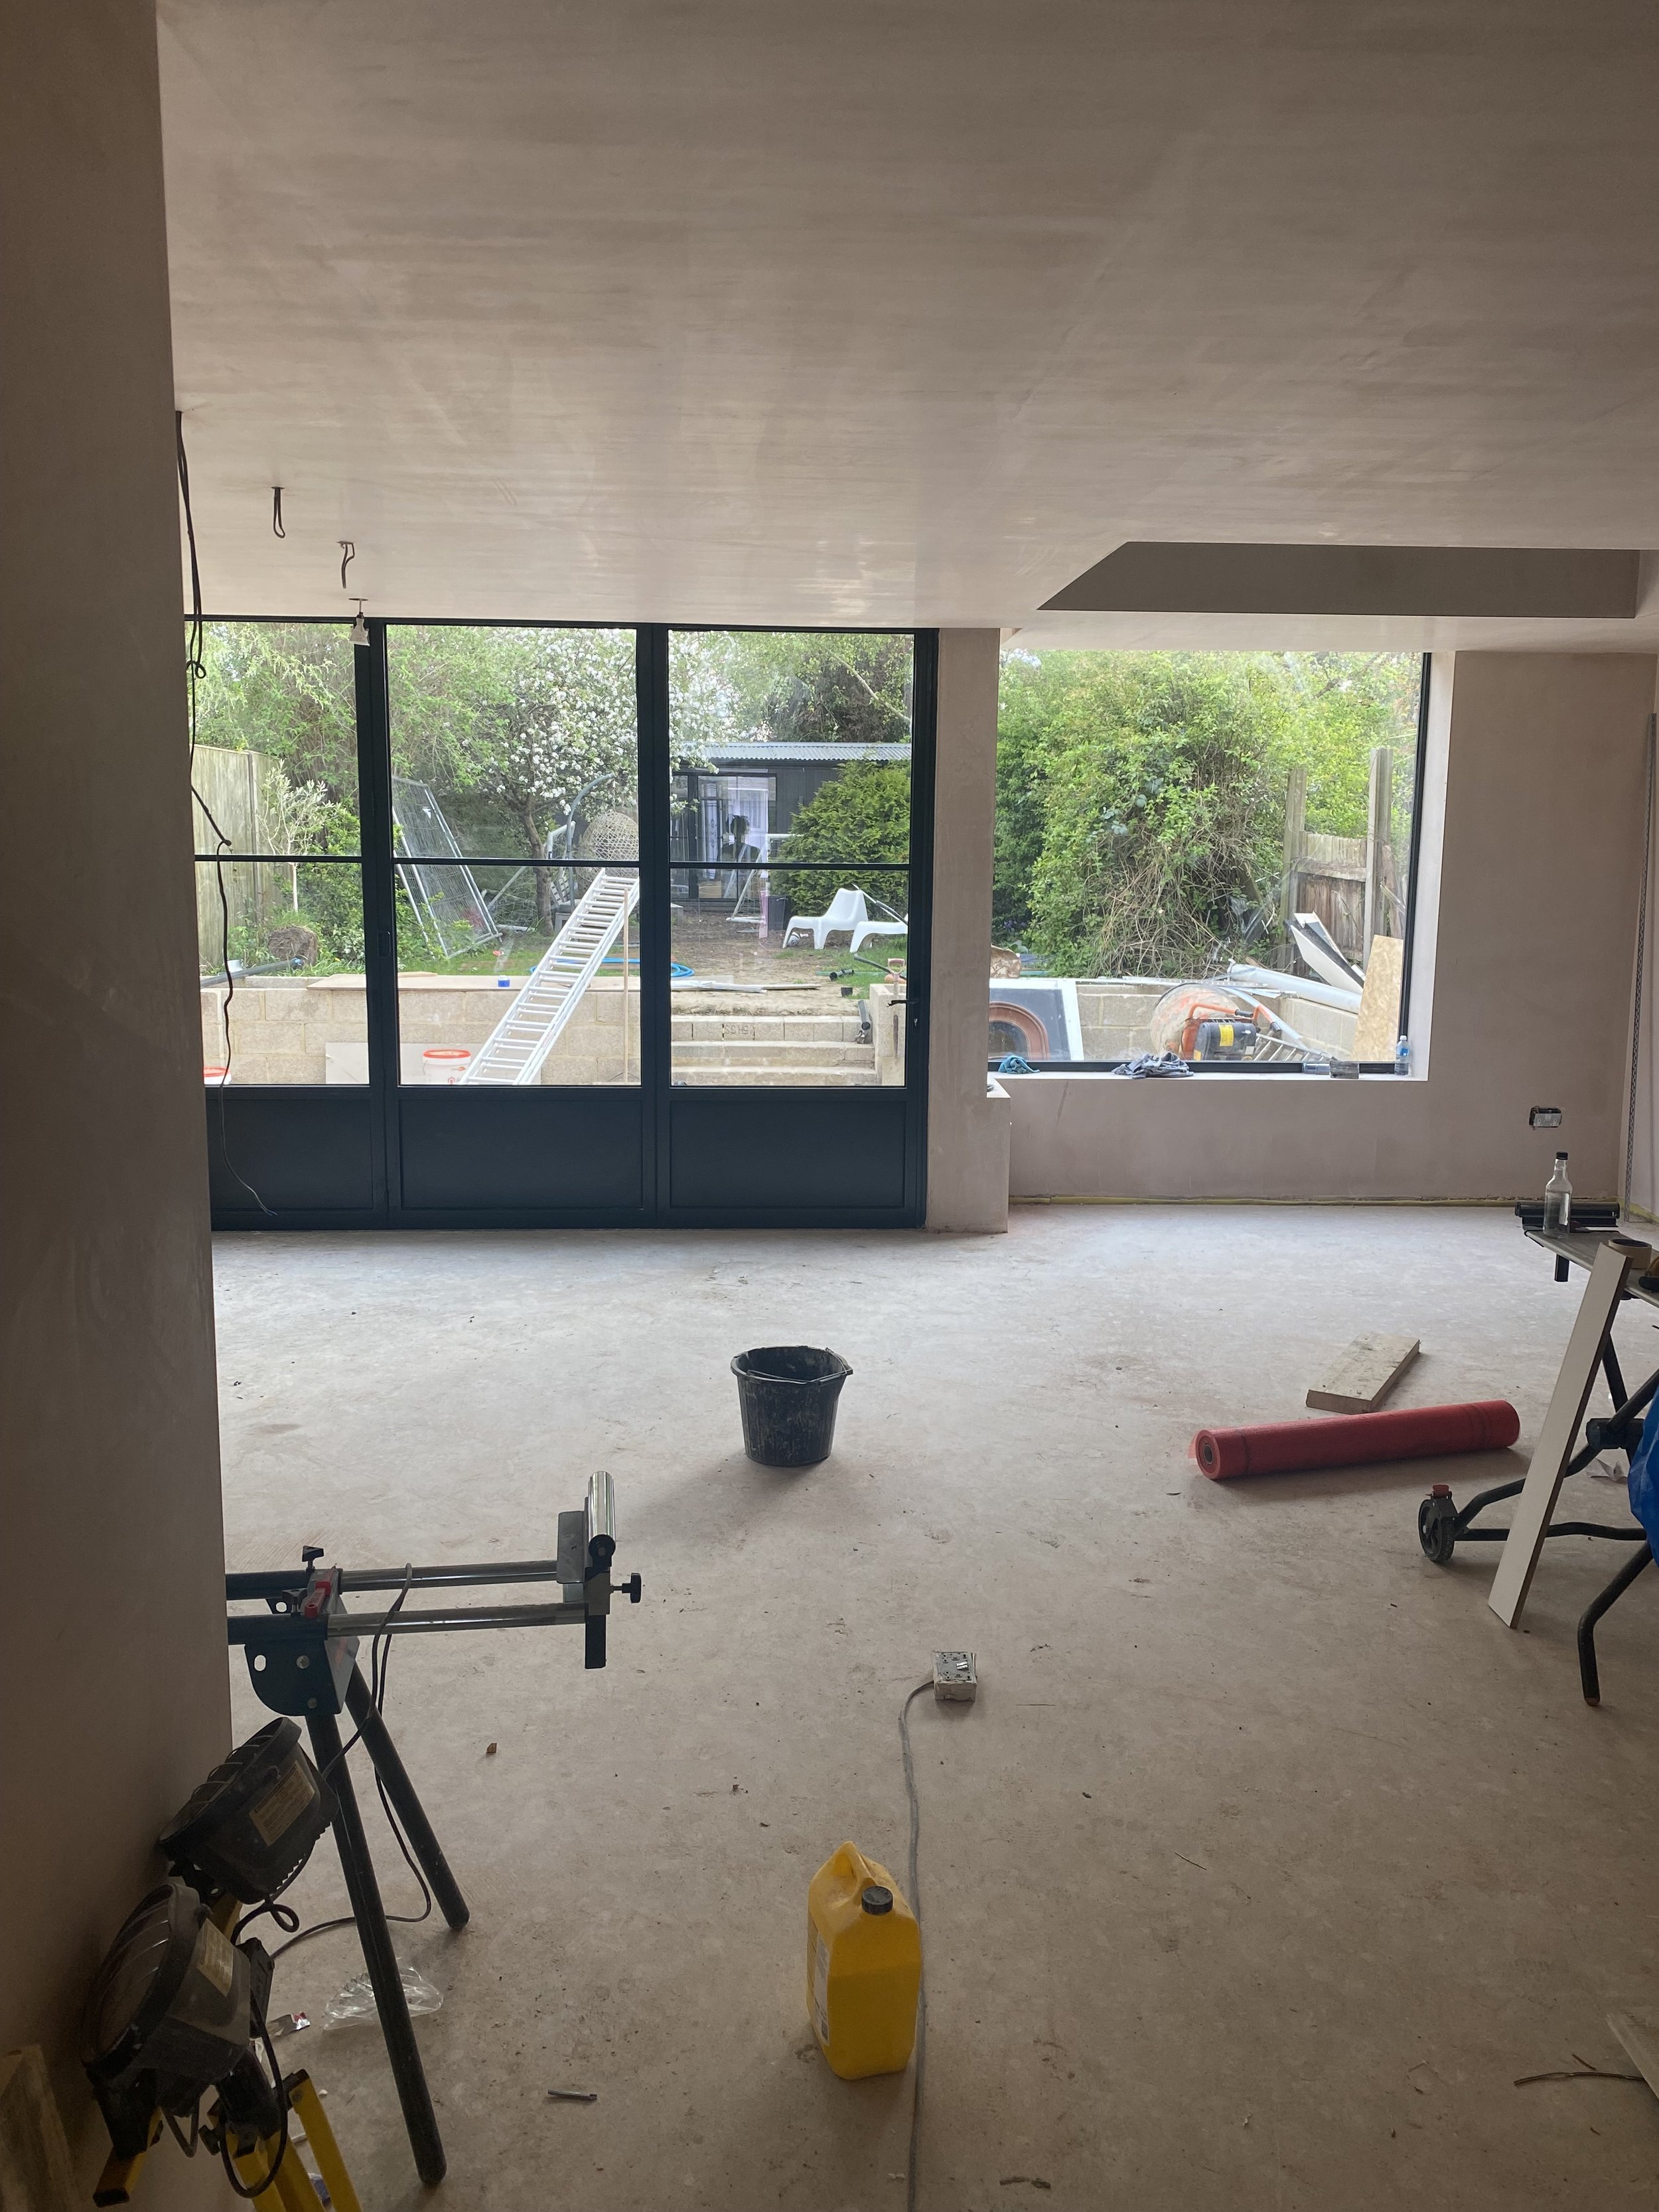

We held the cards up in different rooms and different lights - front and back of the house. It quickly became apparent that in the lighting conditions of our house Portland Stone was actually a little on the cold side. What, instead, worked perfectly were colours I had previously discarded as being “too yellow”
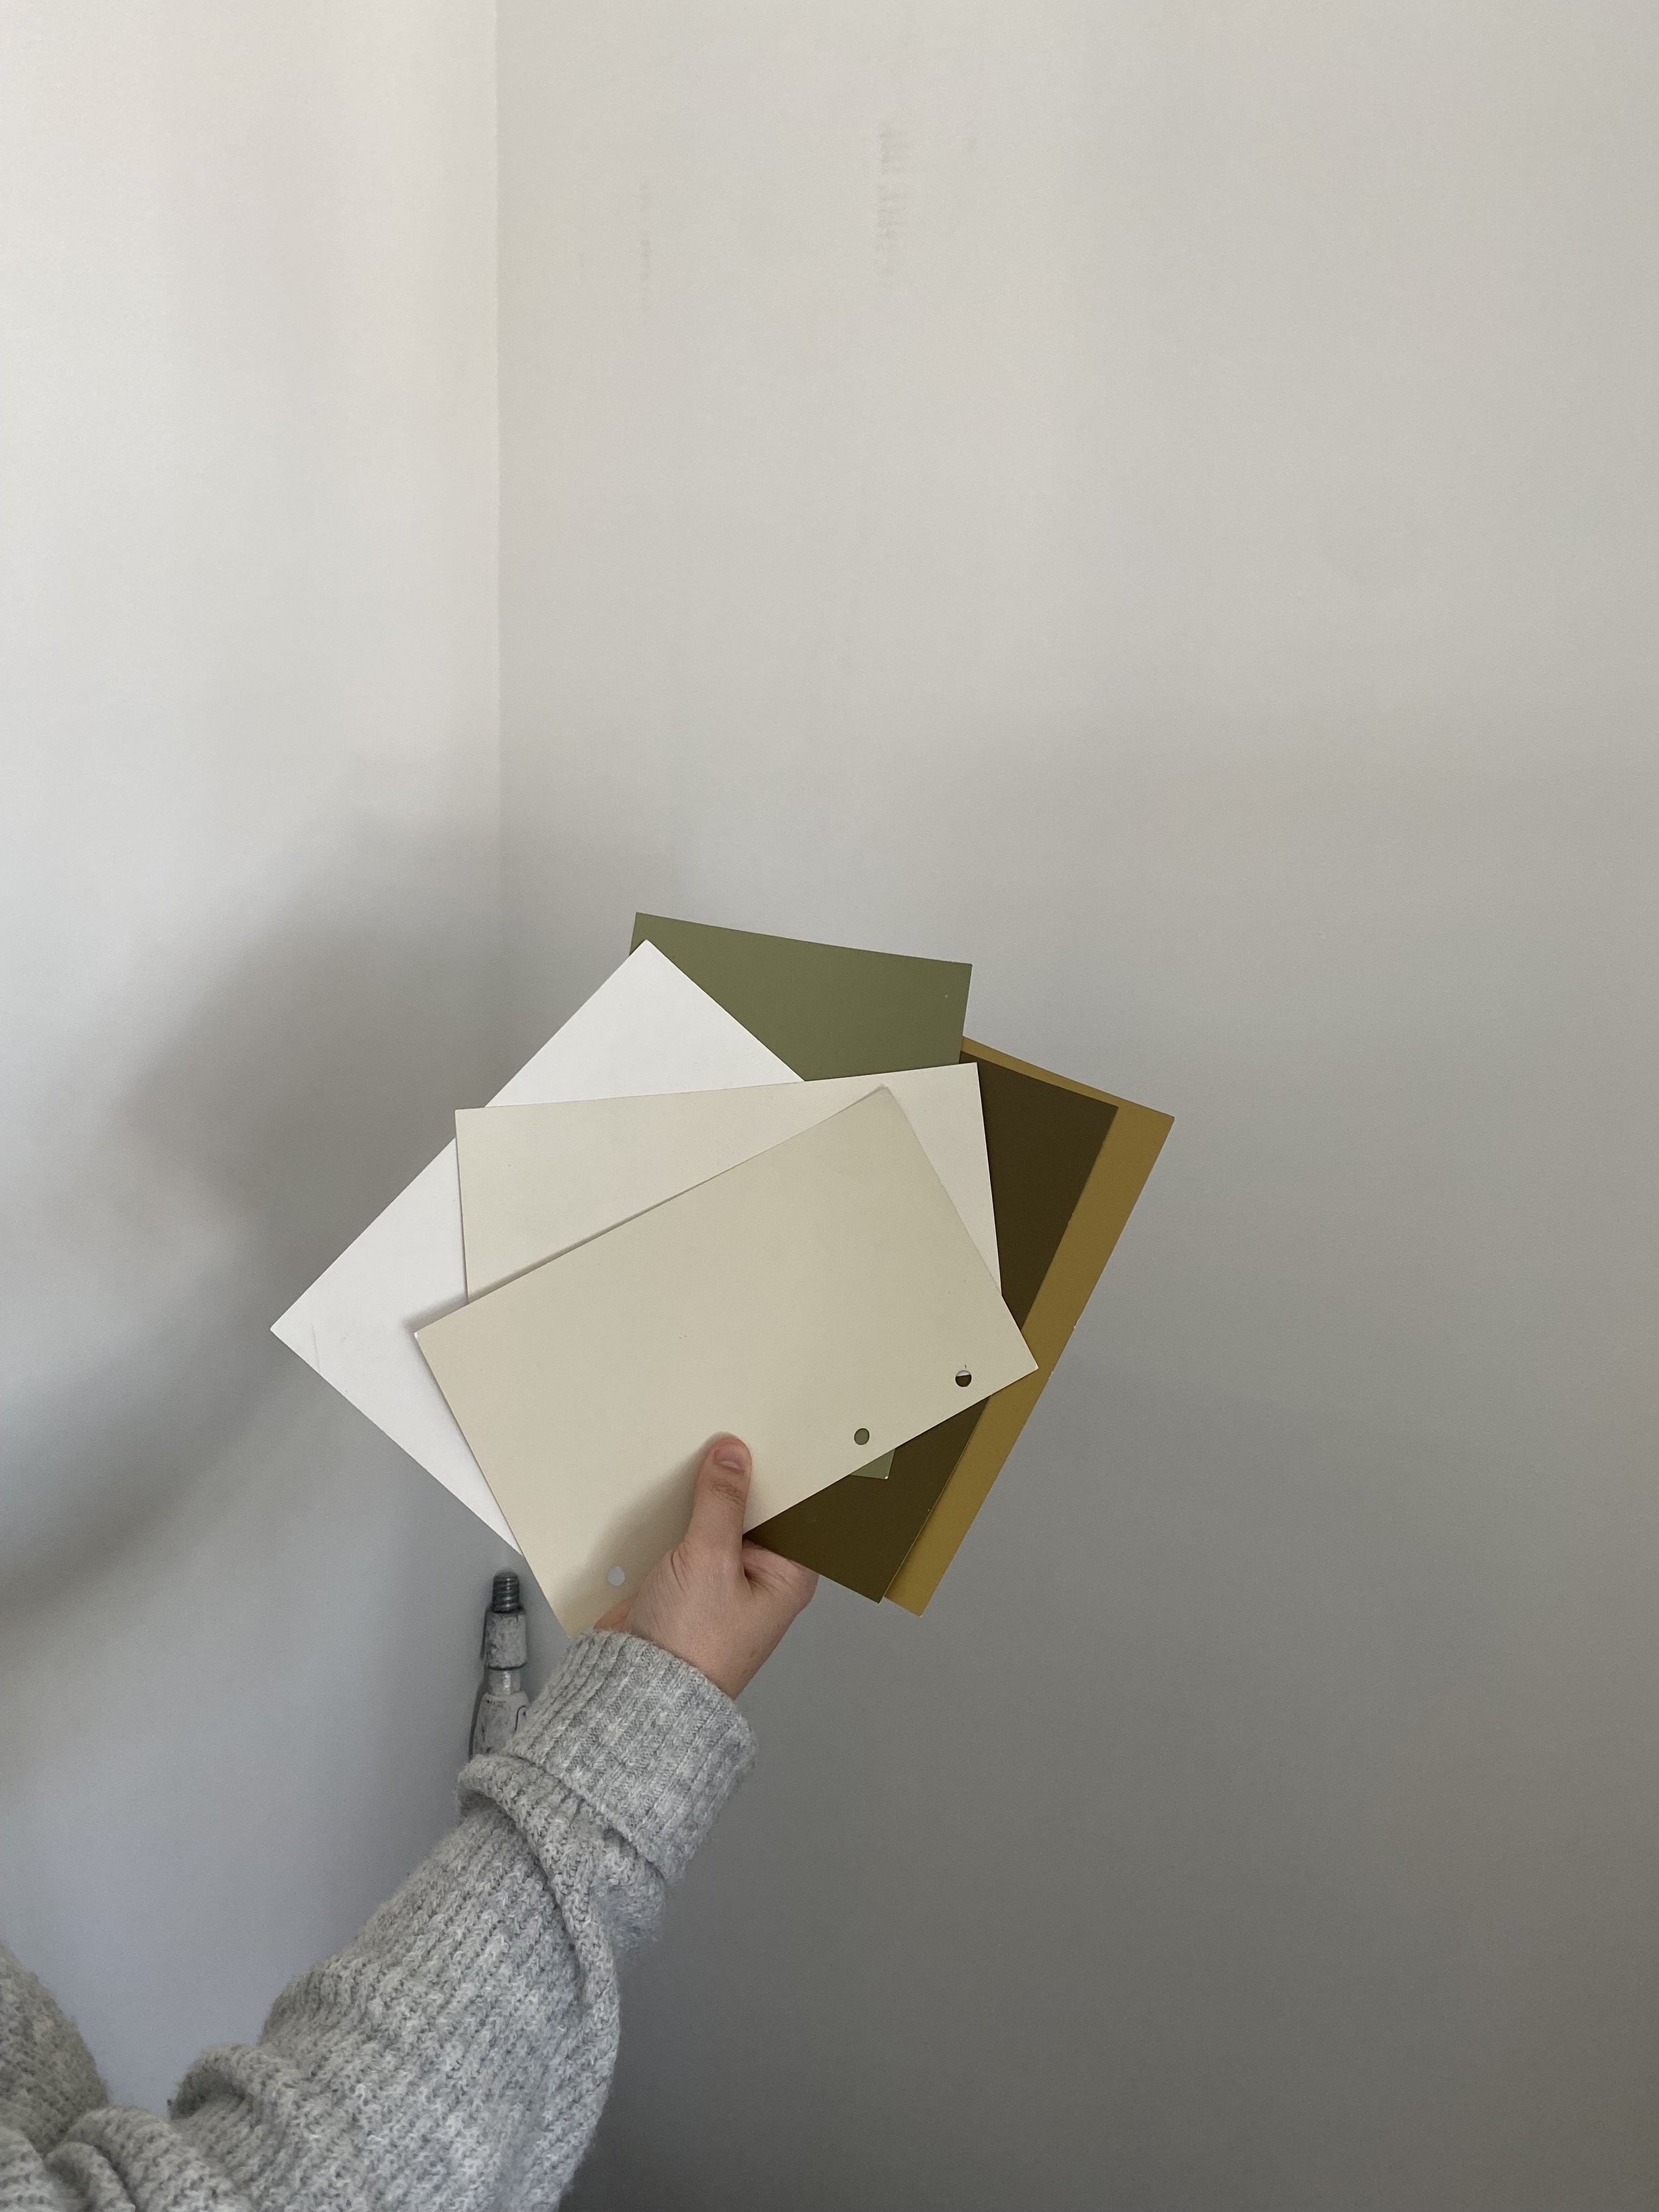
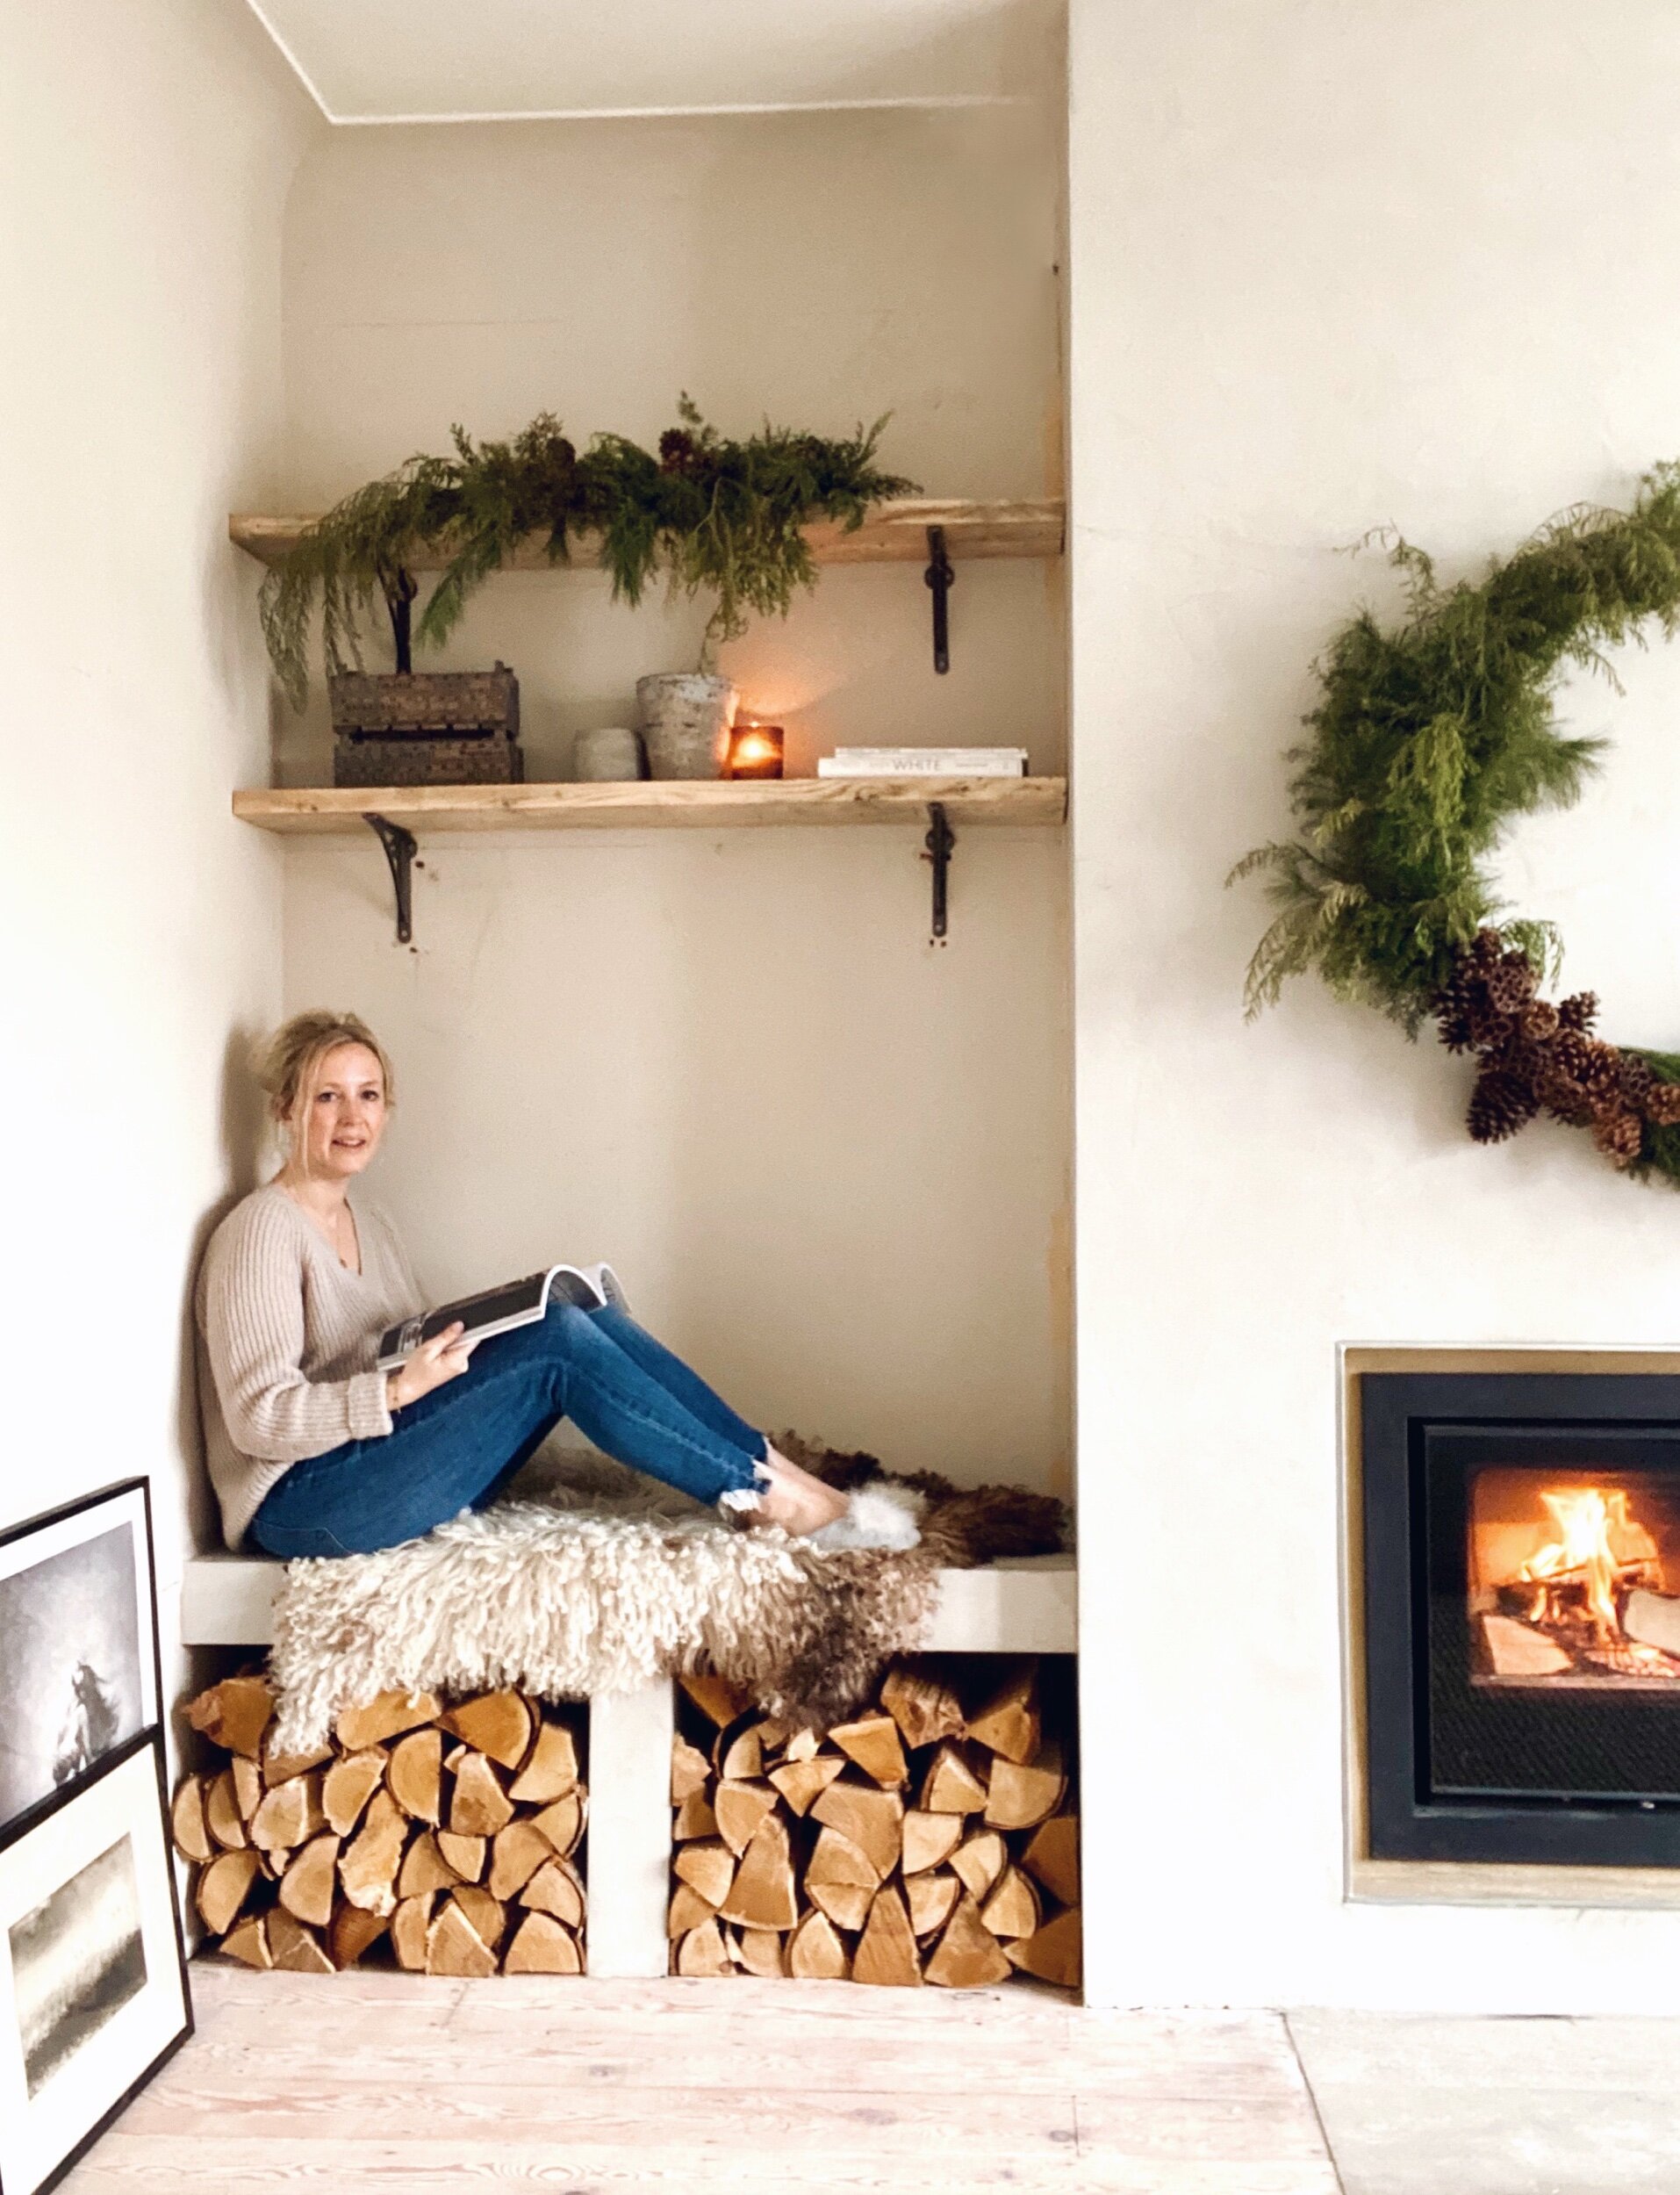
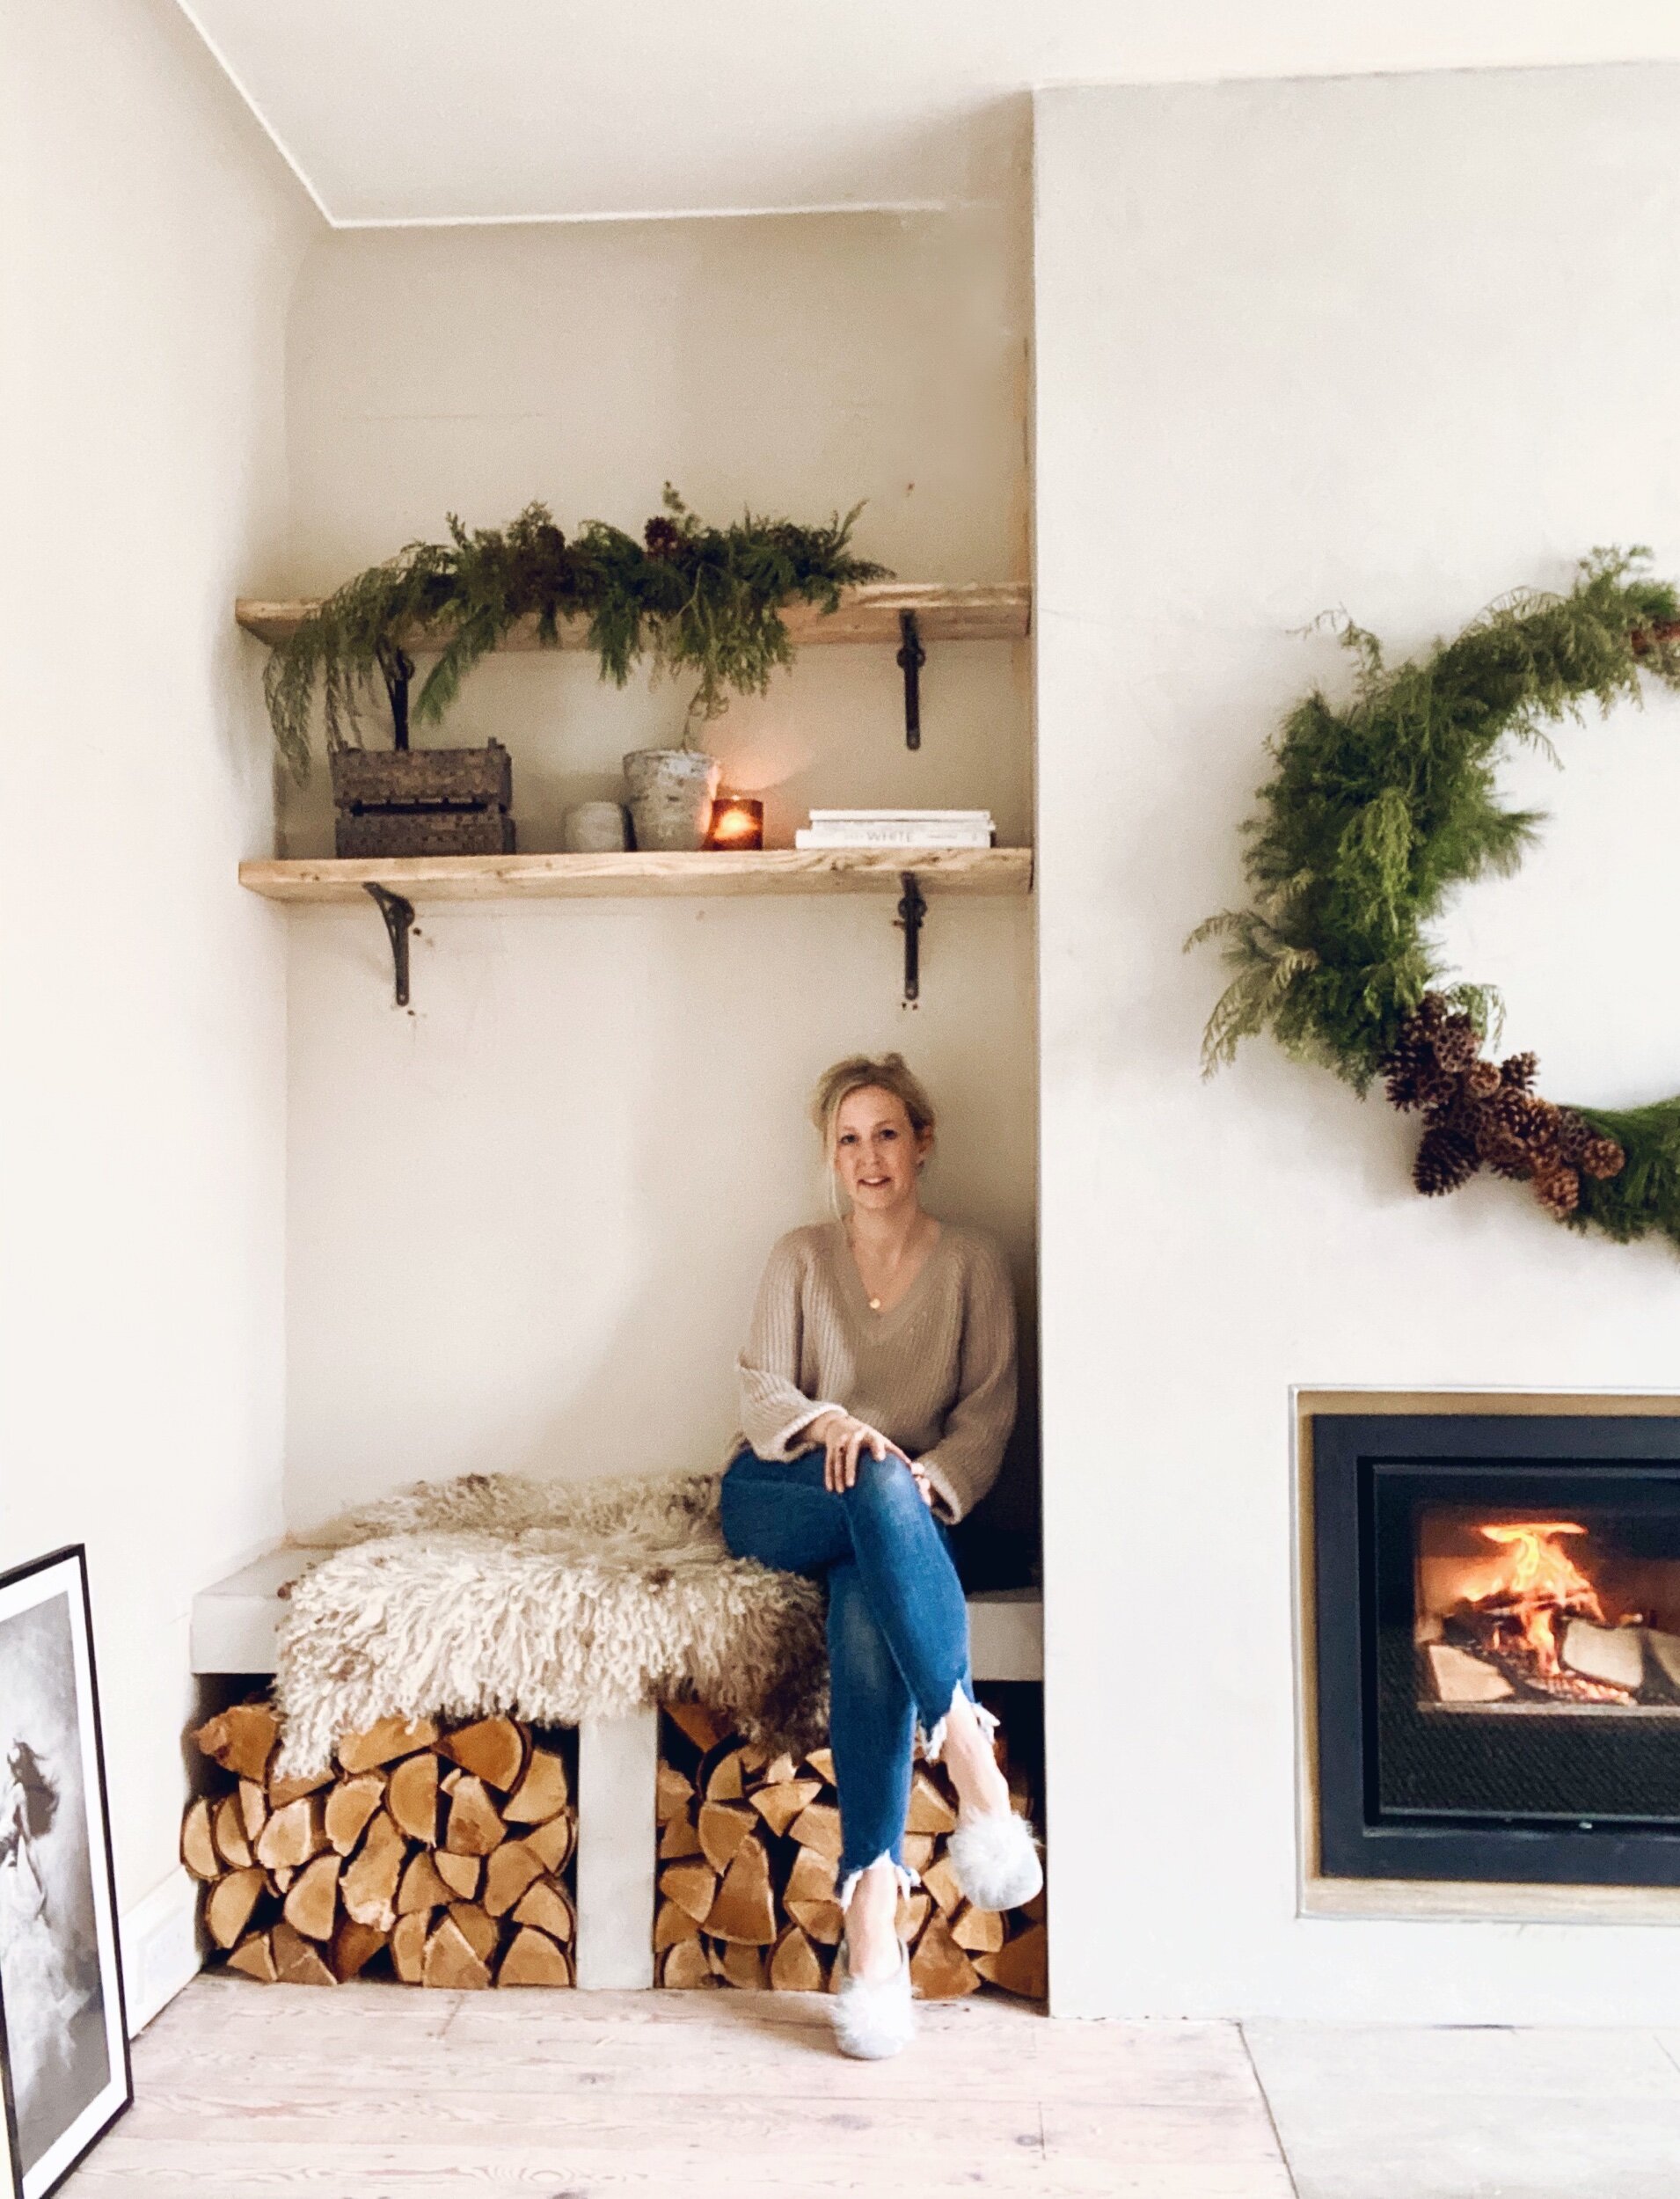
Travertine - in our light filled south facing house - had actually just the right amount of warmth especially when paired with a whiter shade such as Flint or Stock. When I saw the three side by side I knew I had found my palette!
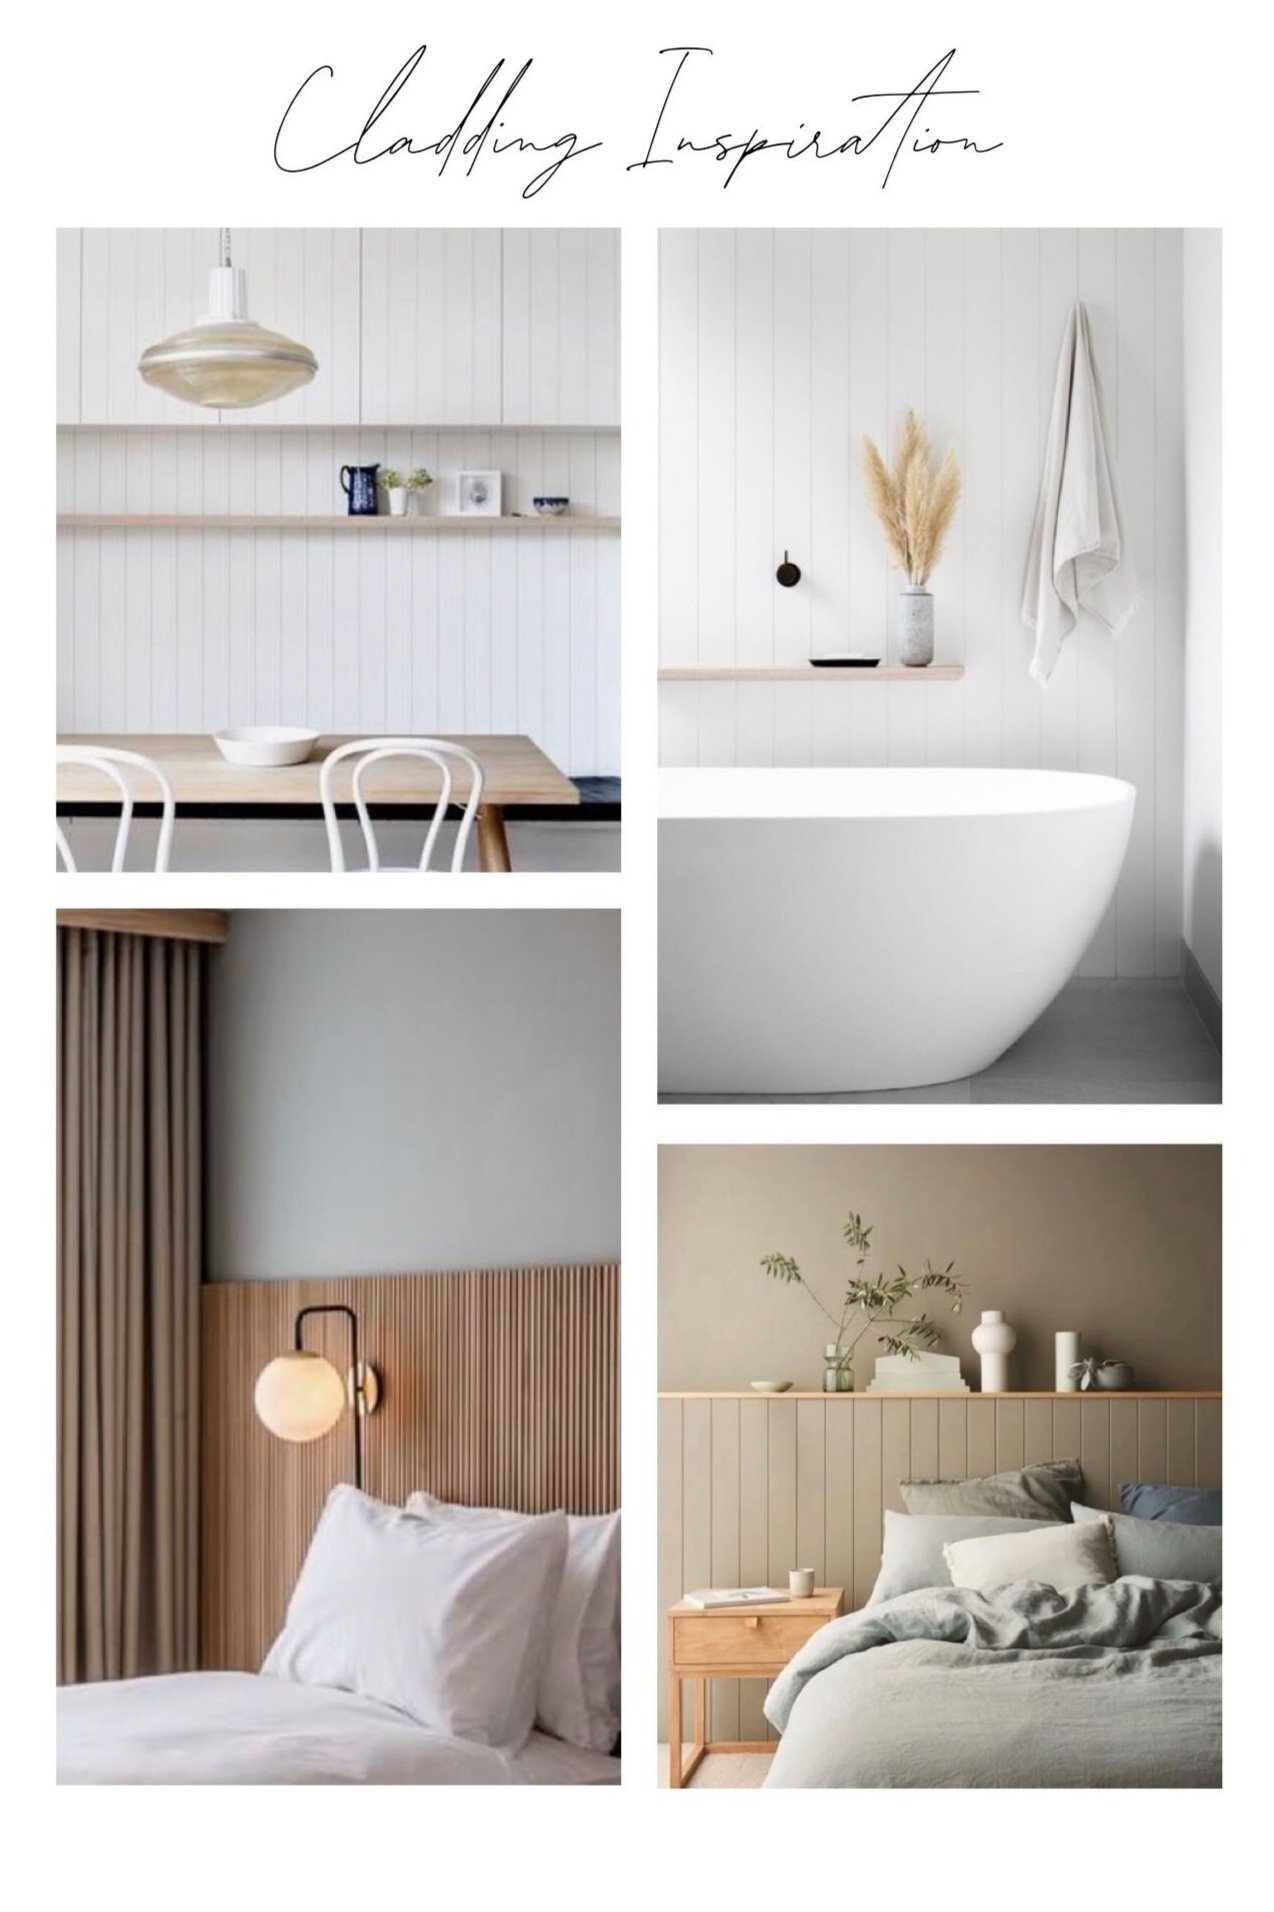
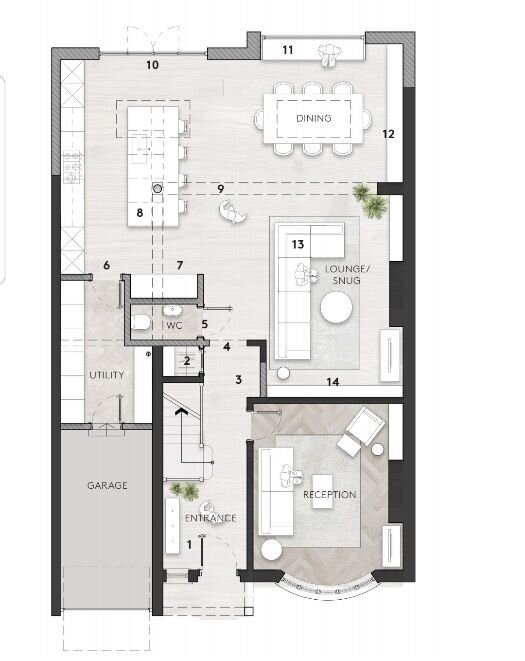
I have labelled each of the pictures below - taking you on a tour of the house so you can see which shade we used in which room and in which combination and so cannot recommend highly enough a home consultation with a Little Greene consultant to help you answer the trickiest of questions “ What is my Favourite Colour”

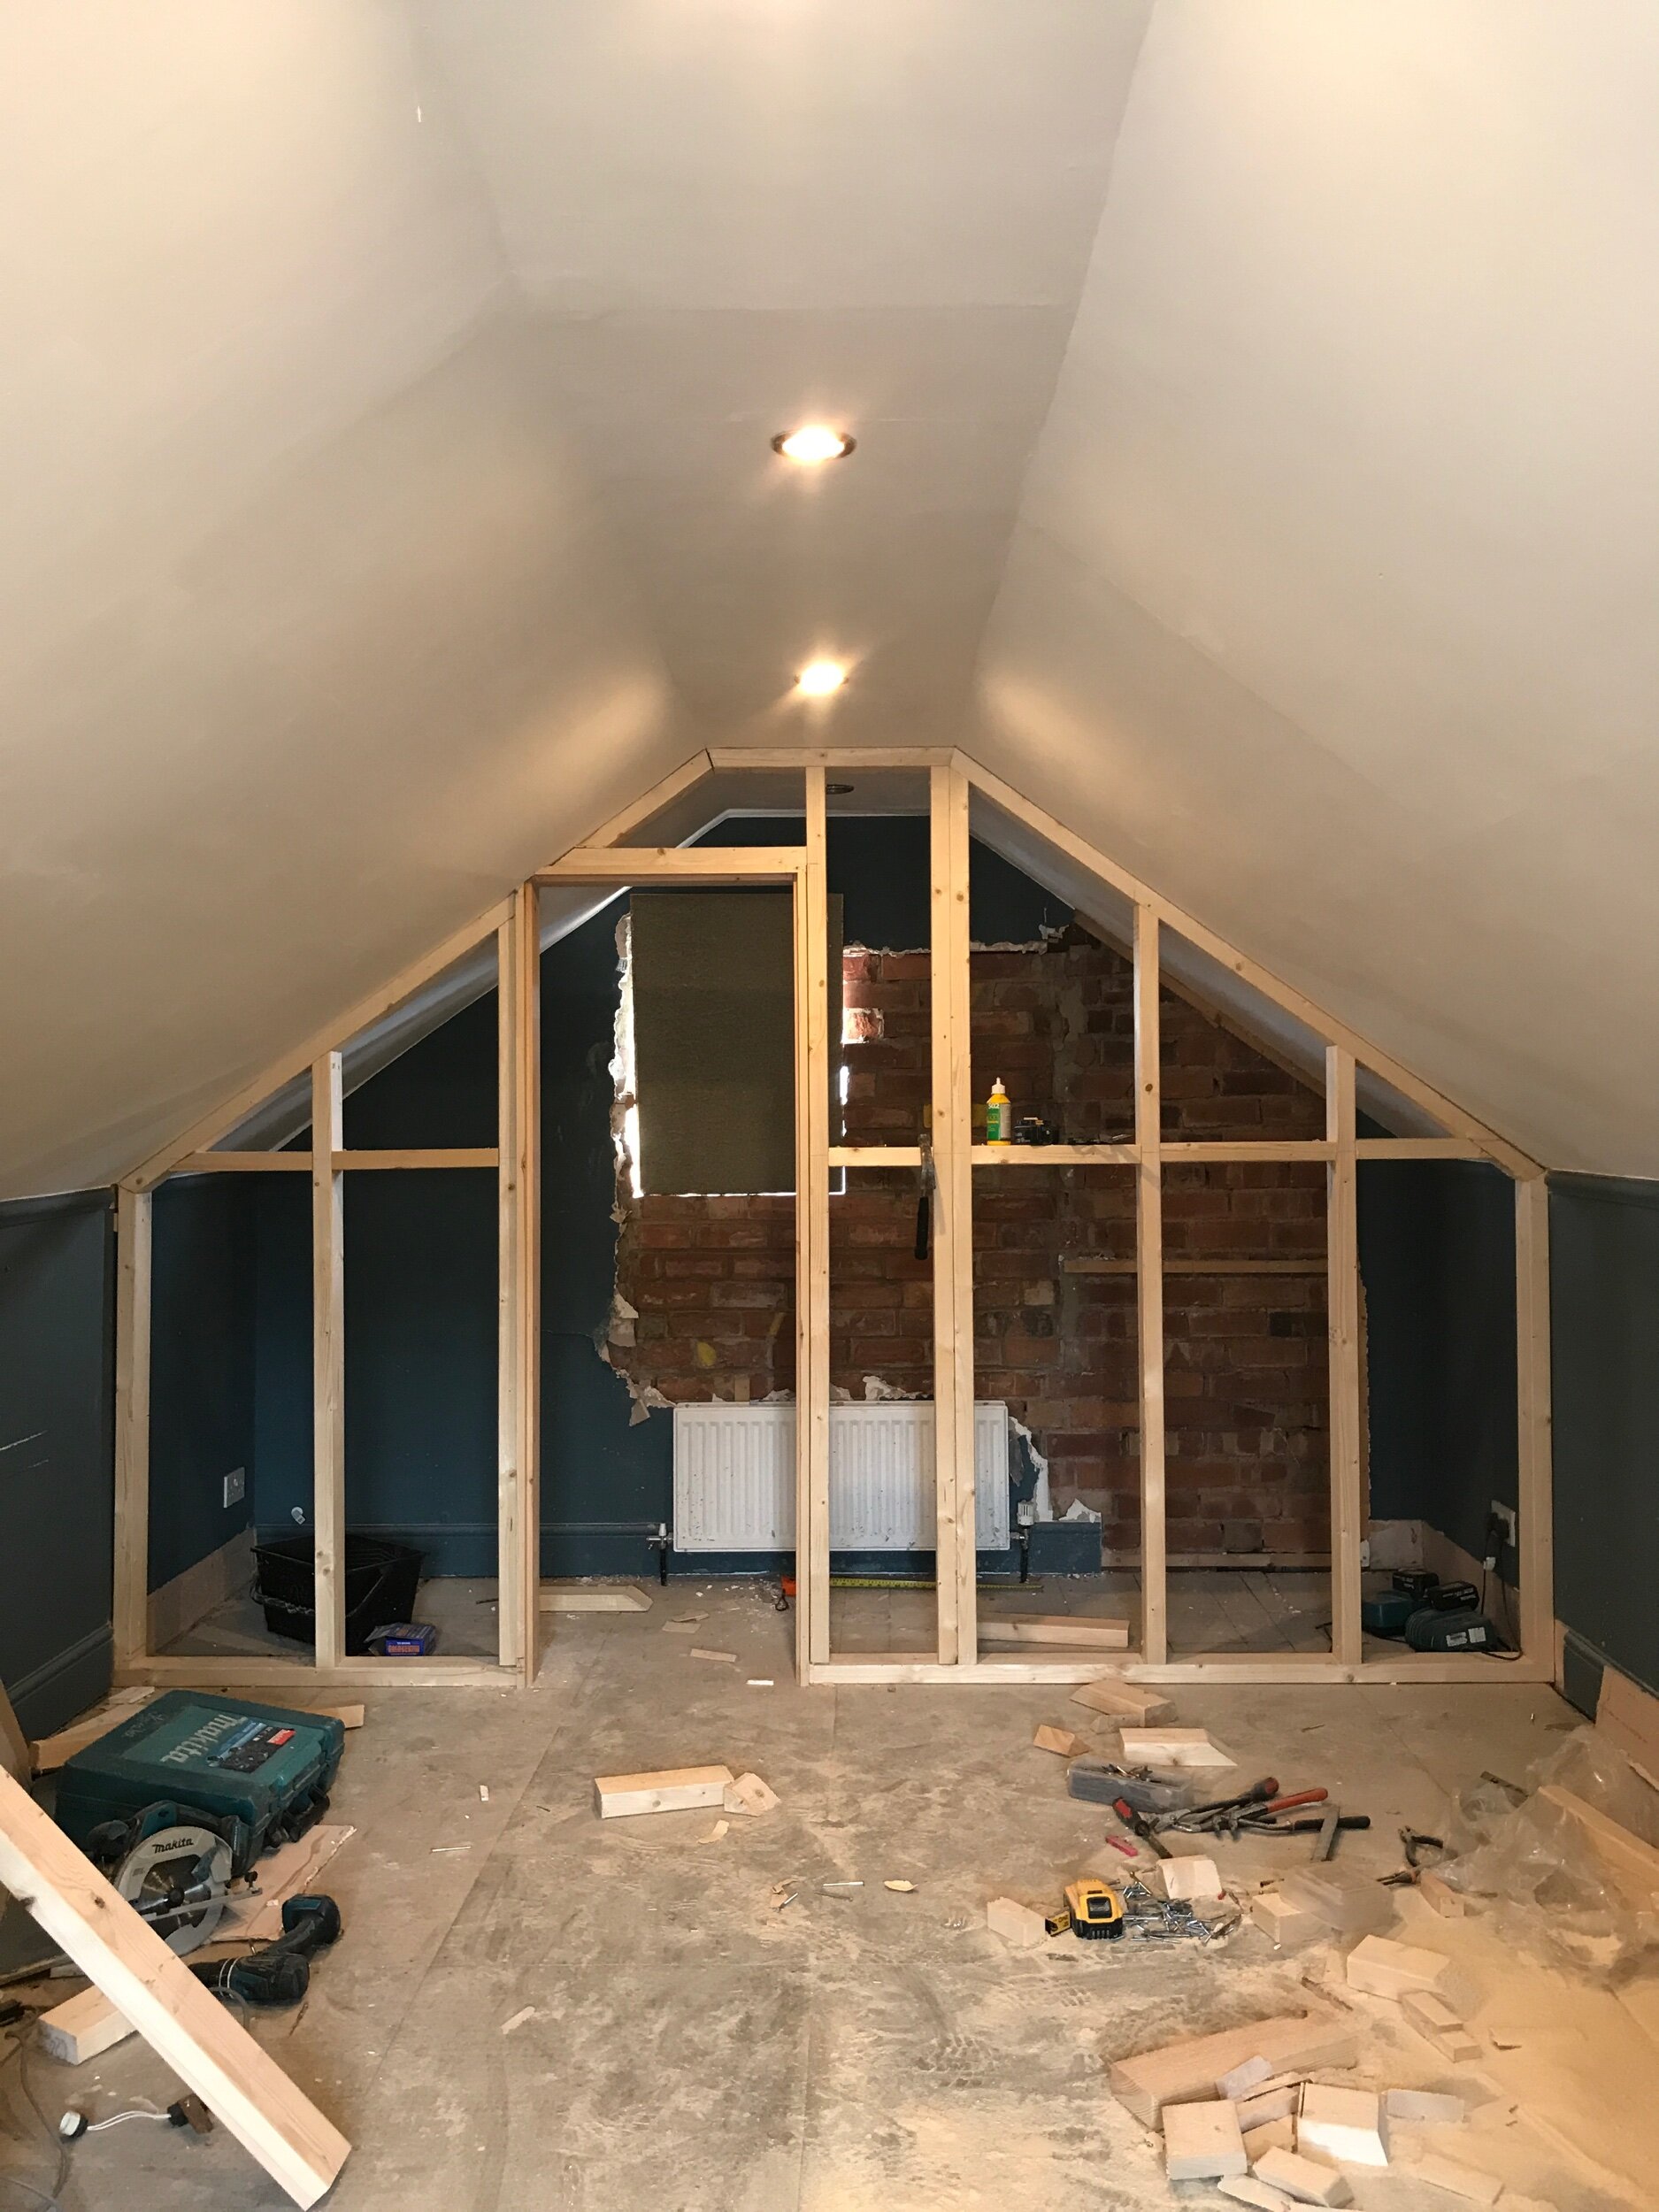
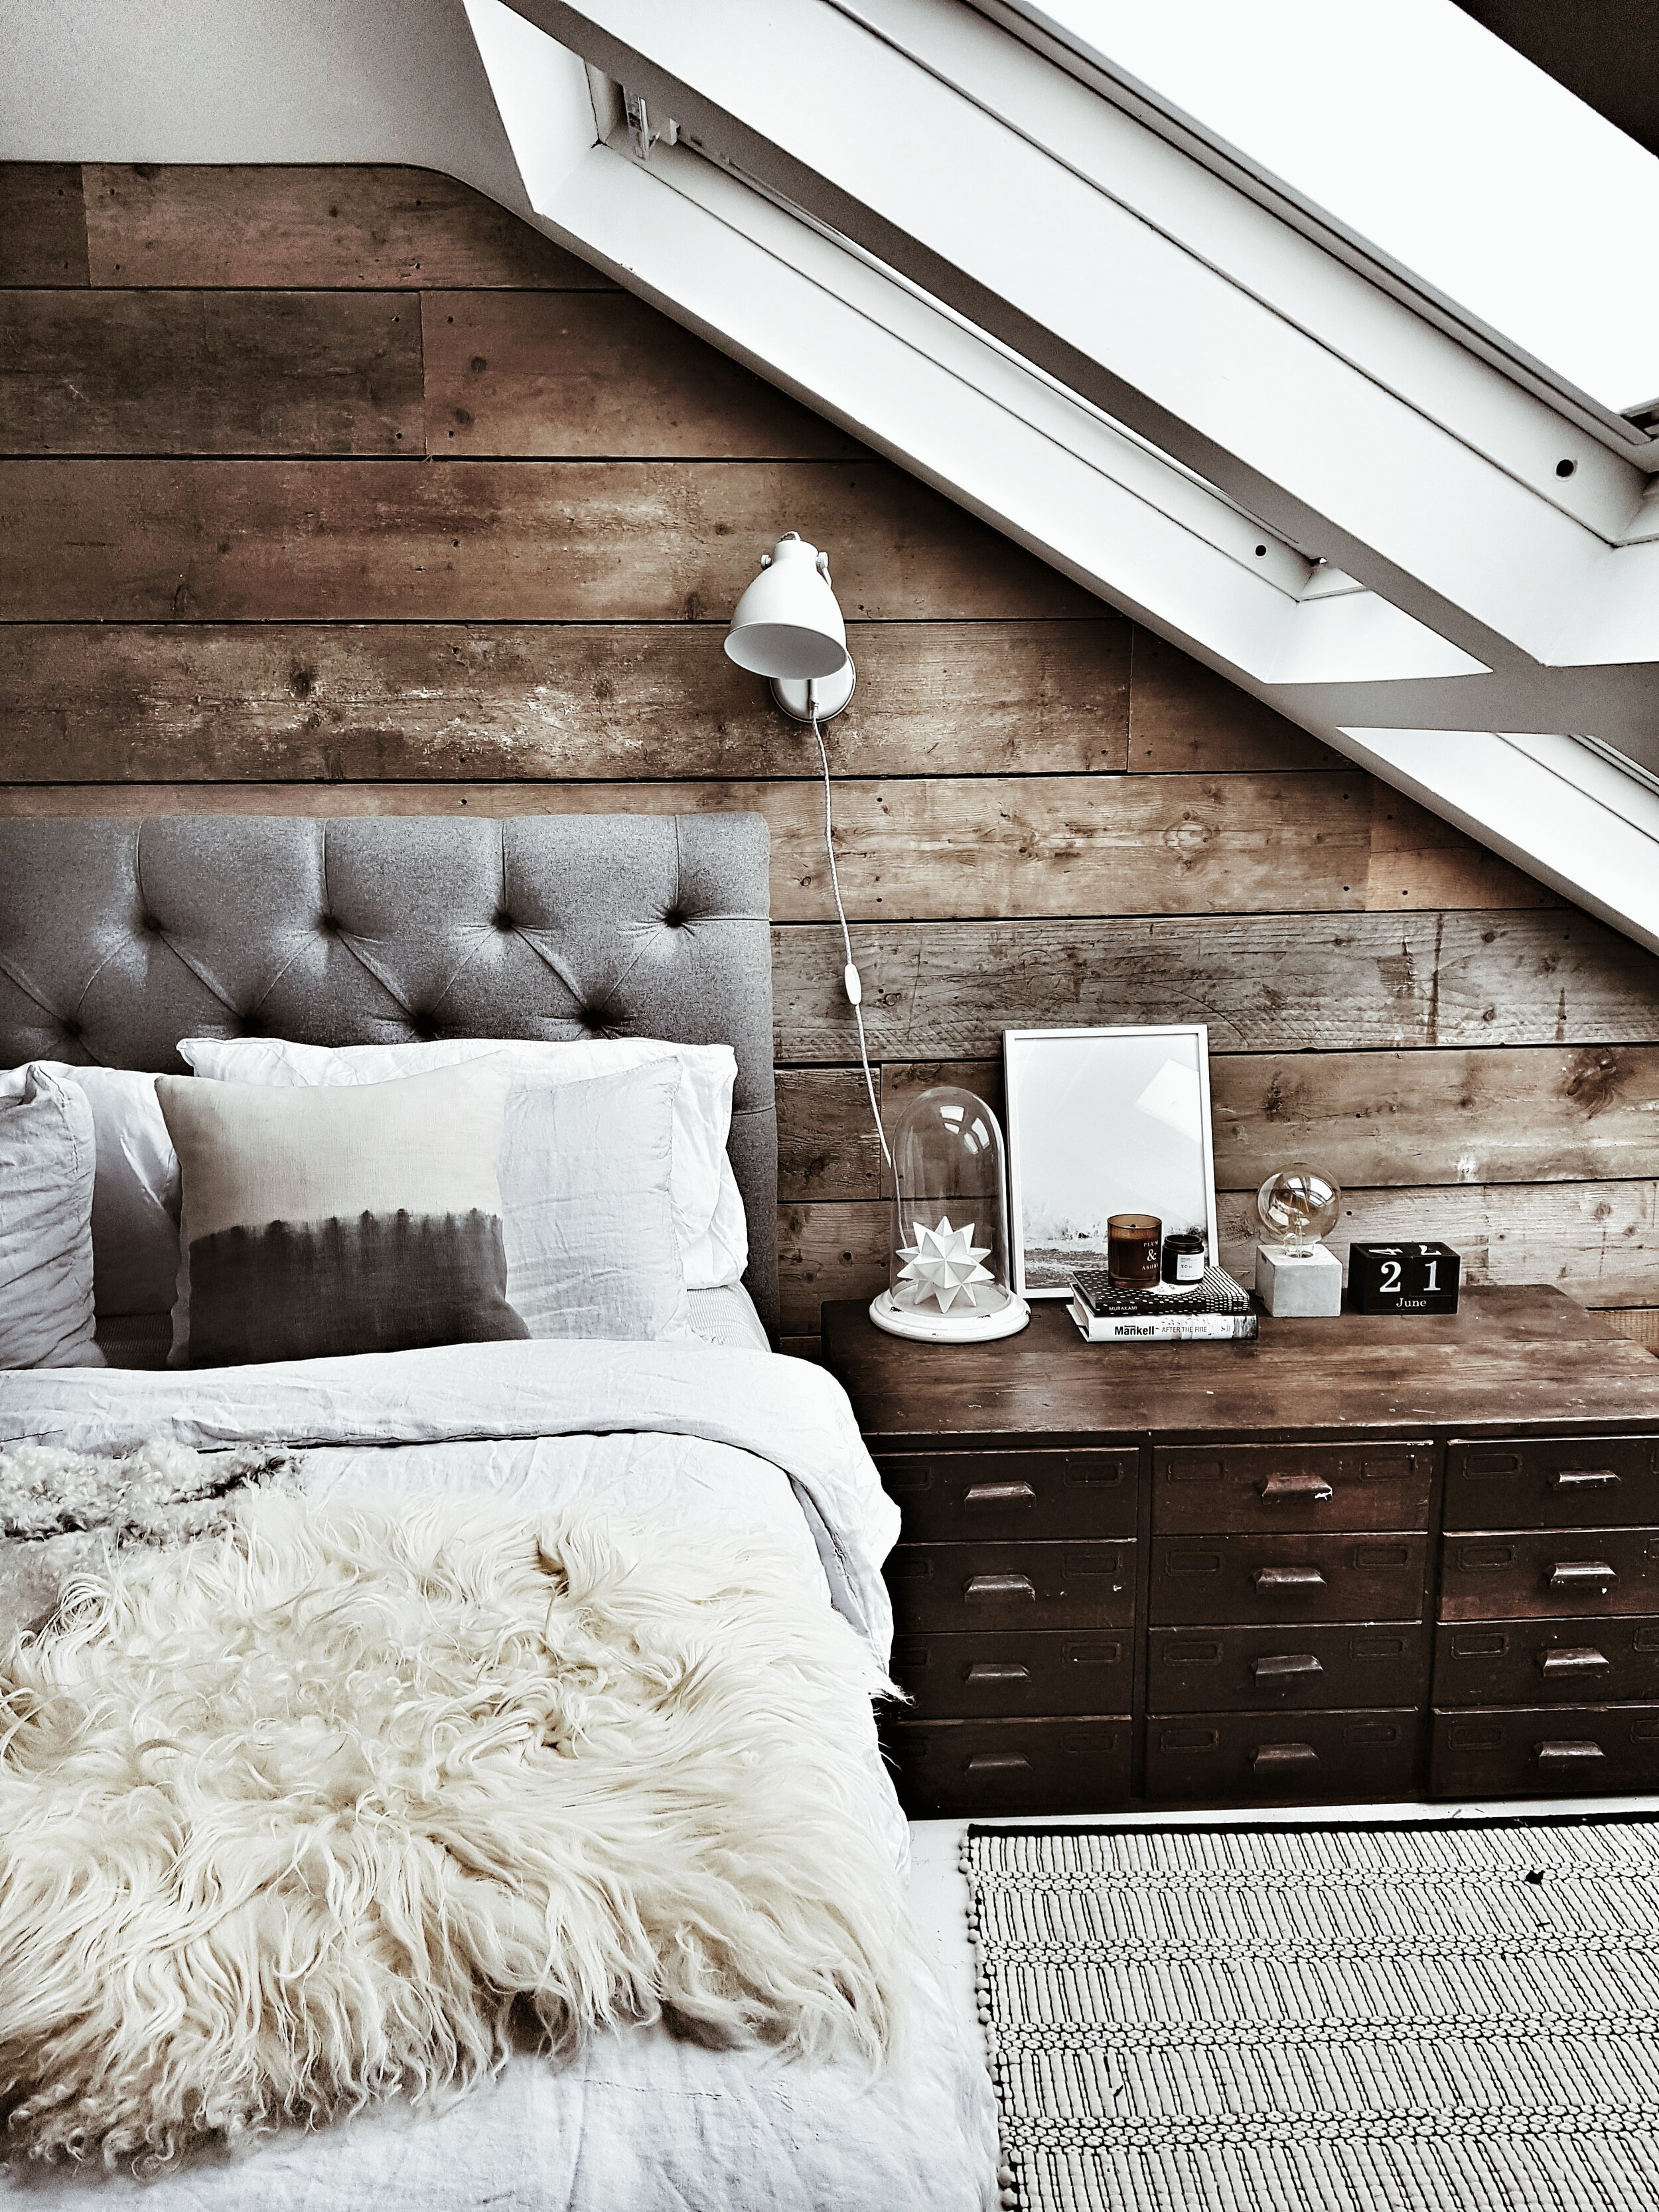
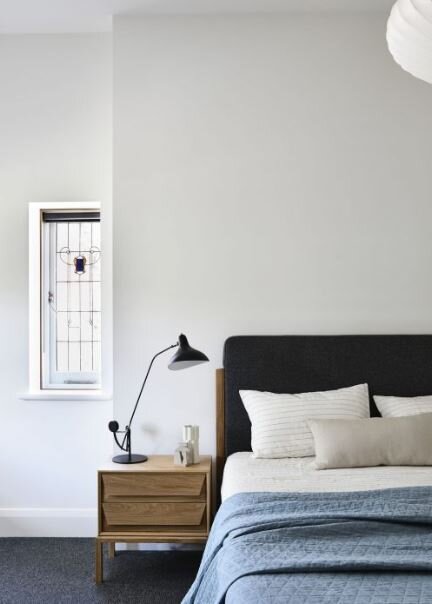
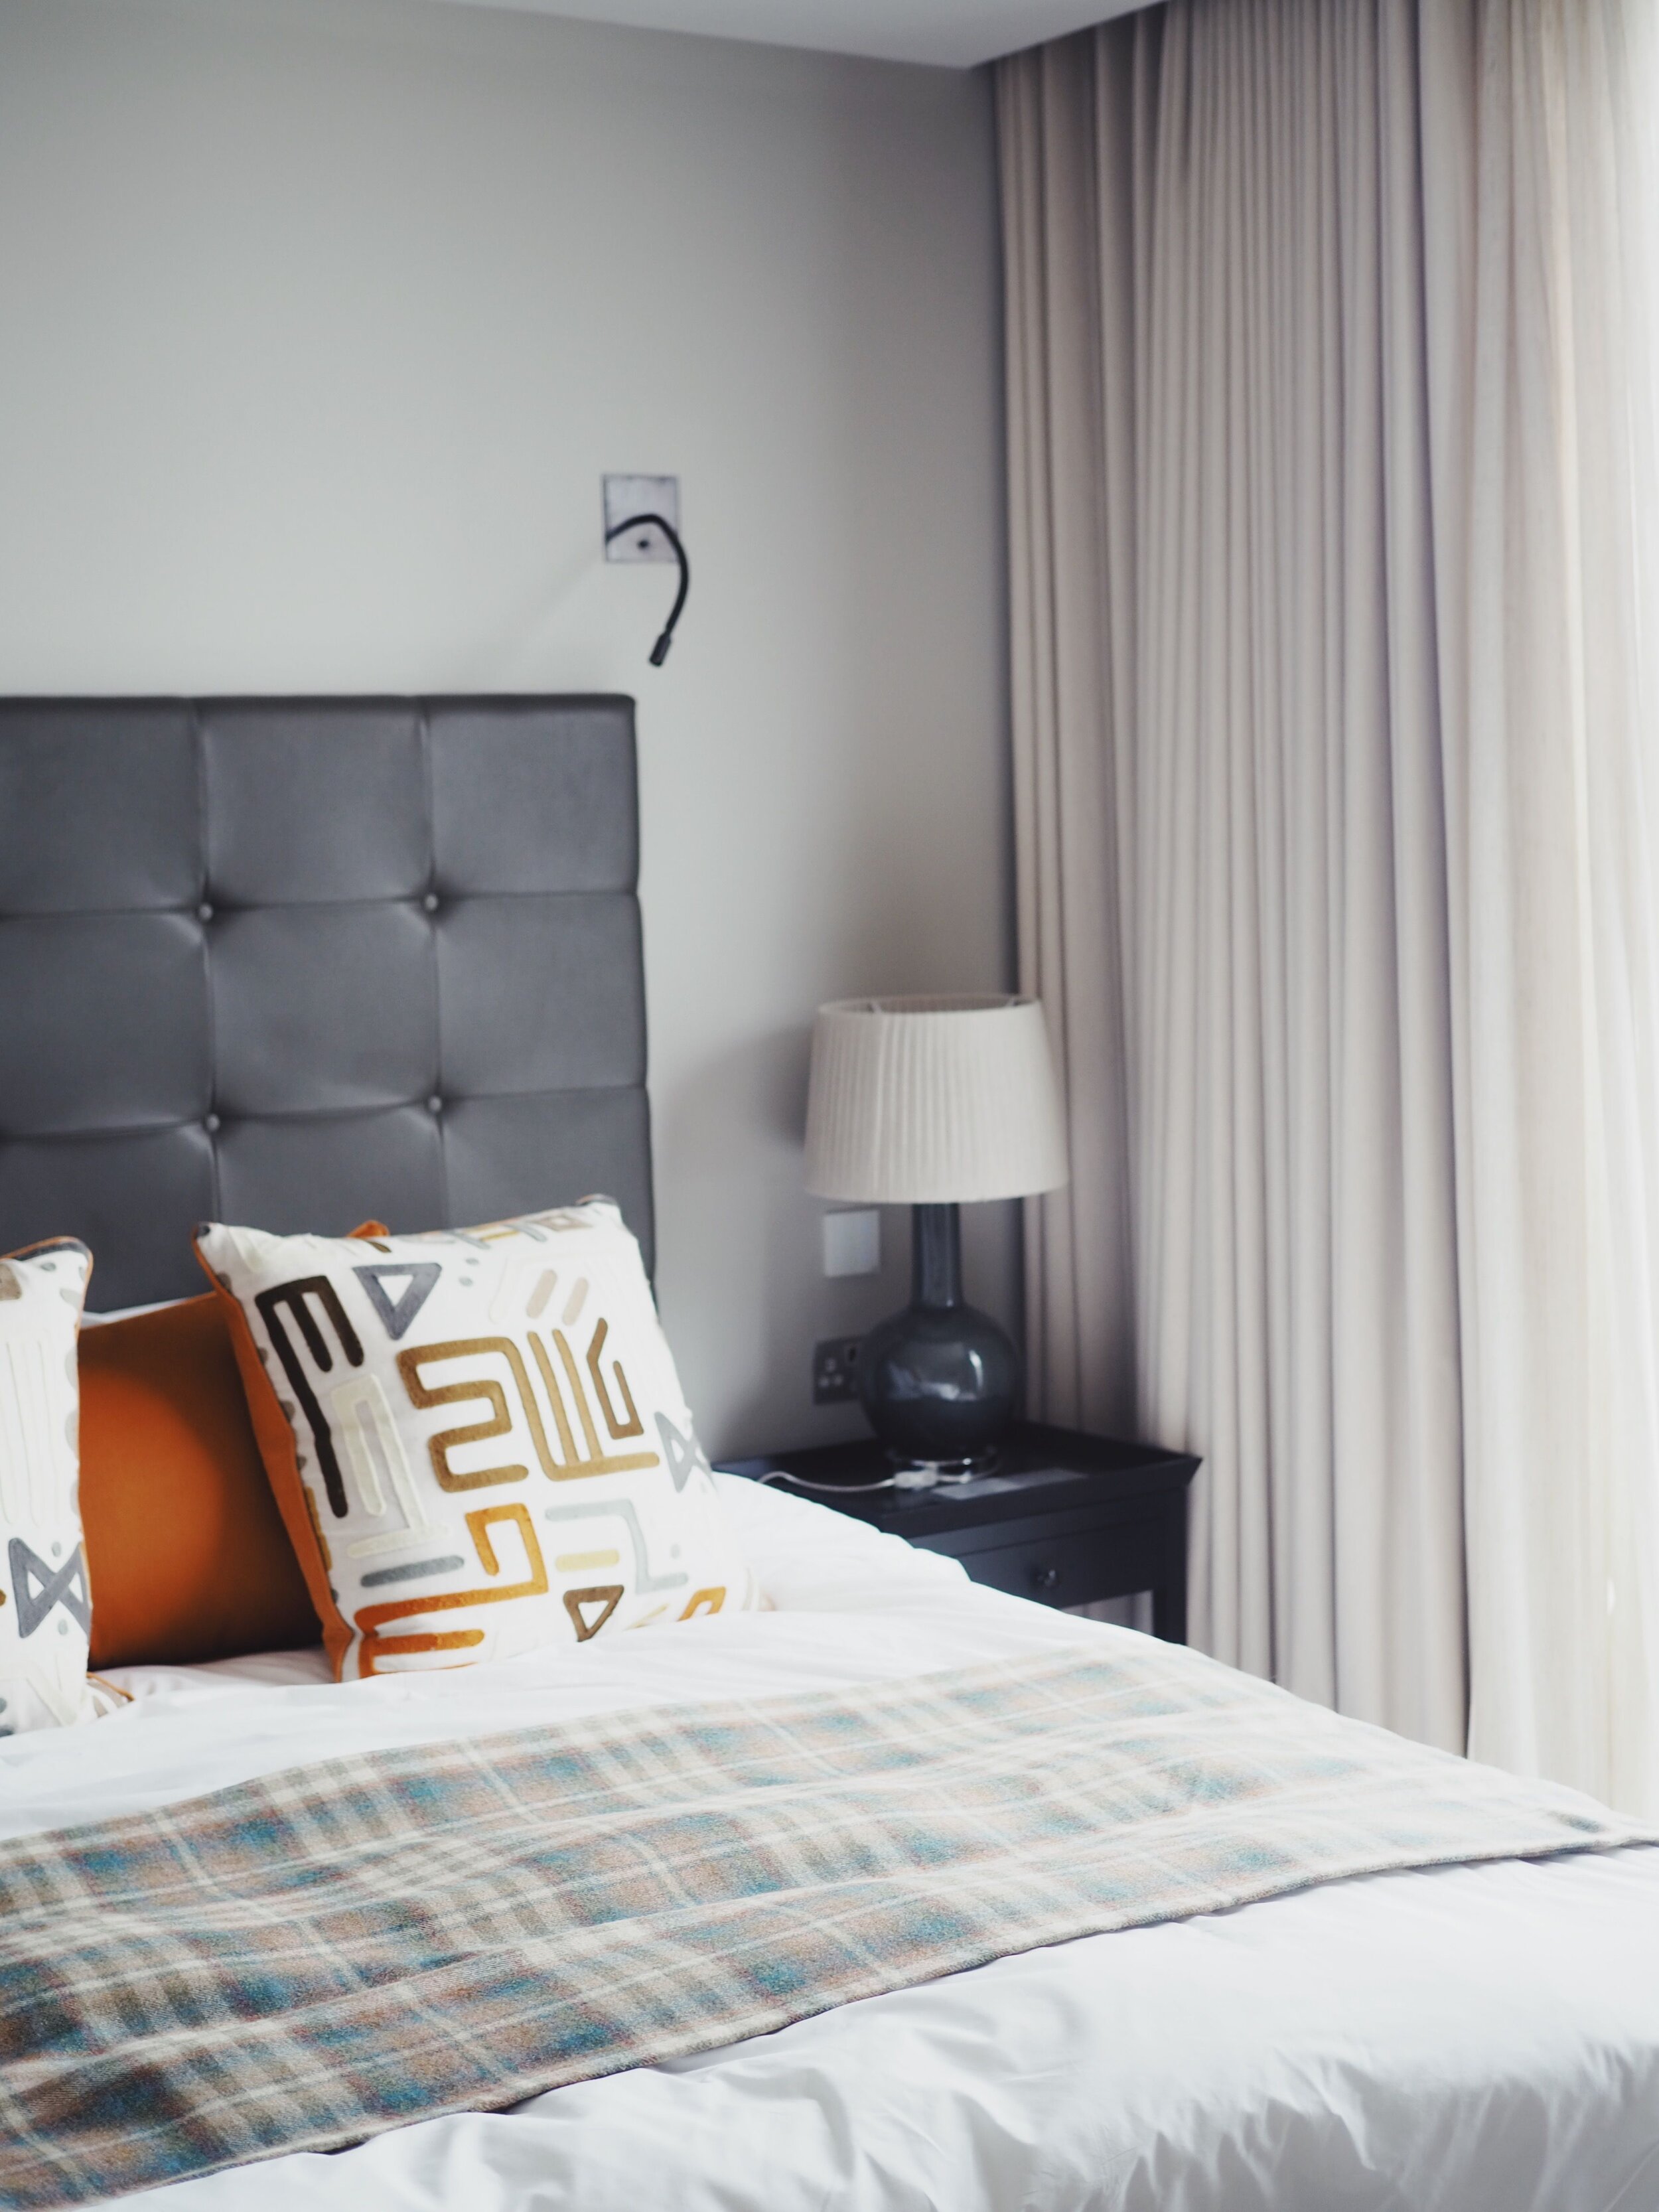
In our loft bedroom the partition between bedroom and dressing room is painted in Stock from Little Greene
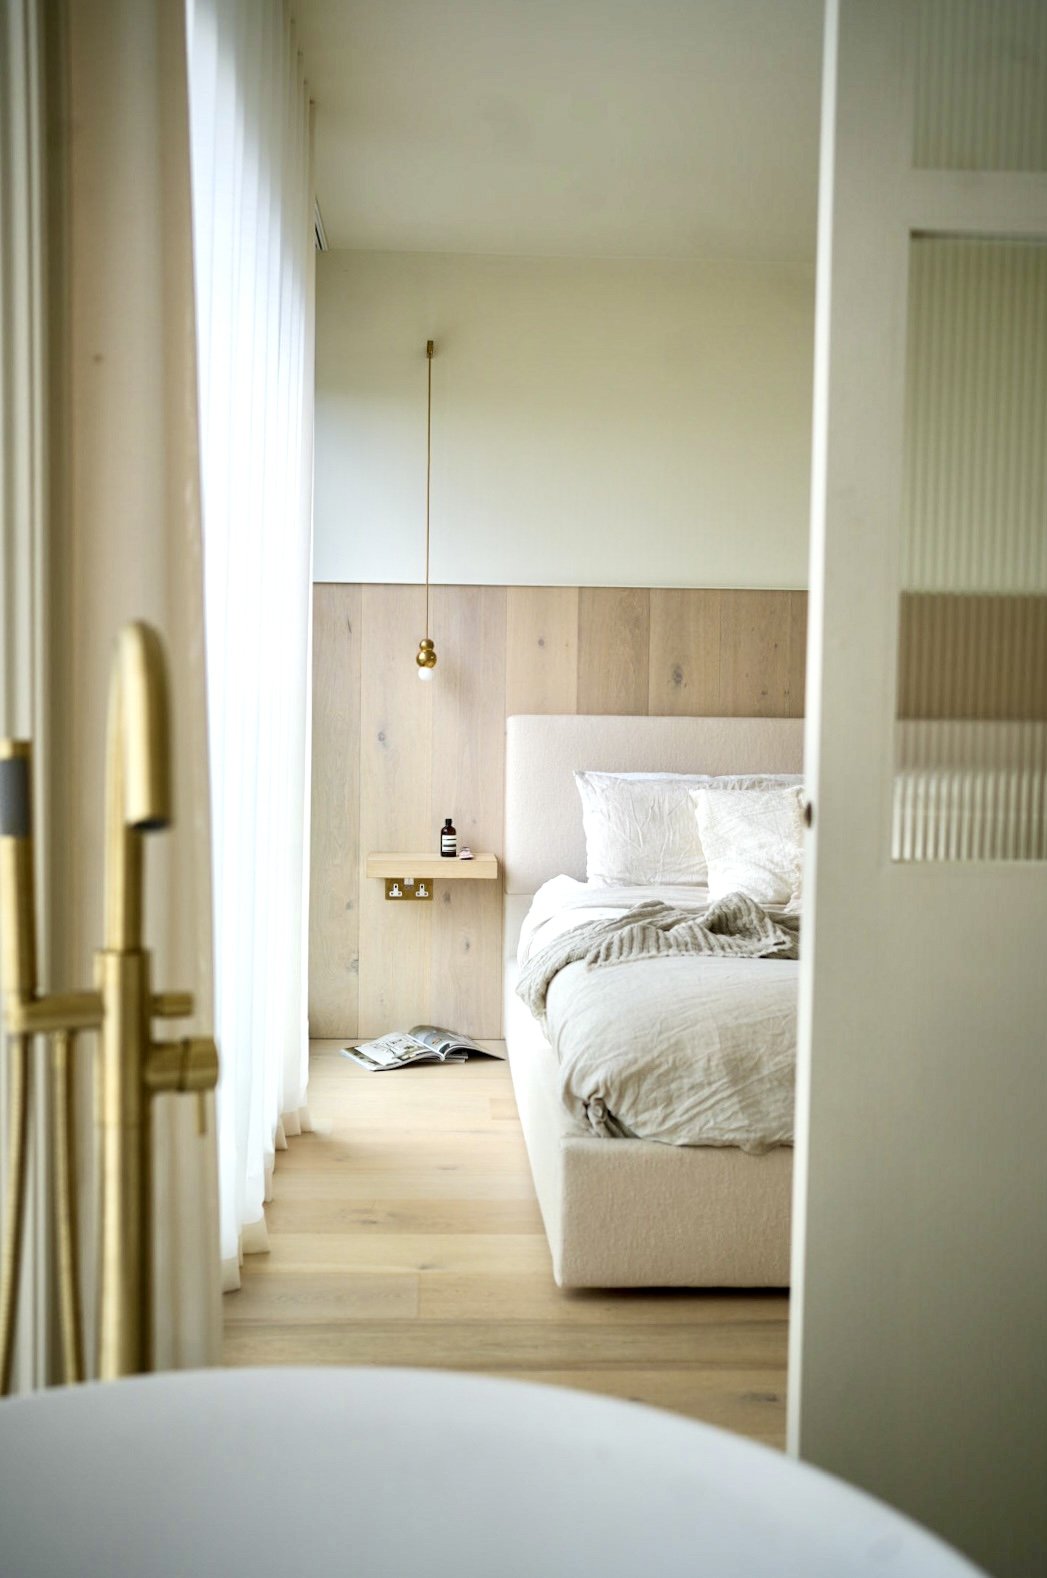
The walls and woodwork are both painted in Stock by Little Green in the loft bedroom
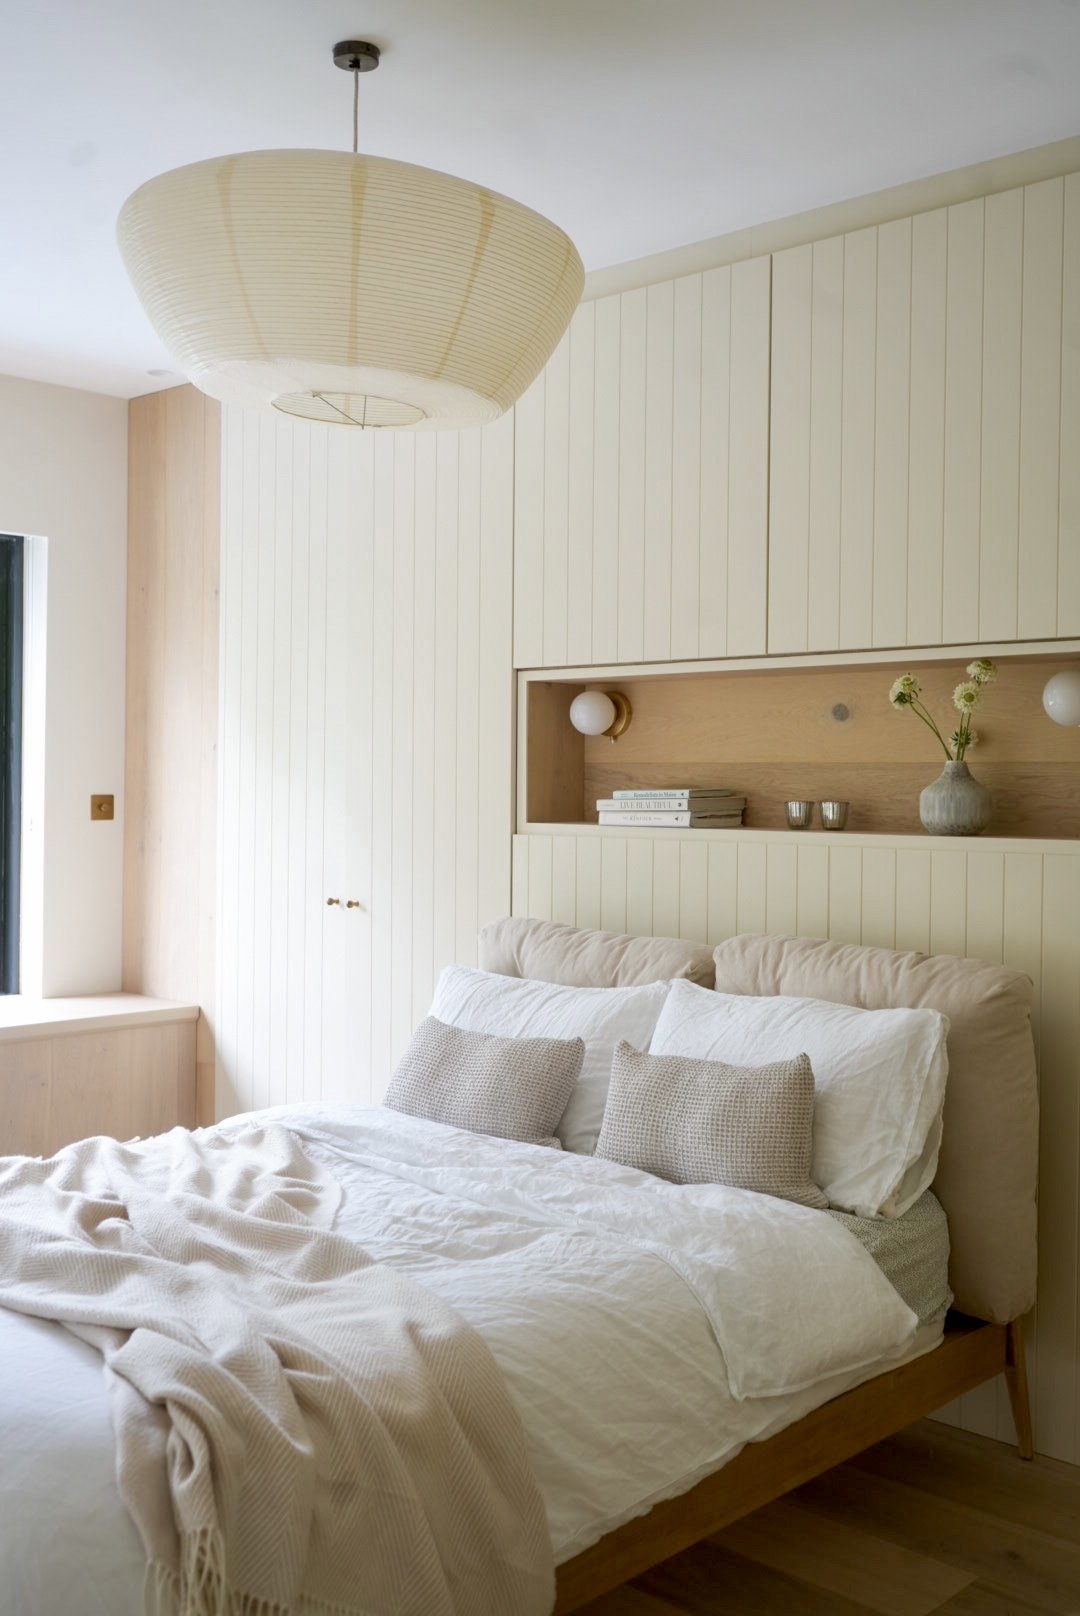
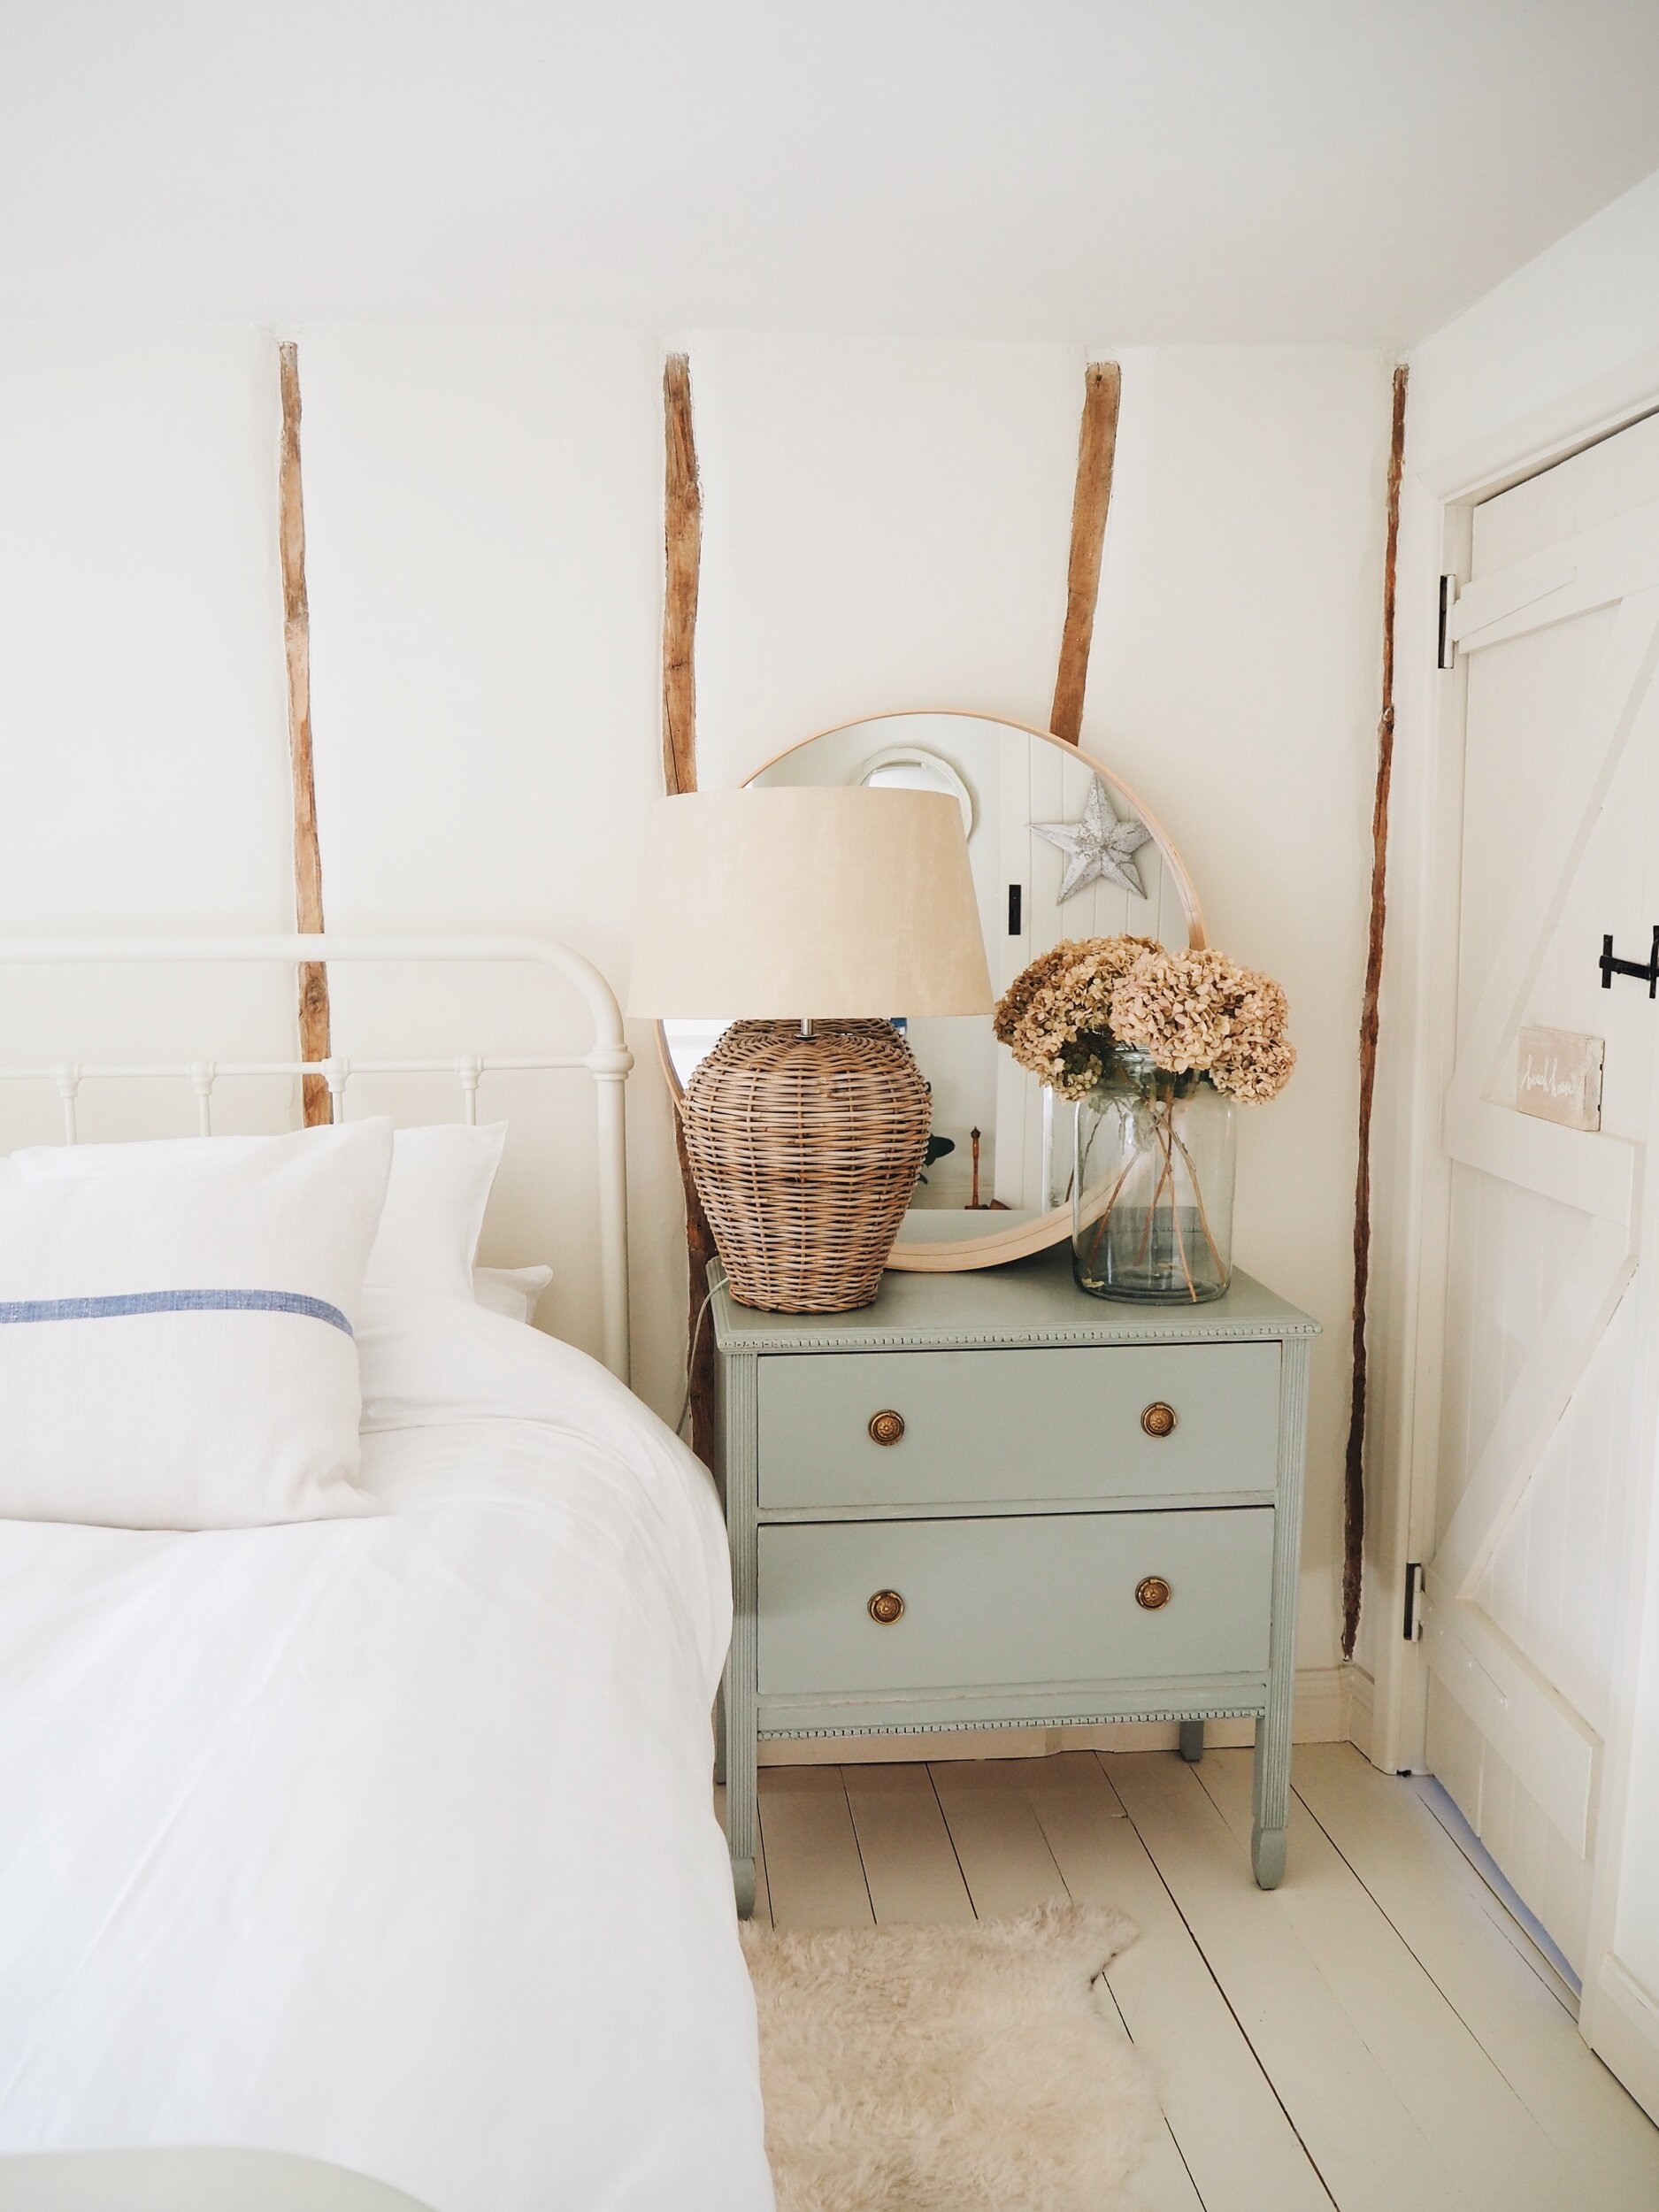
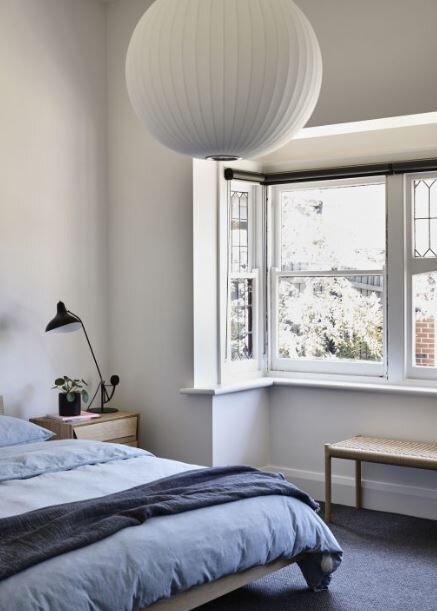
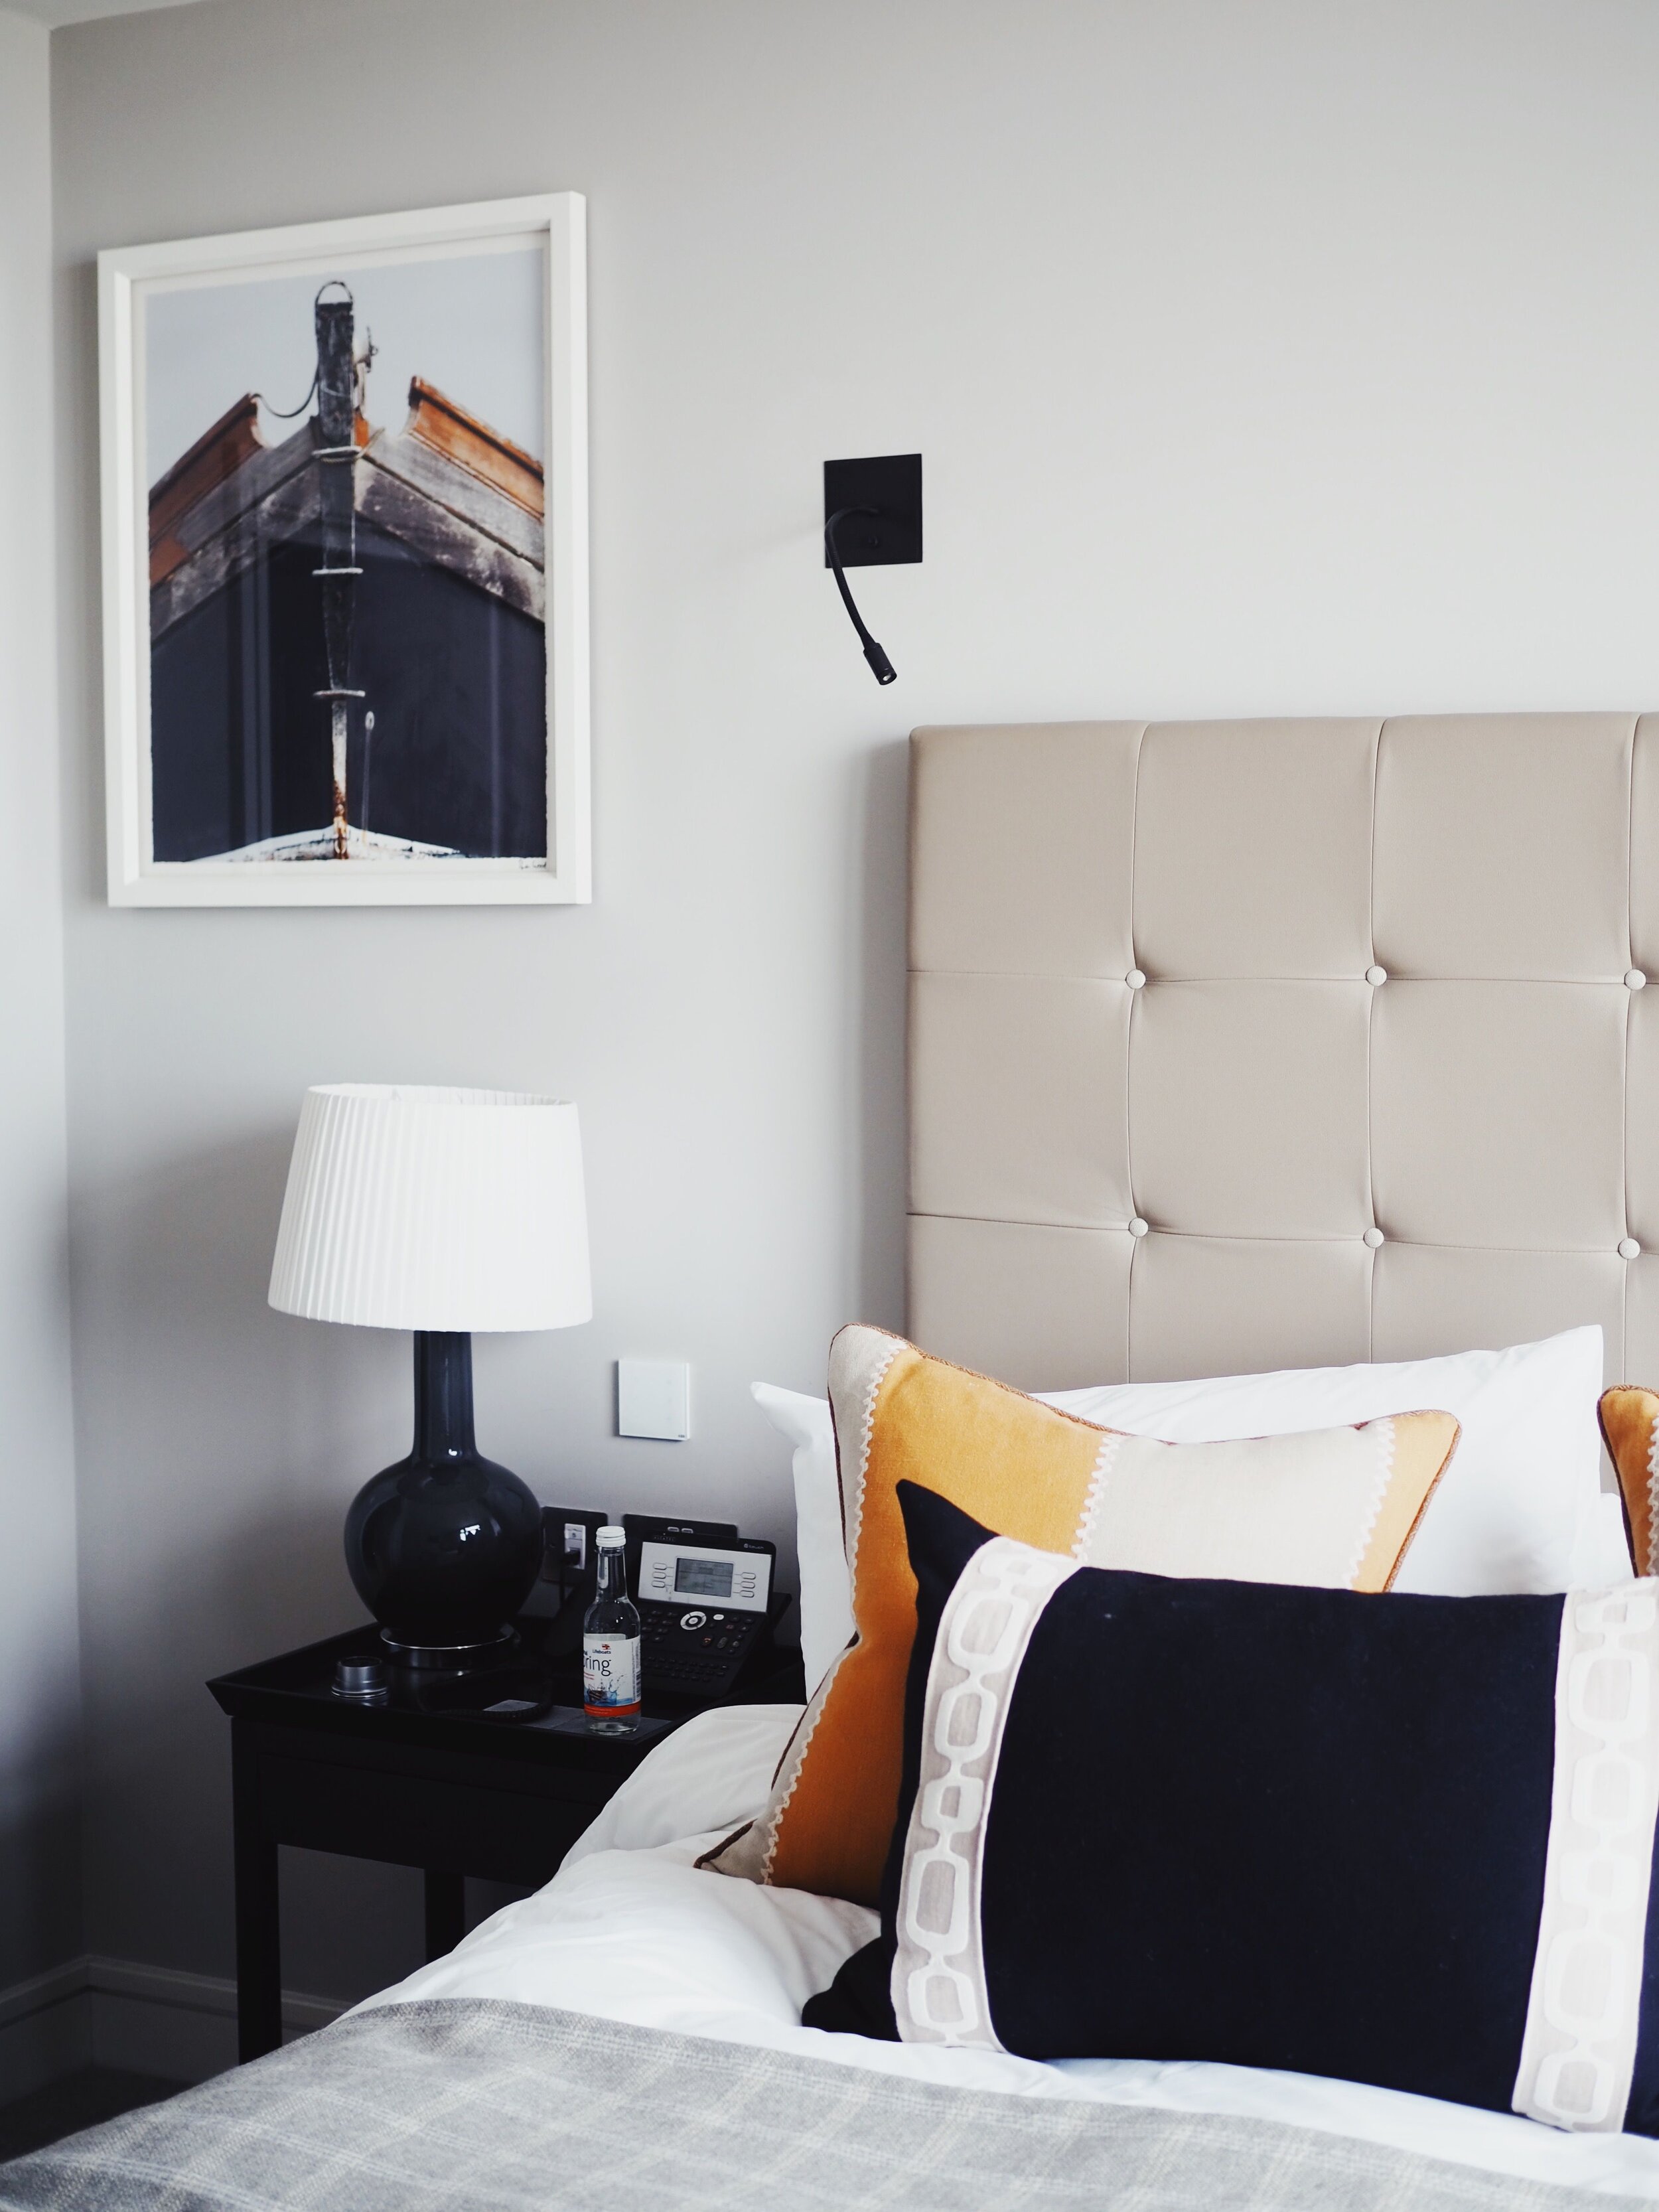
In our guest bedroom, Travertine Light from Little Greene is the perfect warmer beige for the wardrobes with Stock on the walls

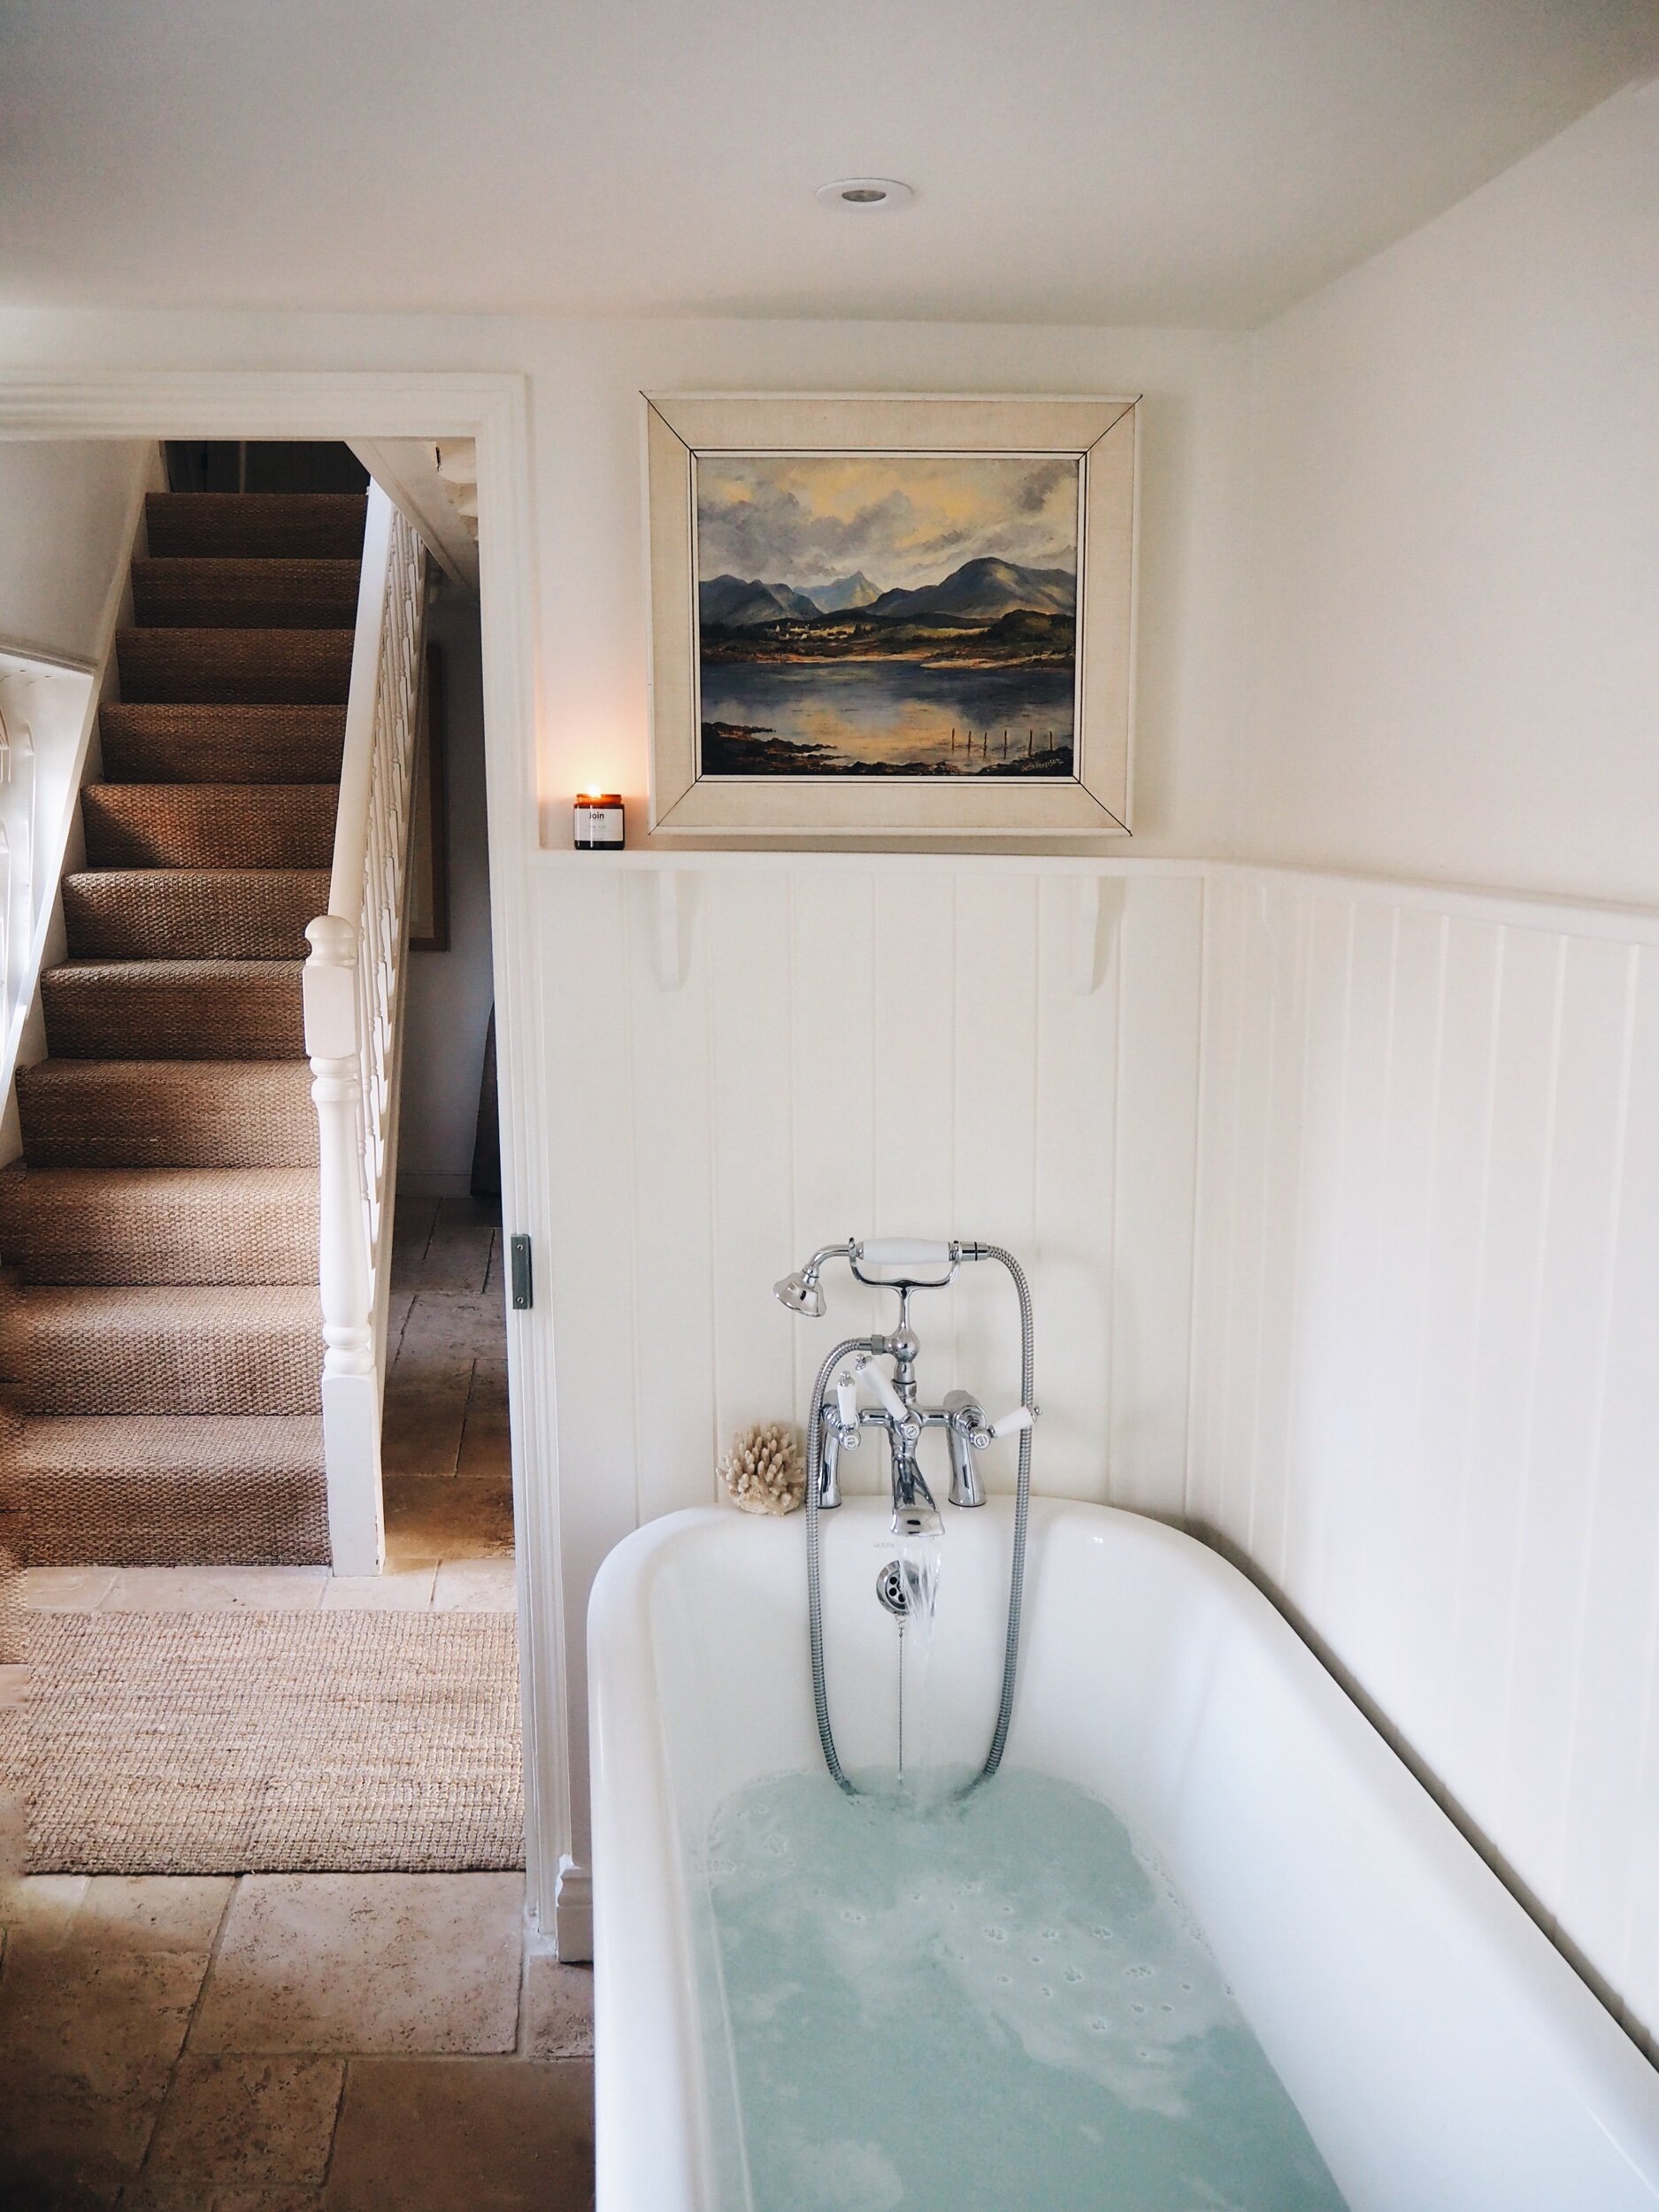
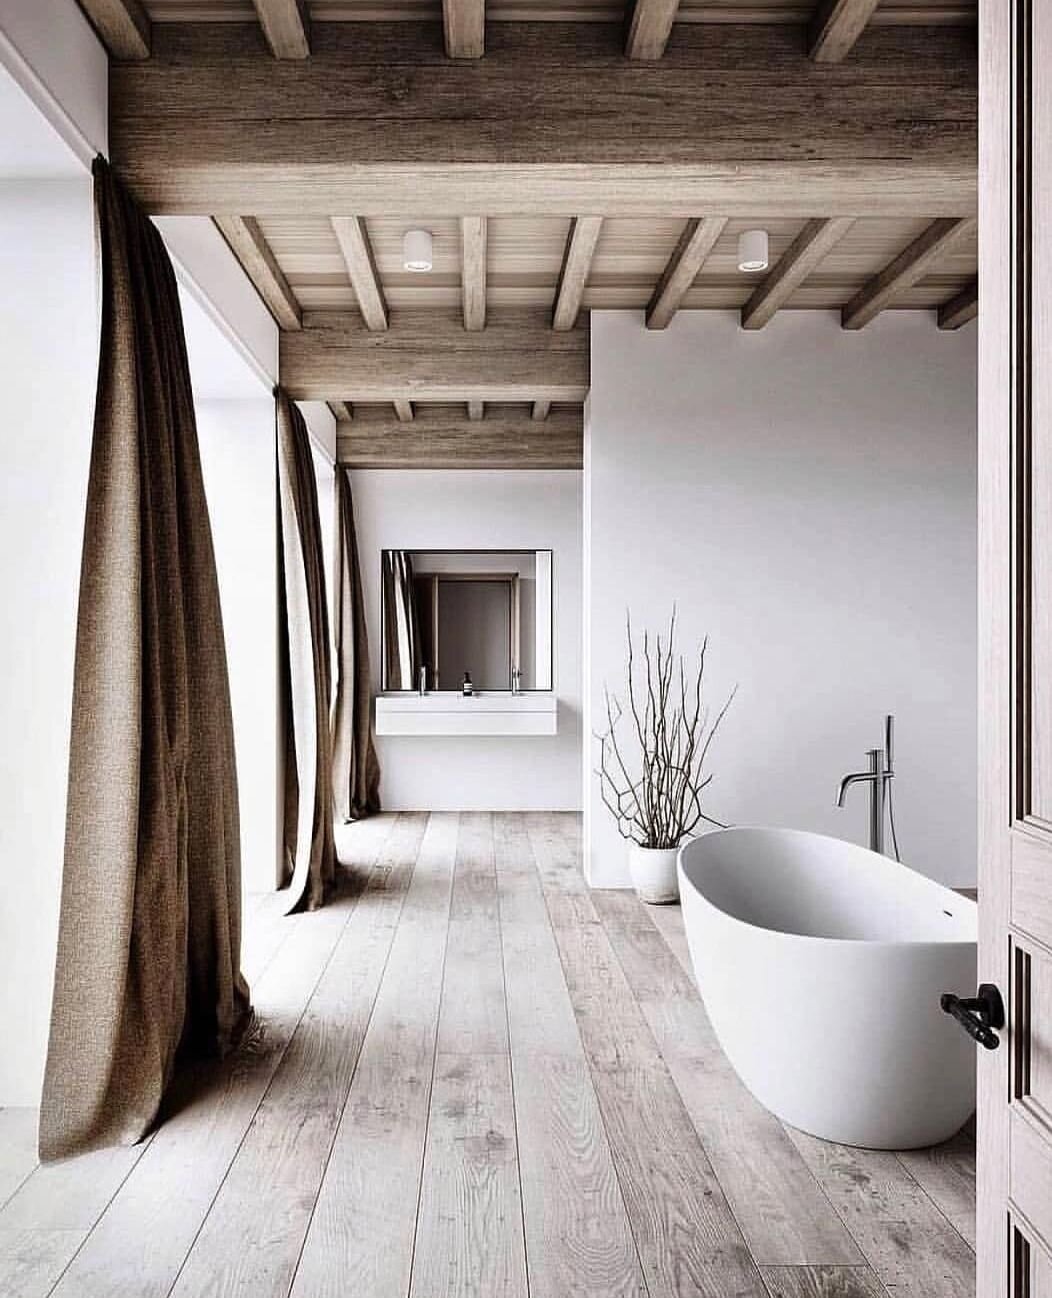
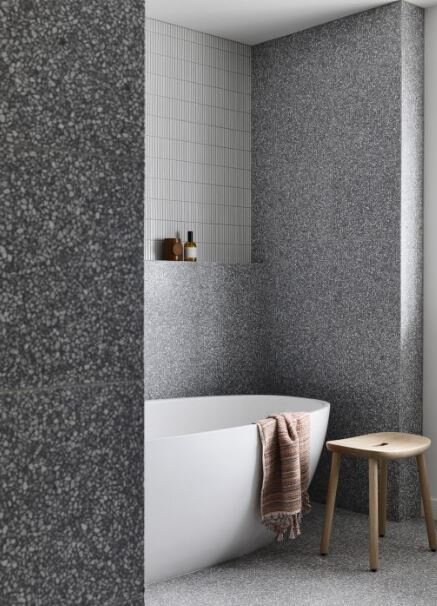
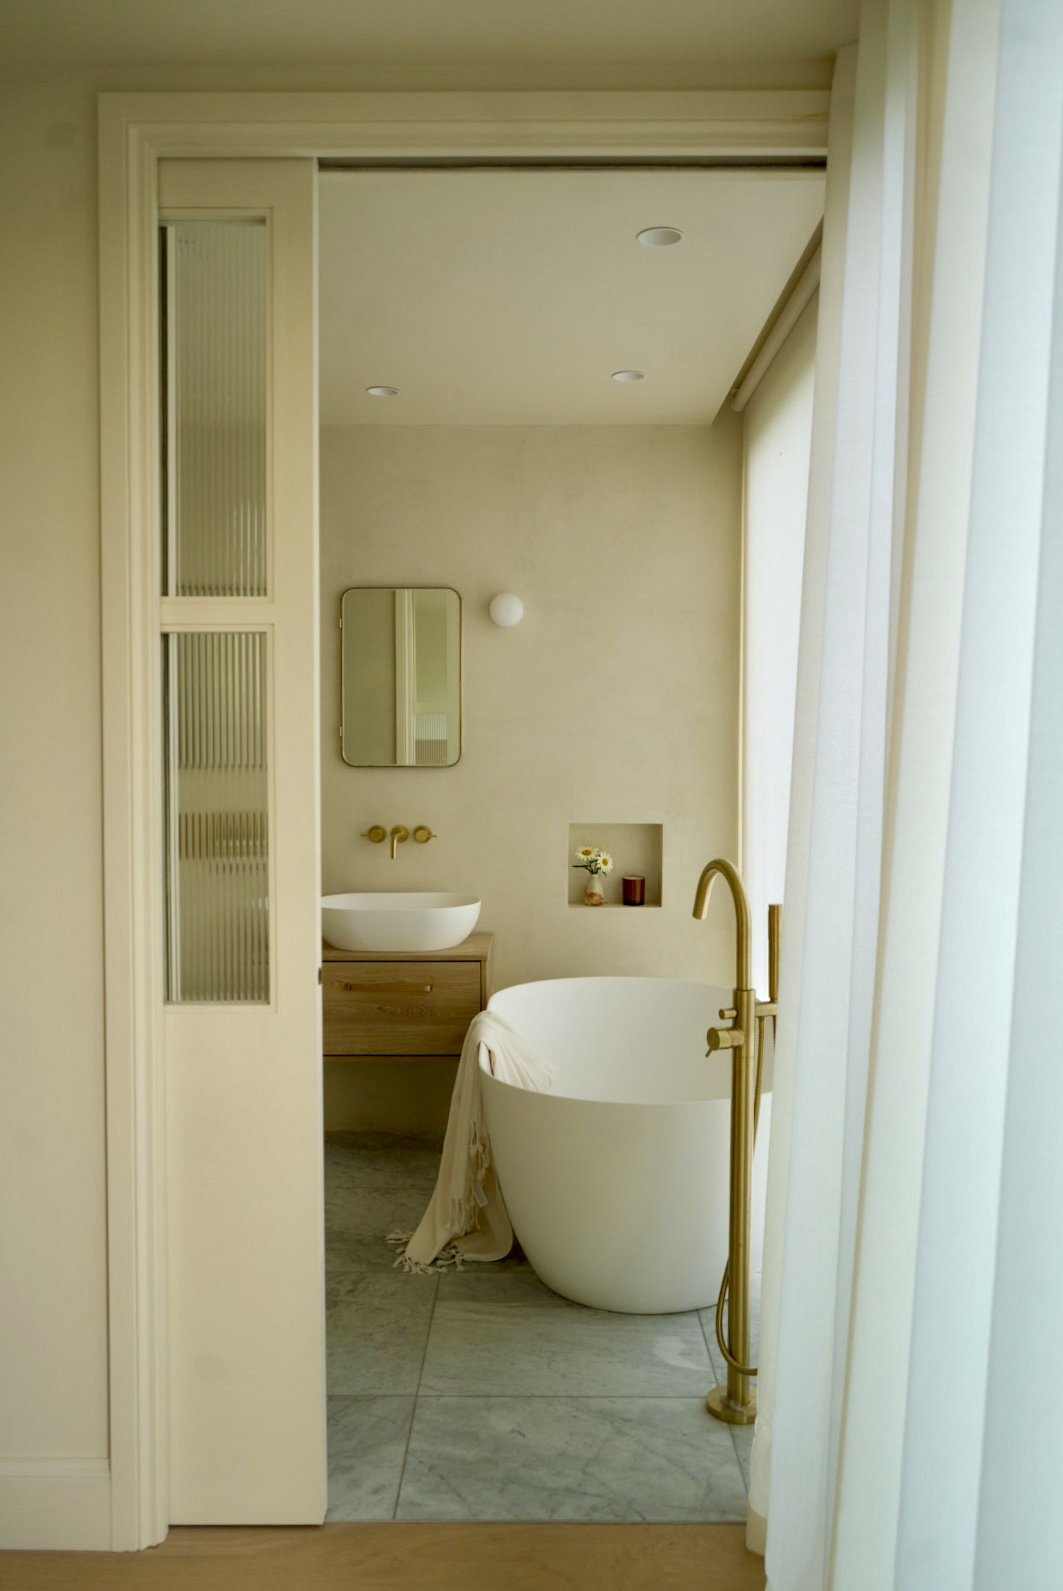
I love the match between the microcement shelves and the door painted in Travertine Light in the family bathroom

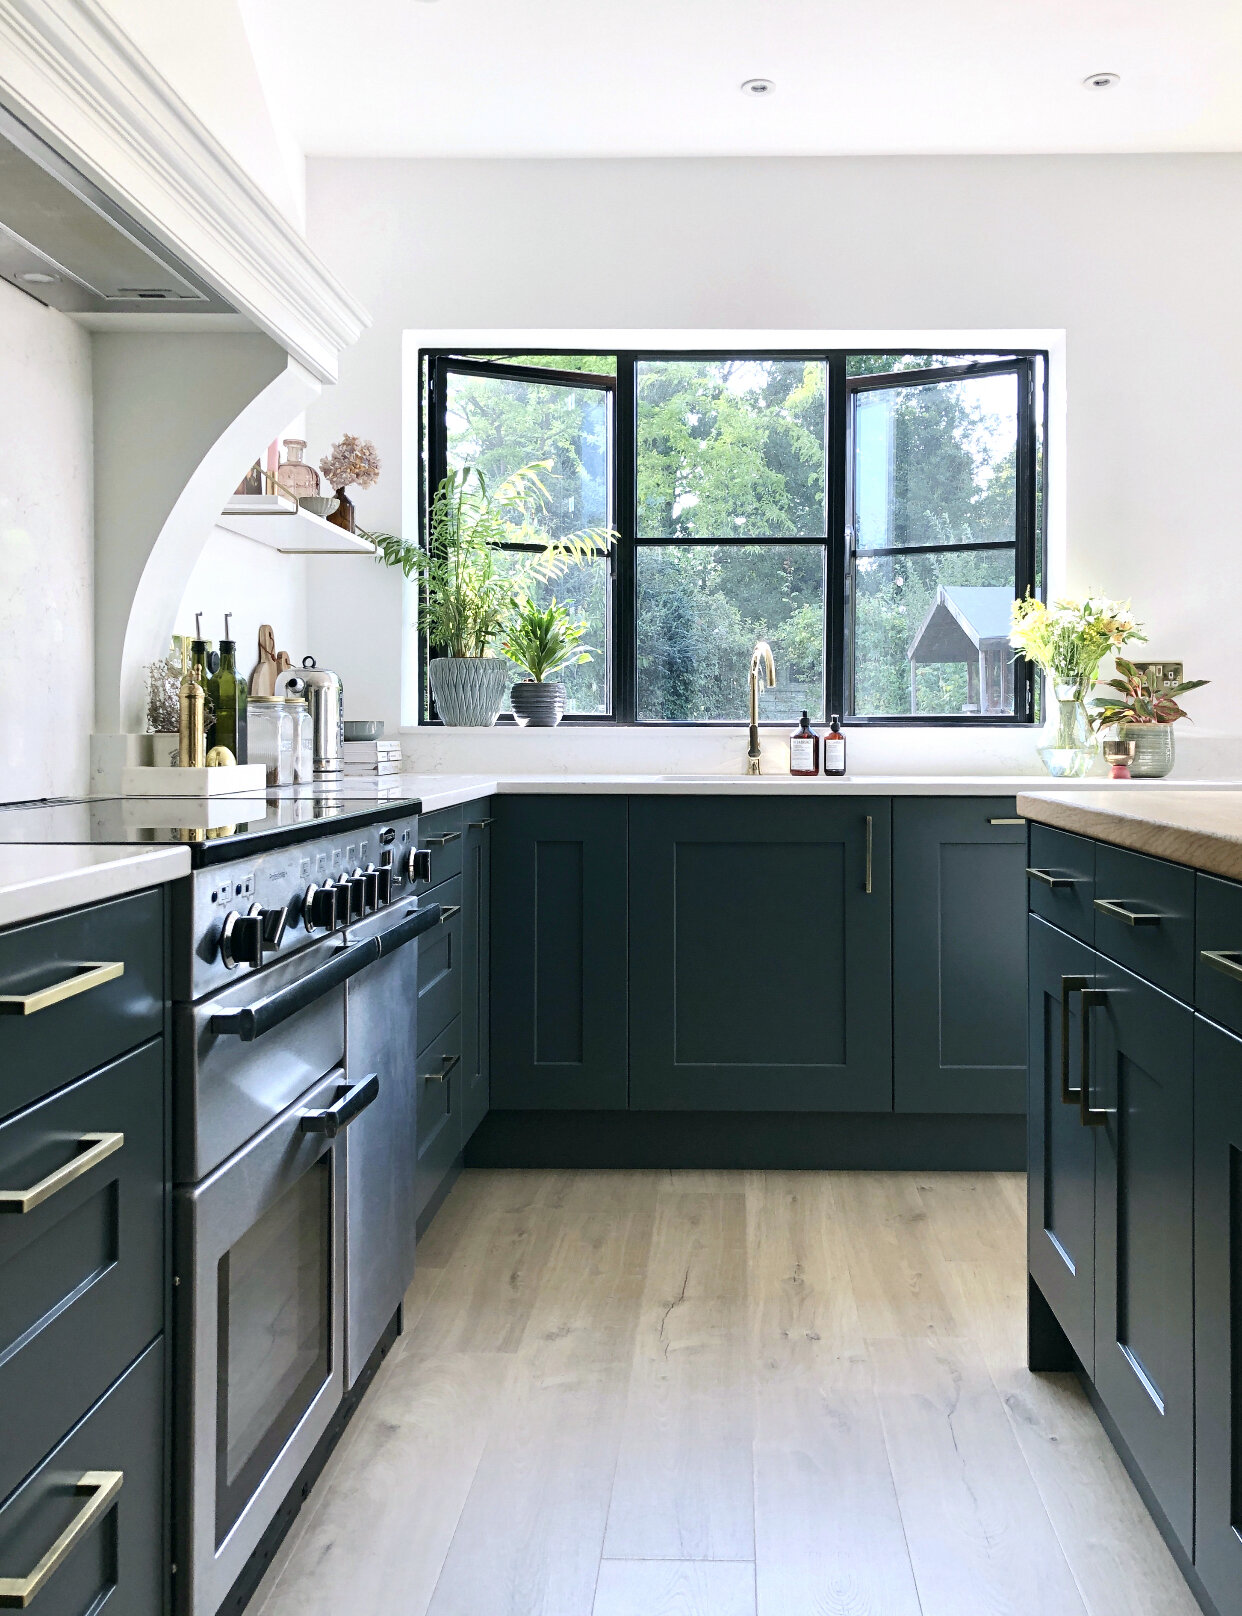
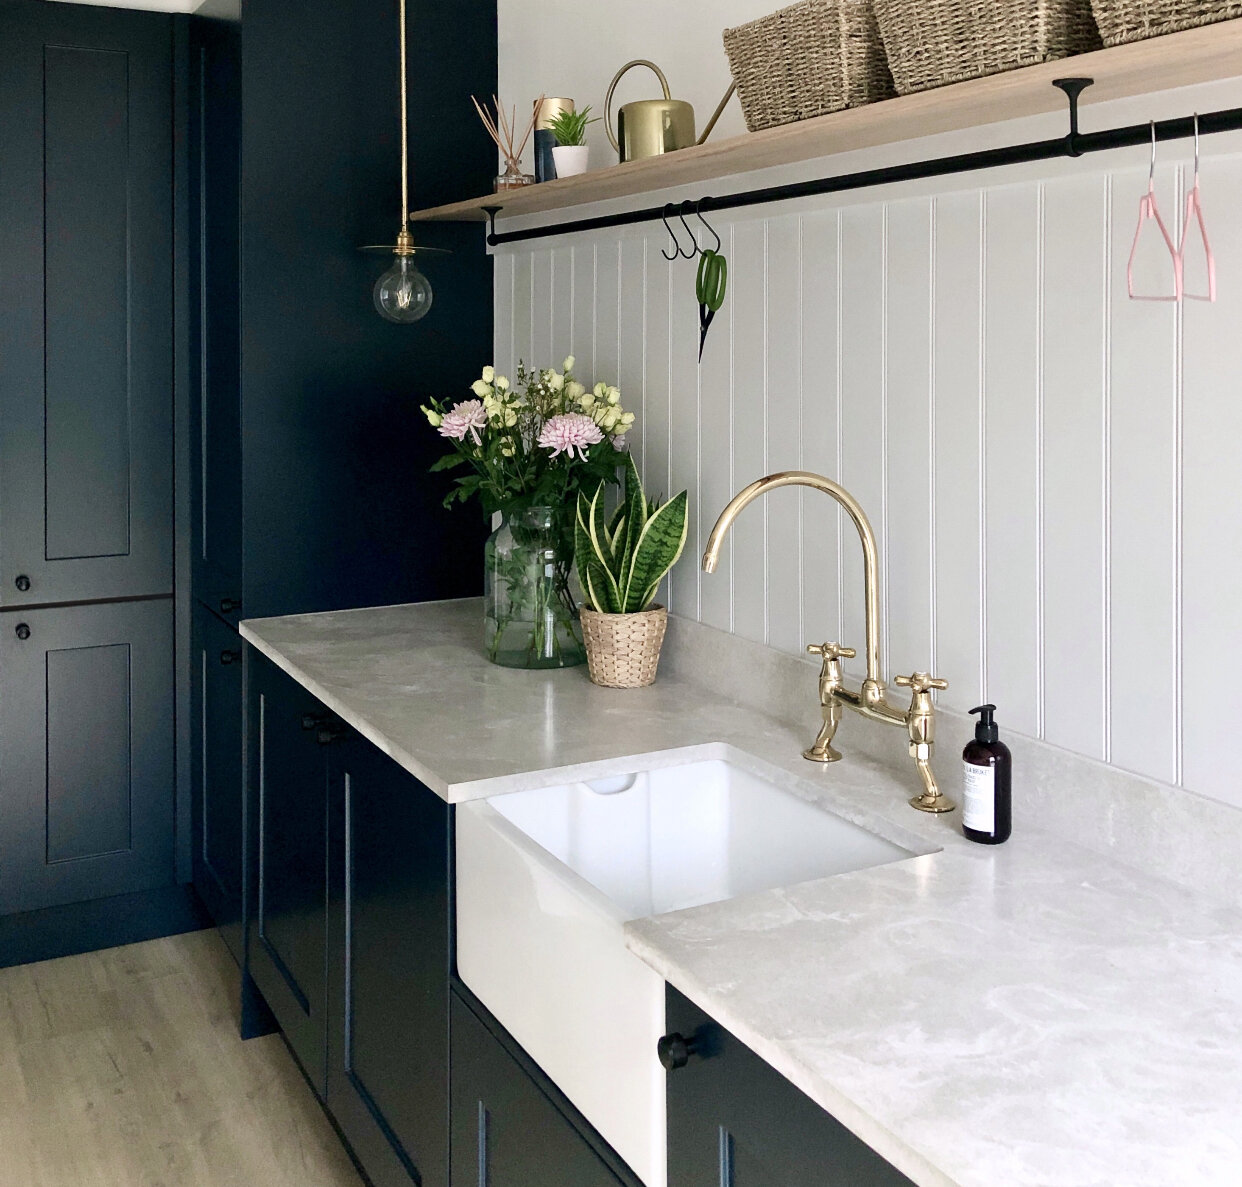
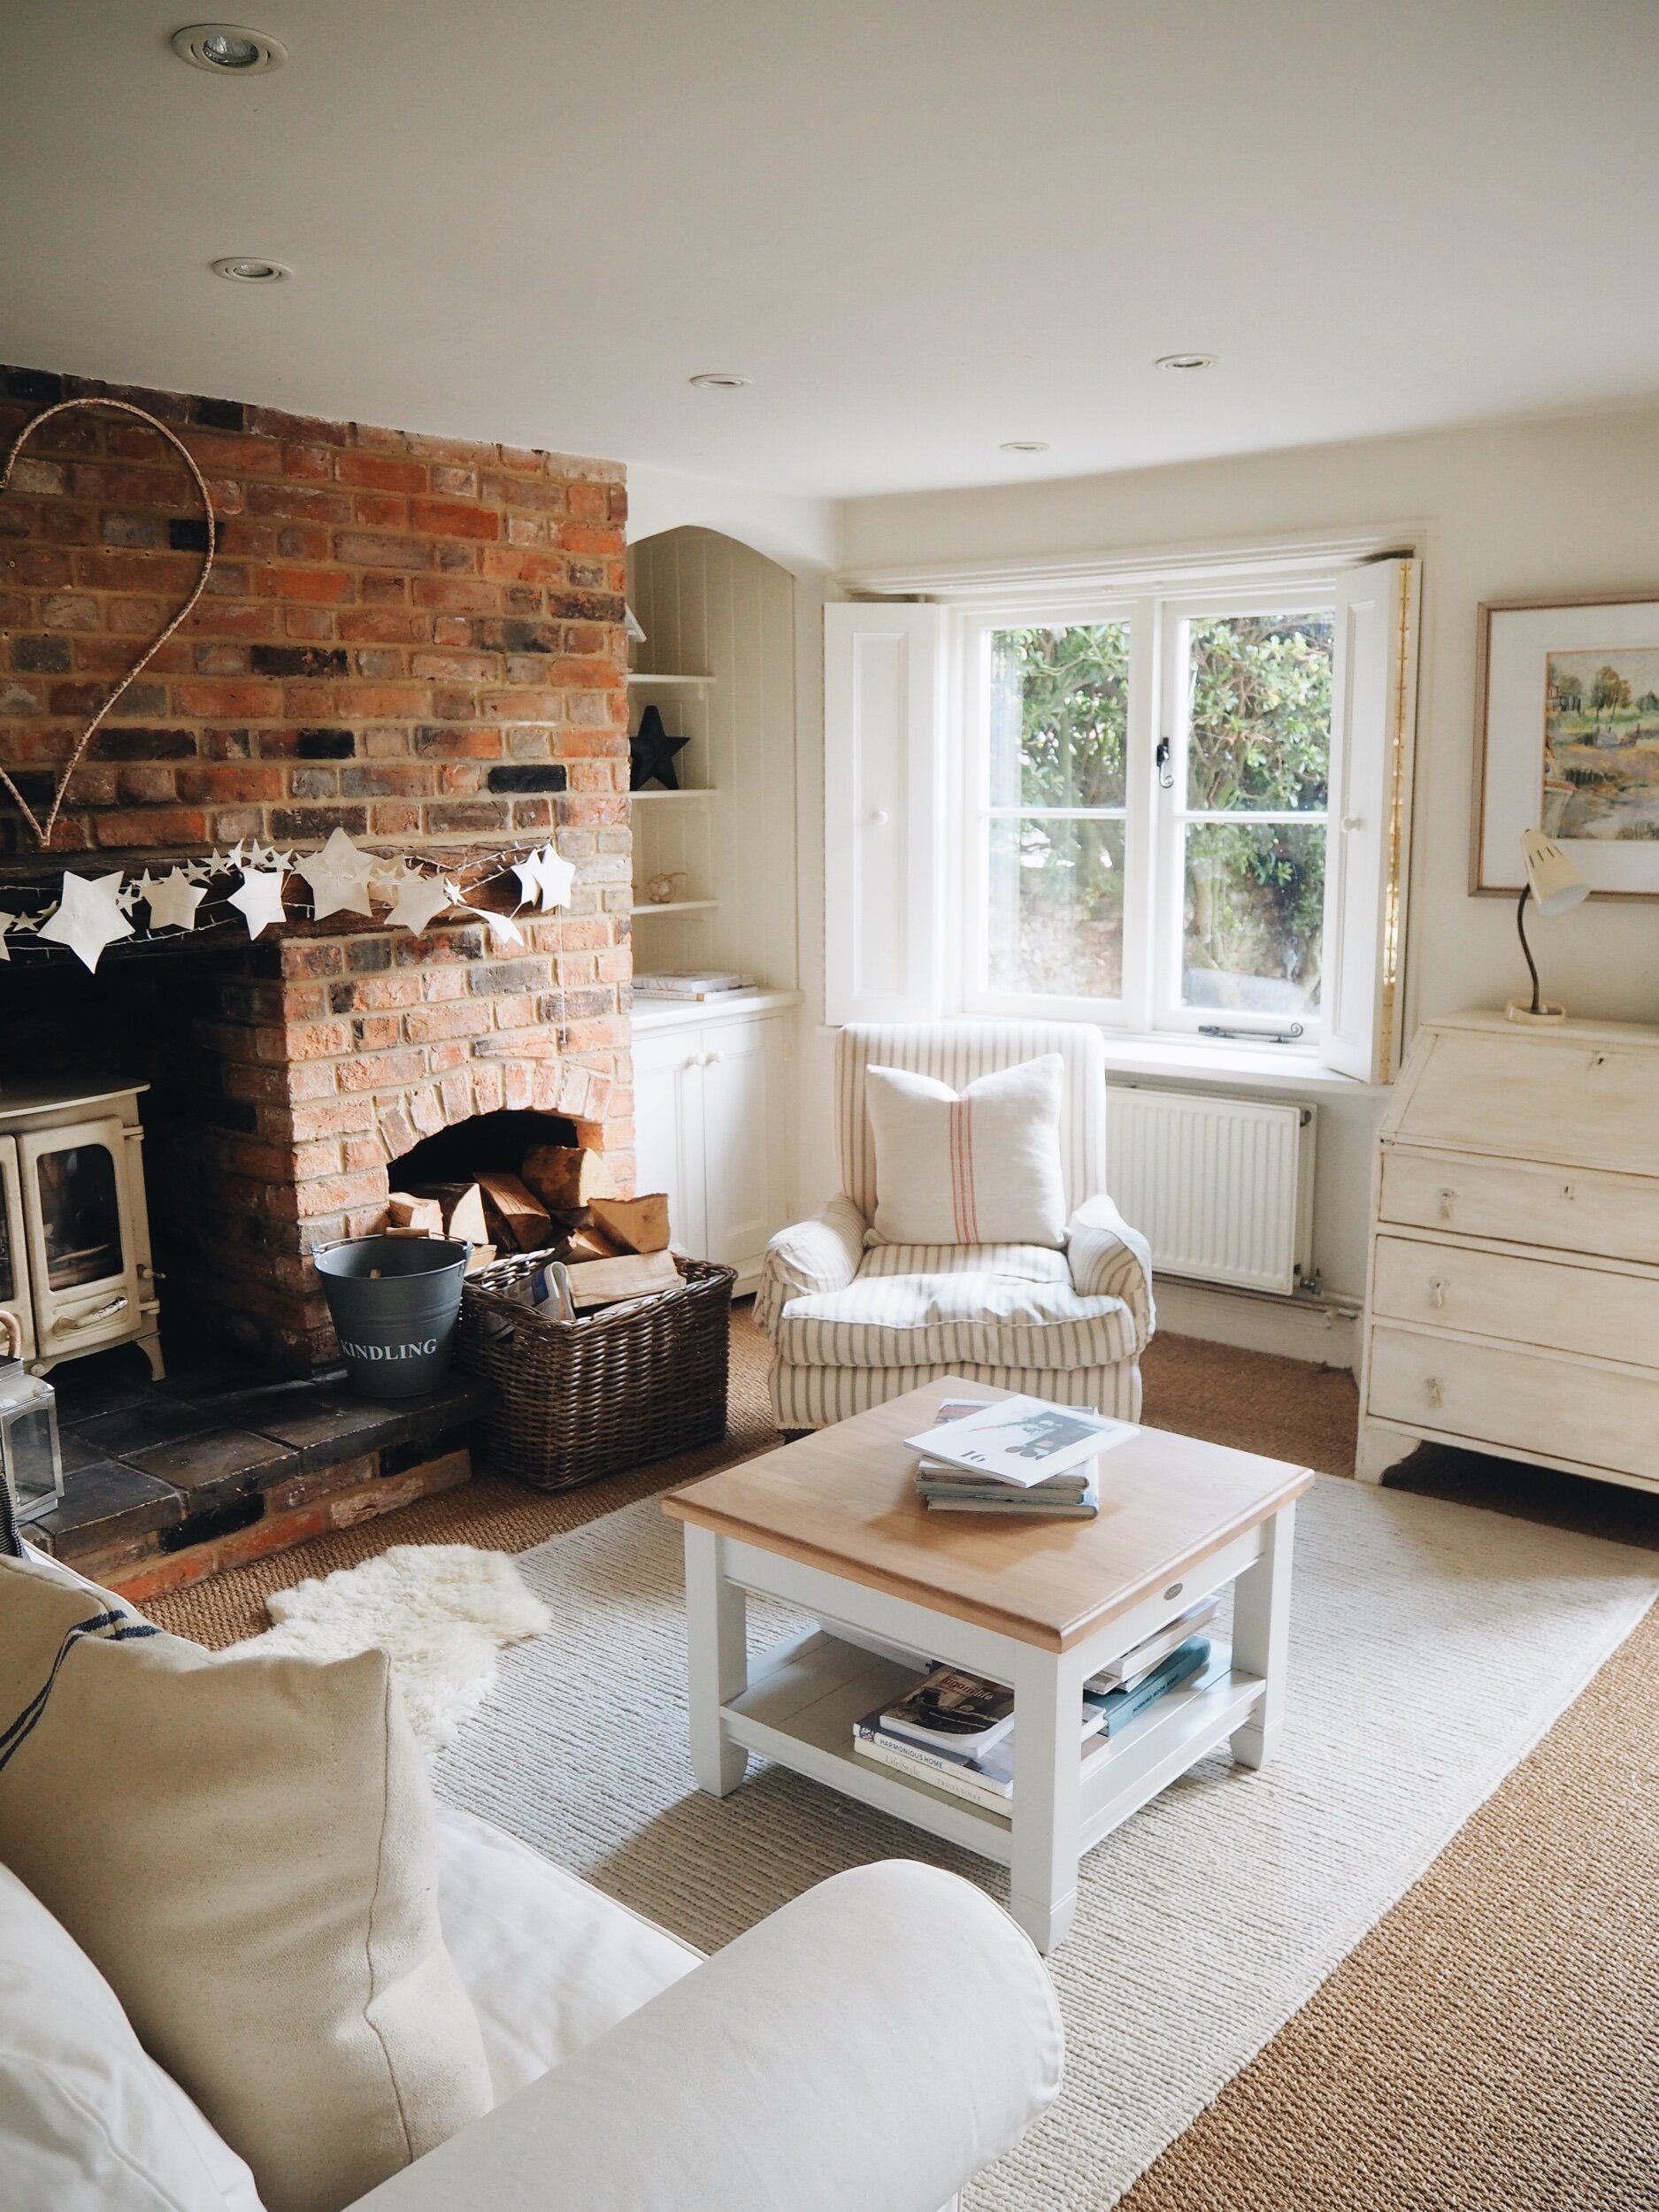
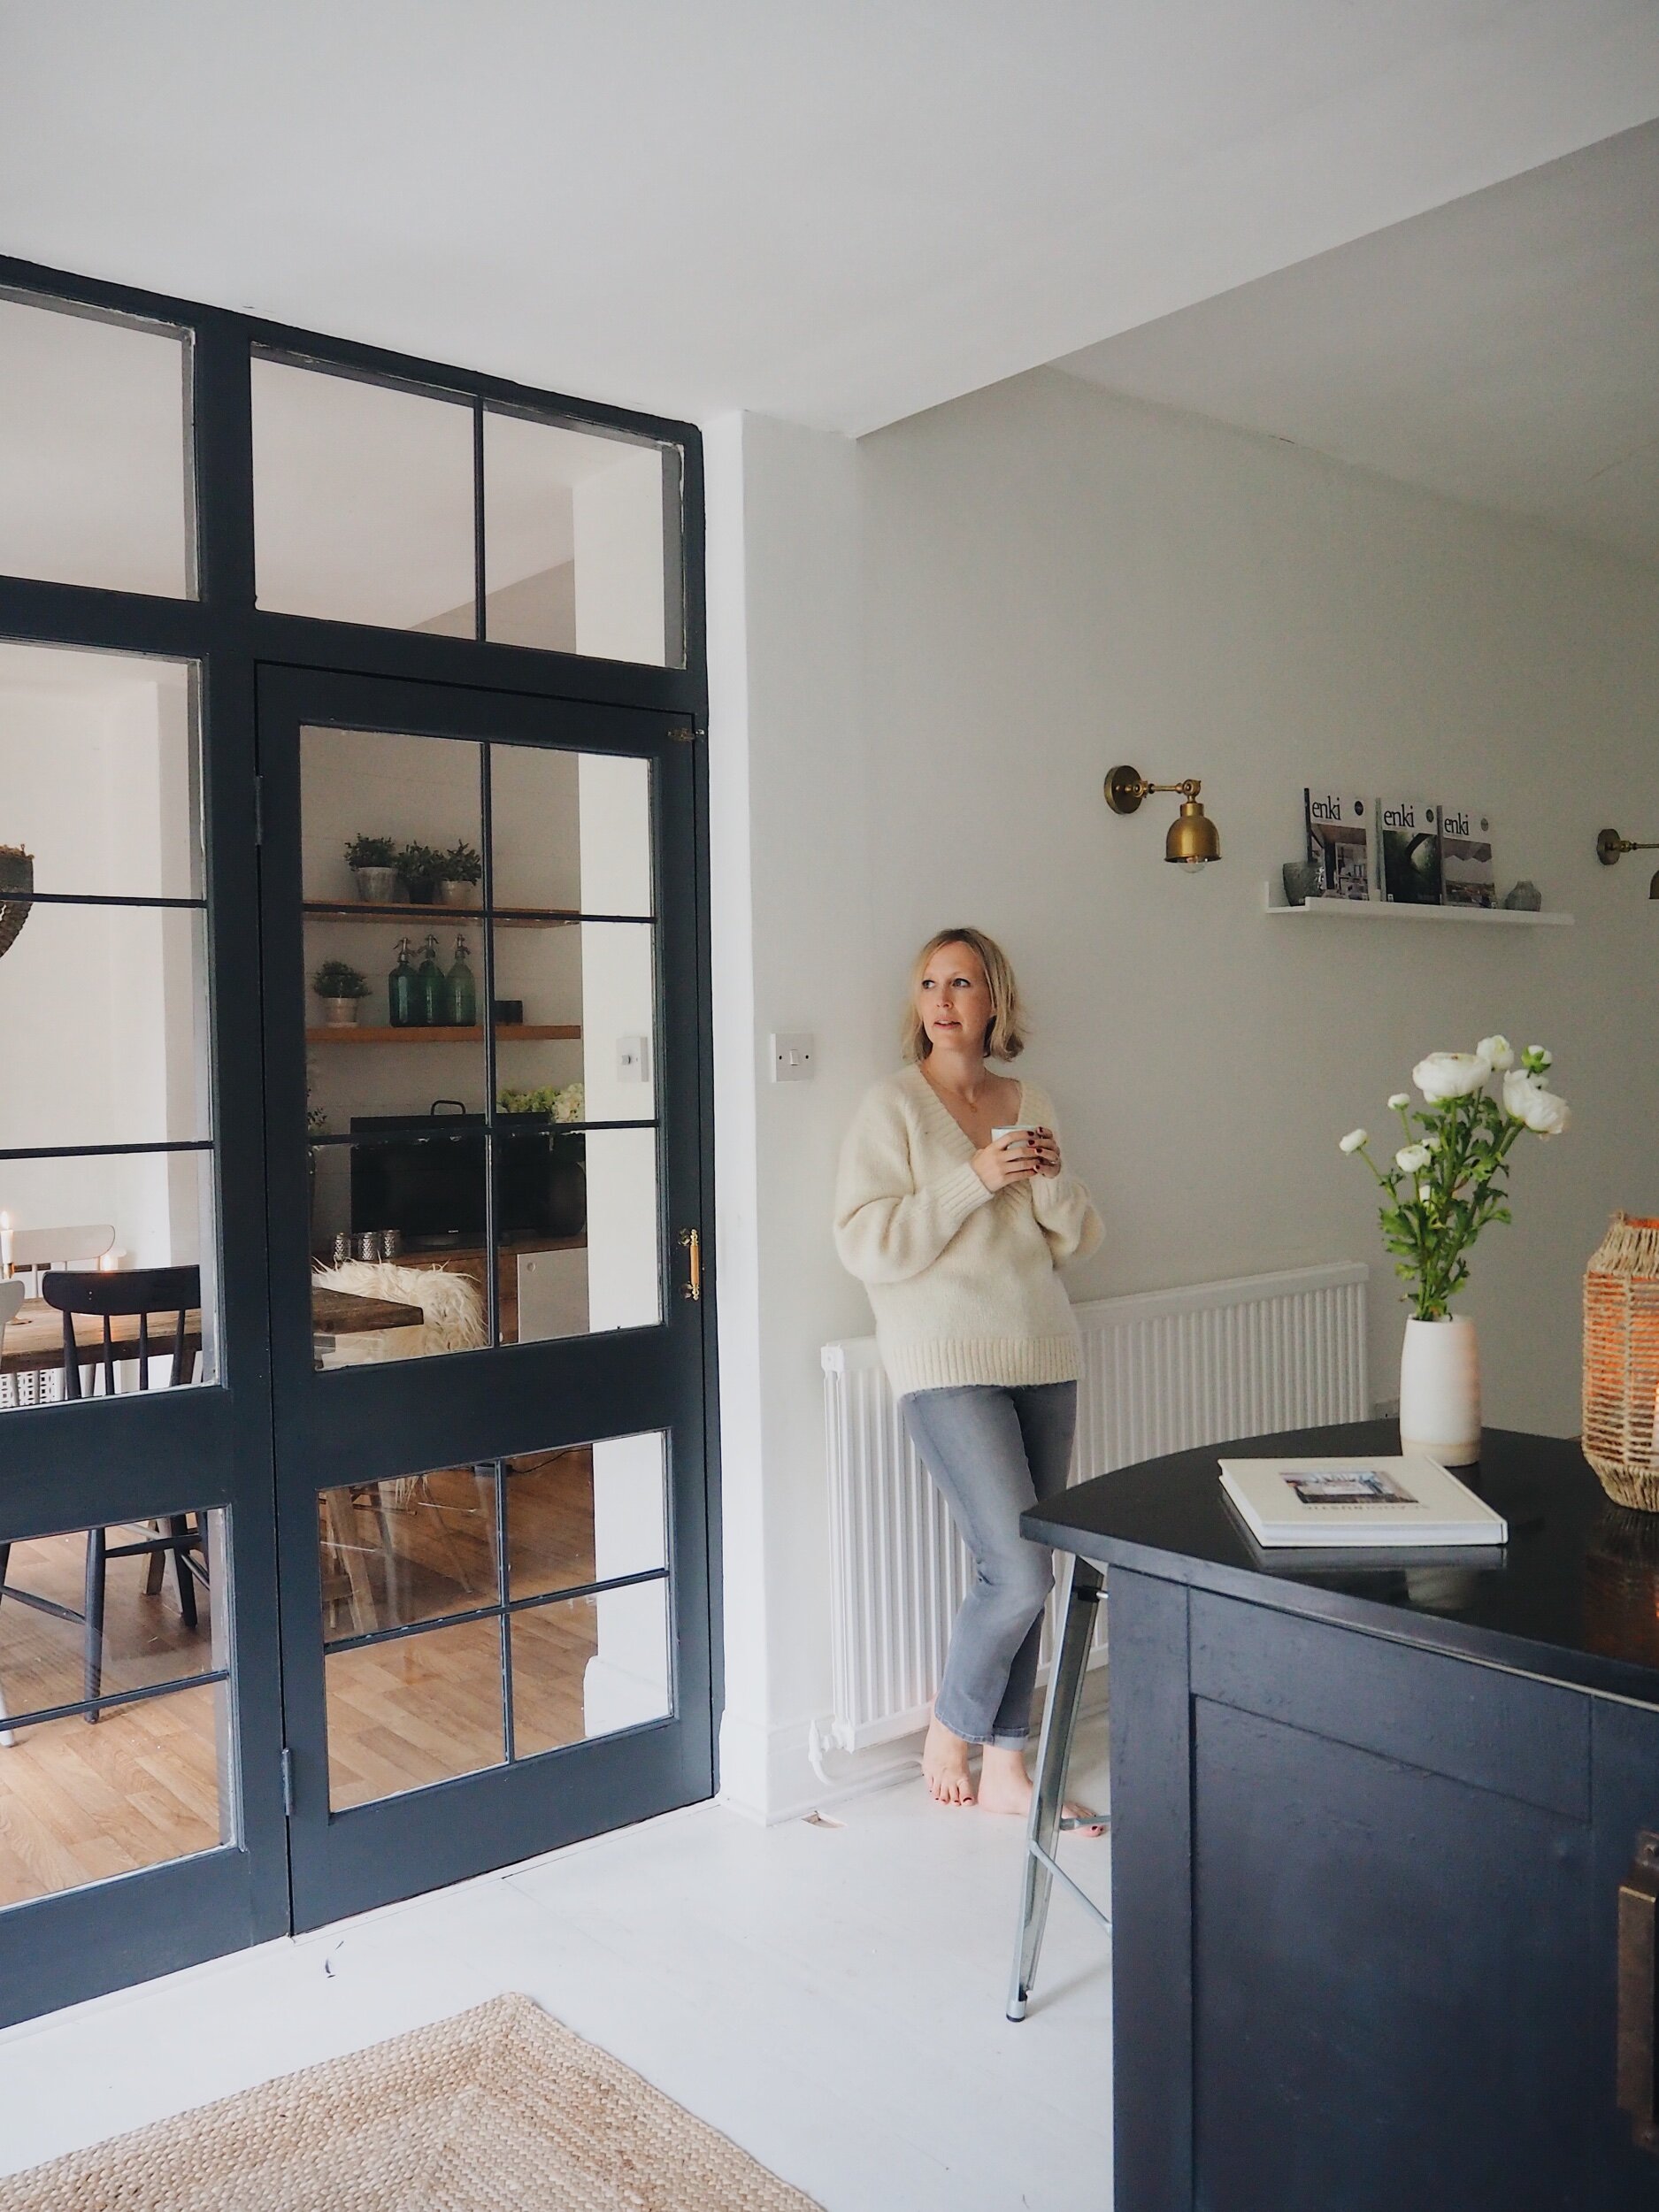
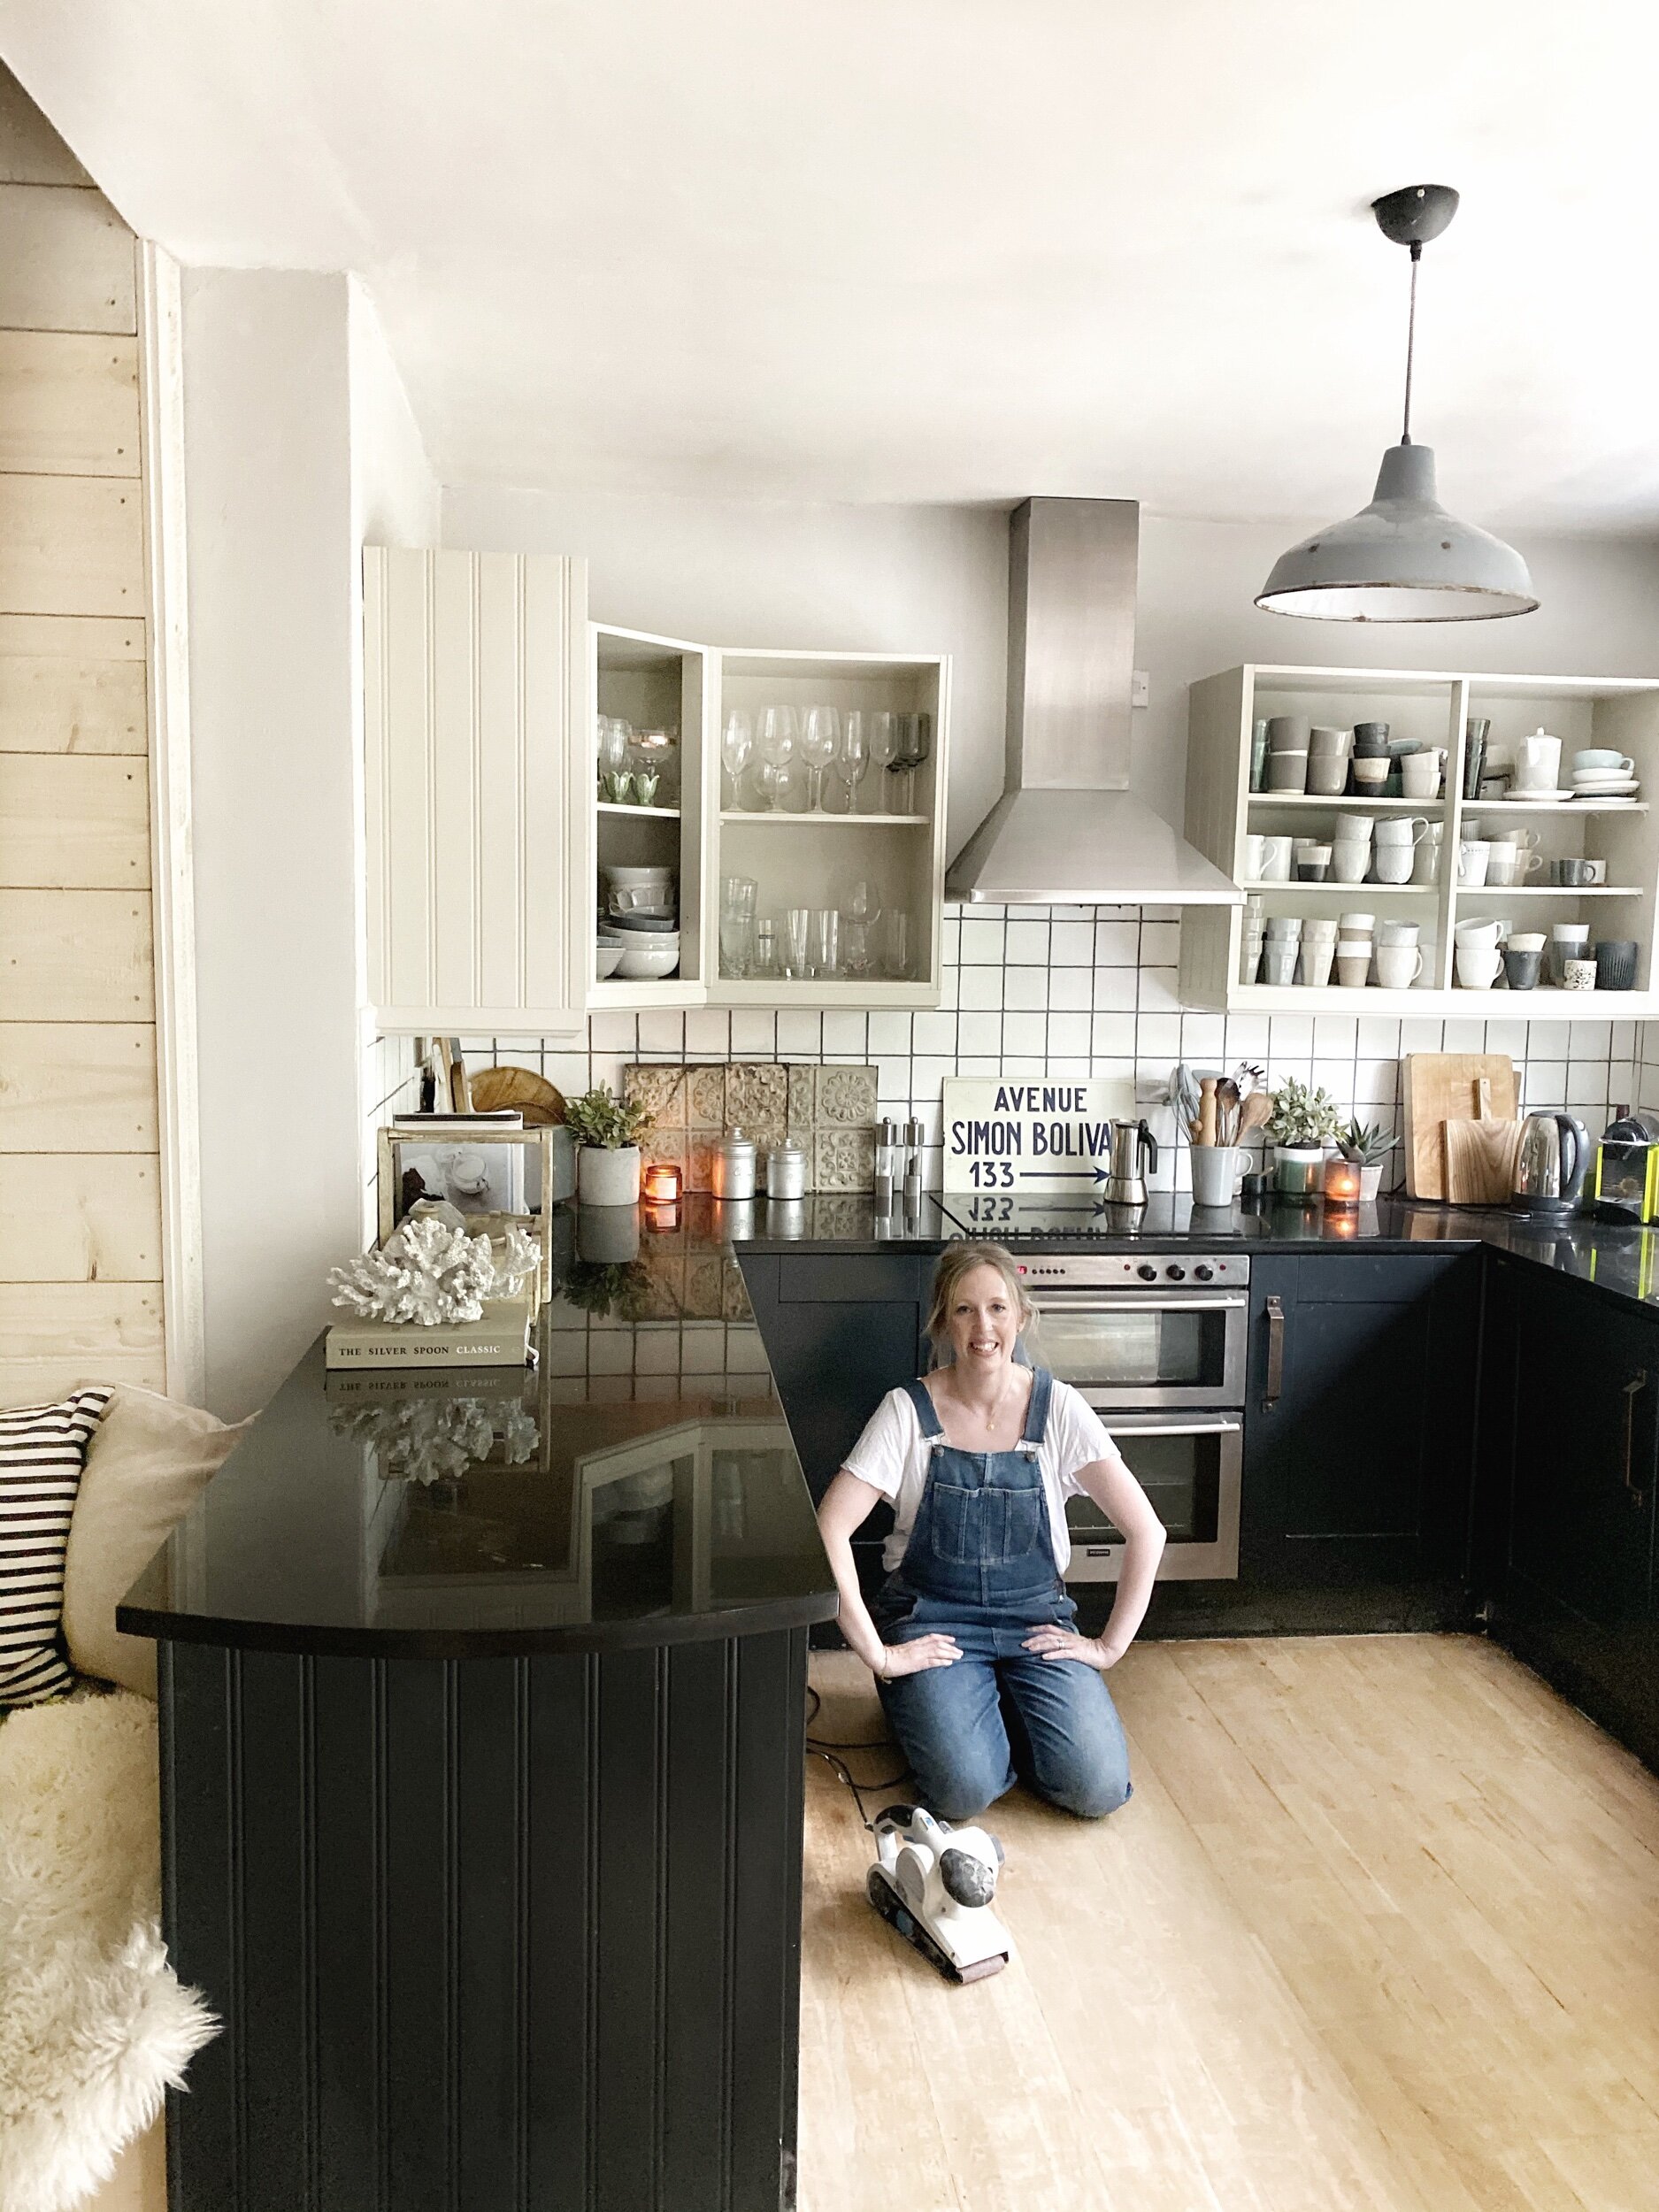
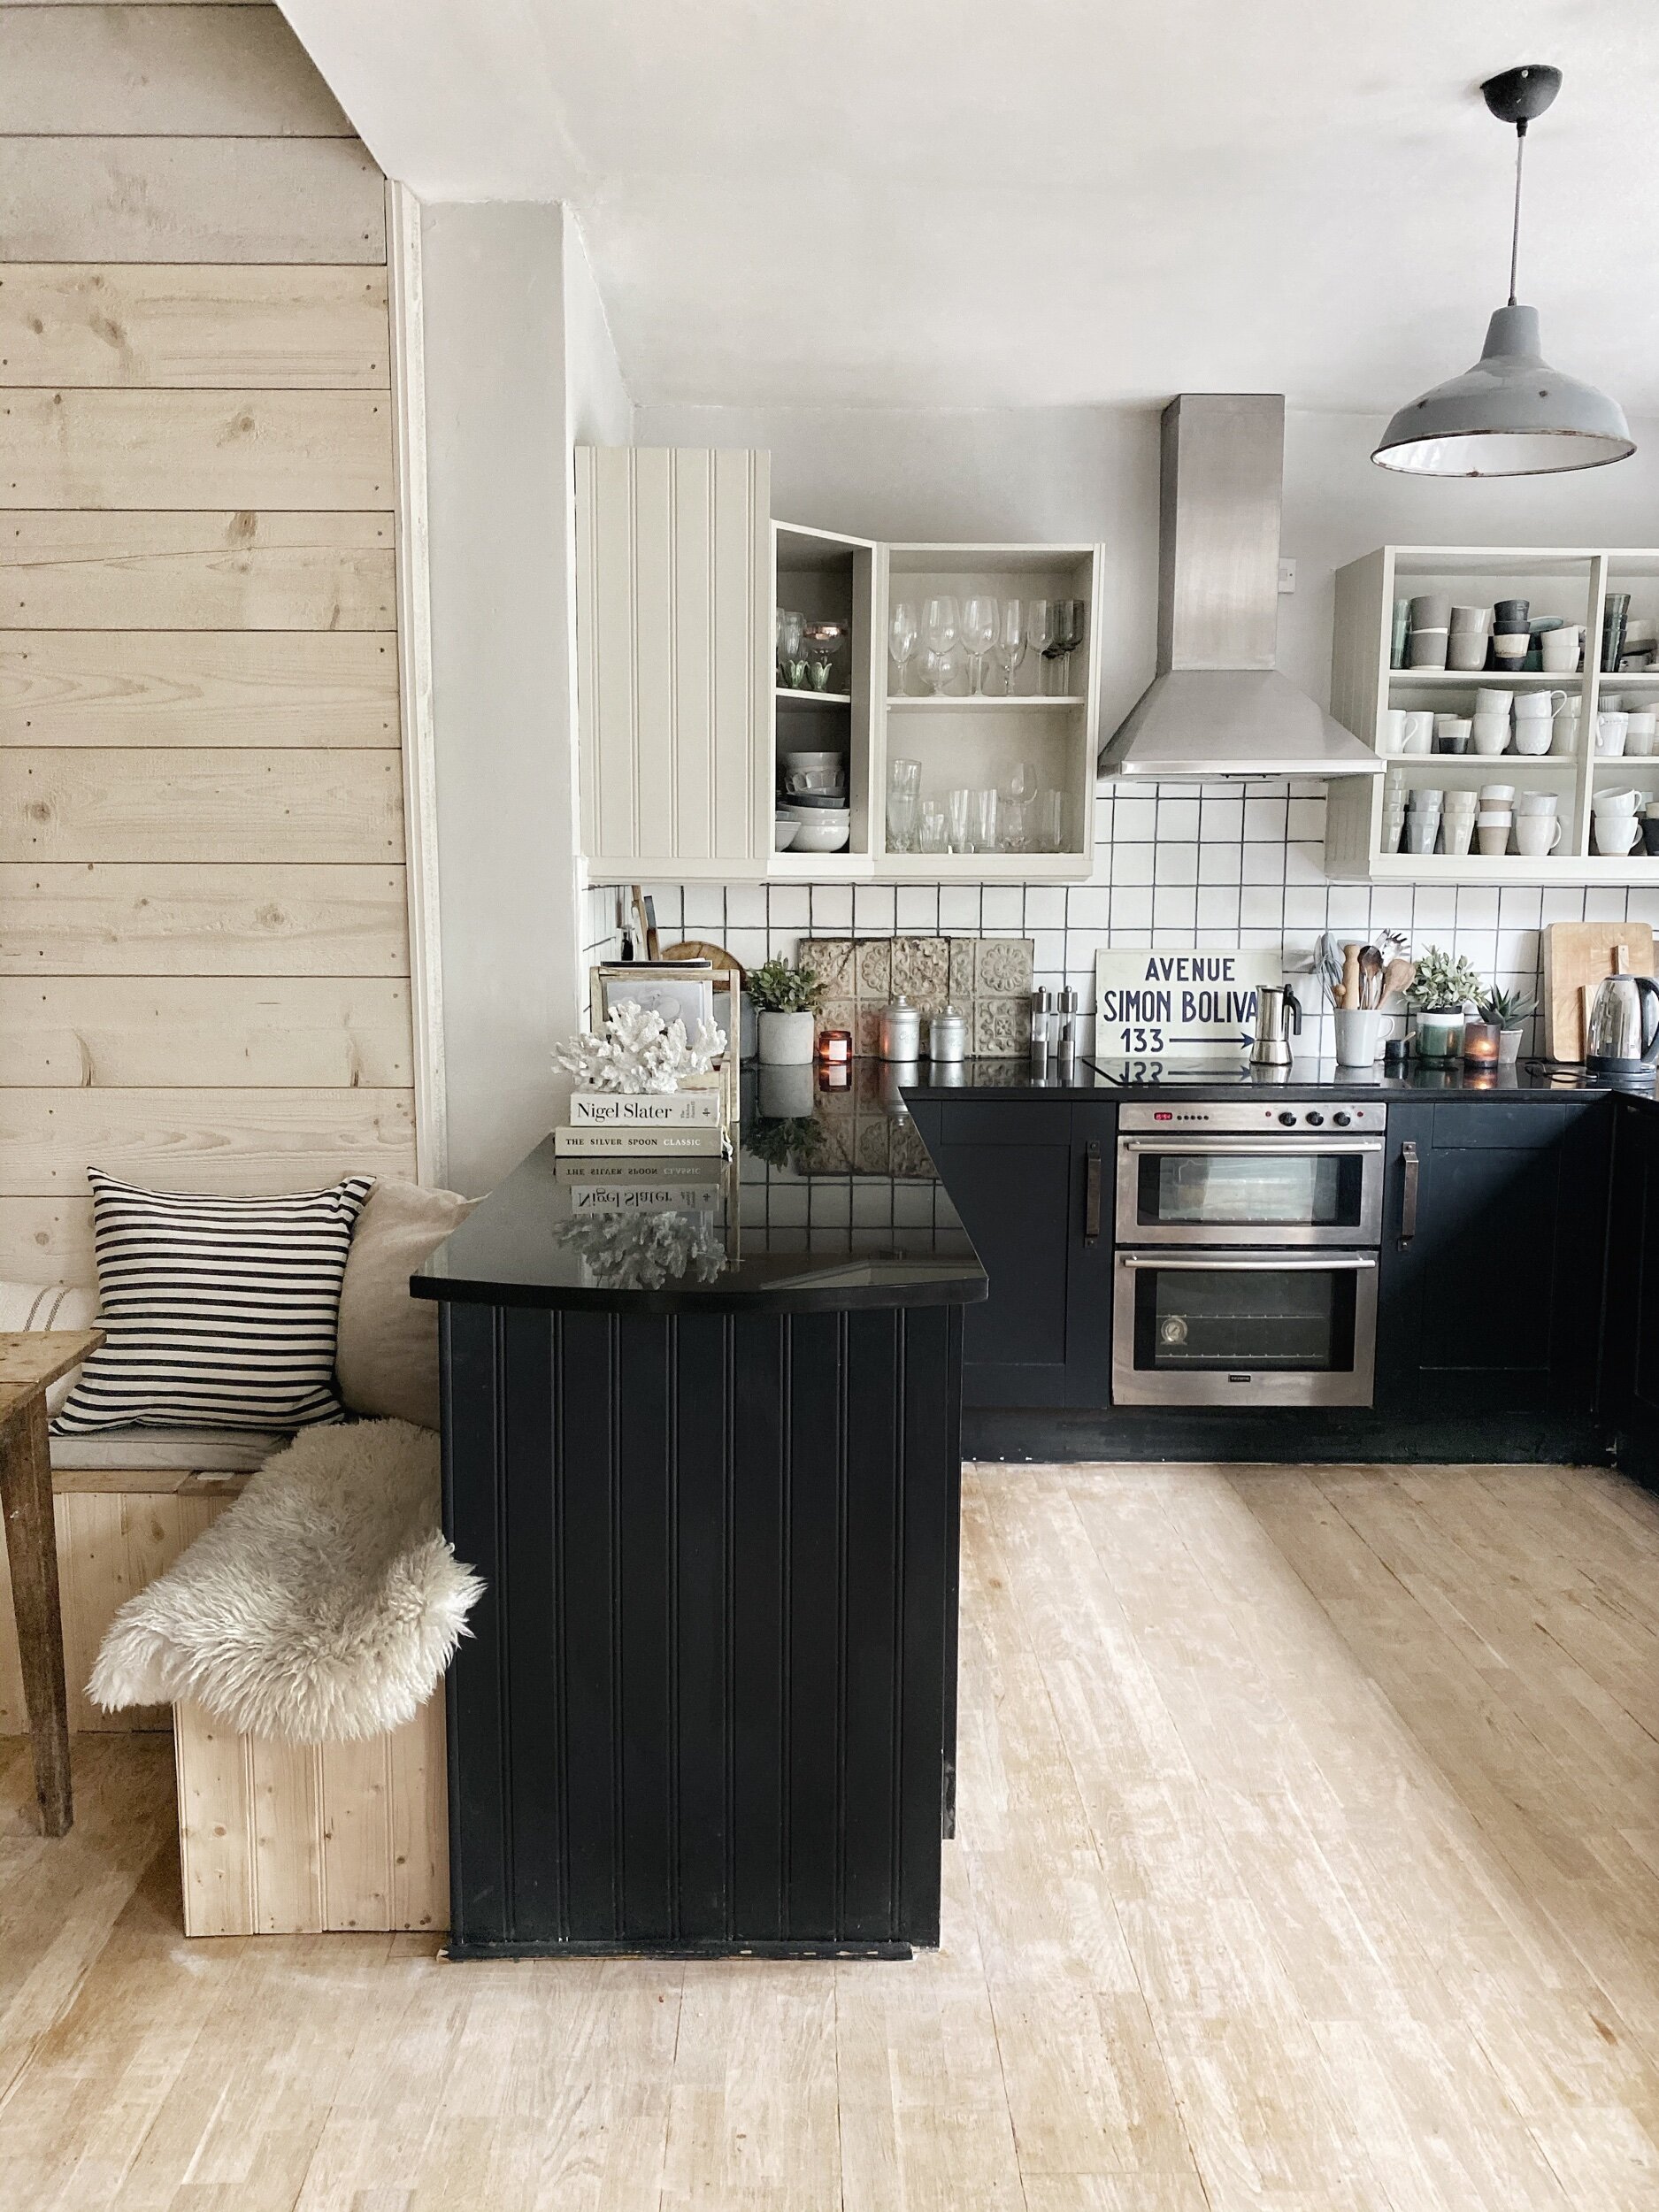
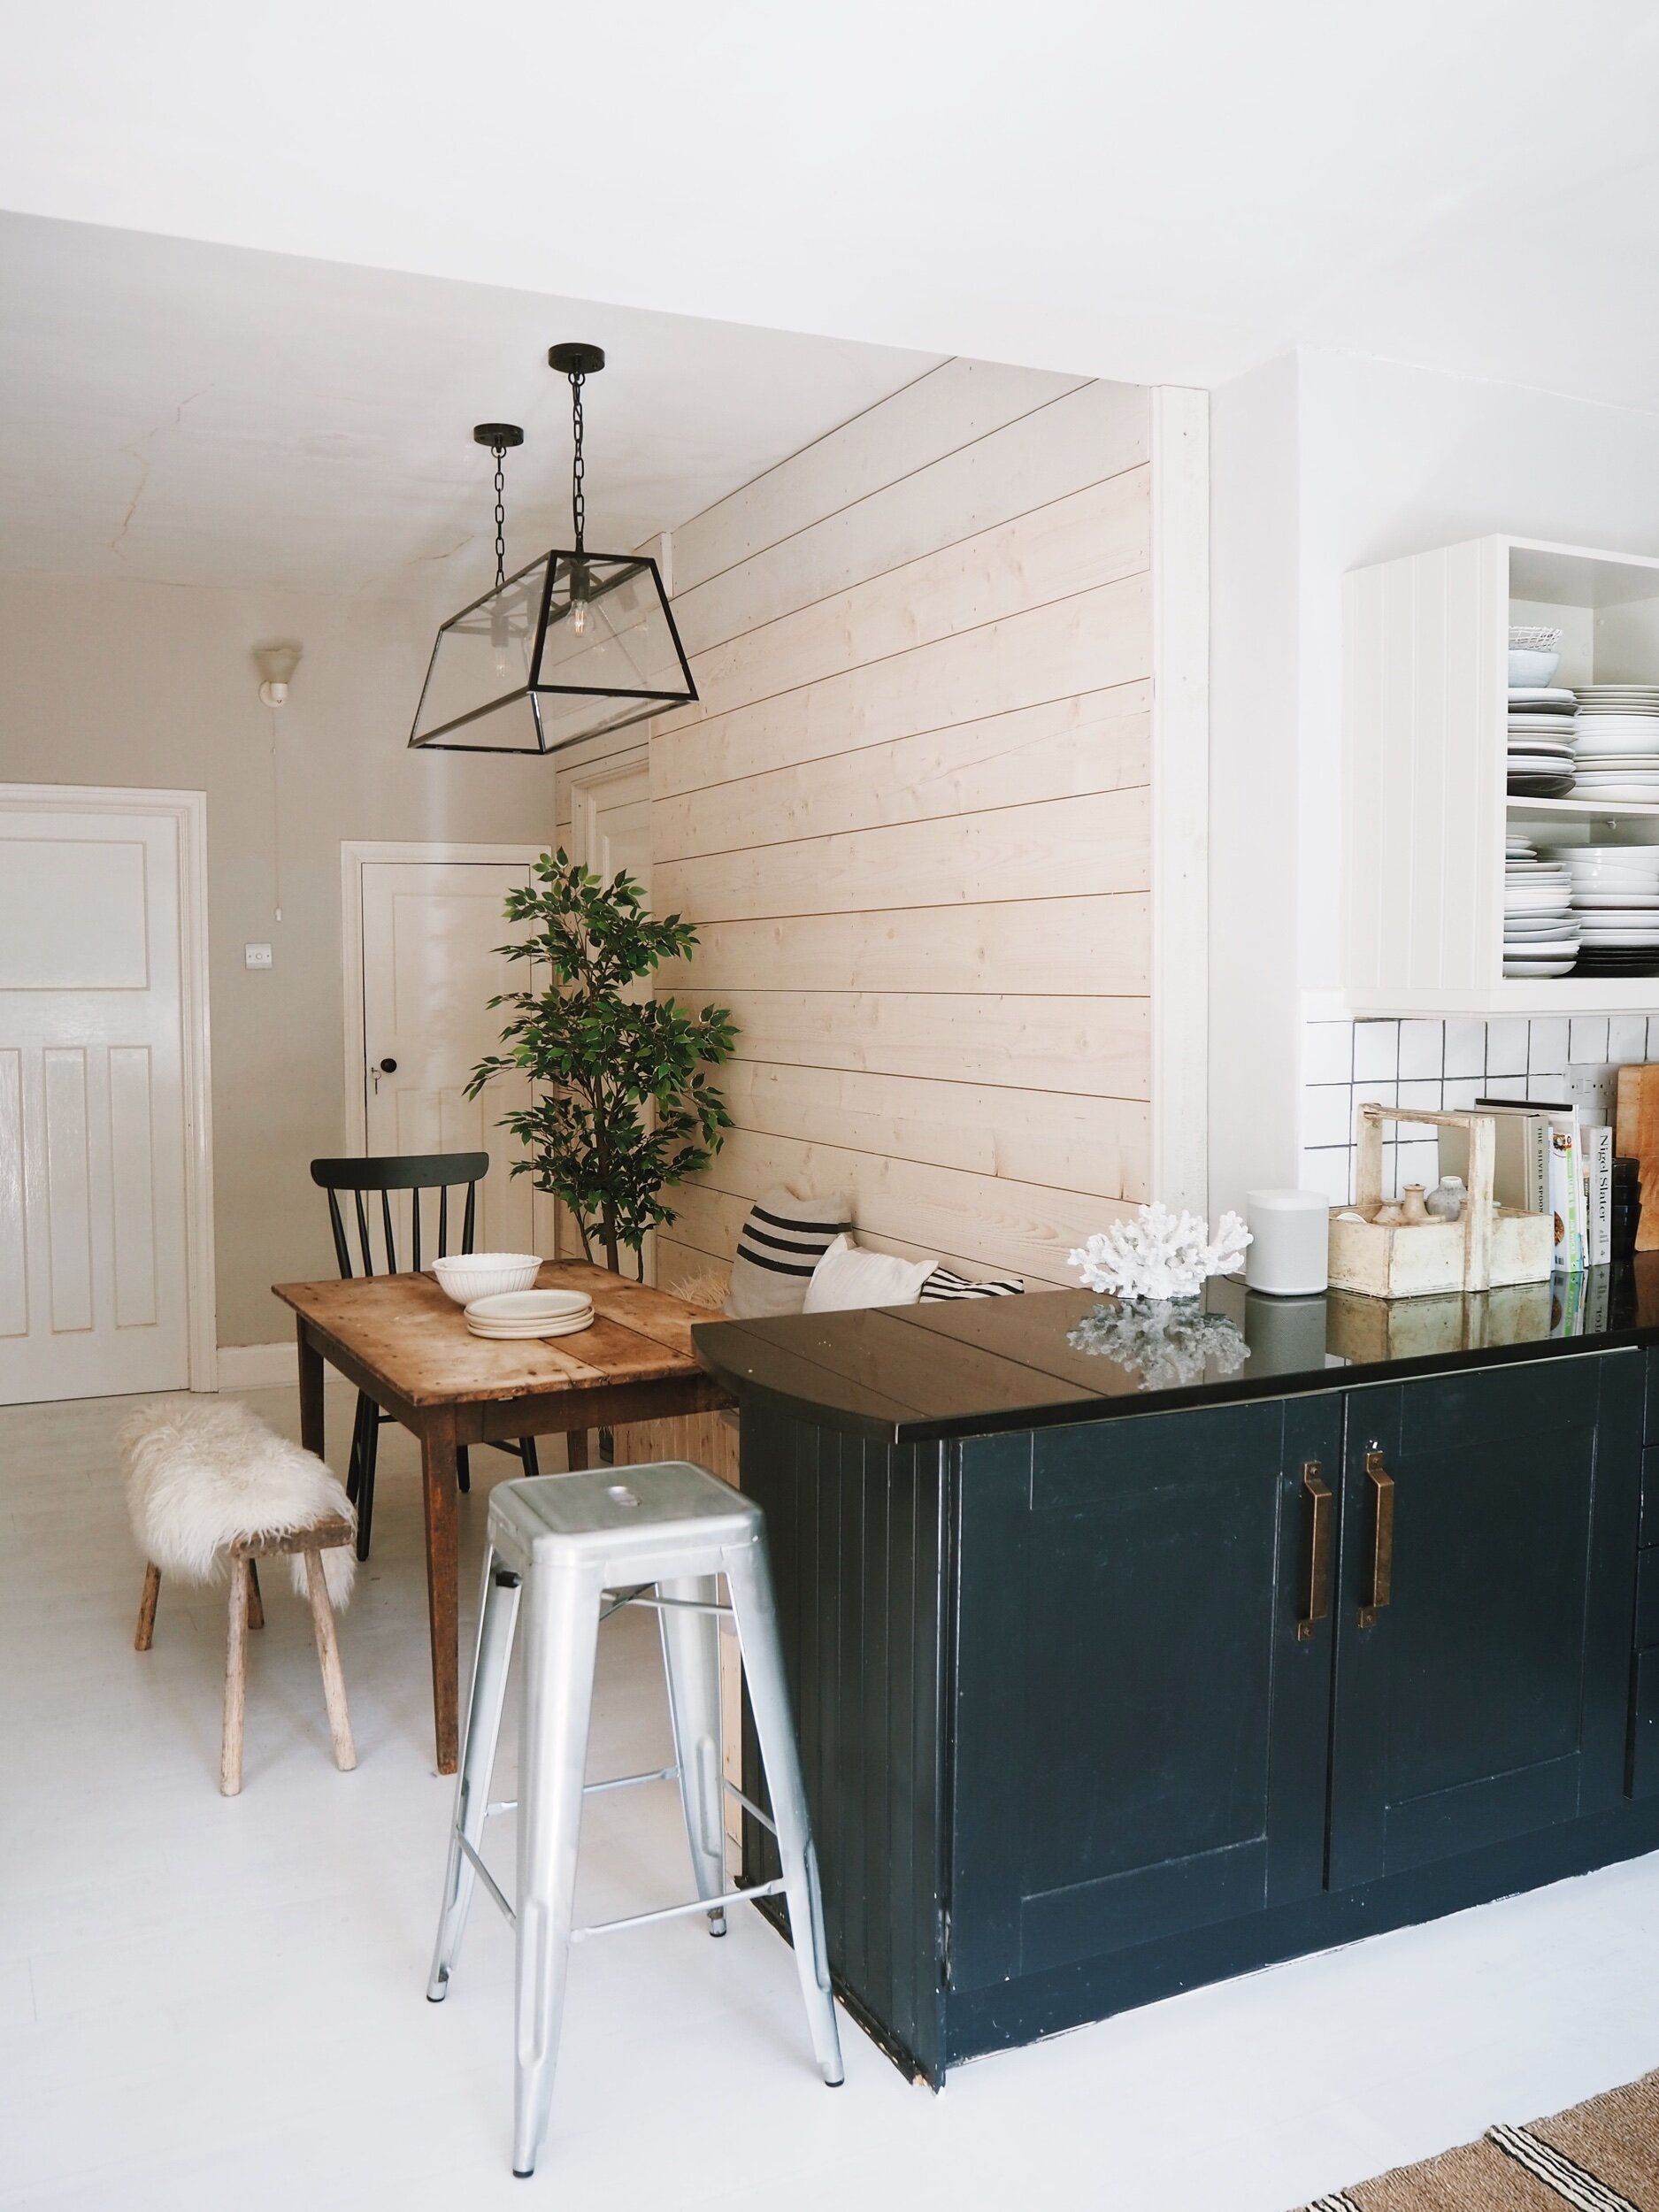
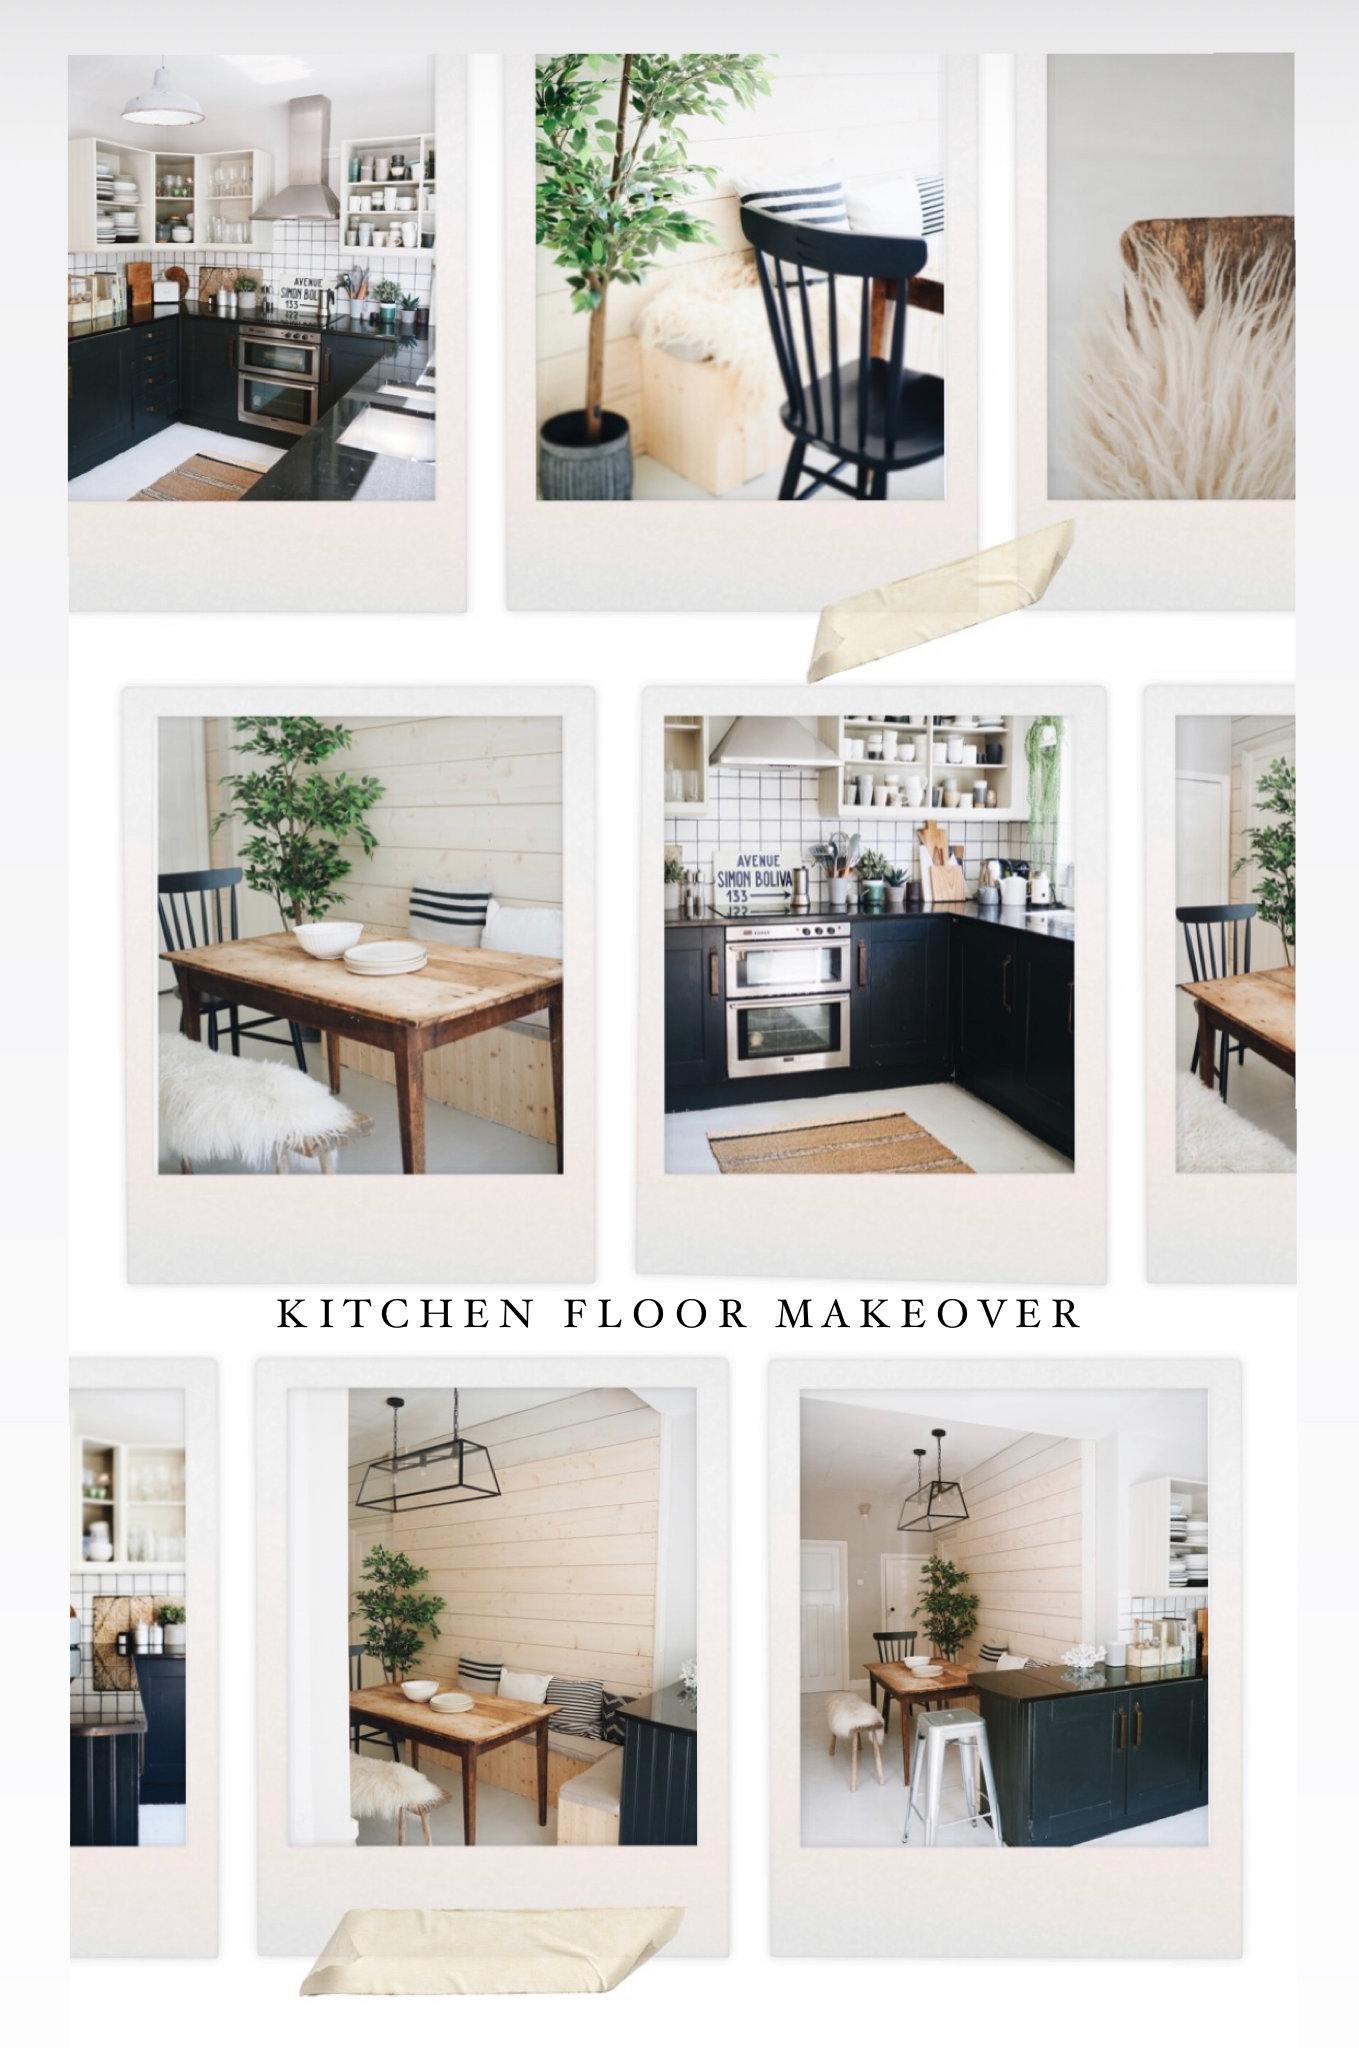
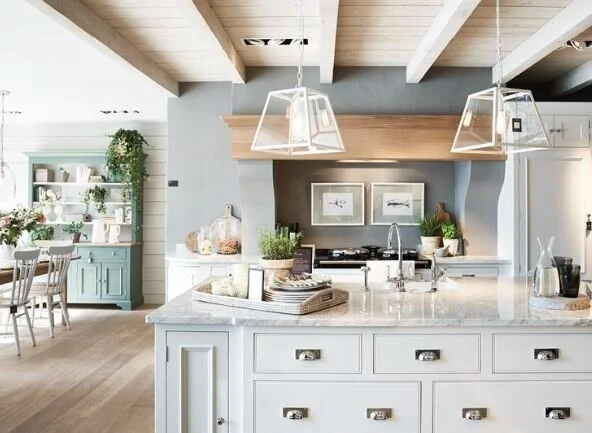
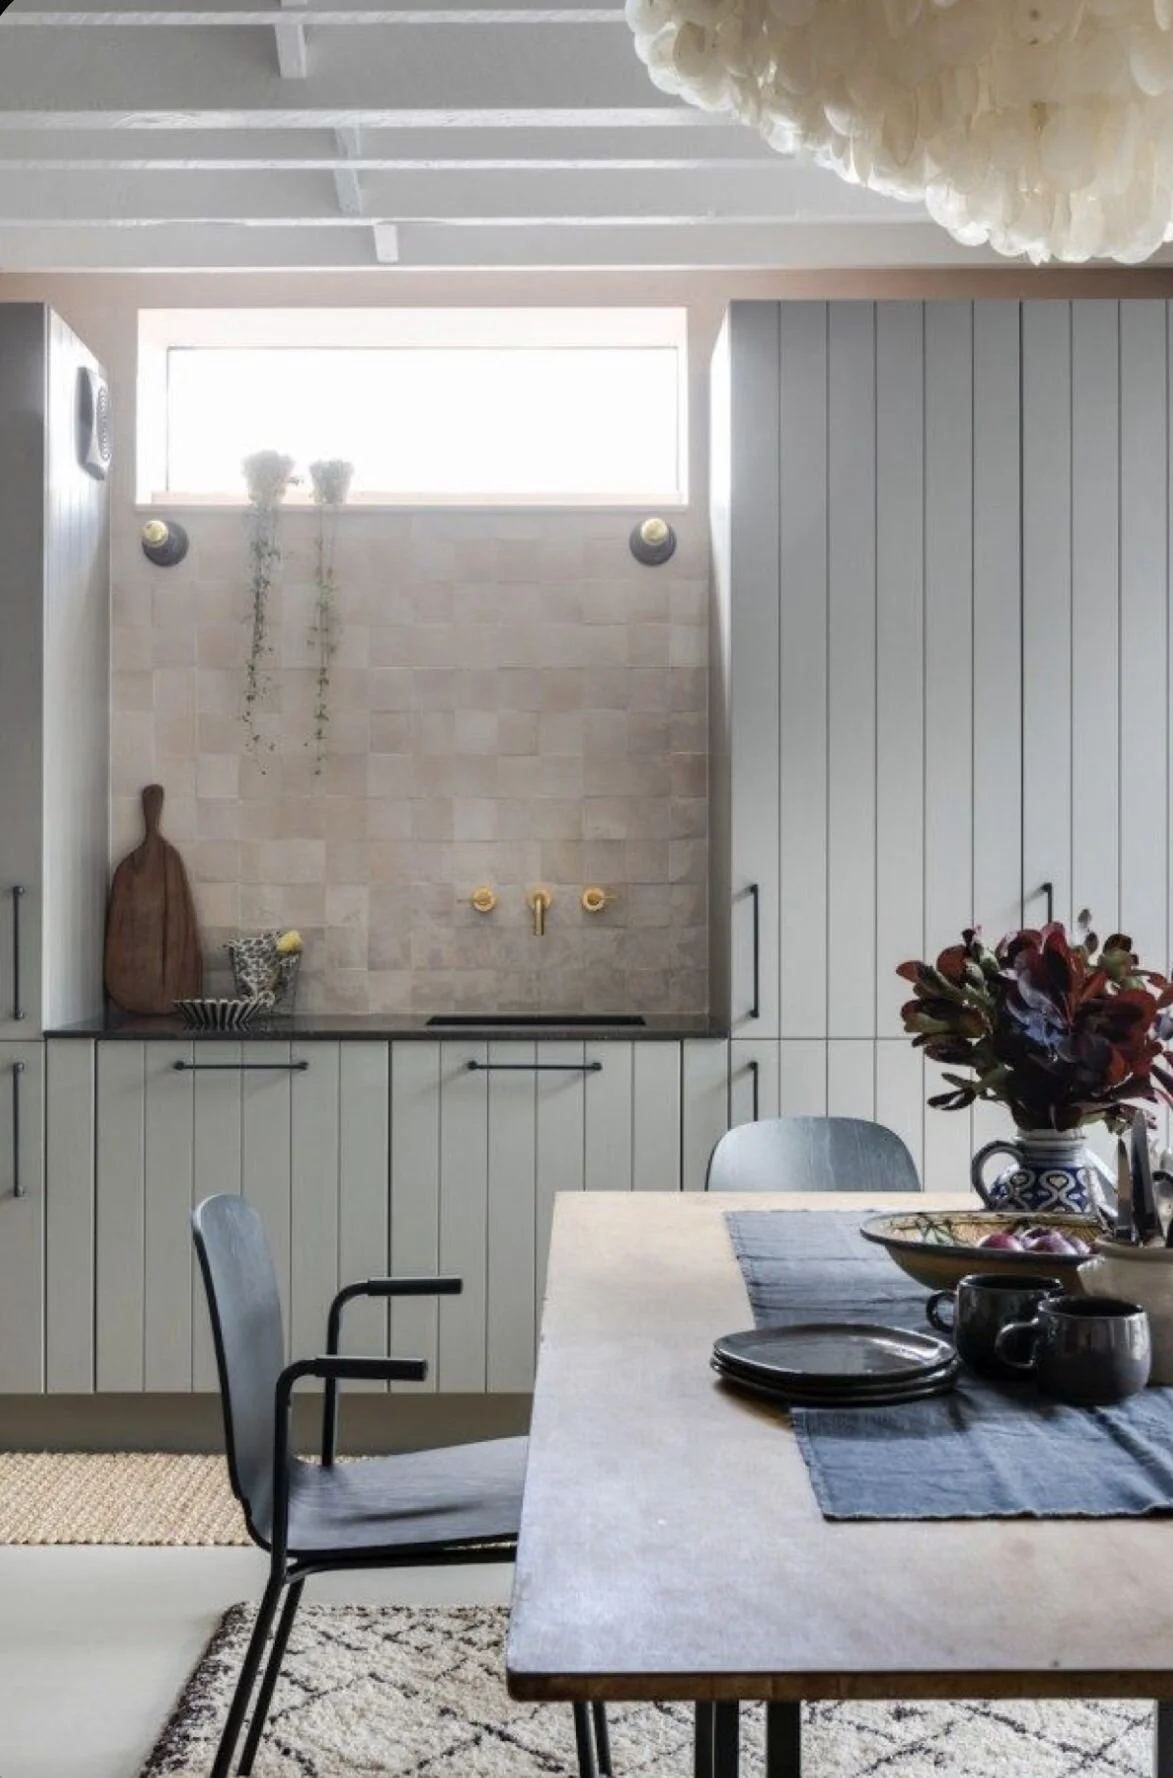
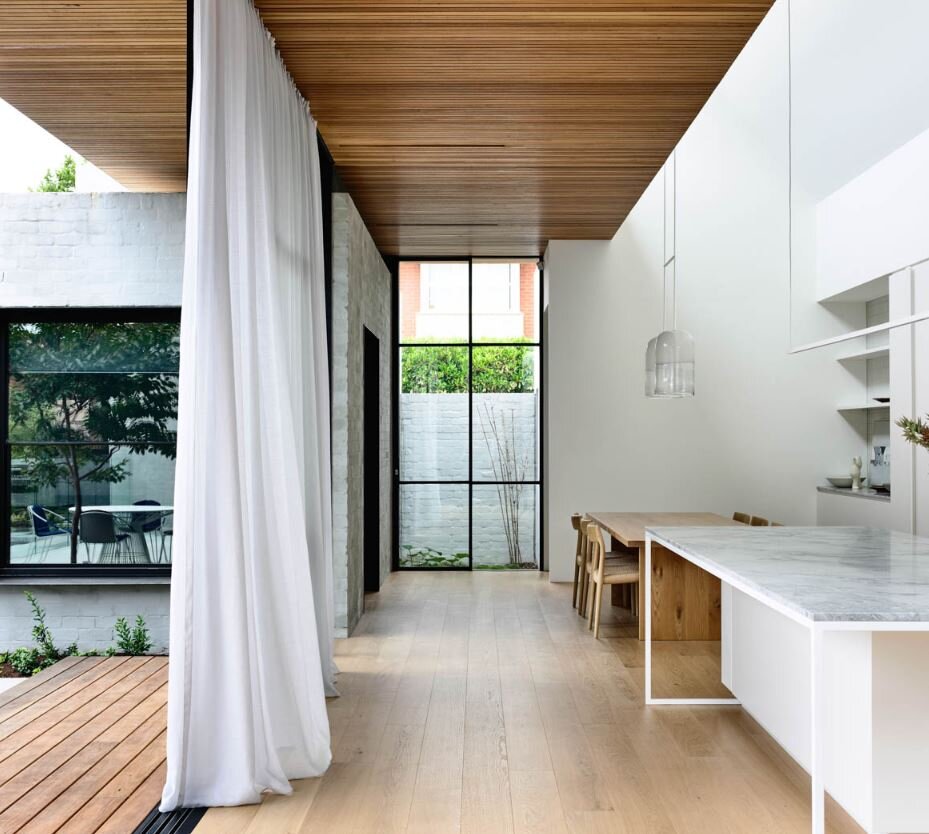
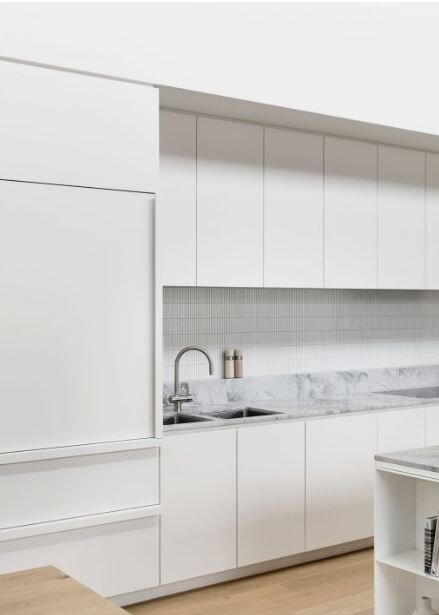
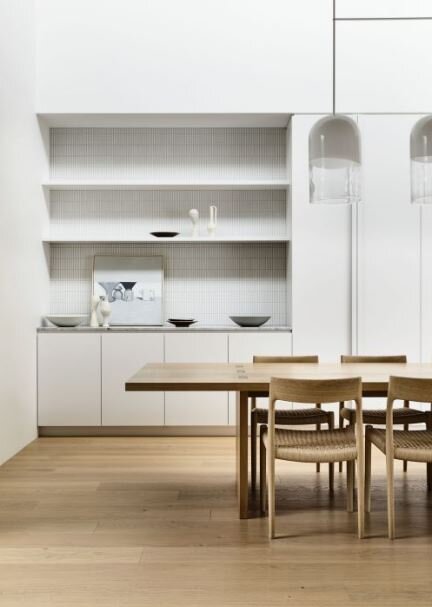
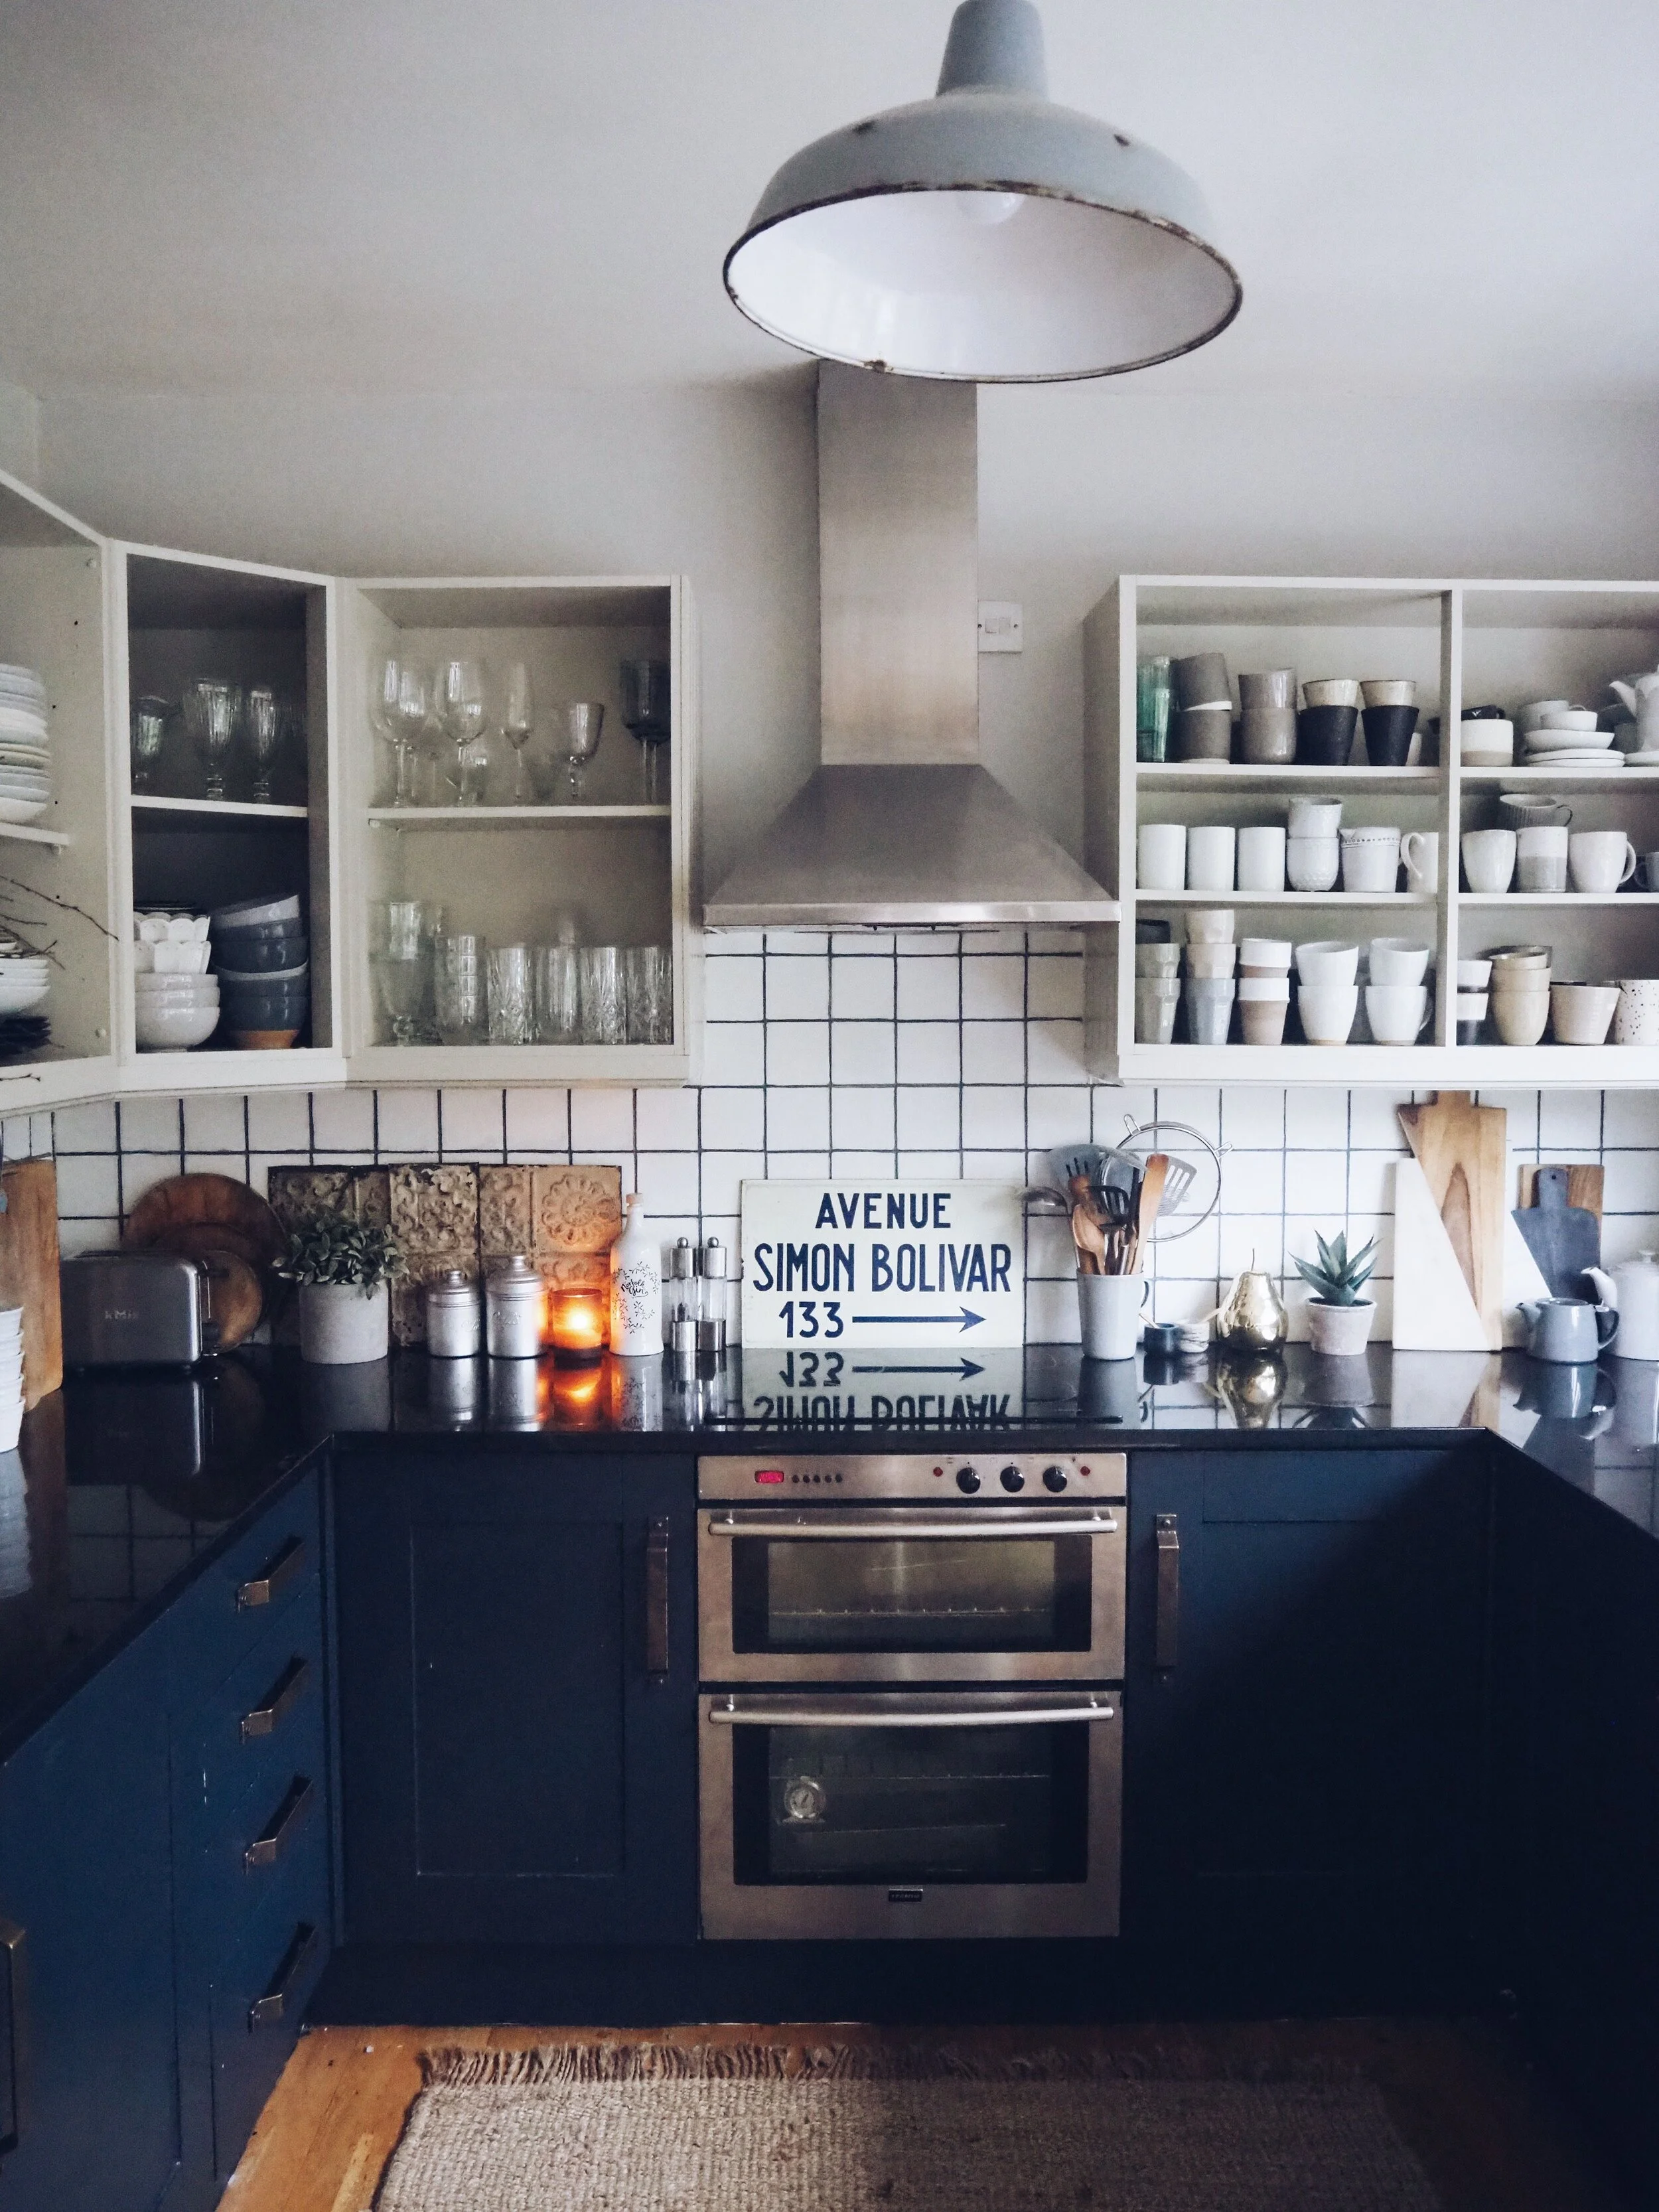
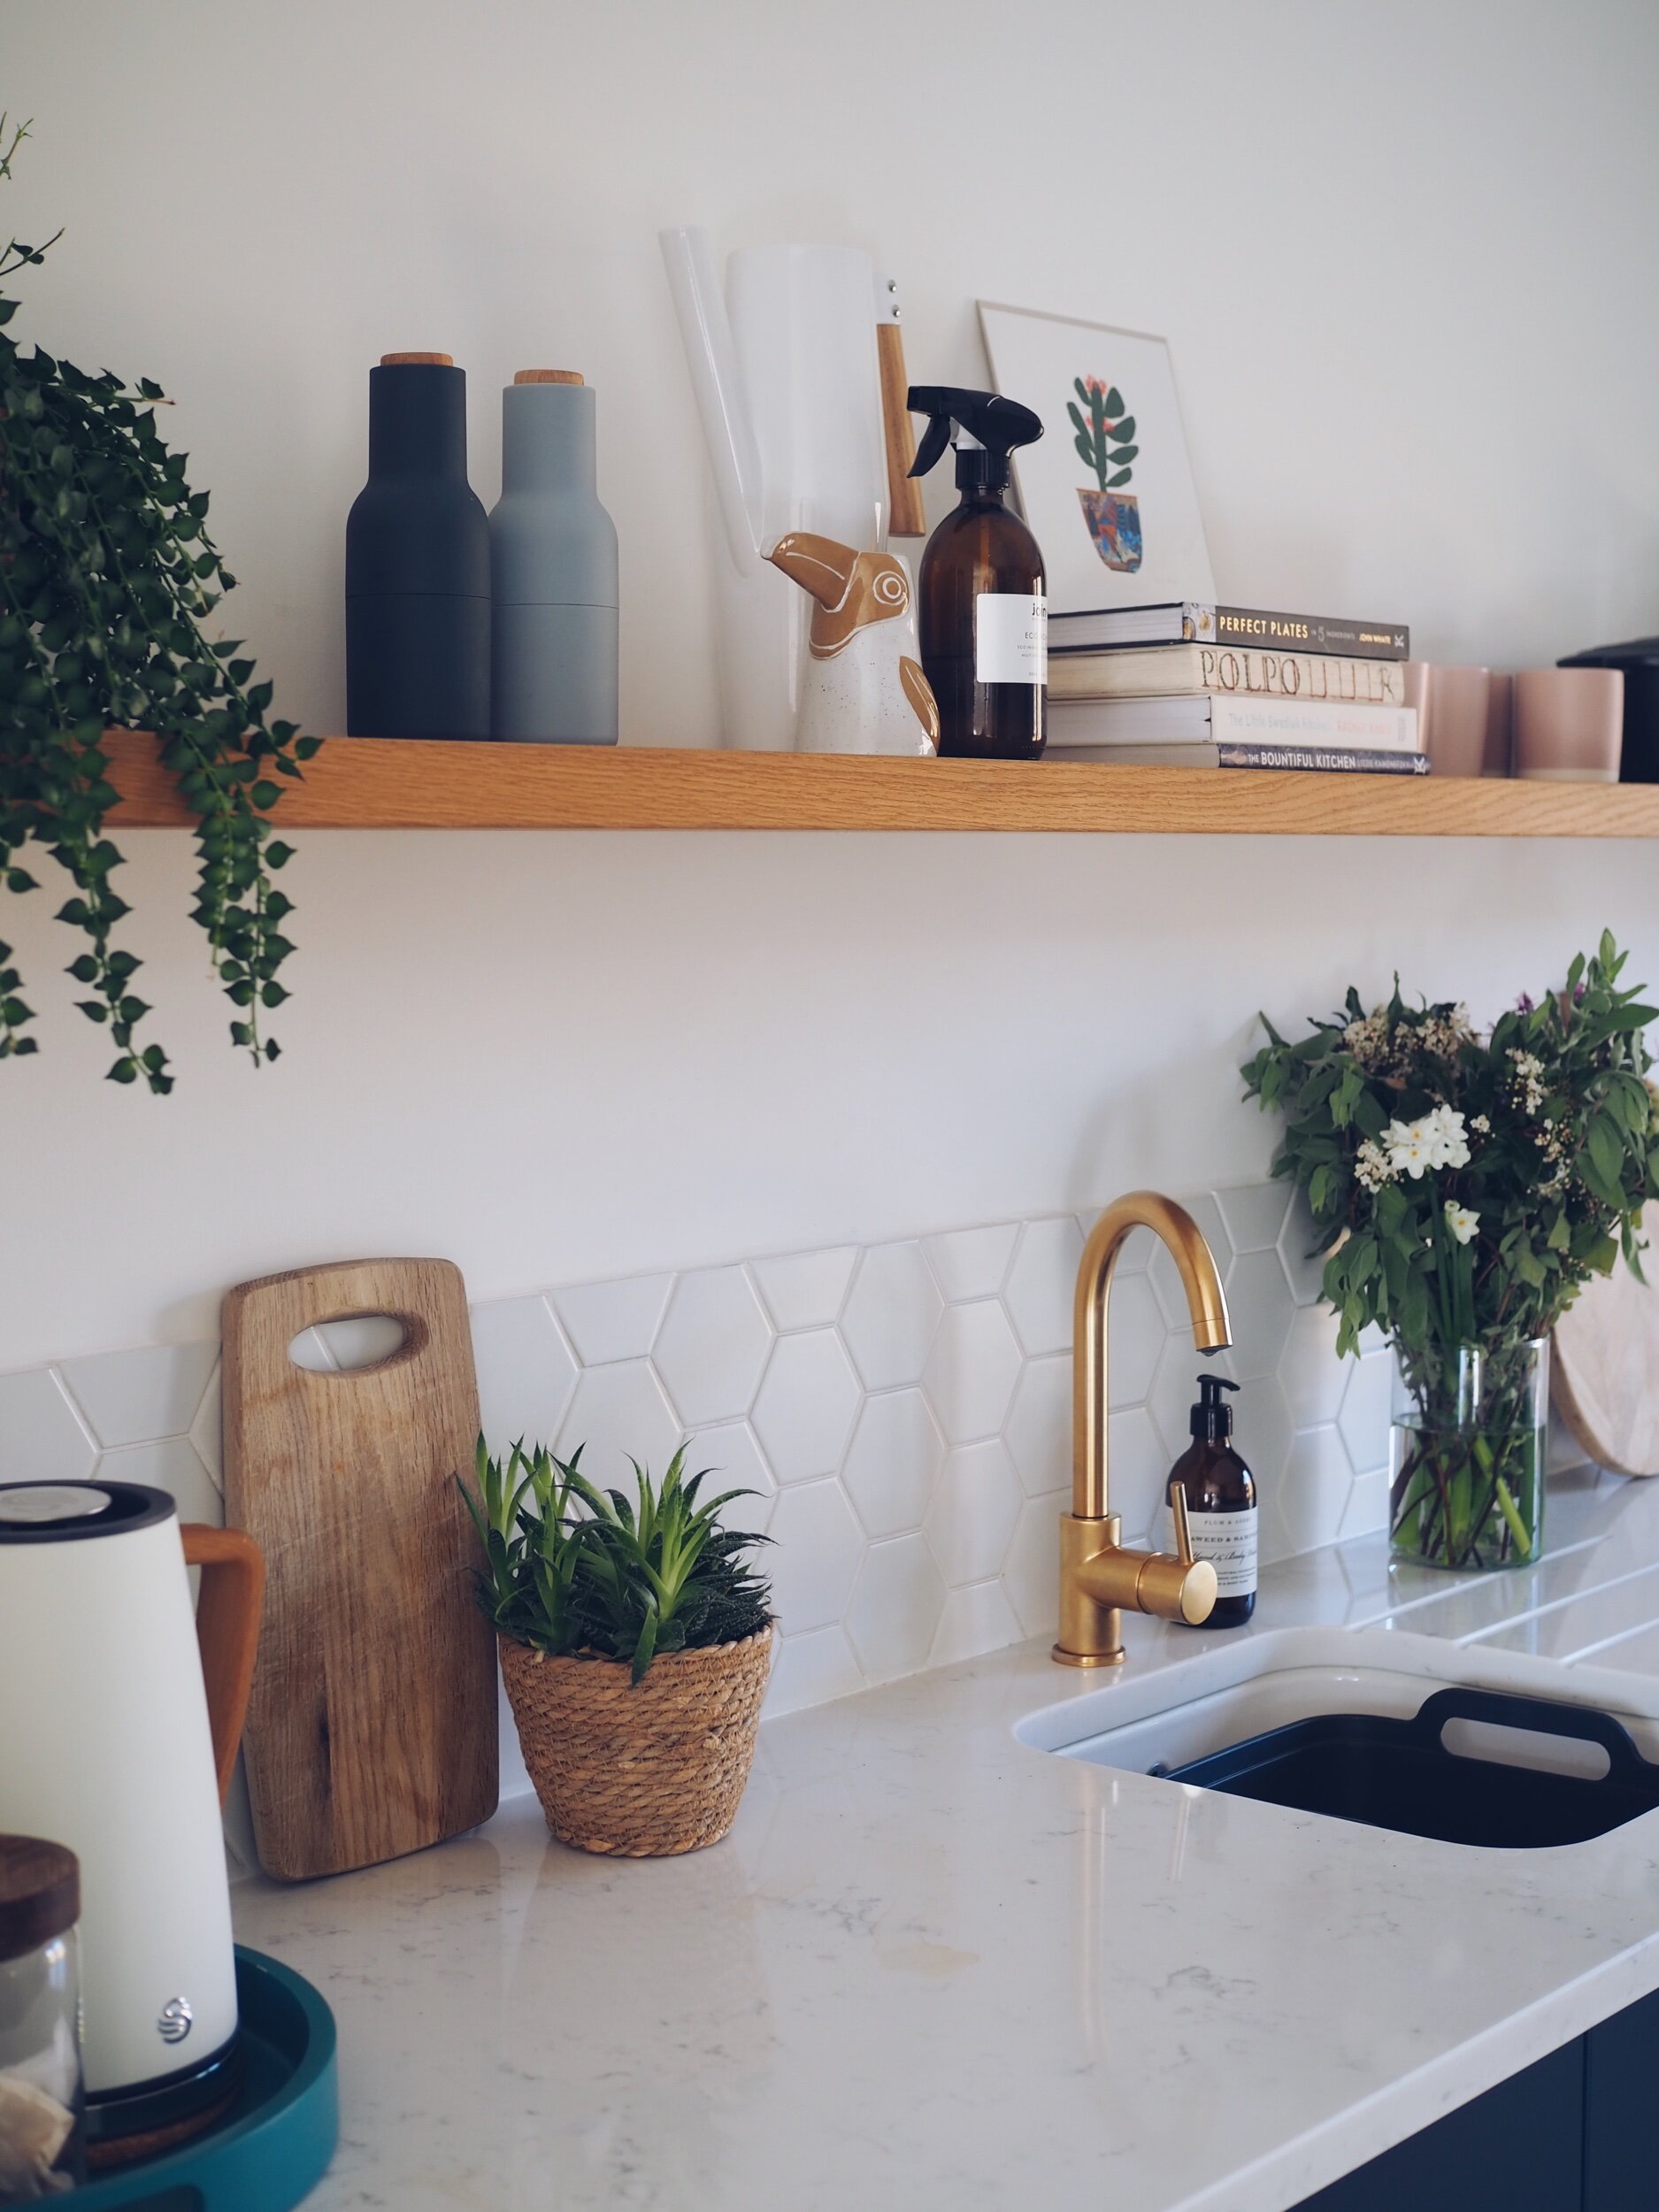
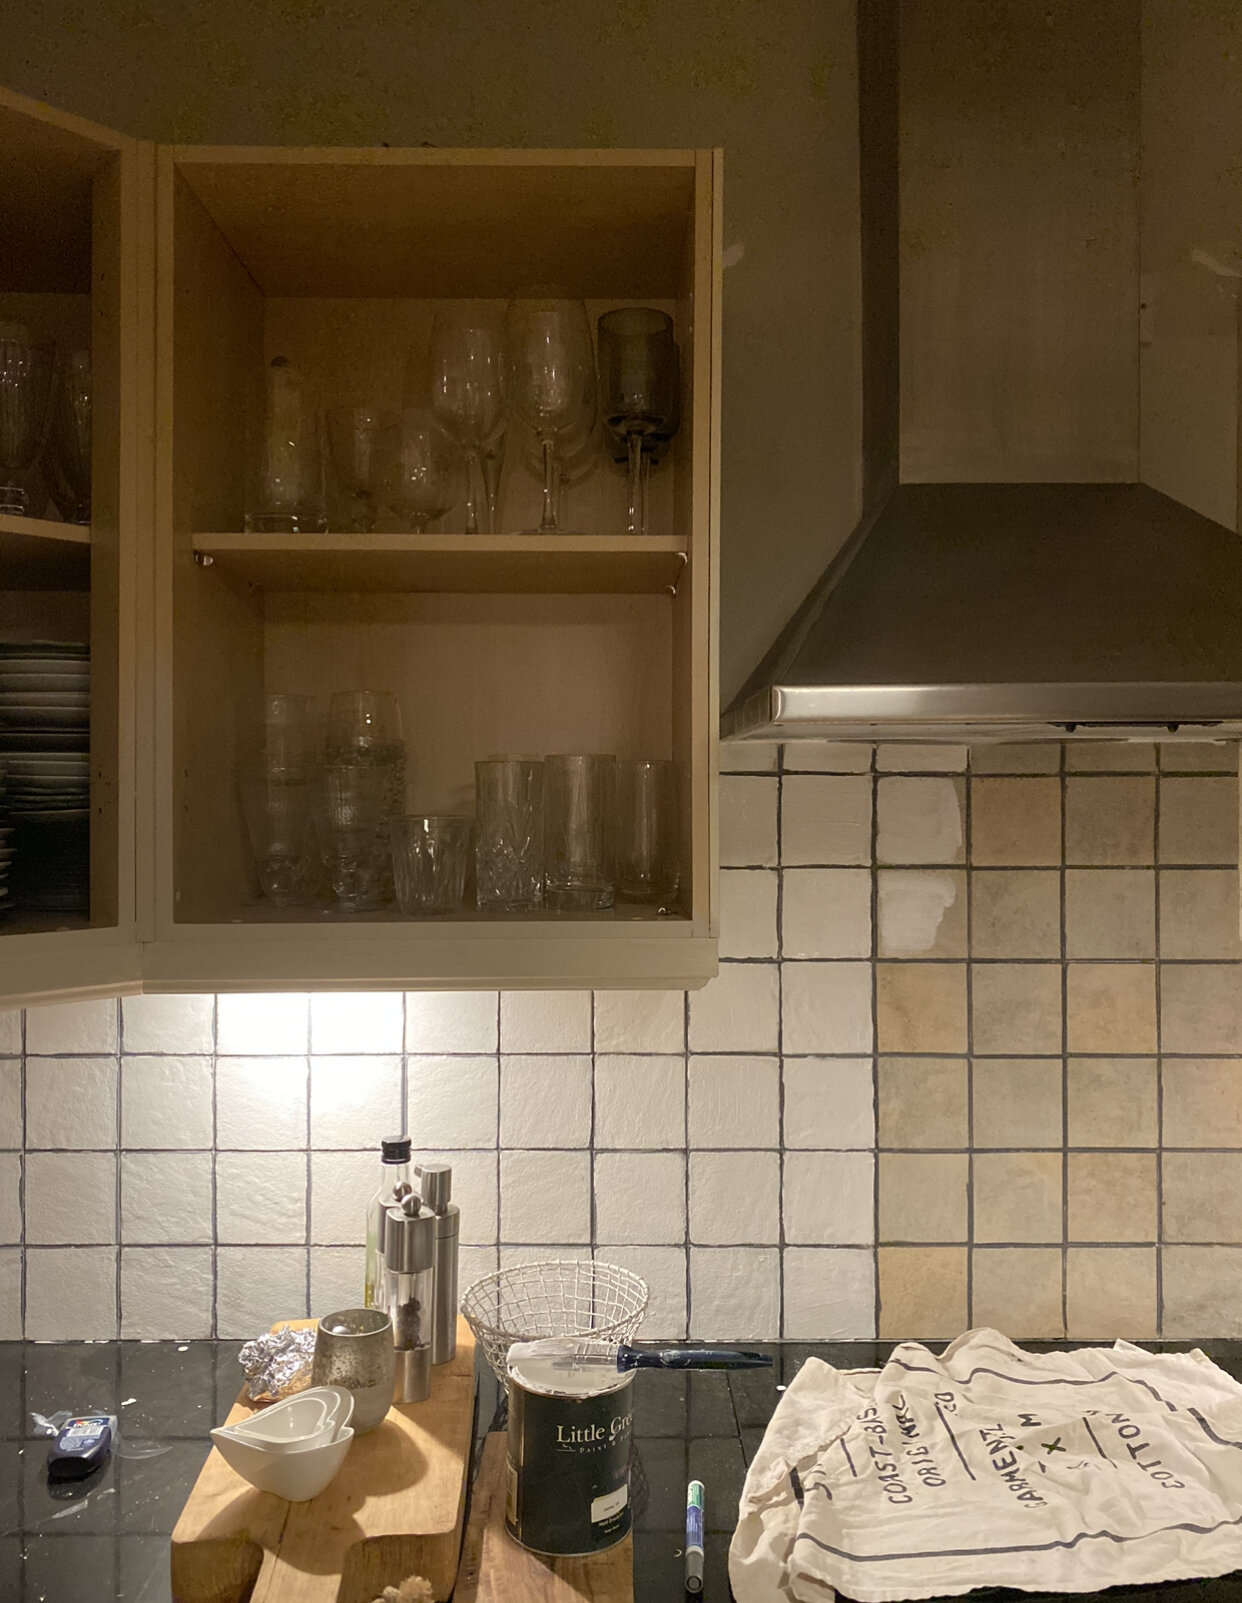
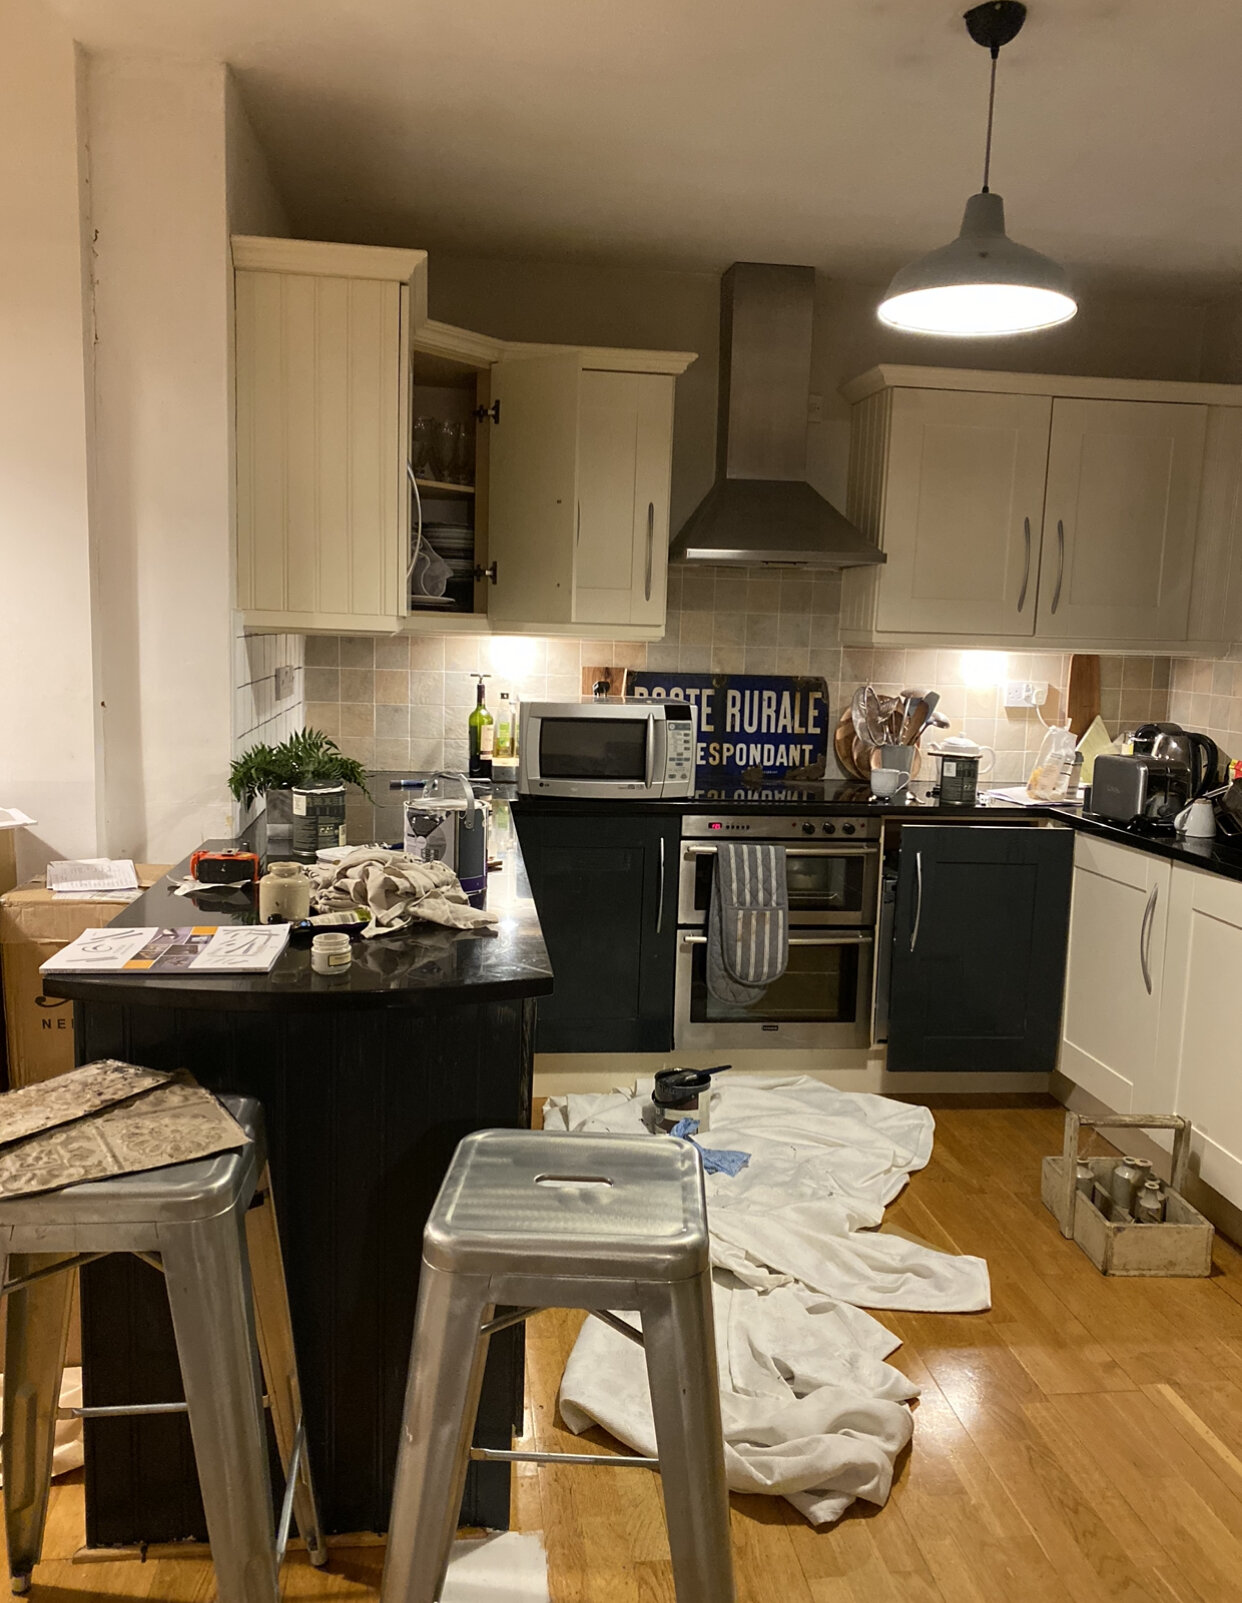
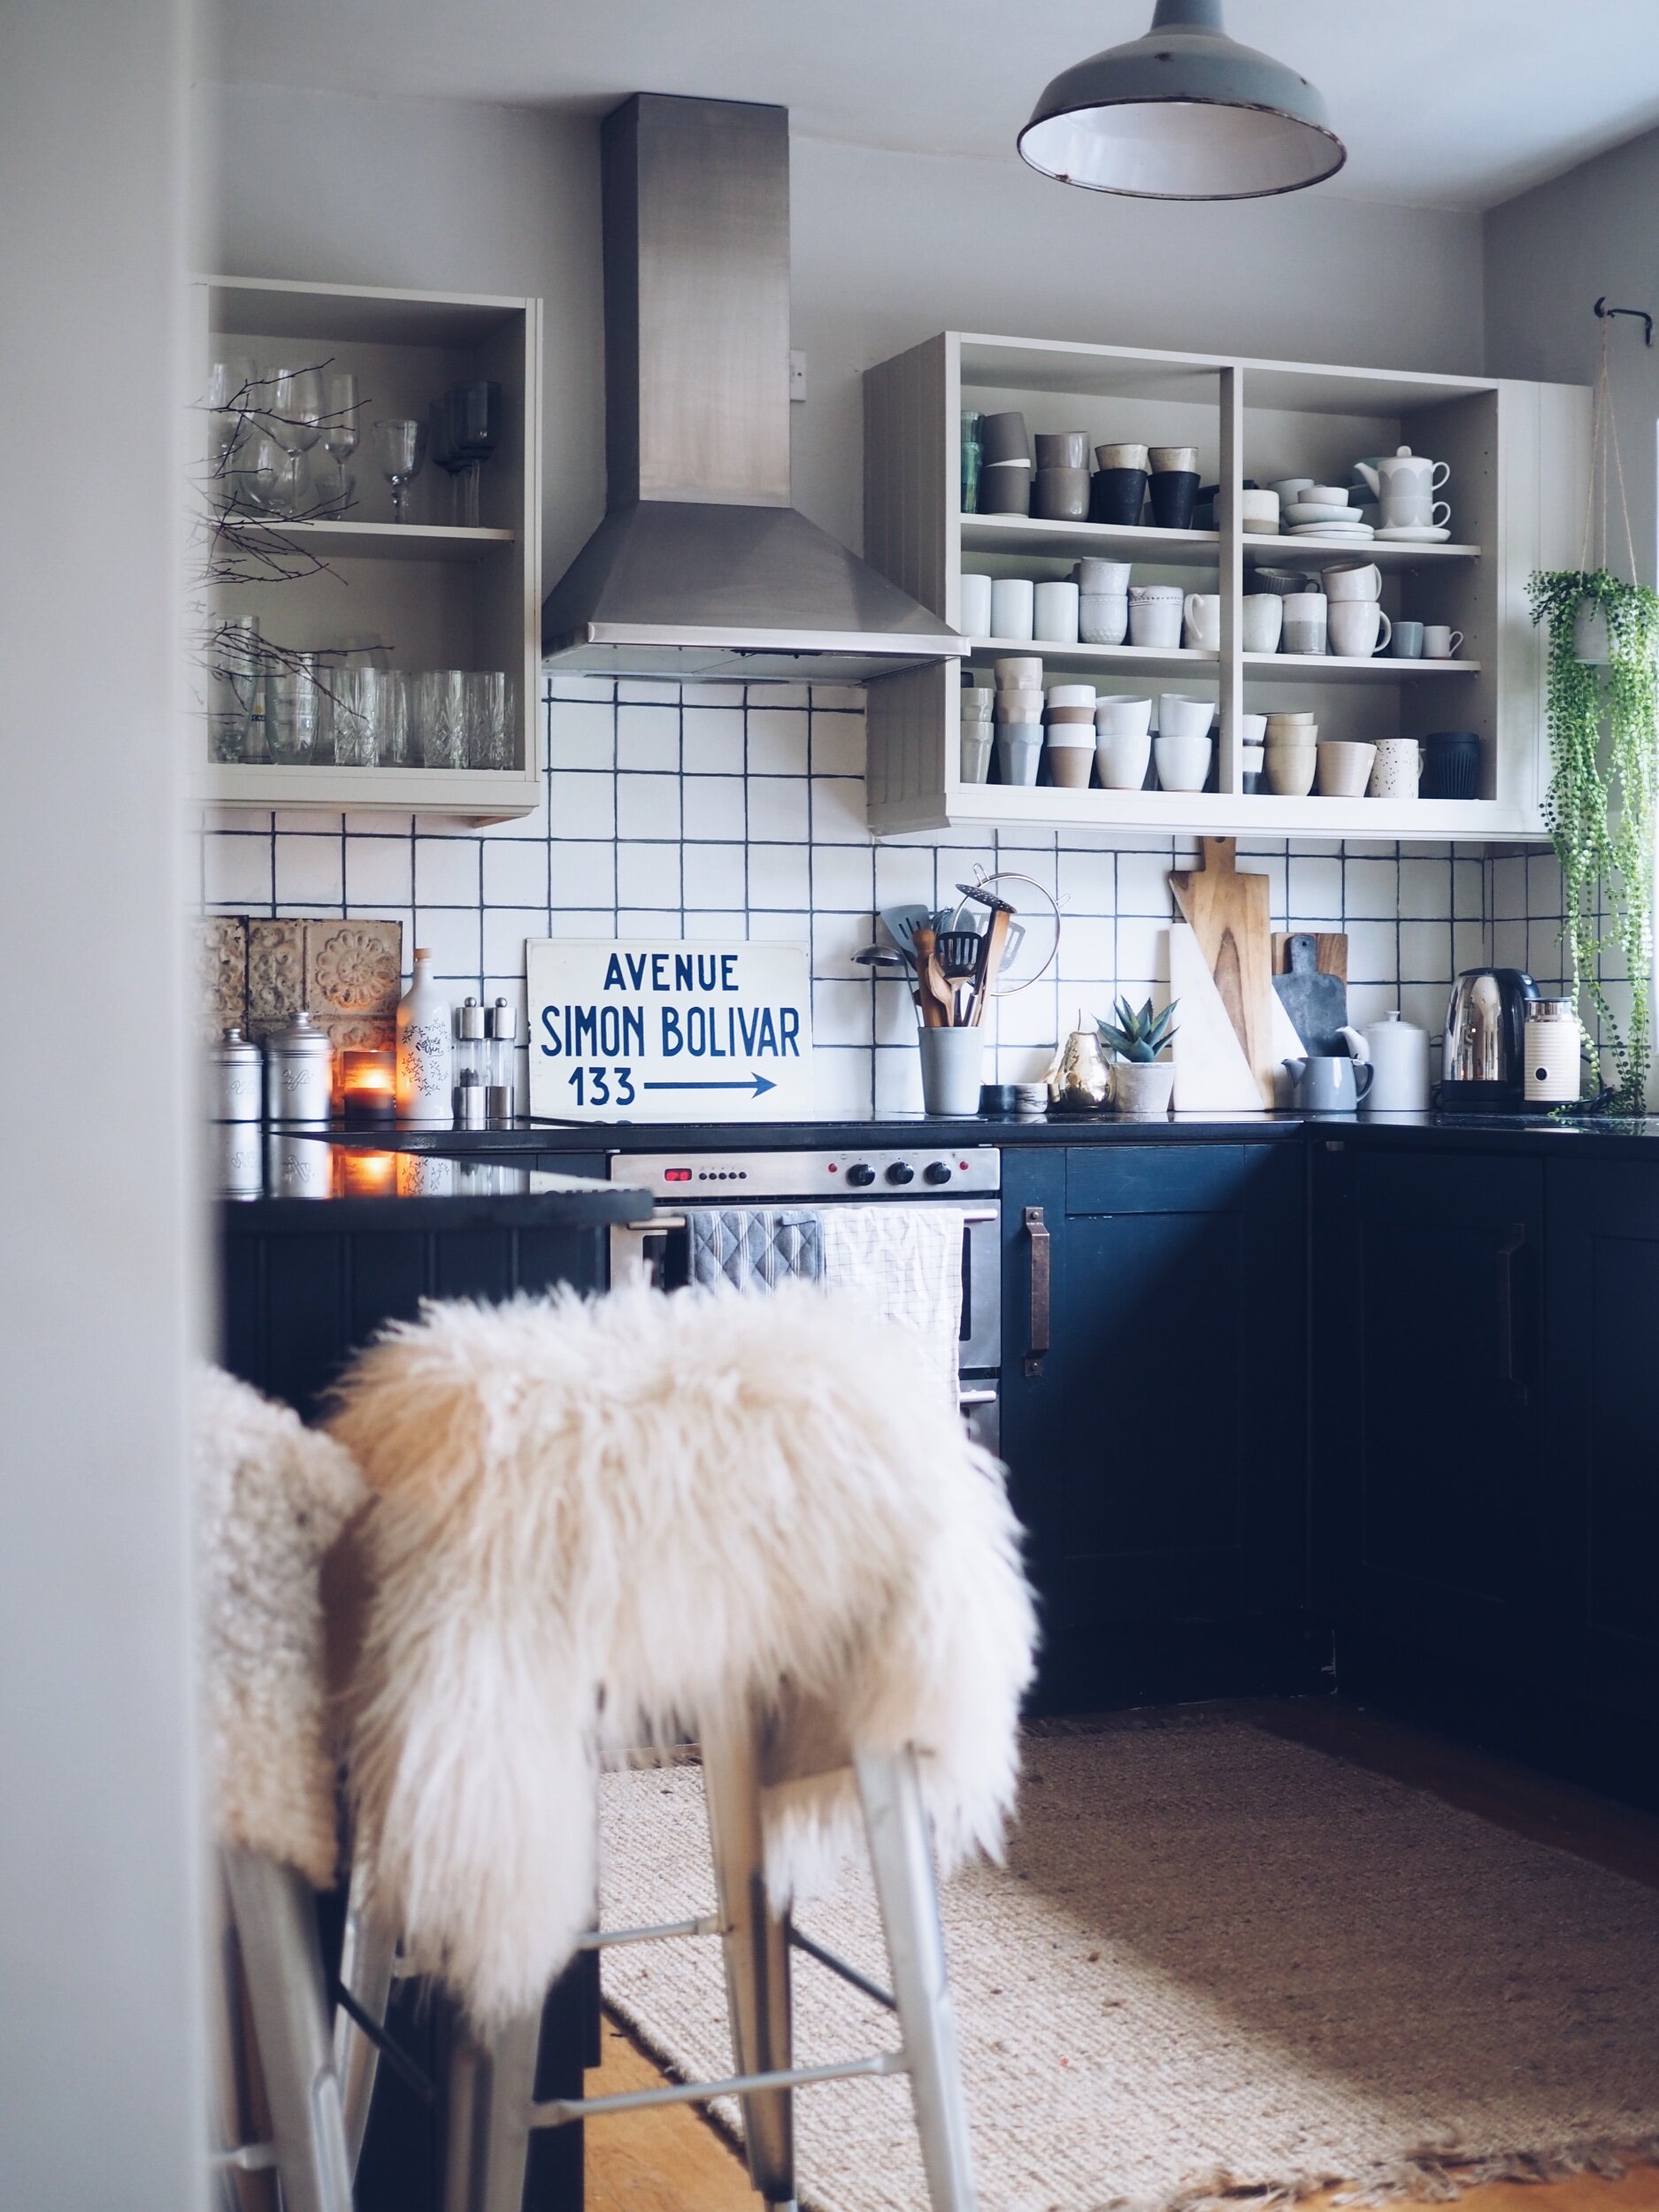
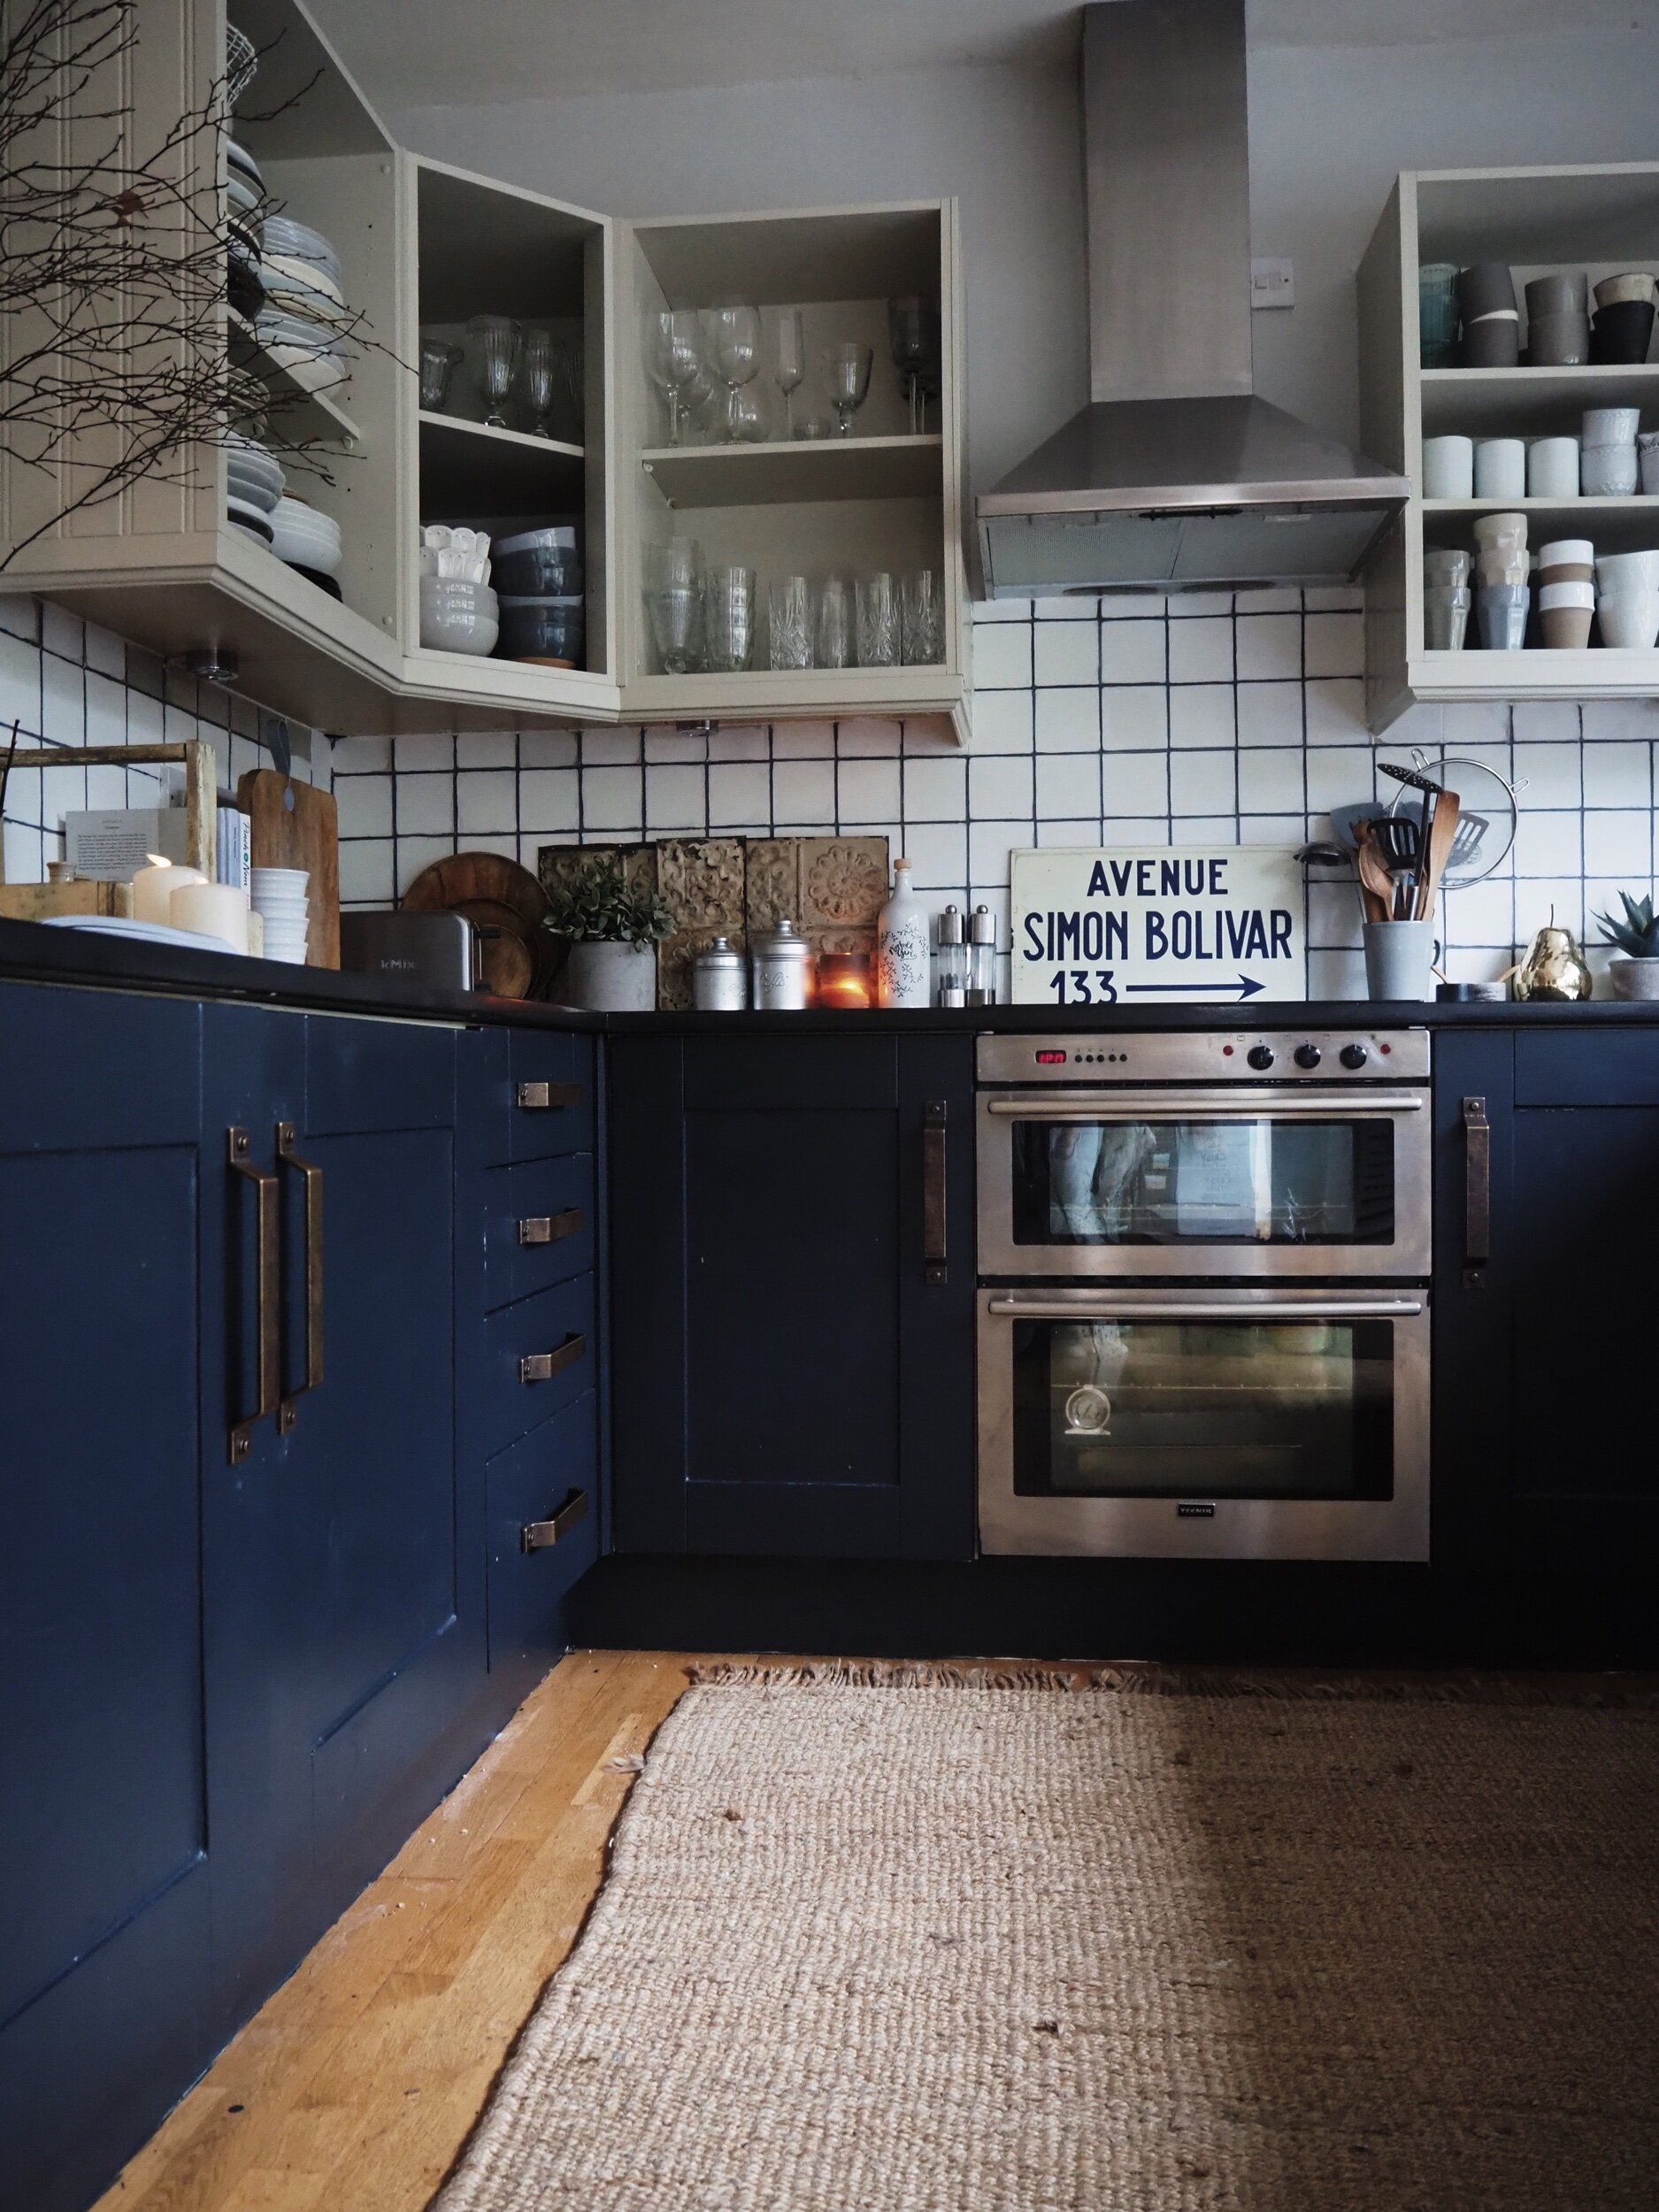
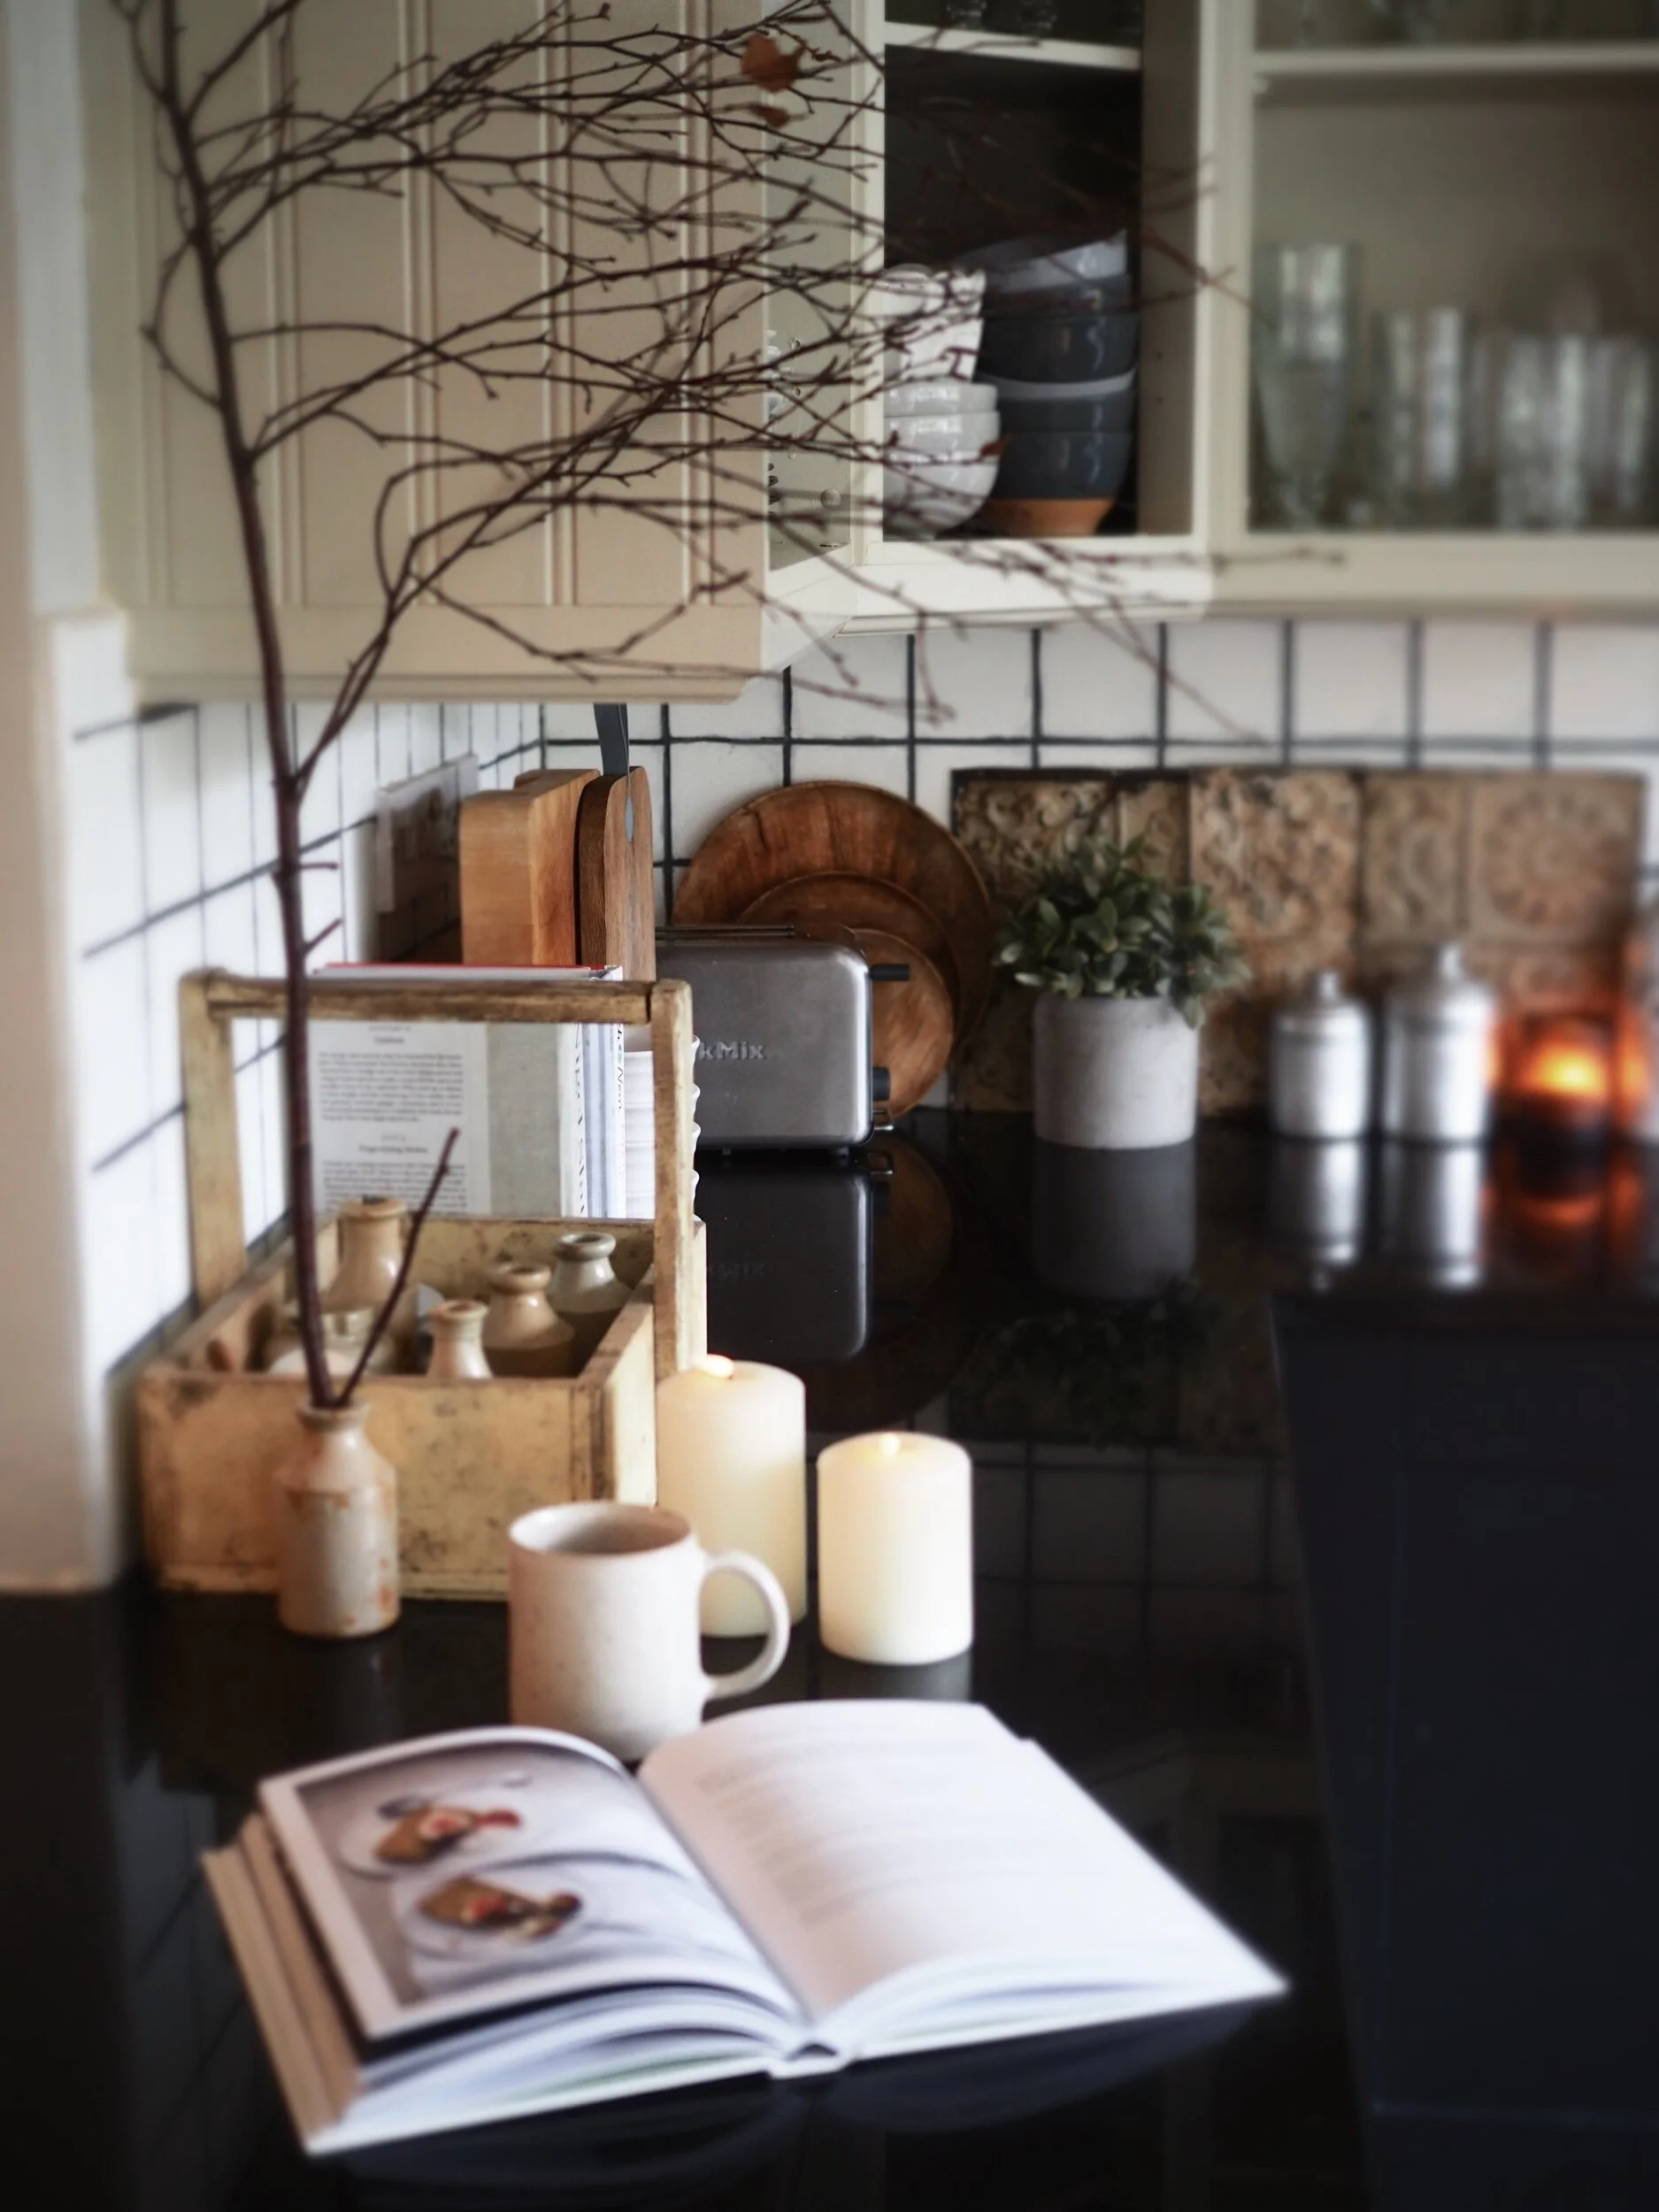
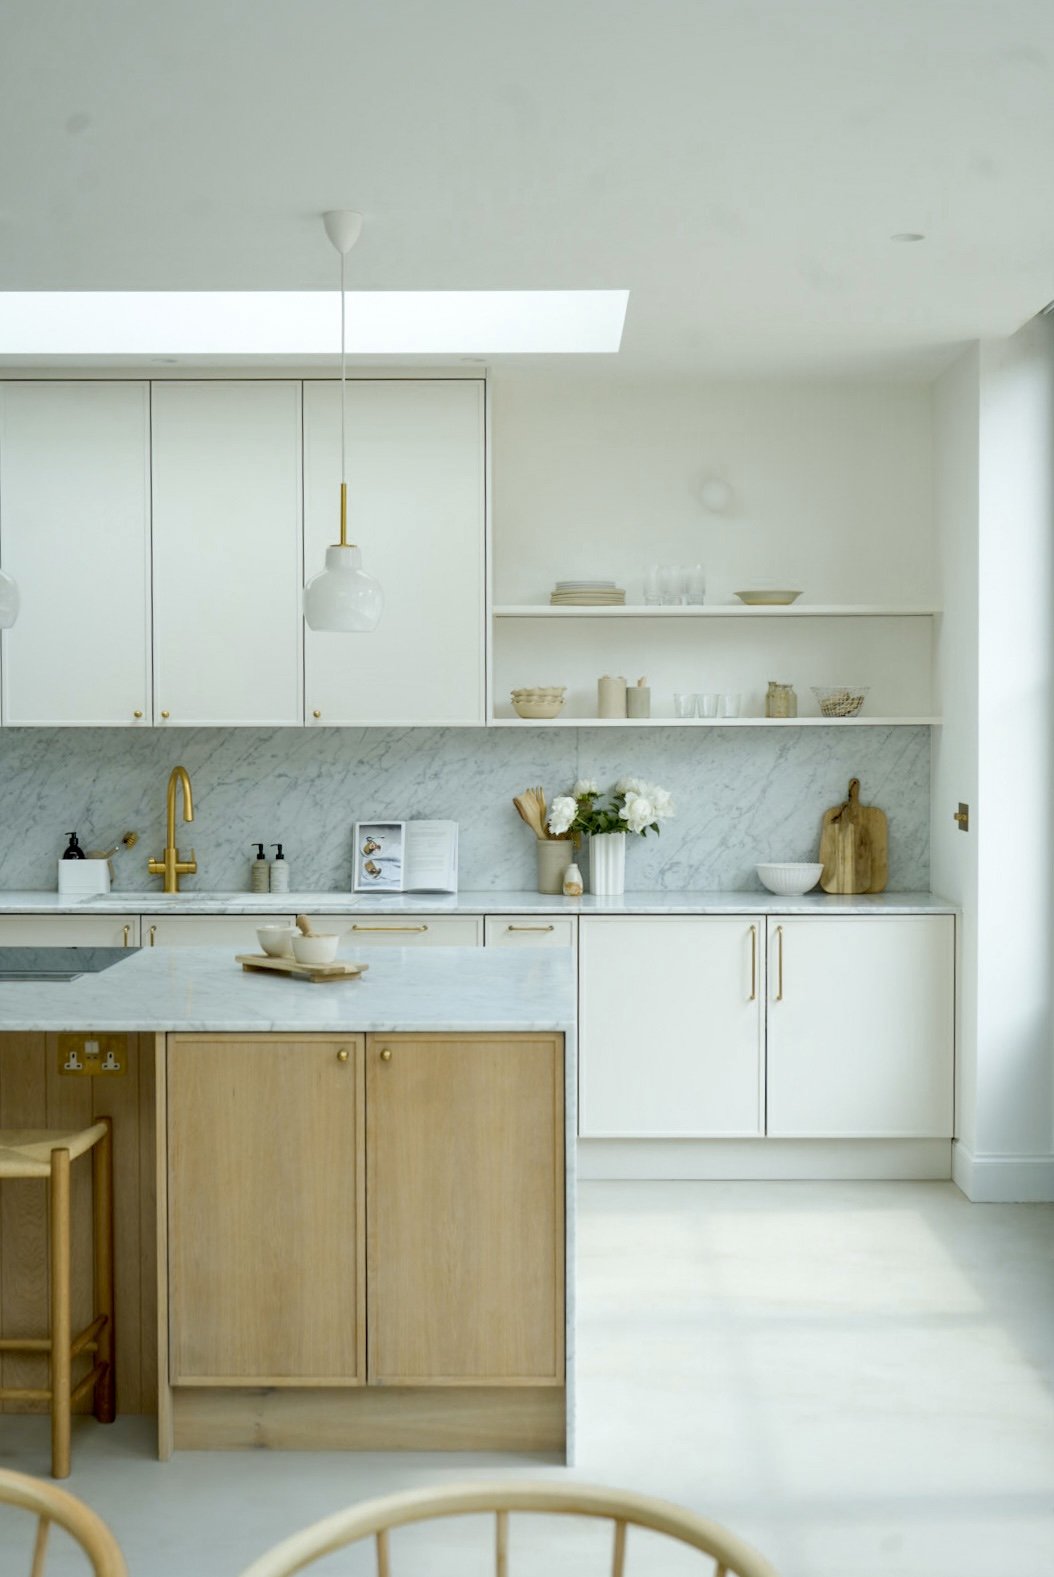
The kitchen walls and ceiling are painted in Flint from Little Greene with the kitchen cupboards in Stock

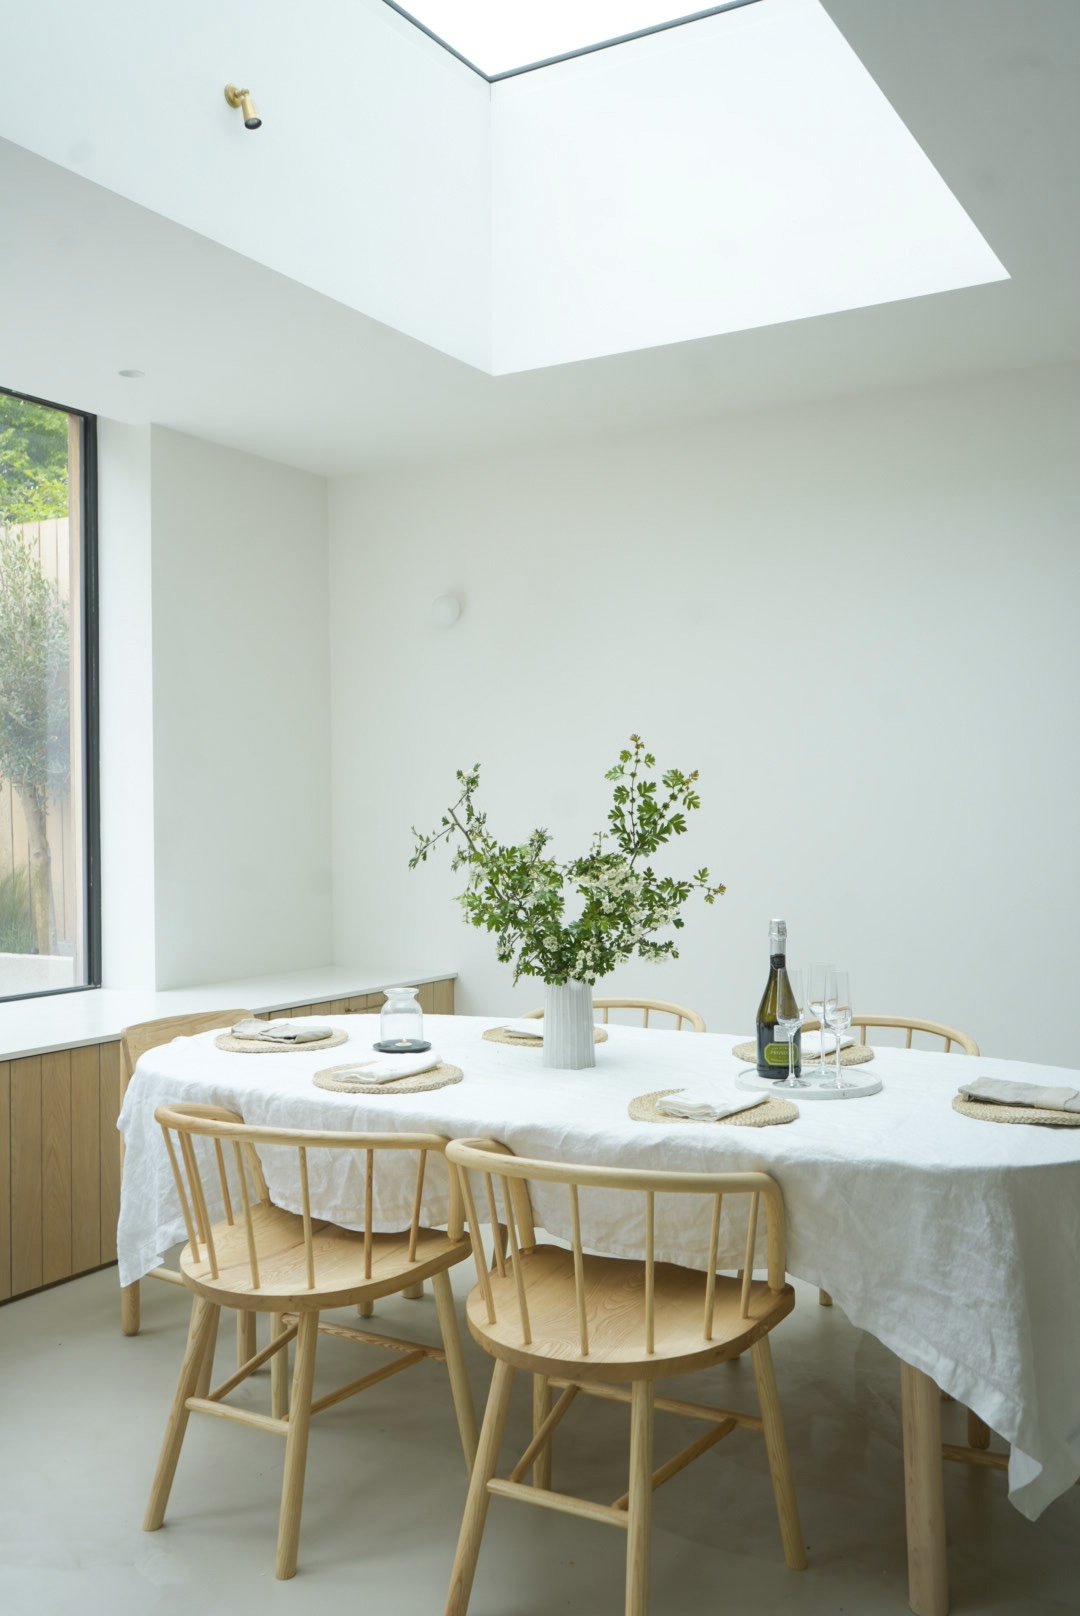
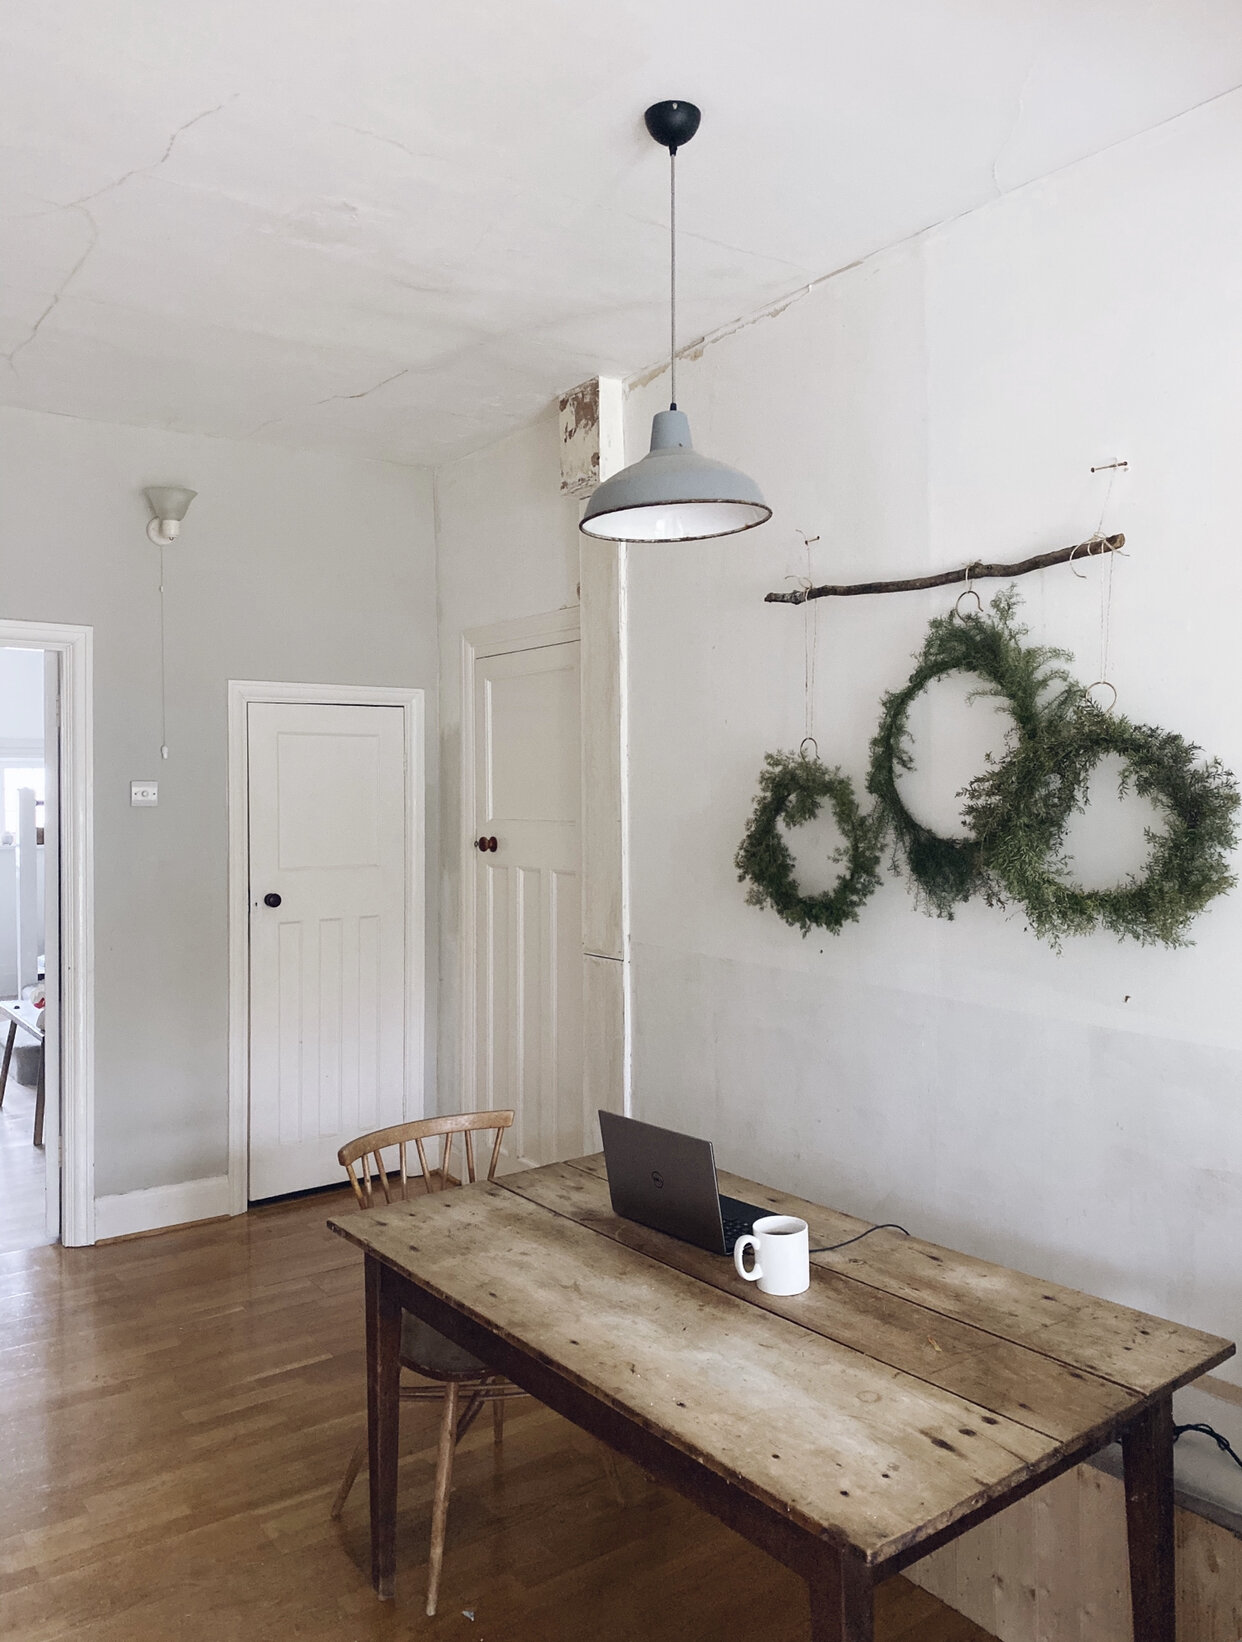
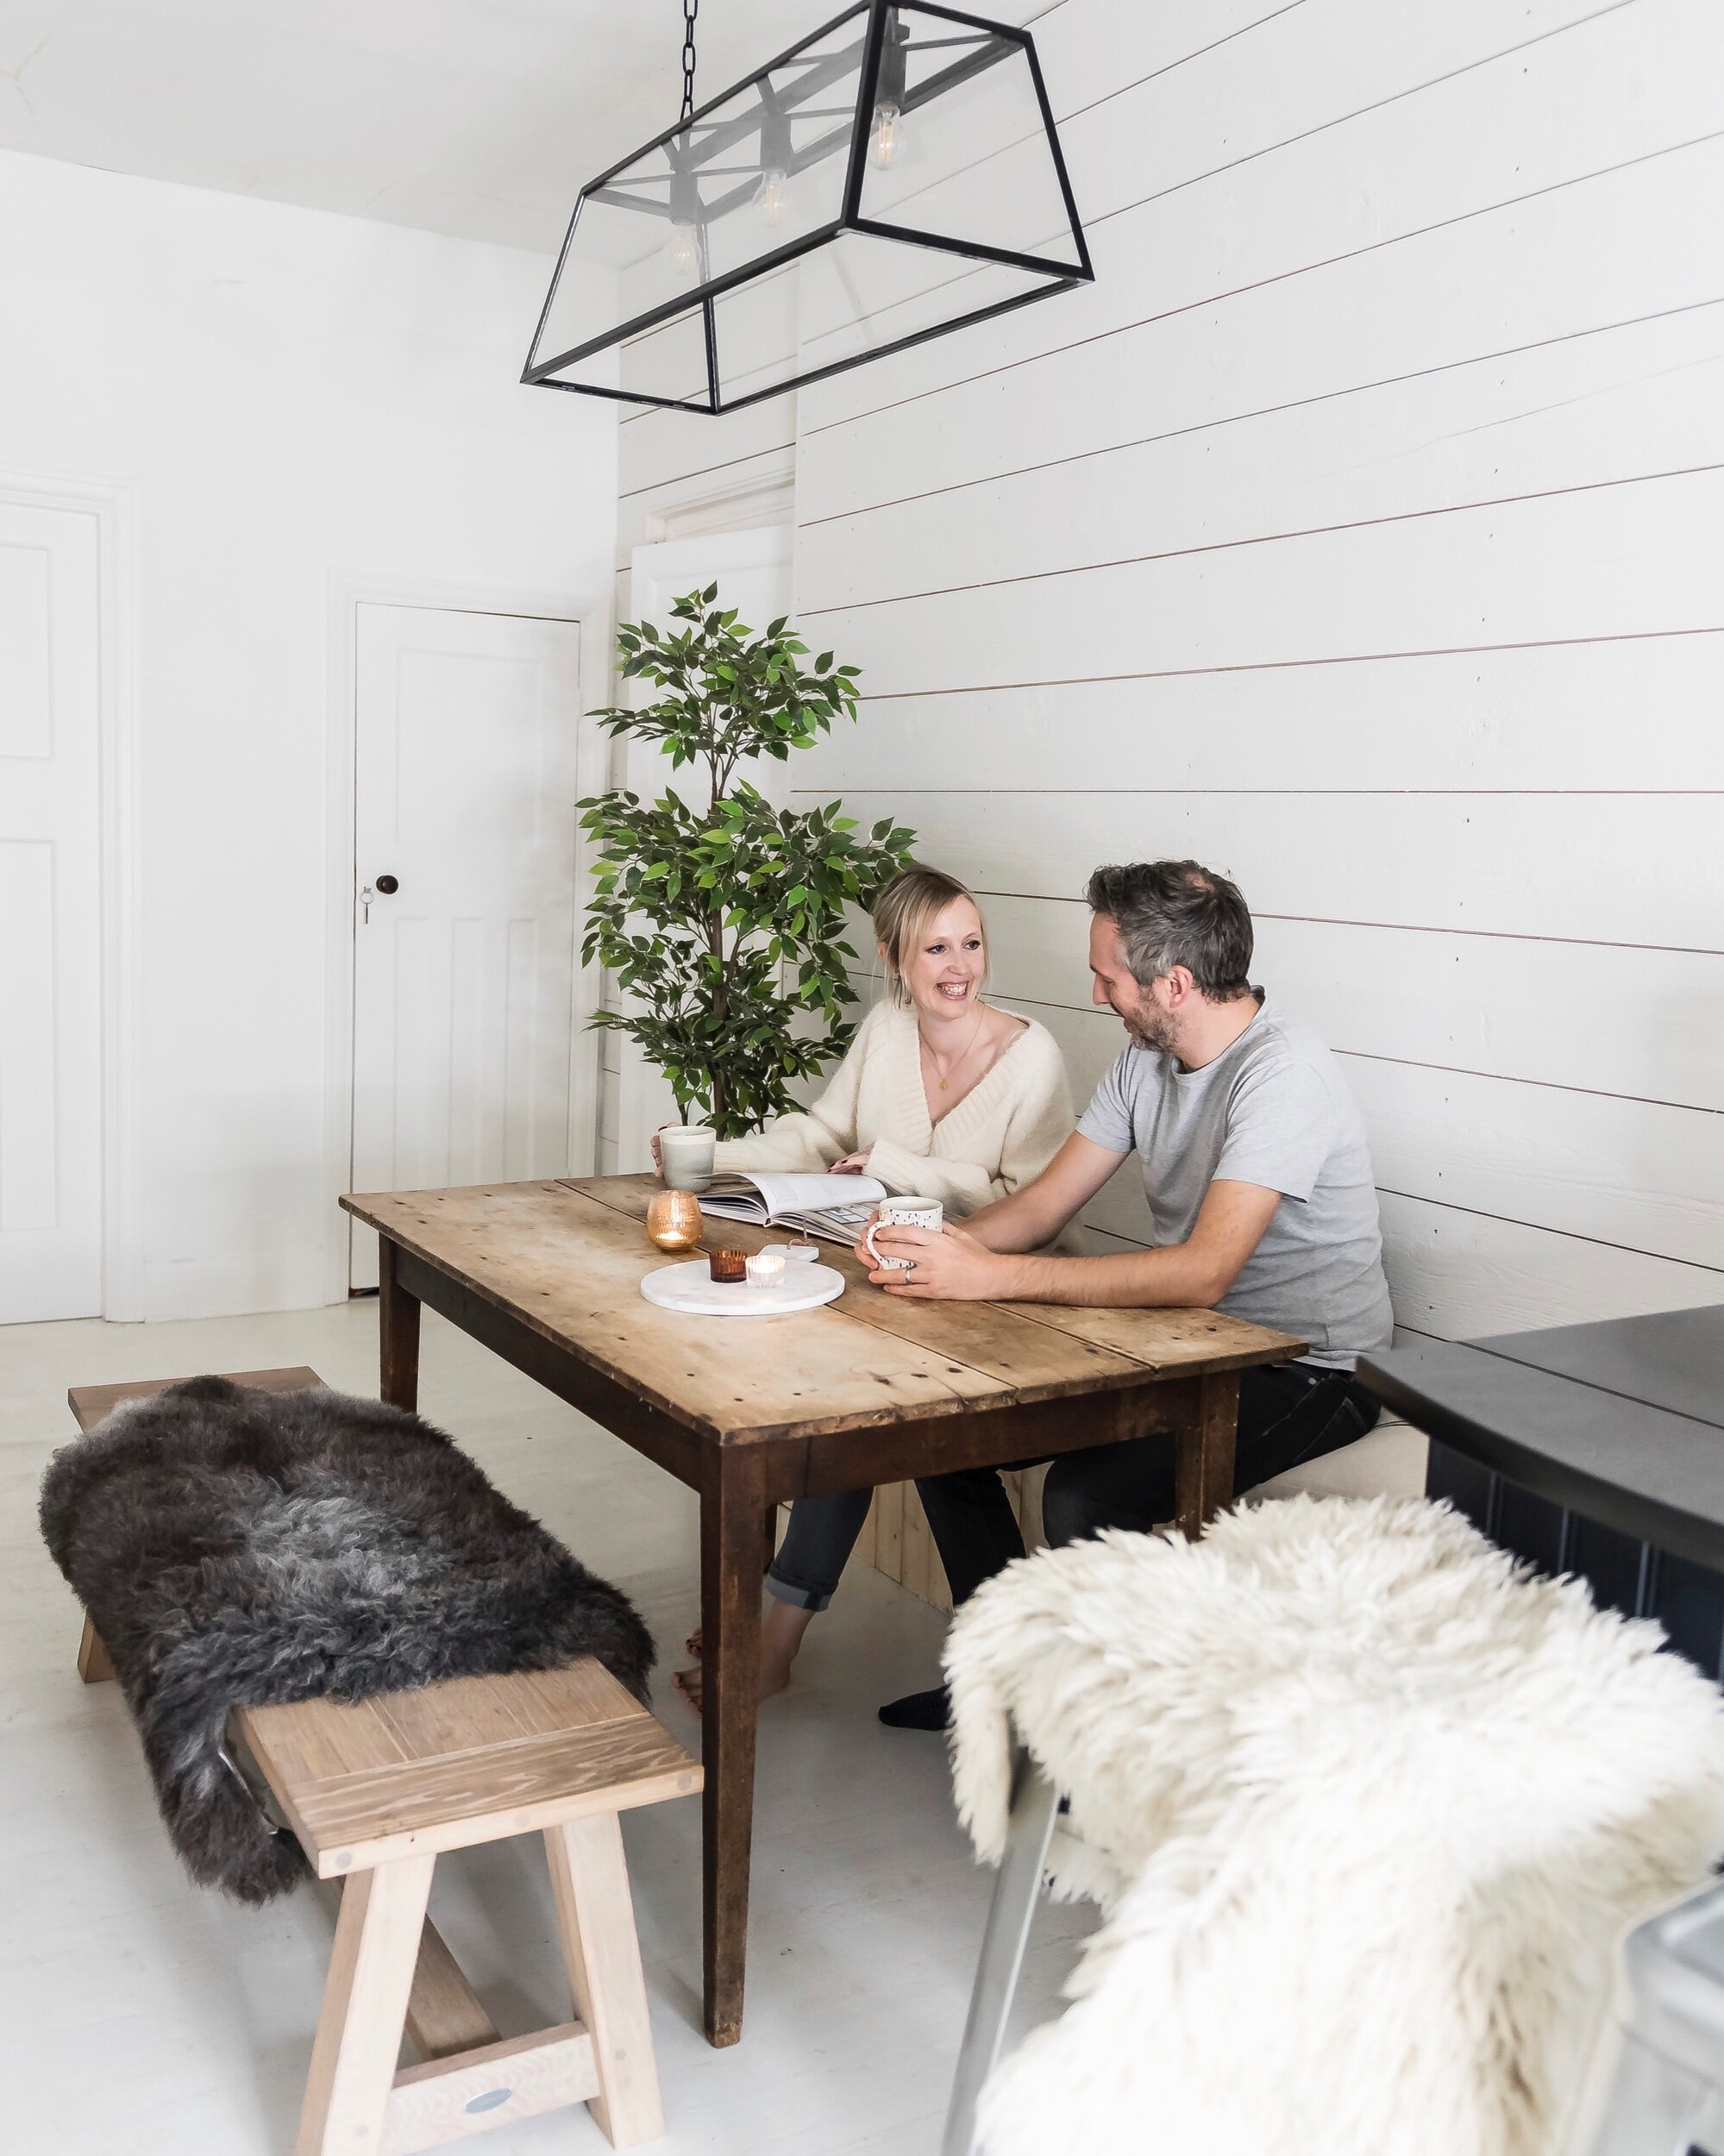
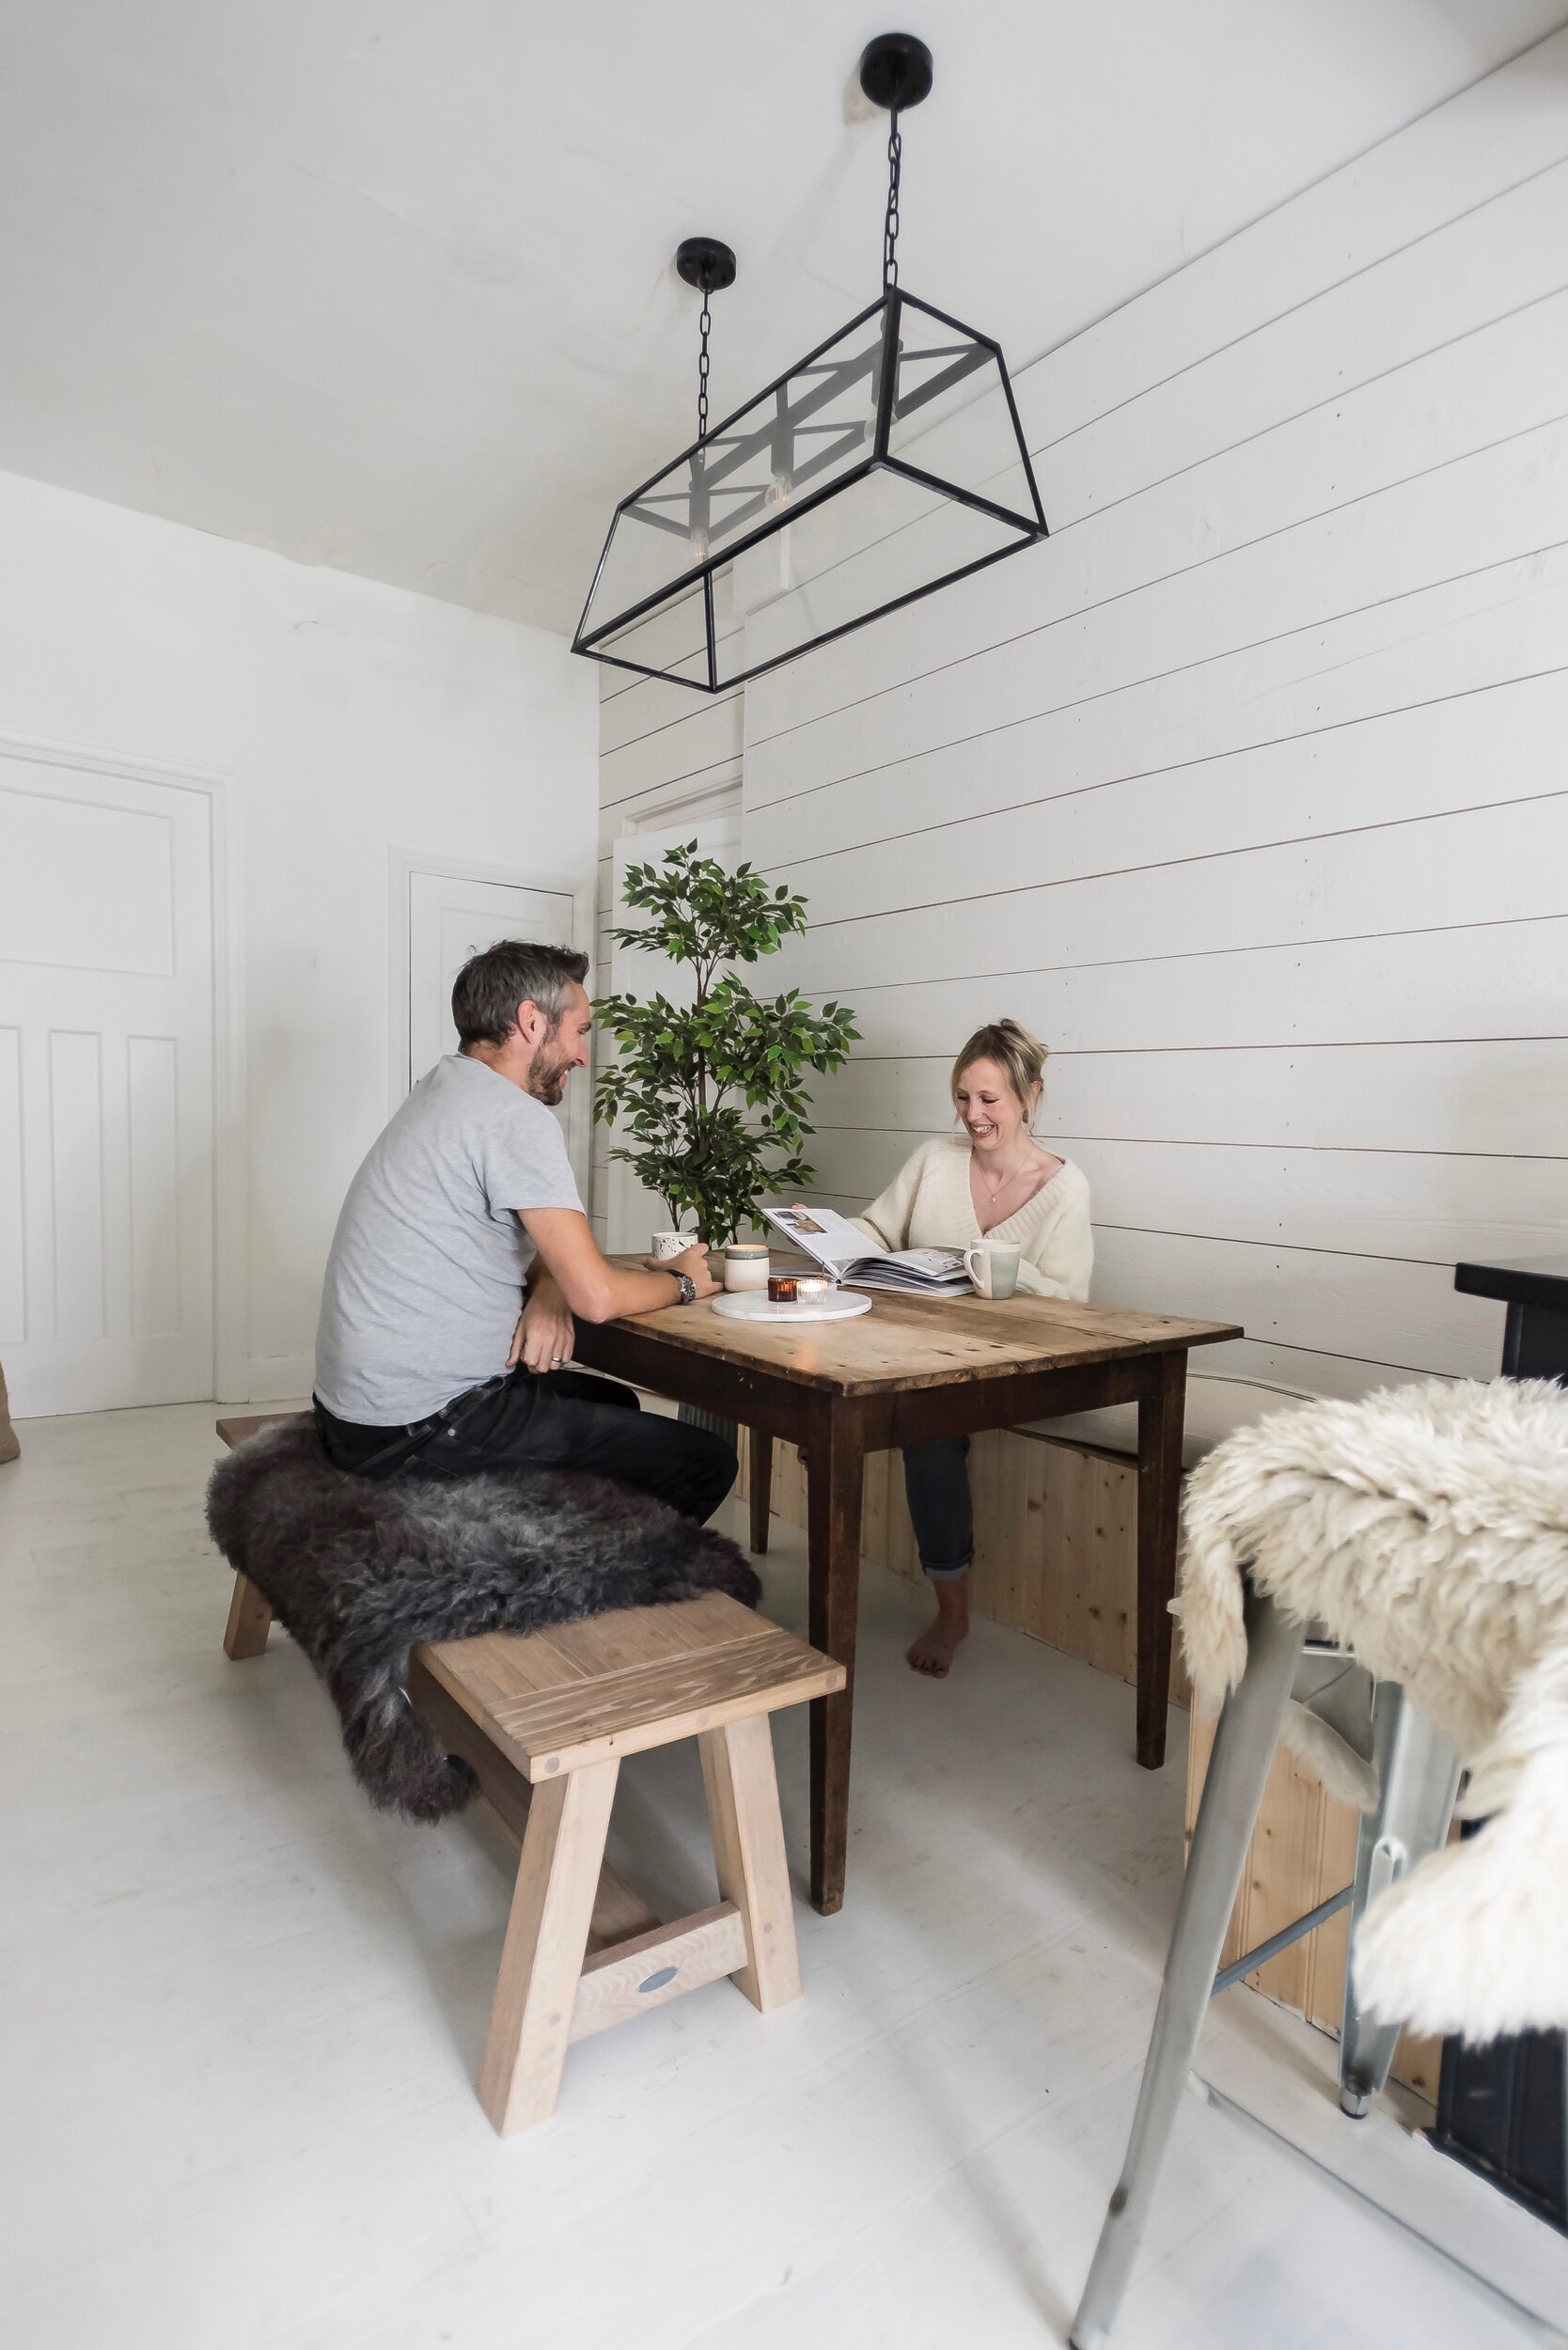
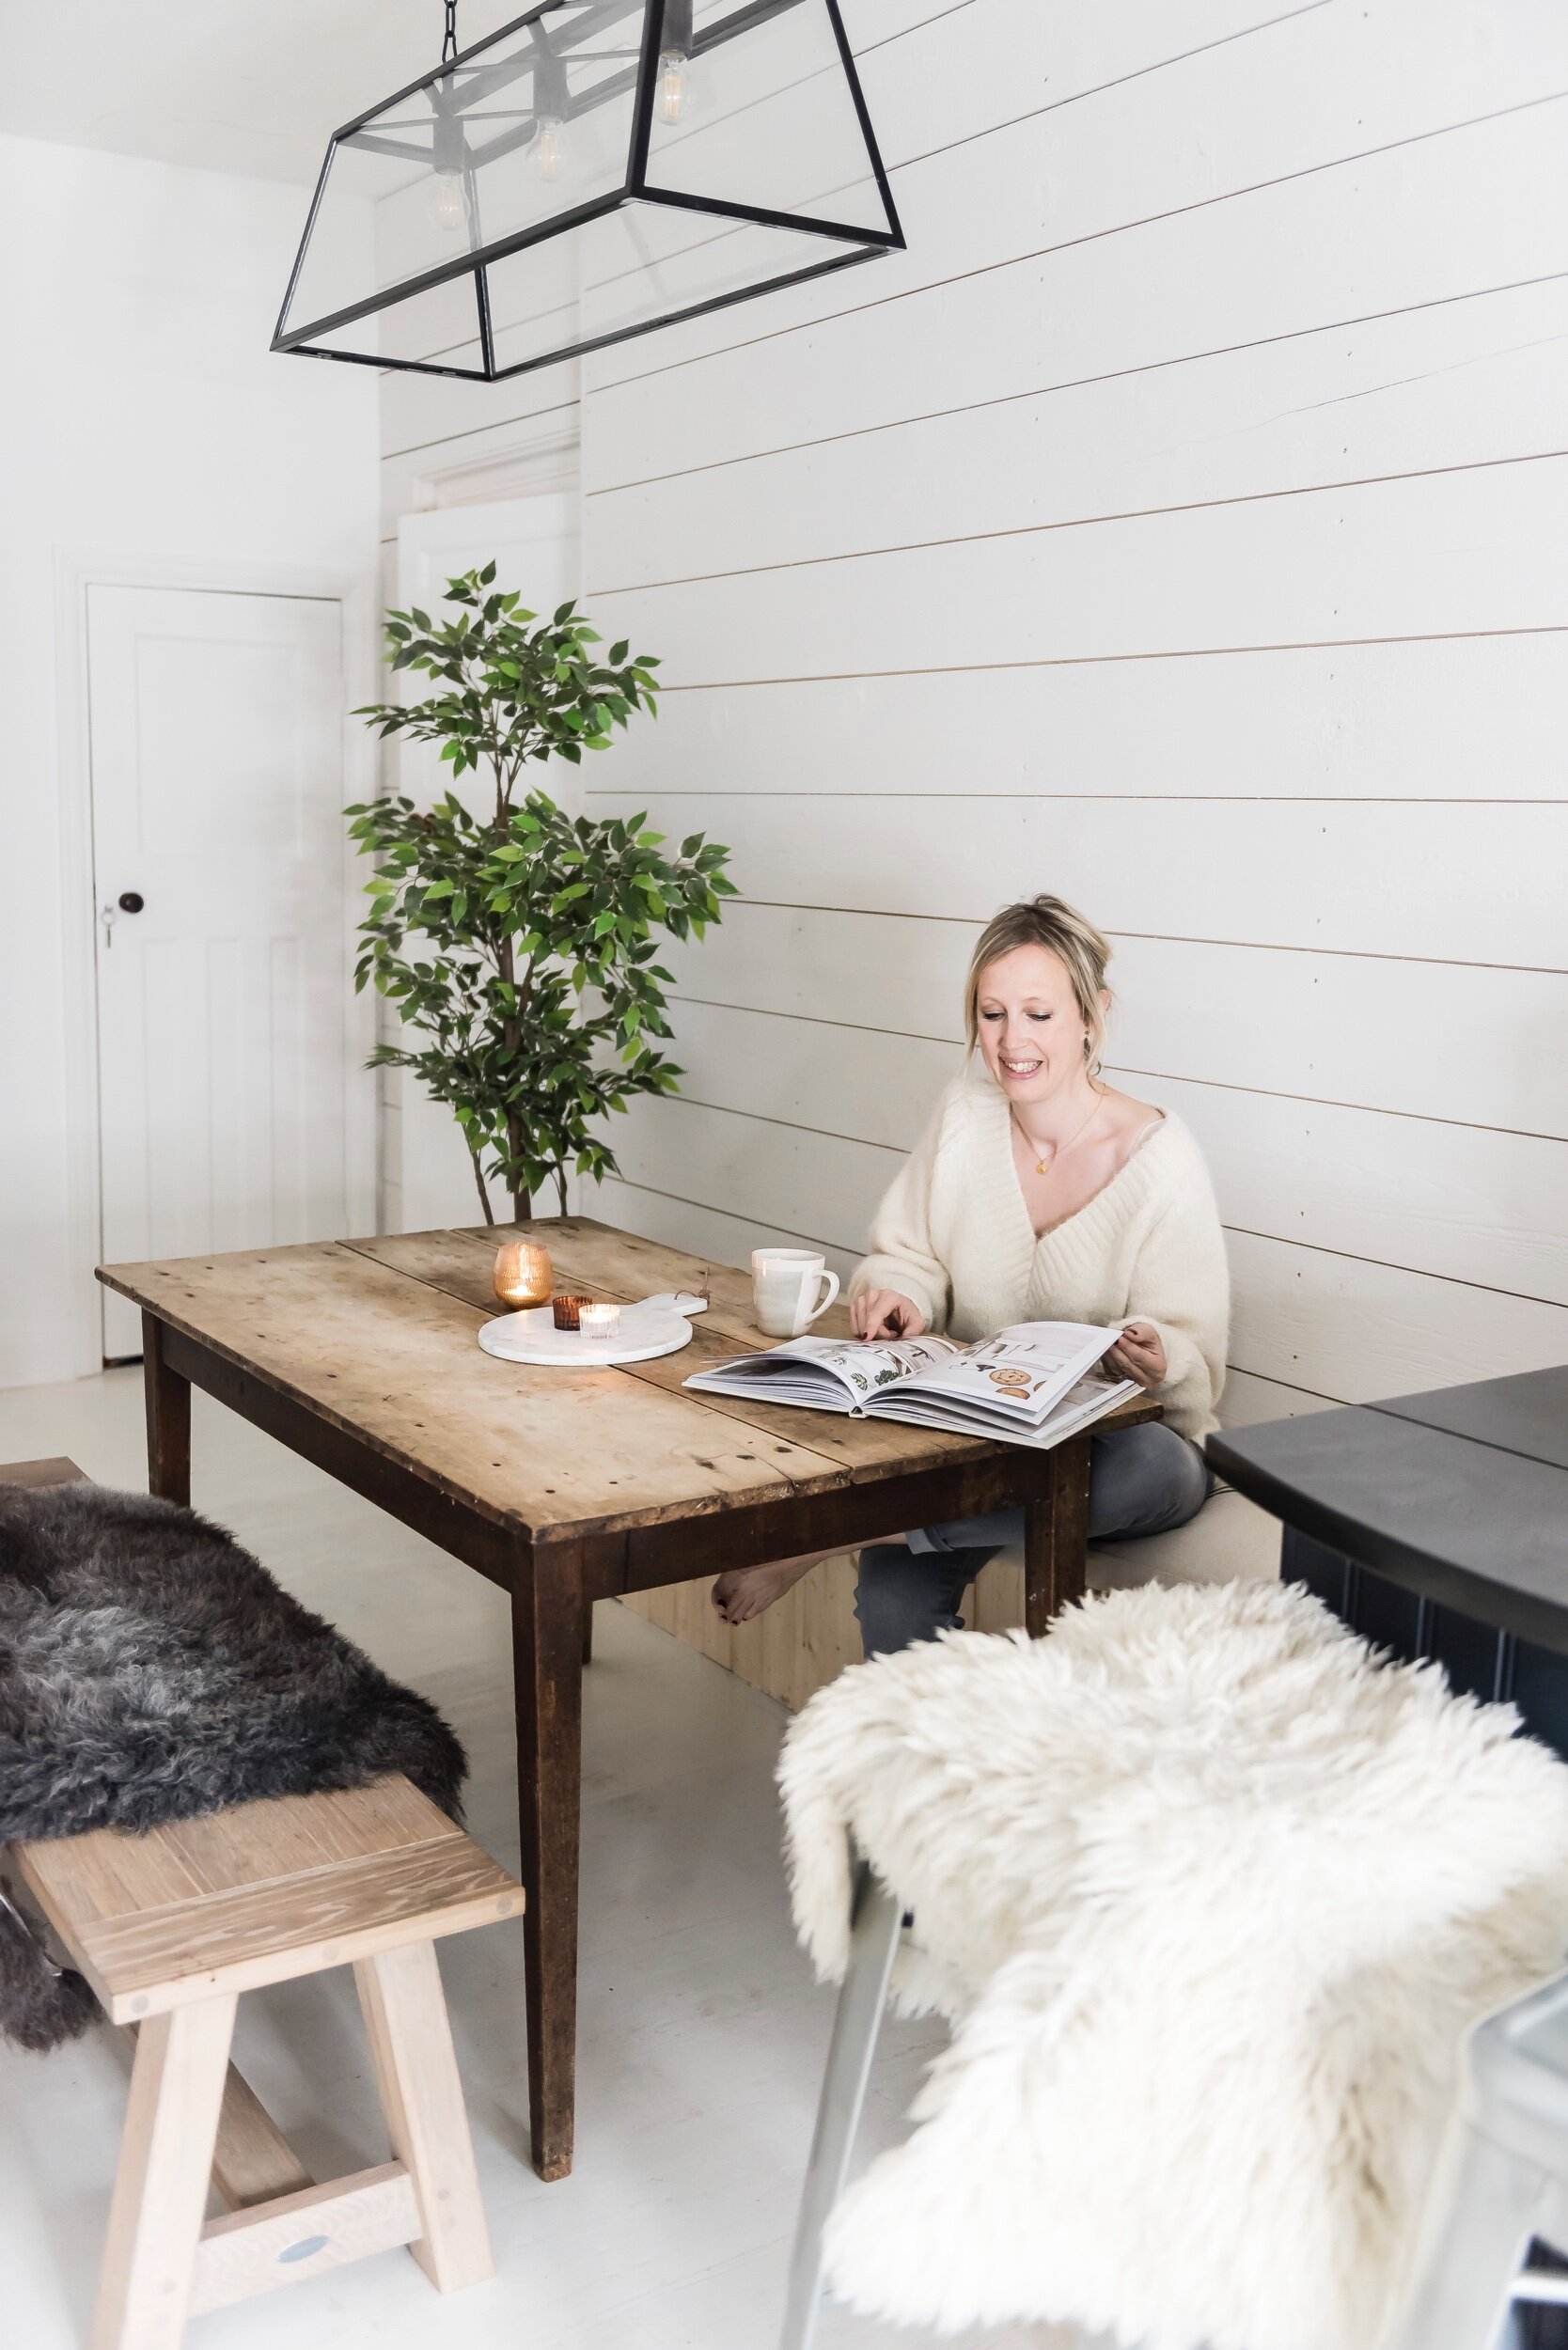
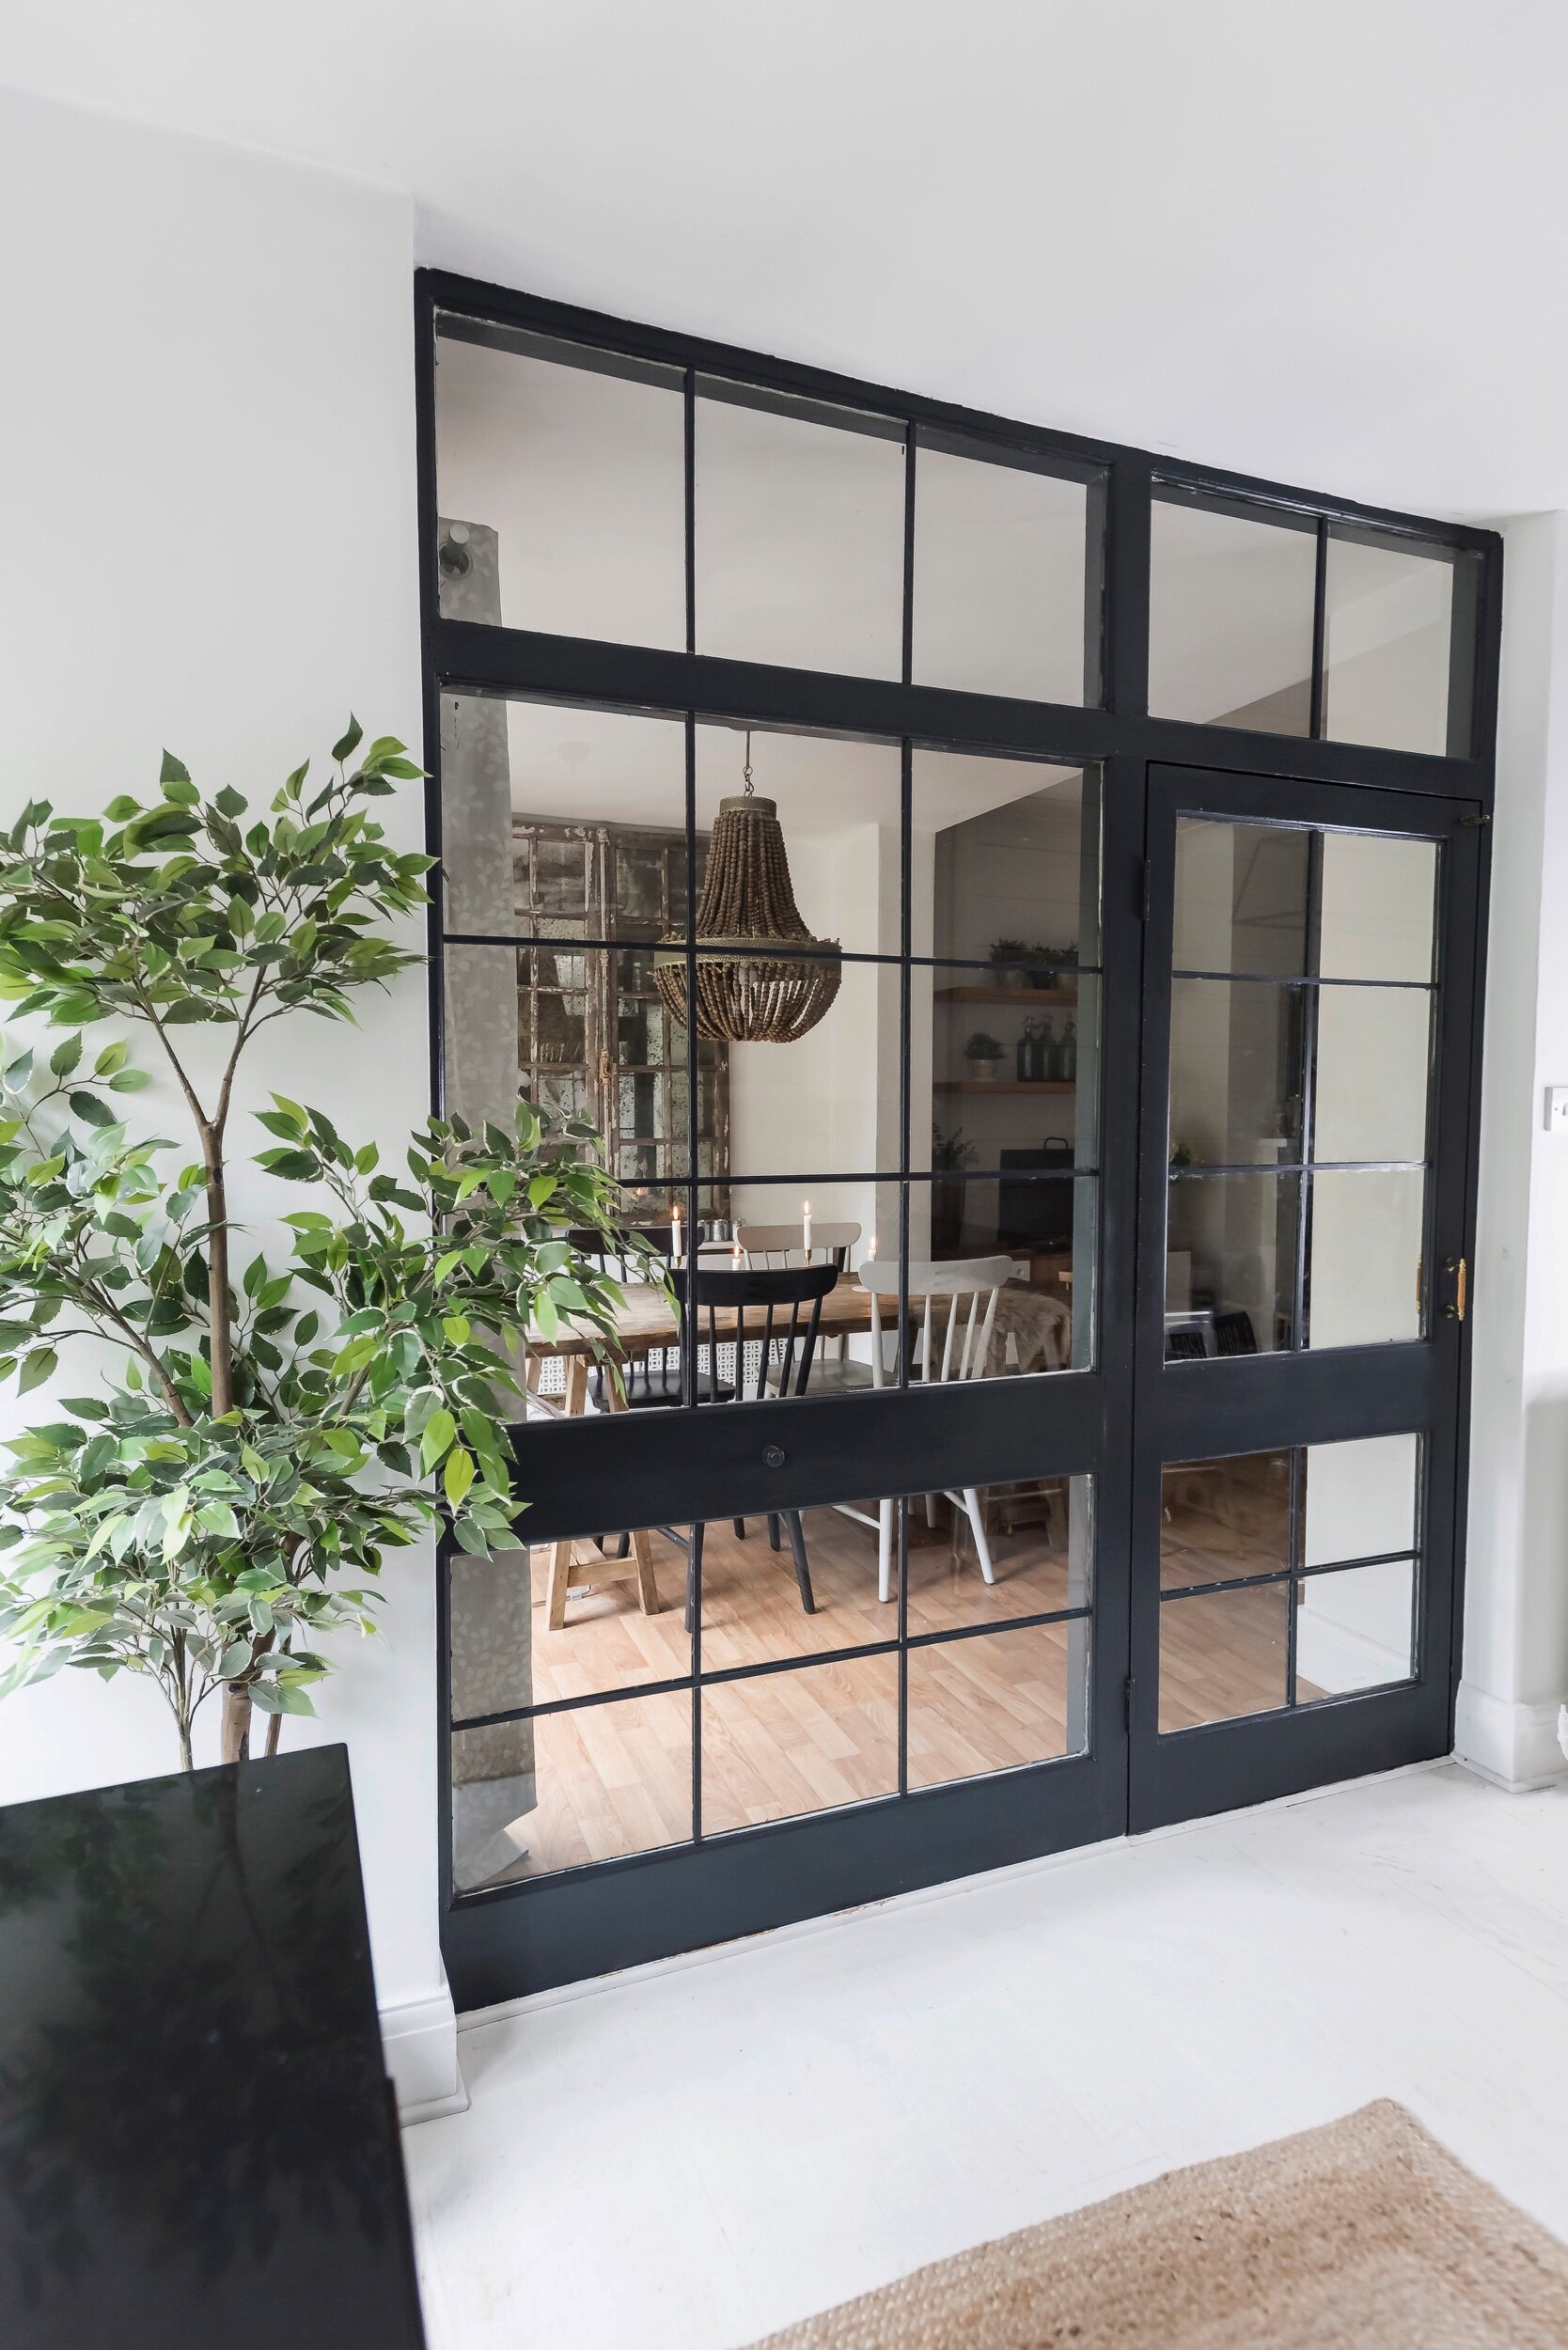
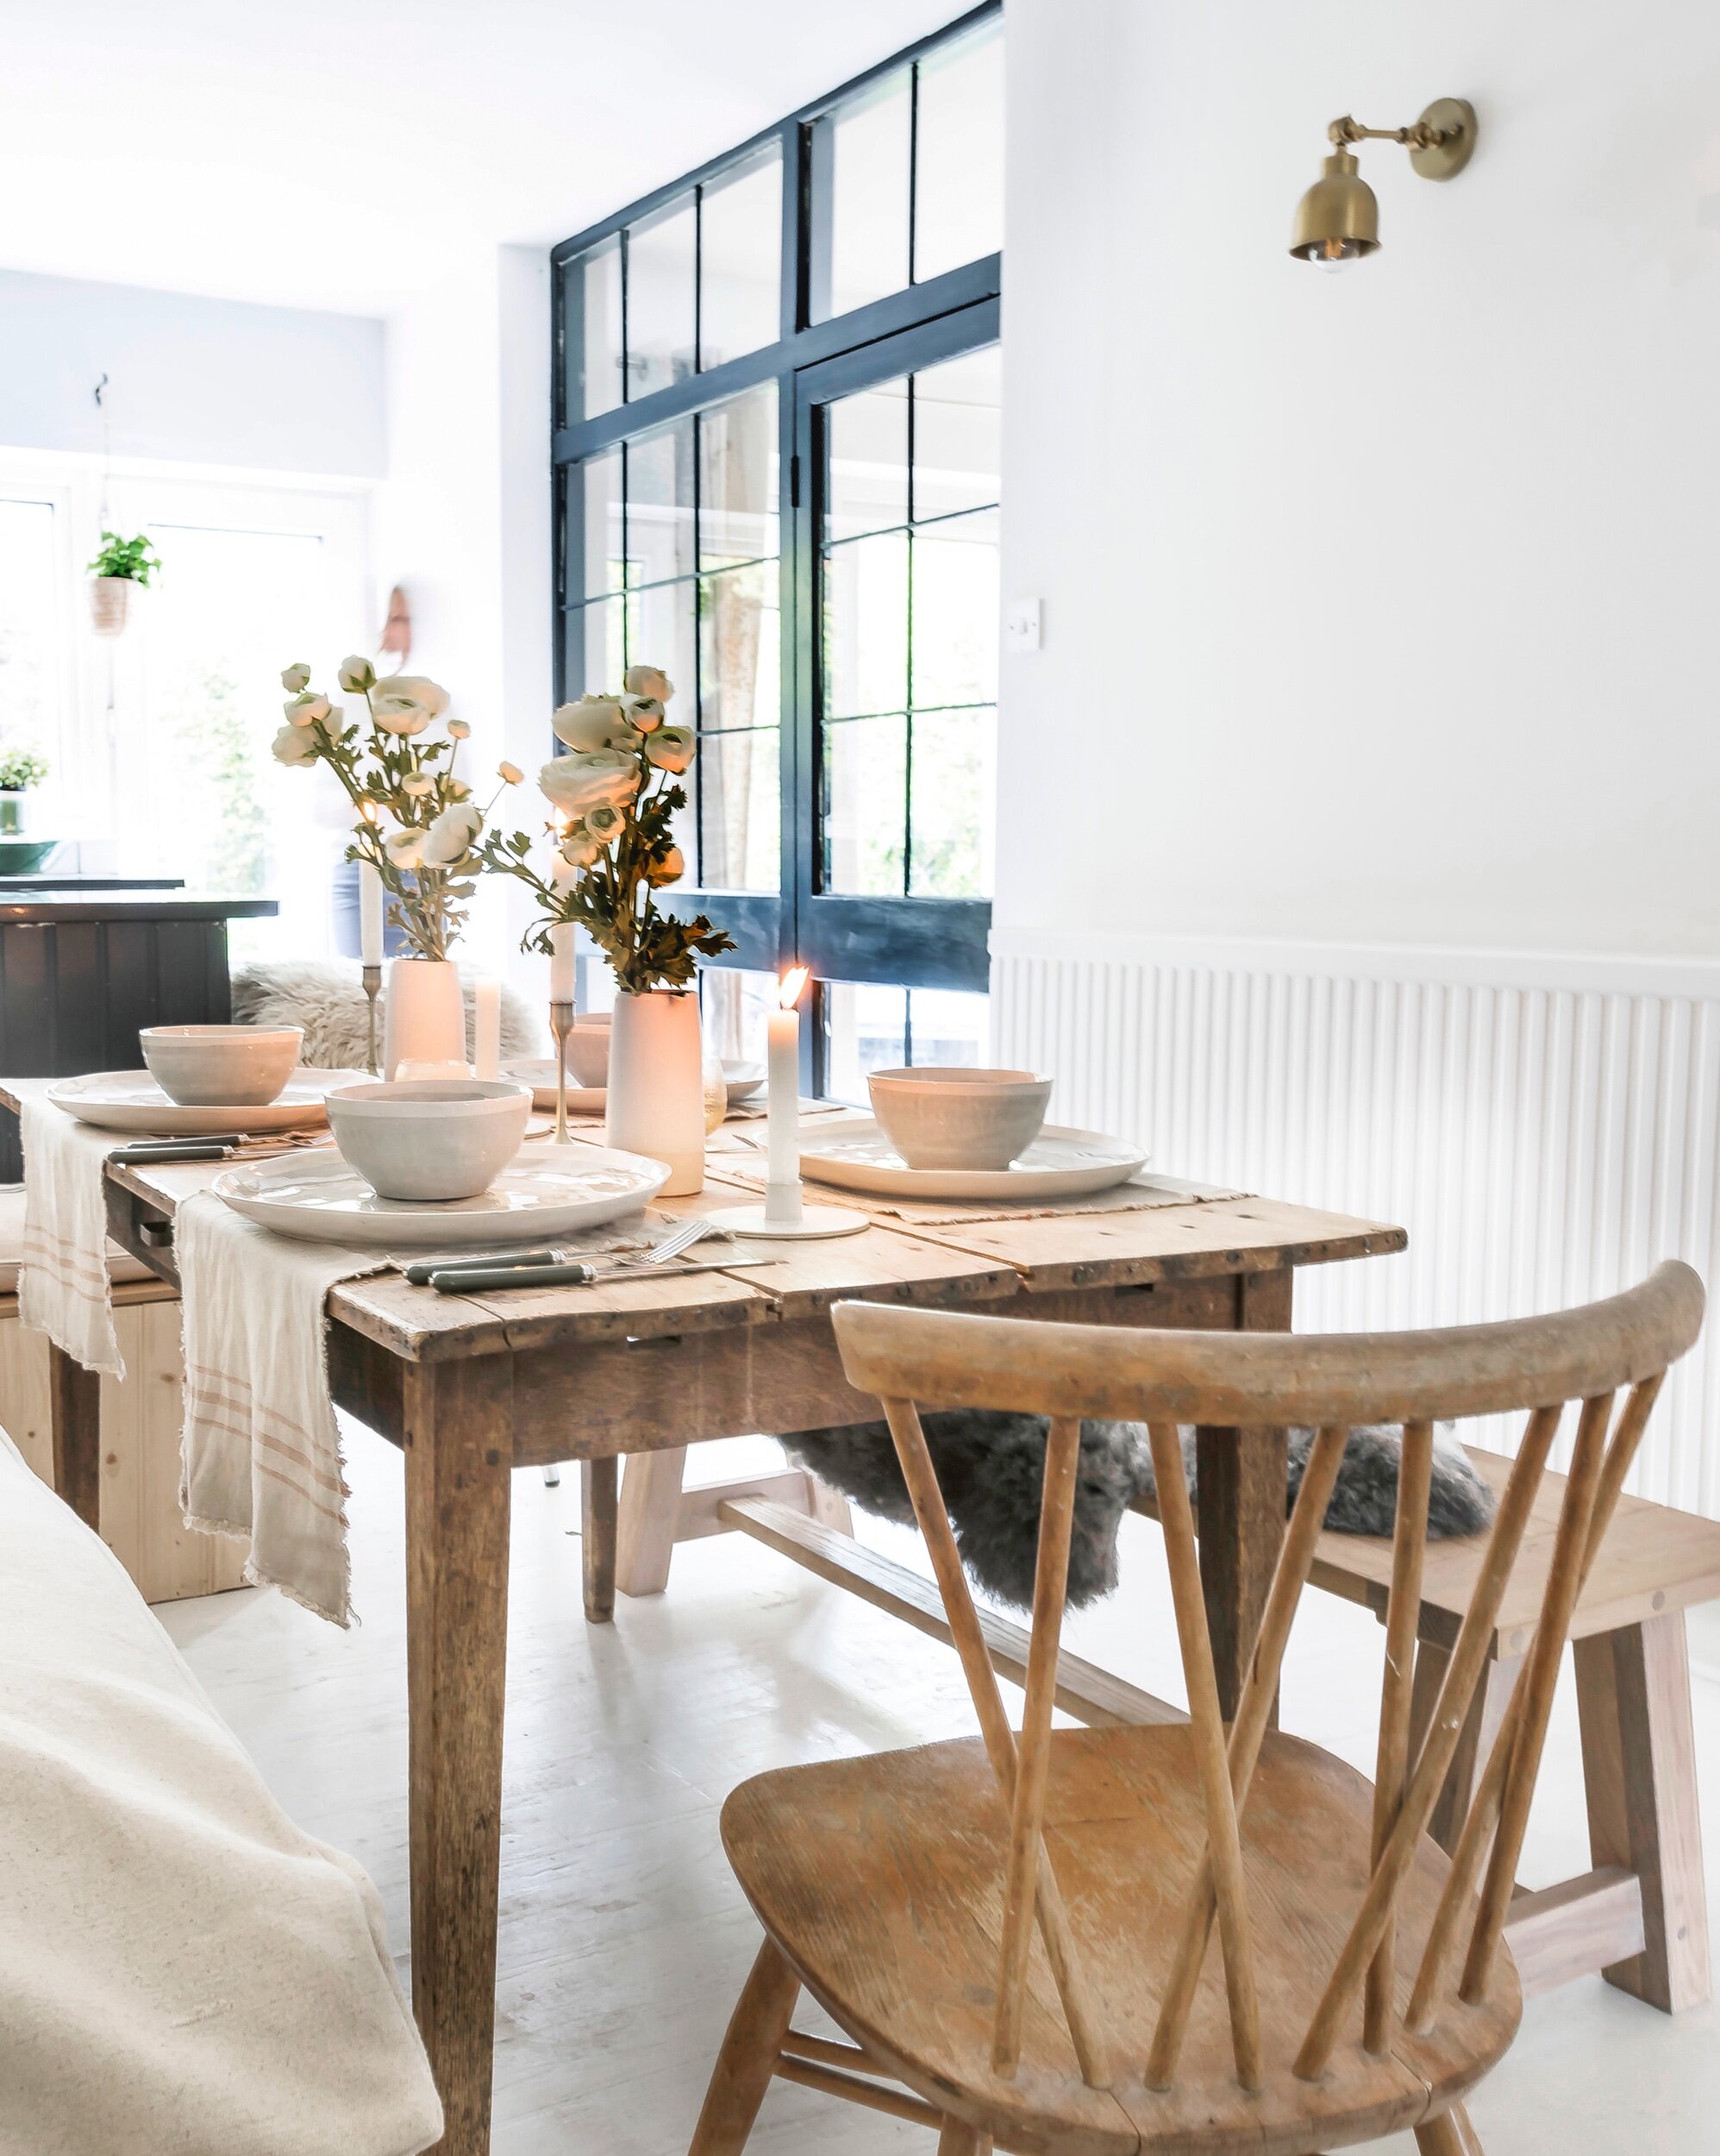
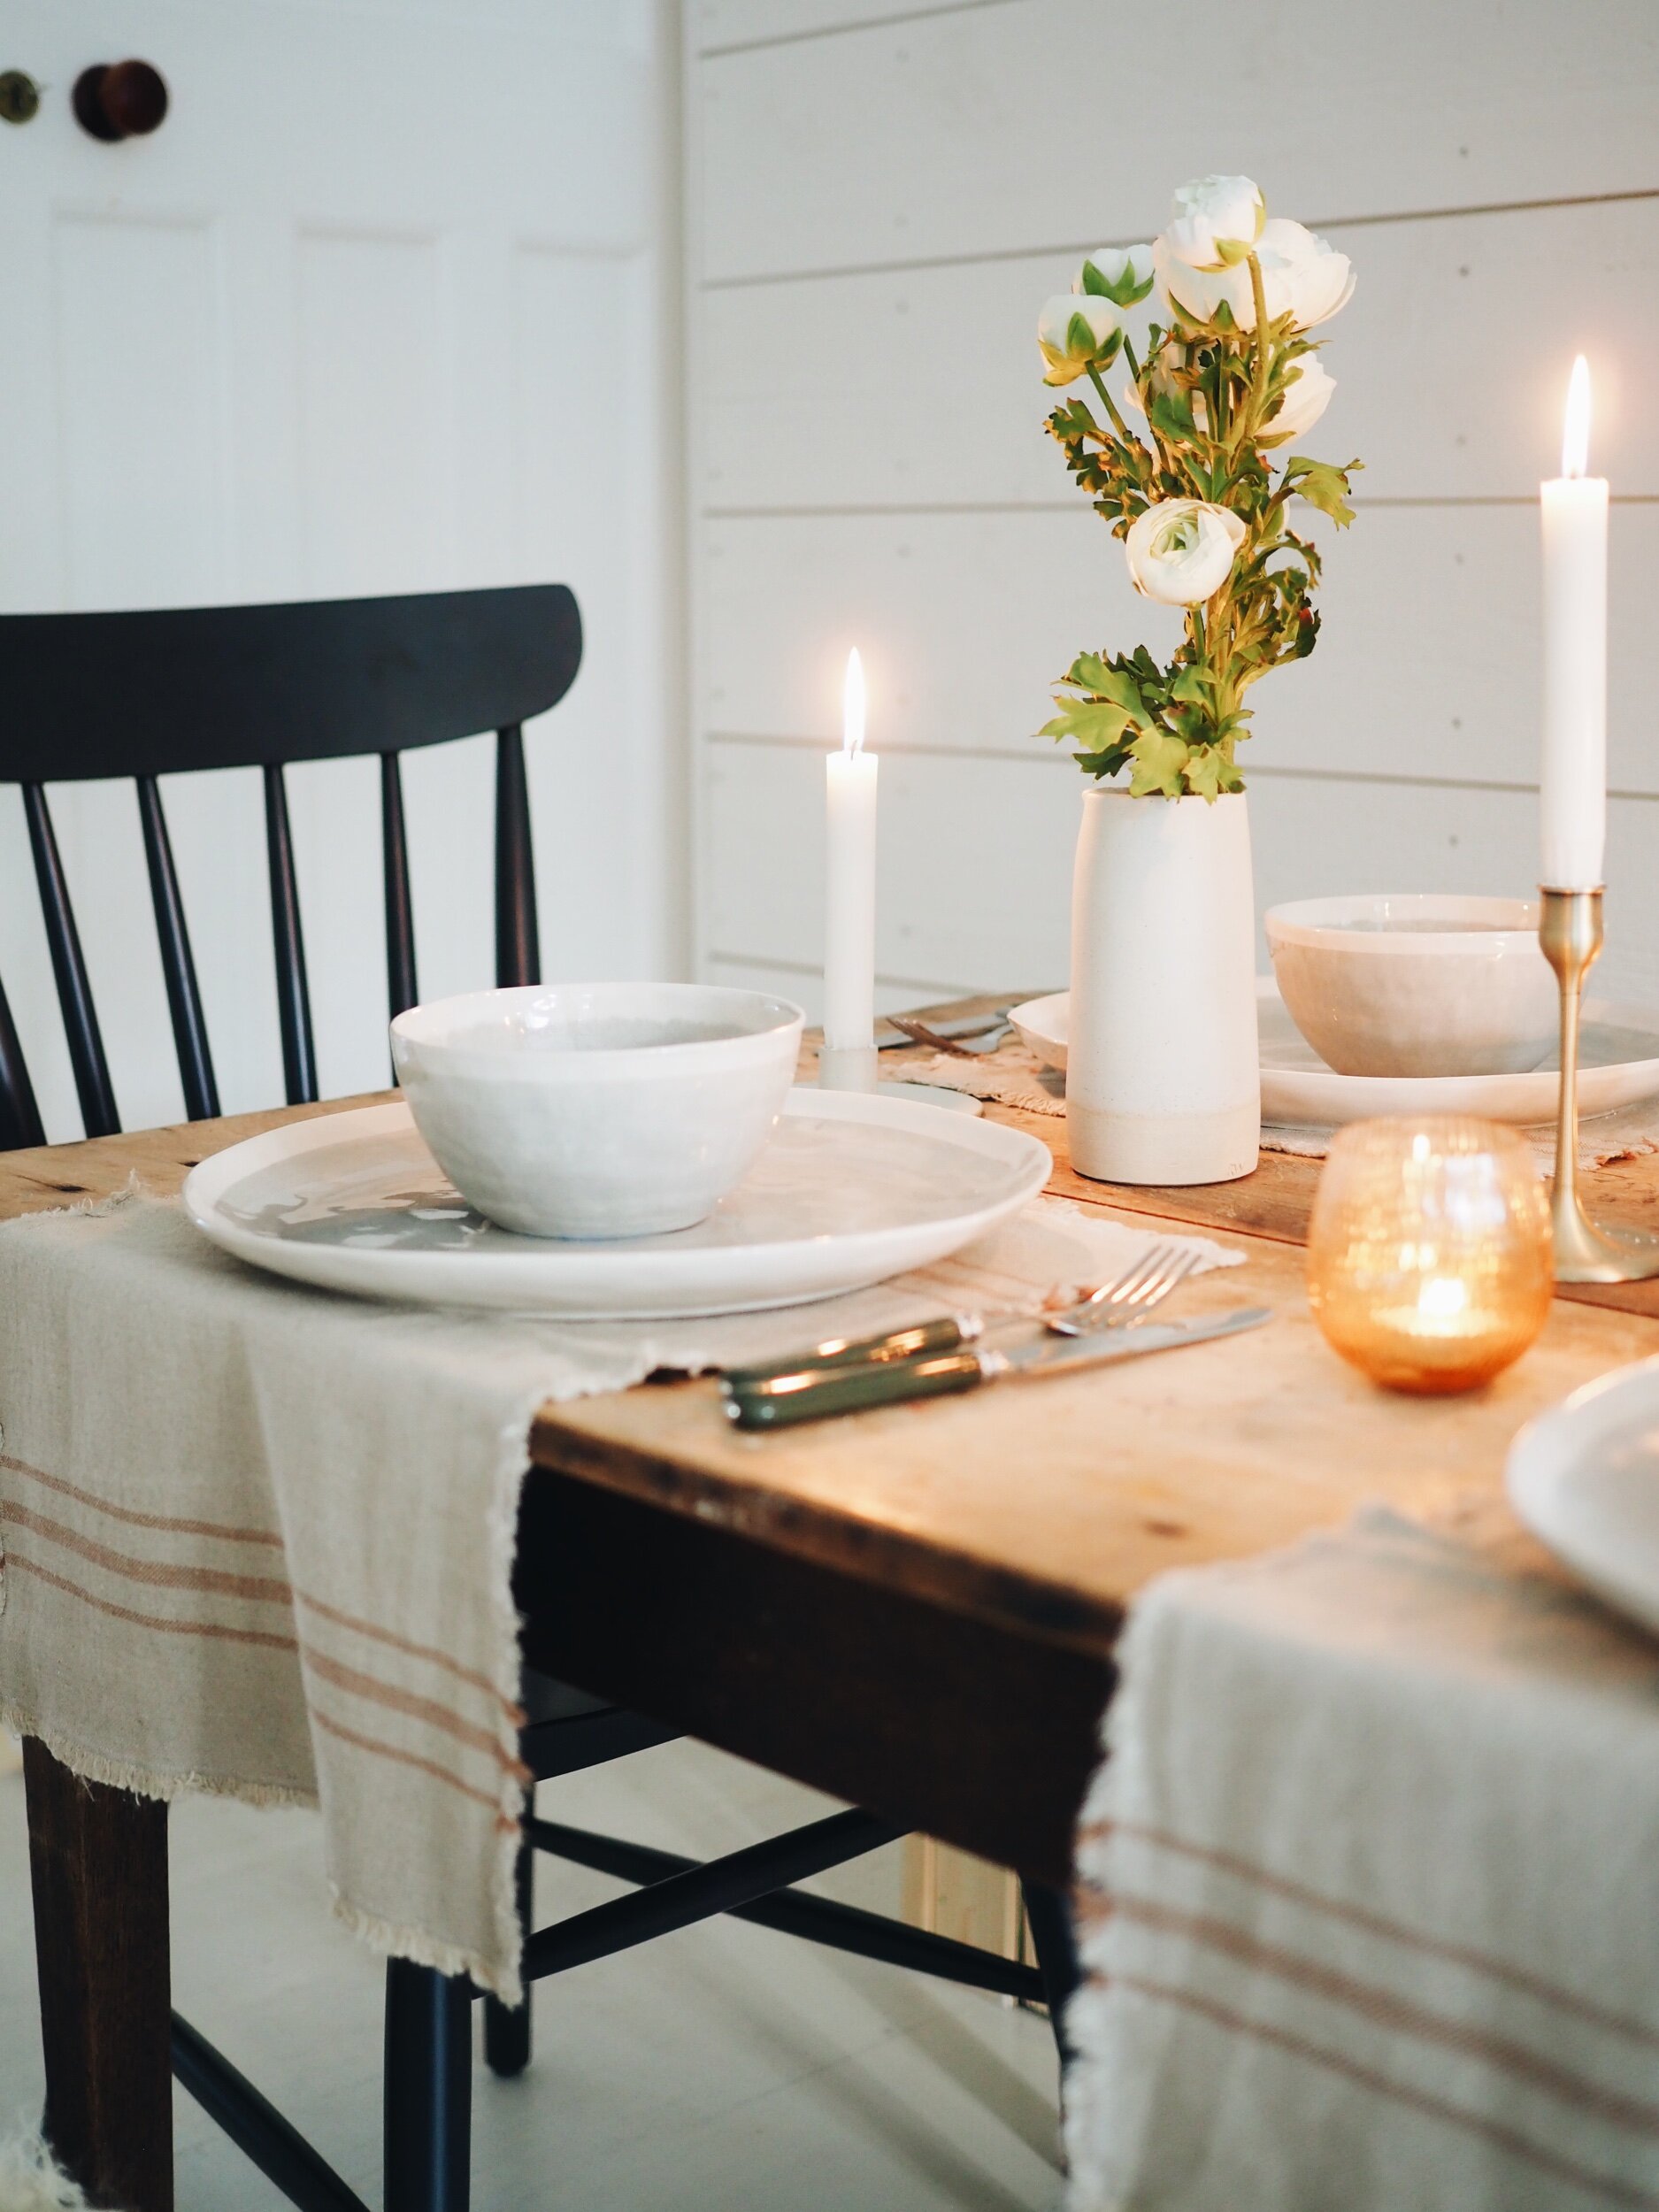
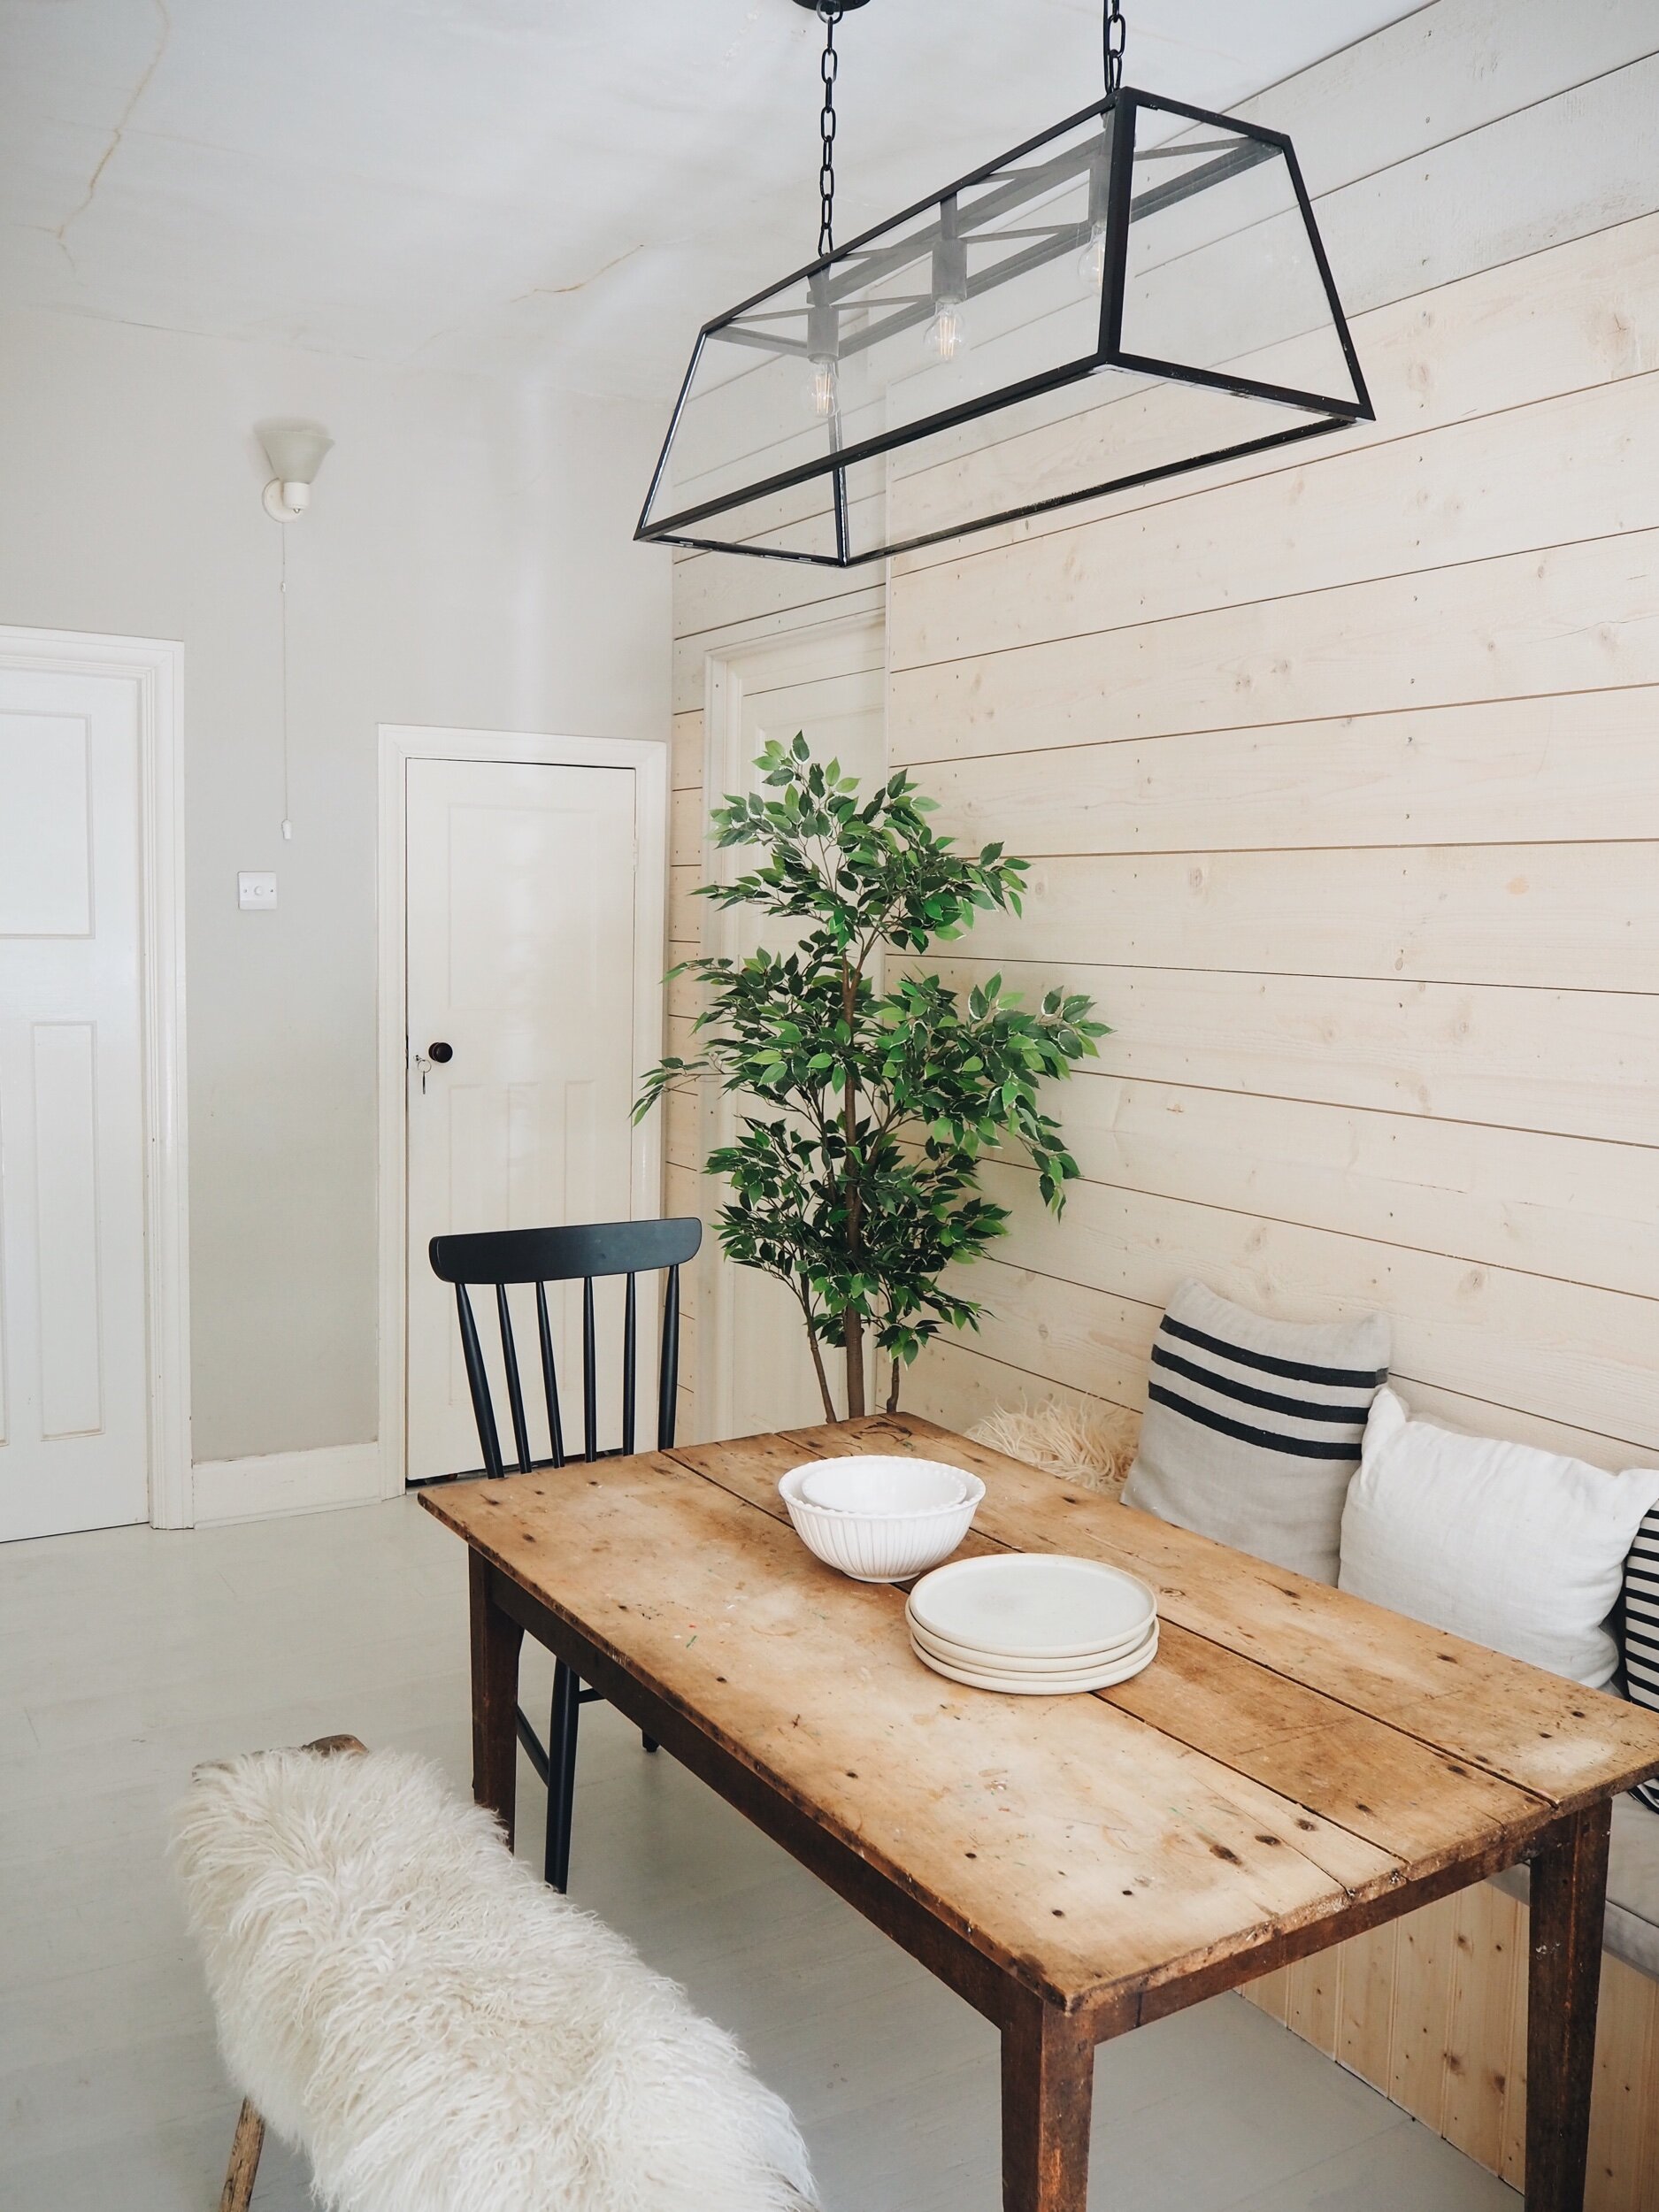
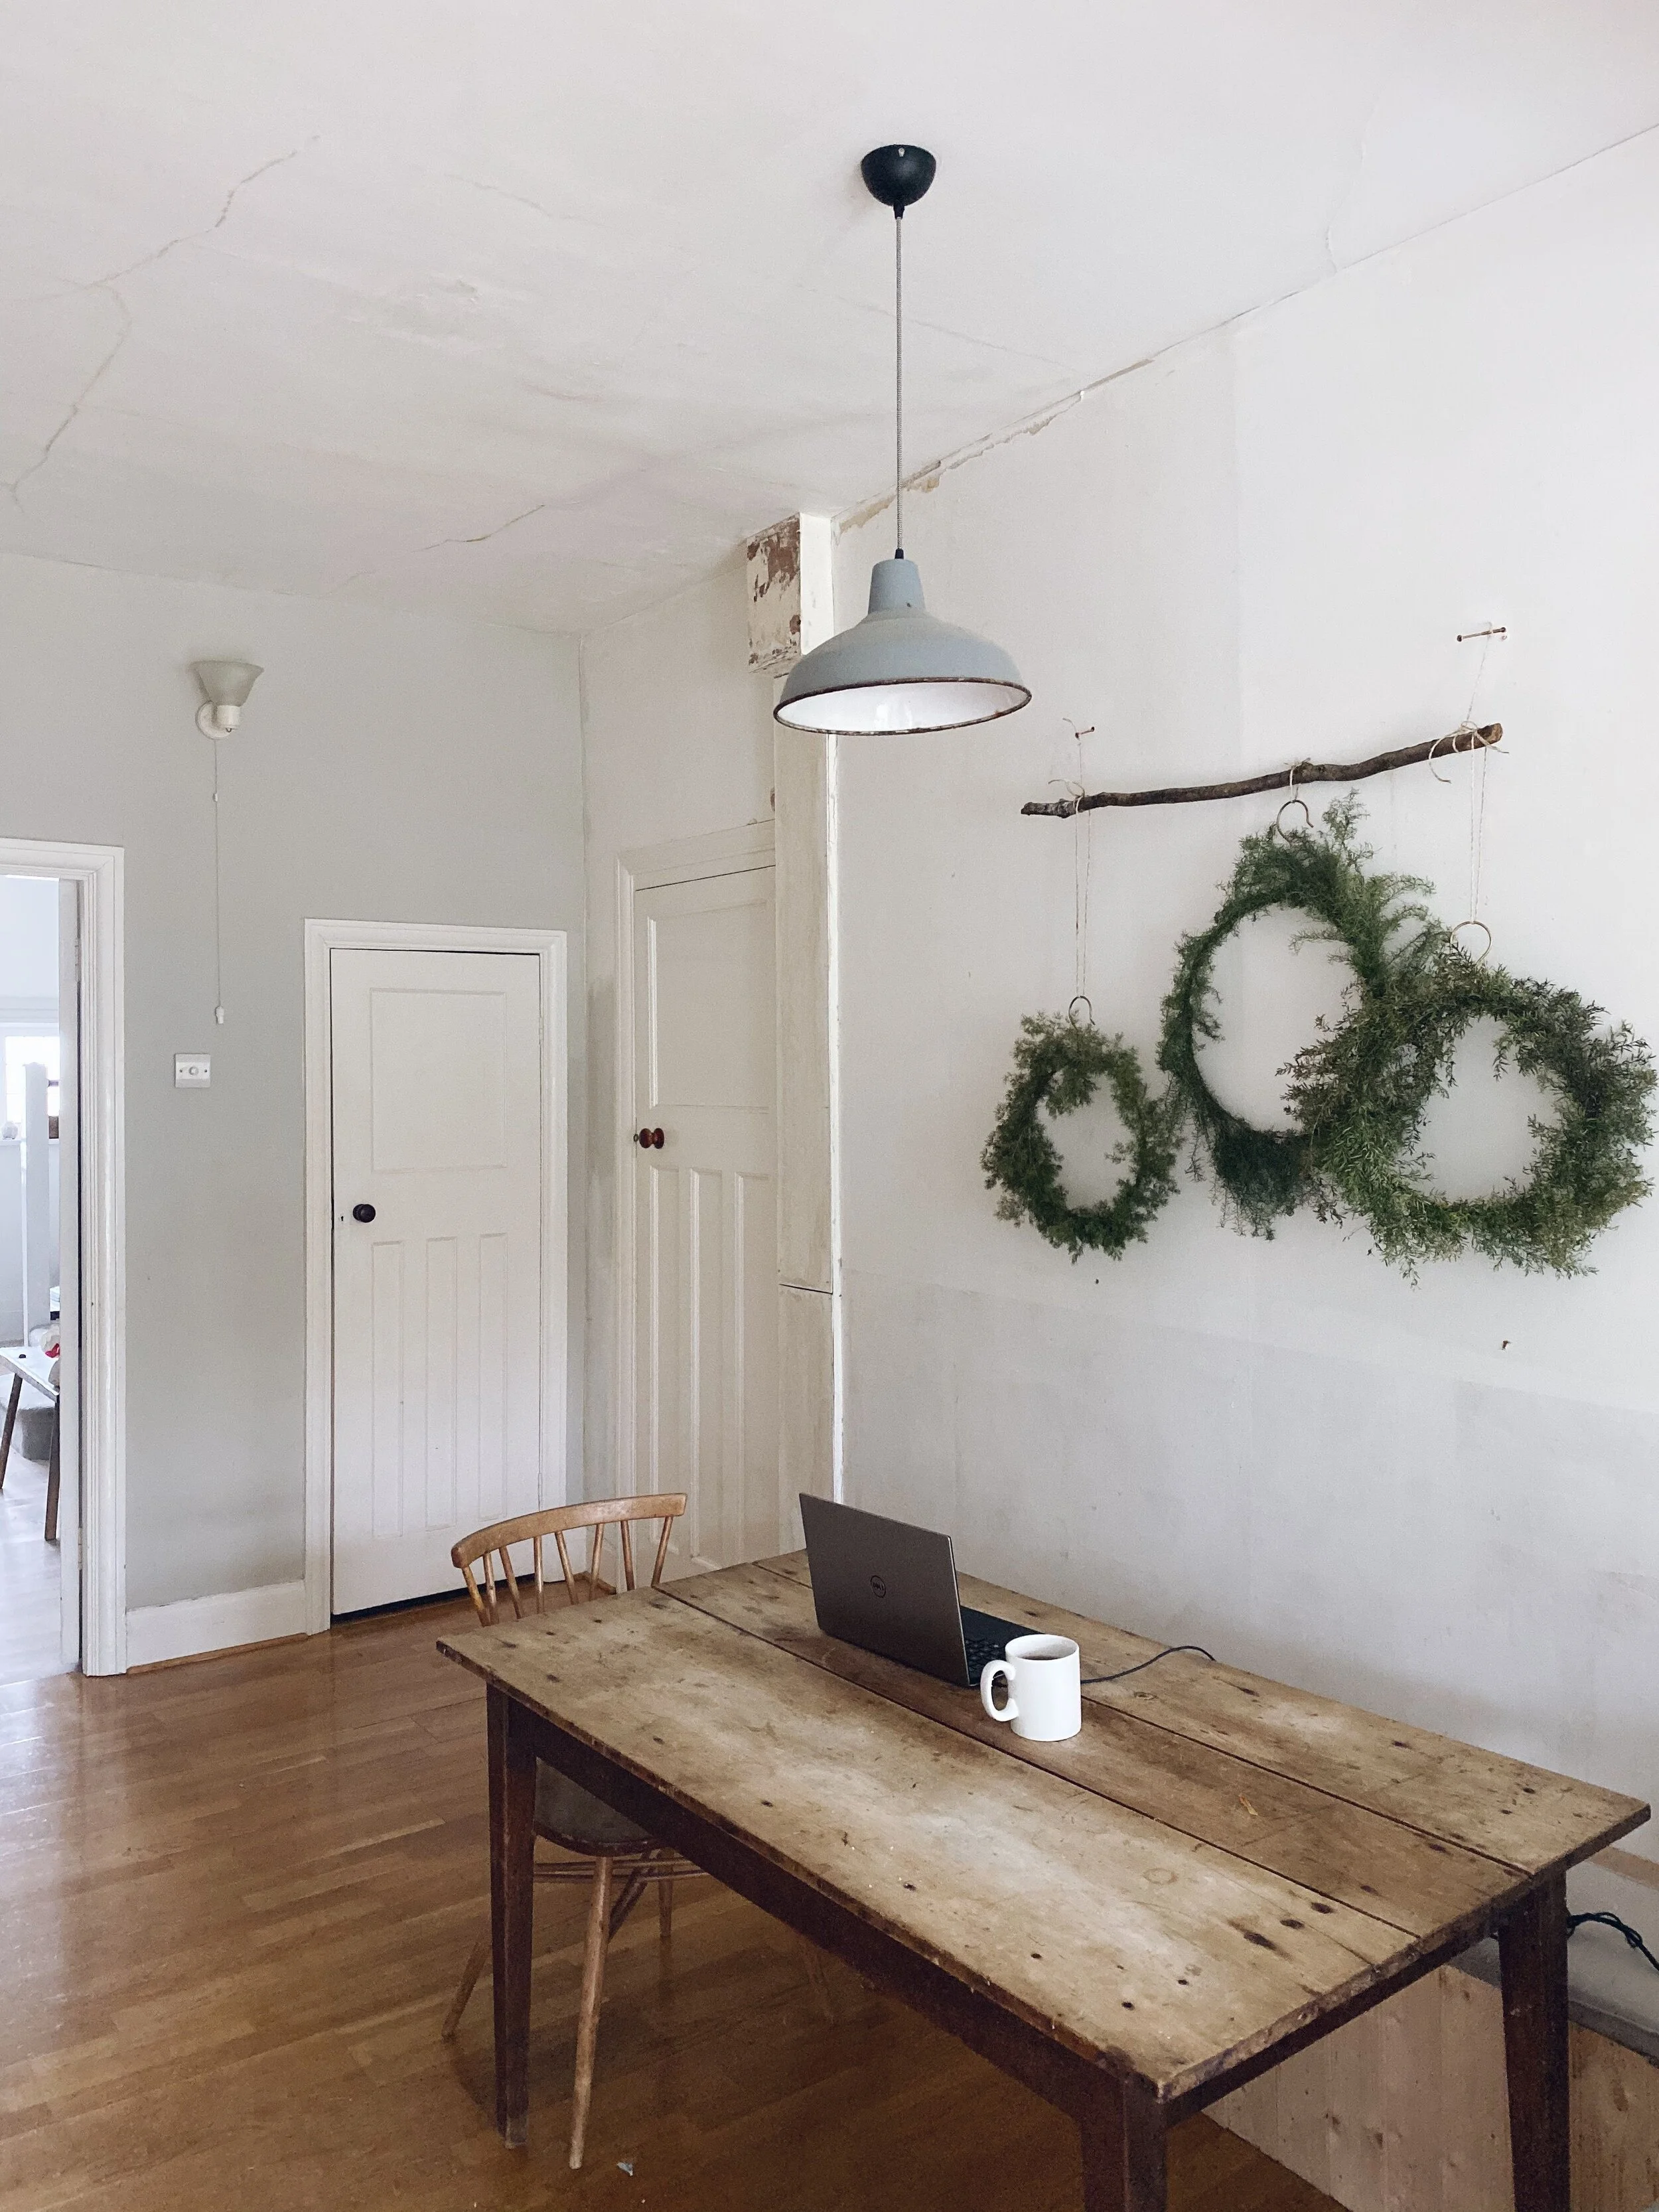
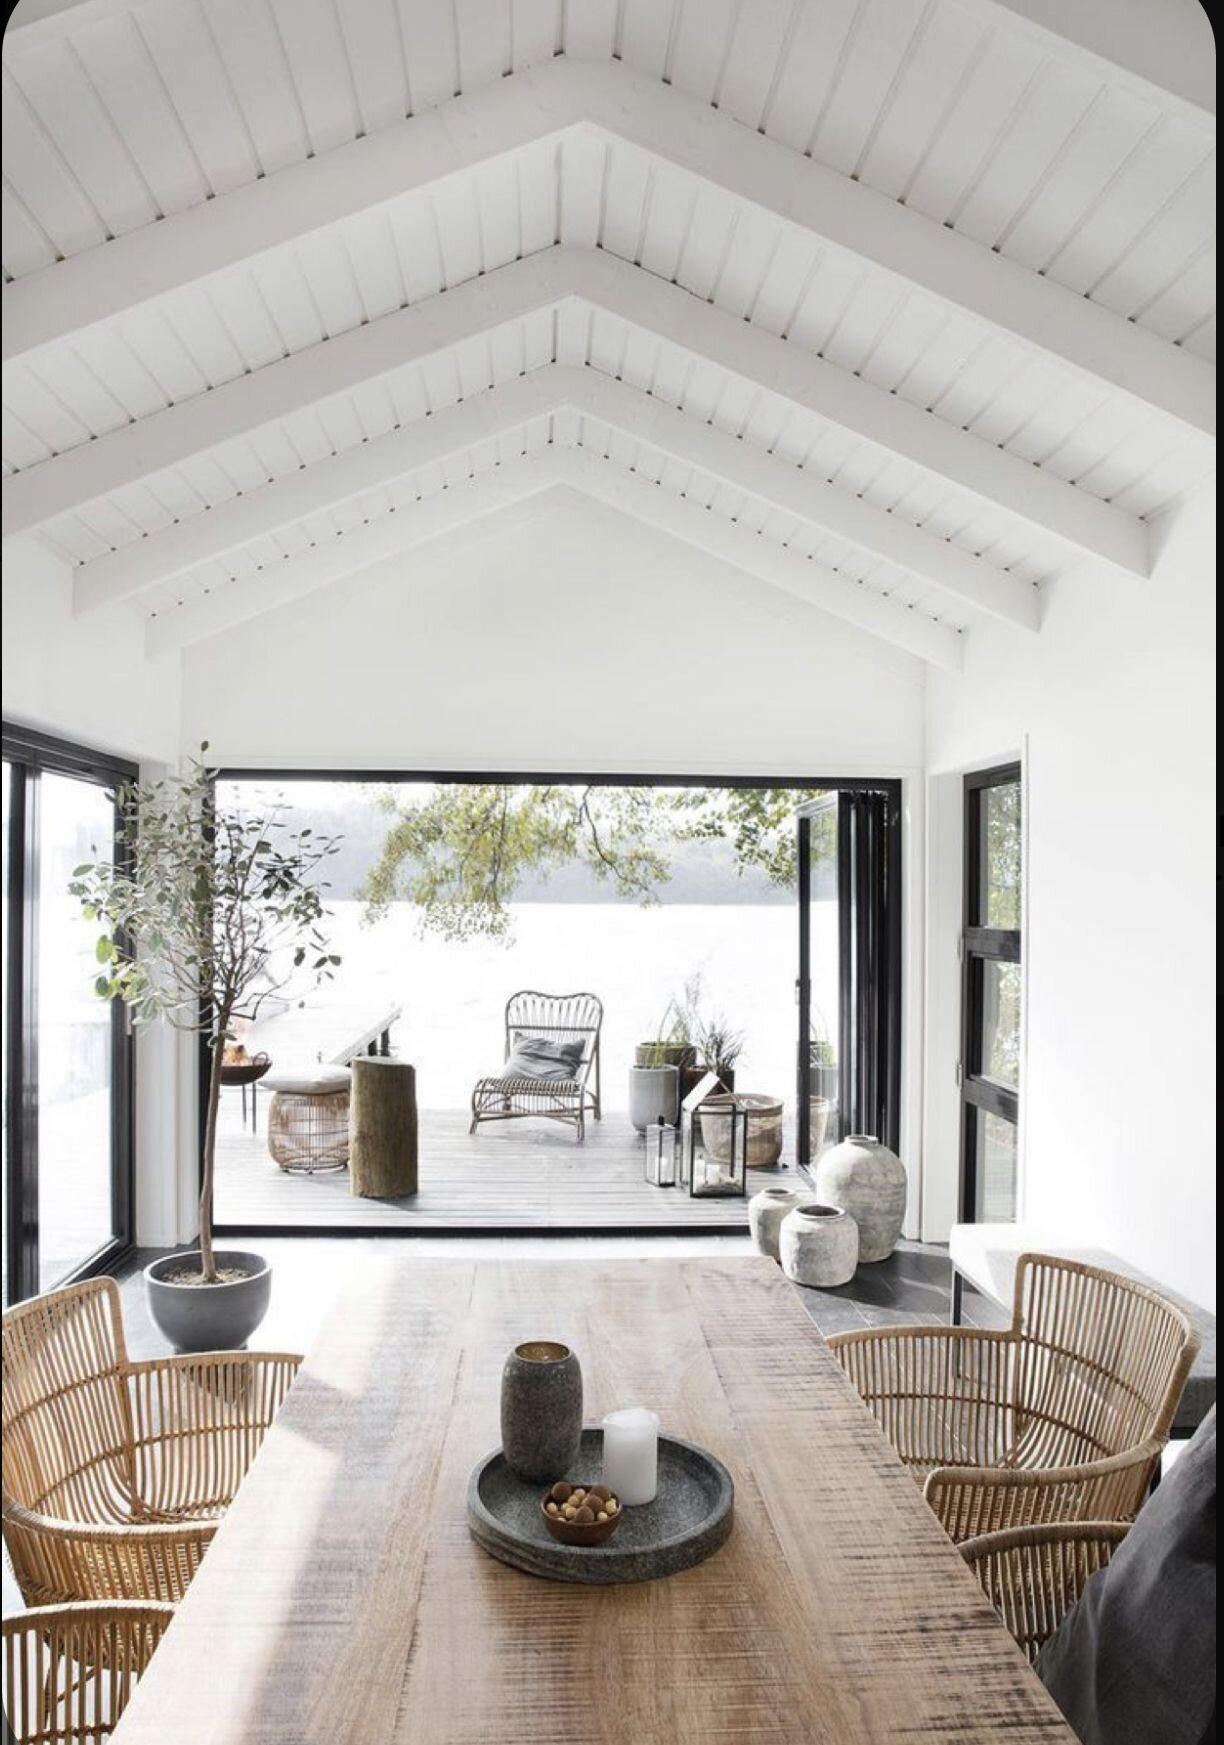
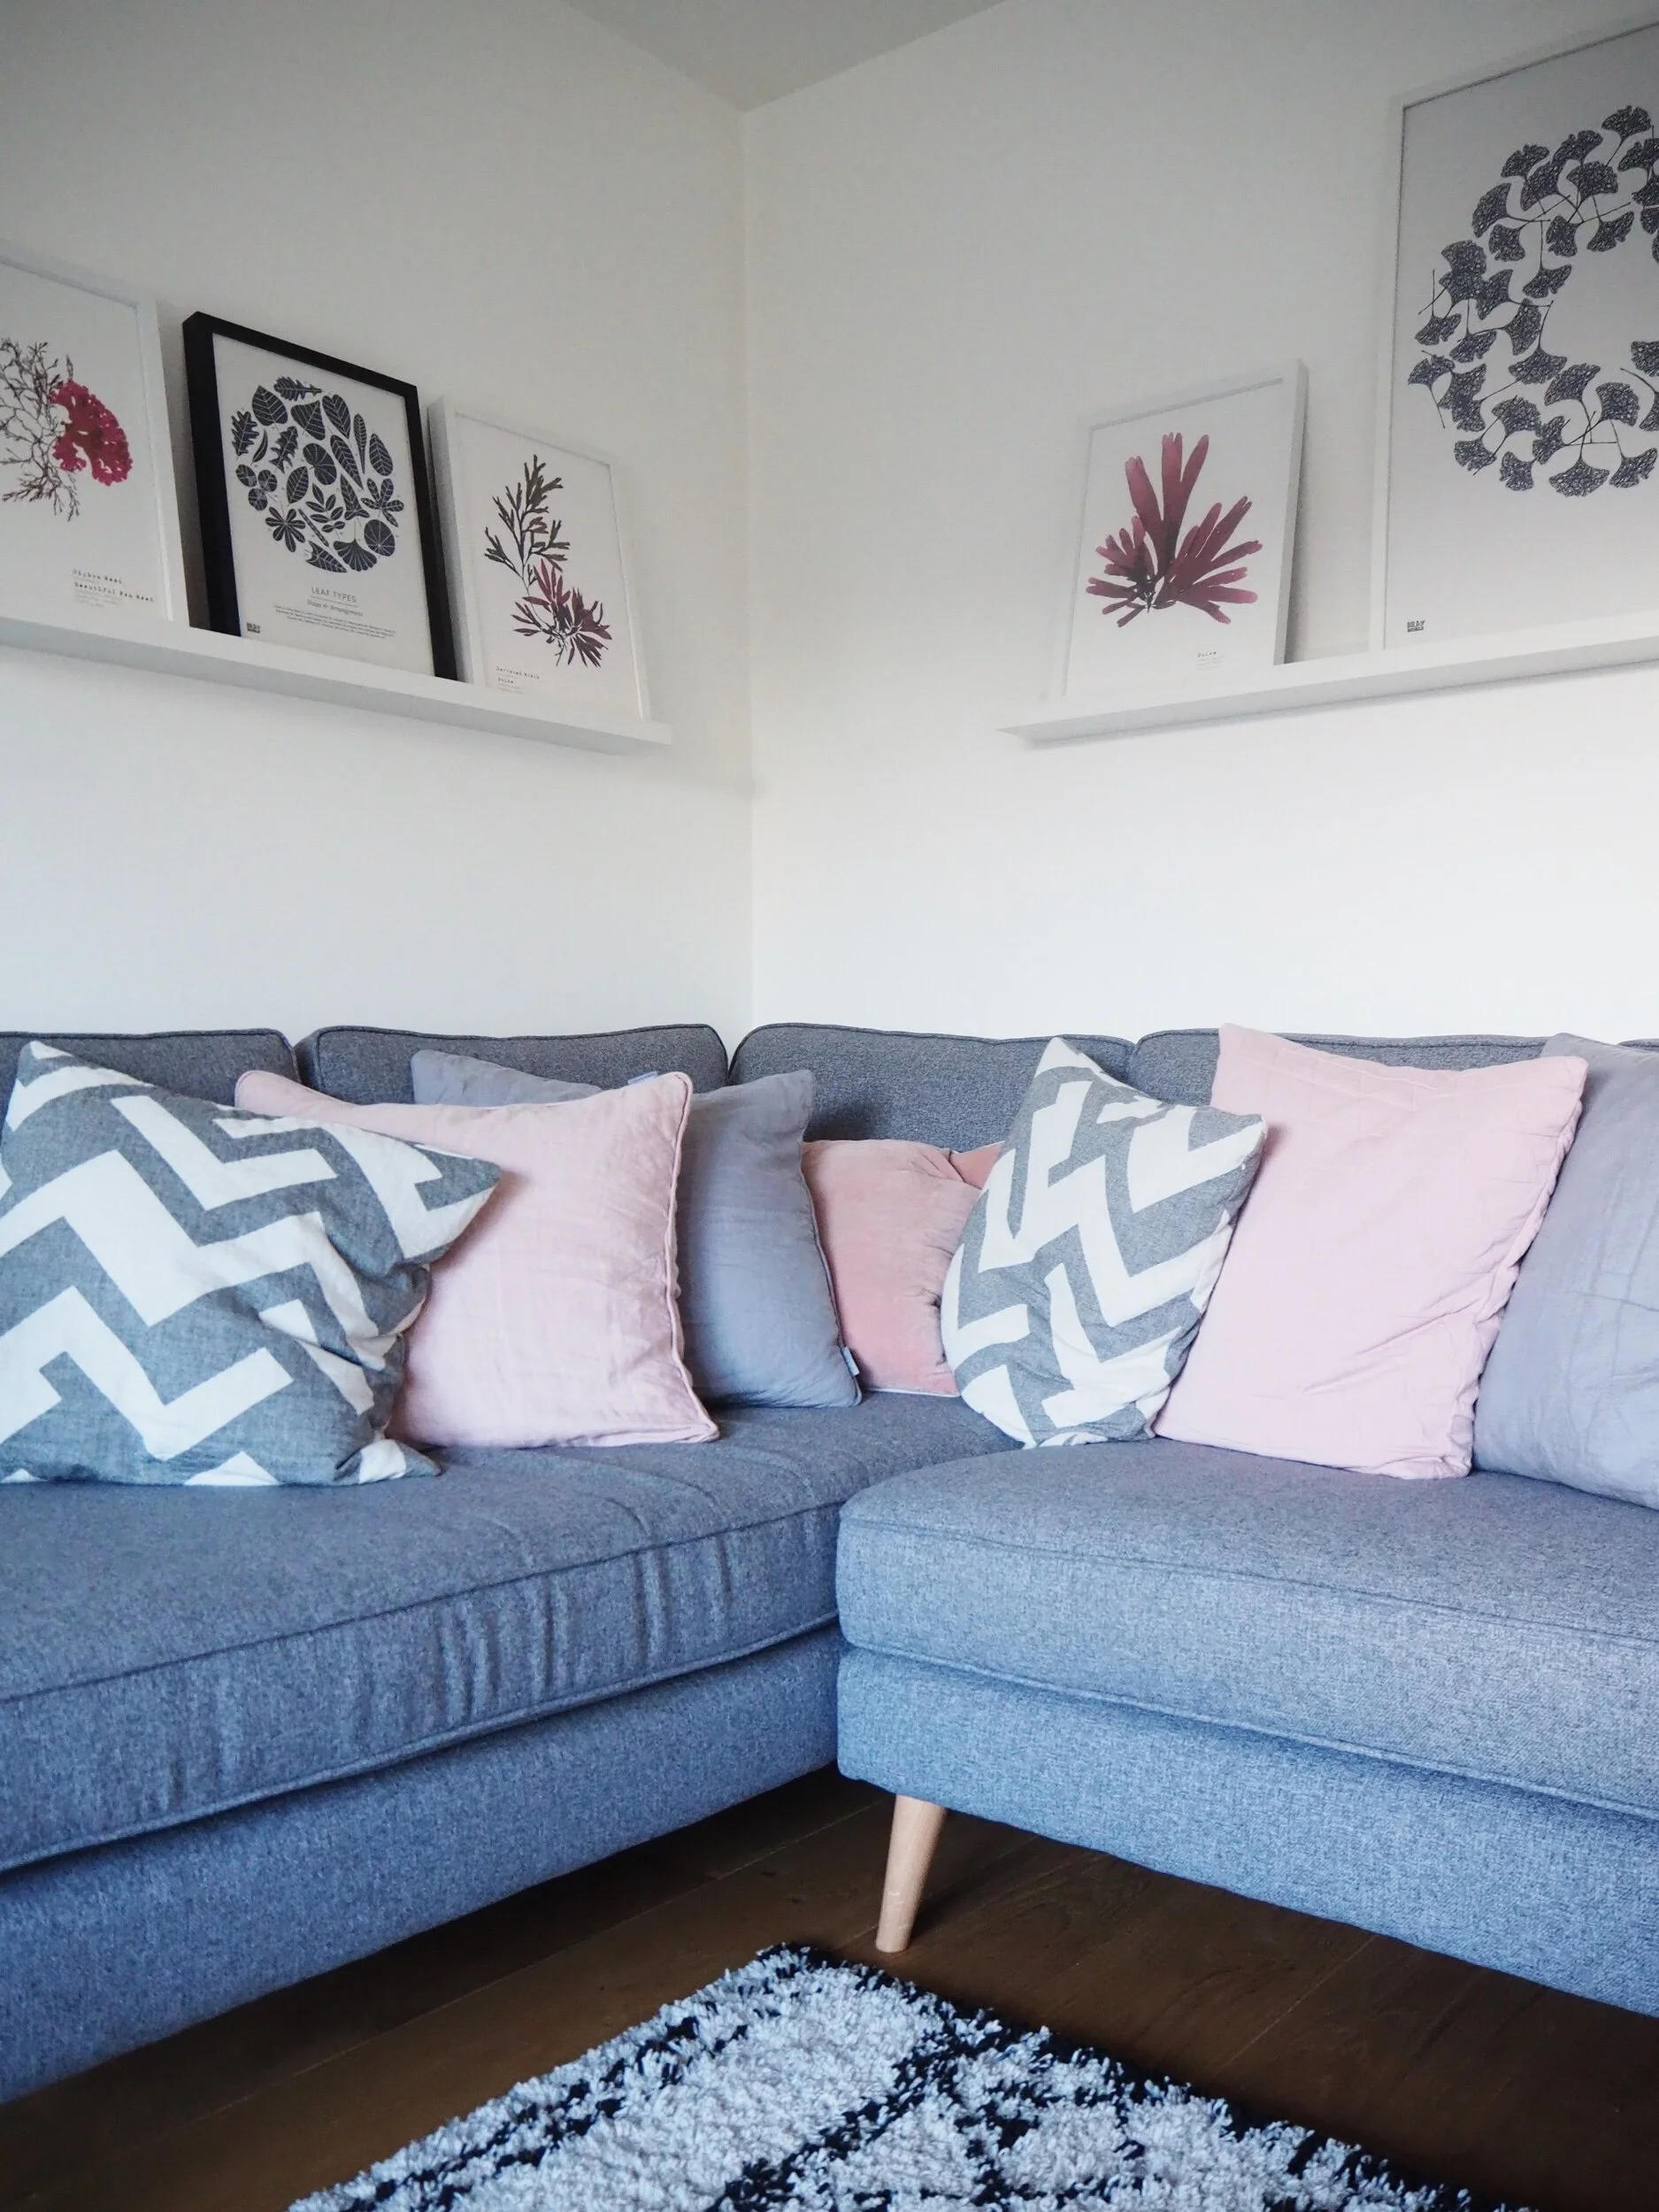
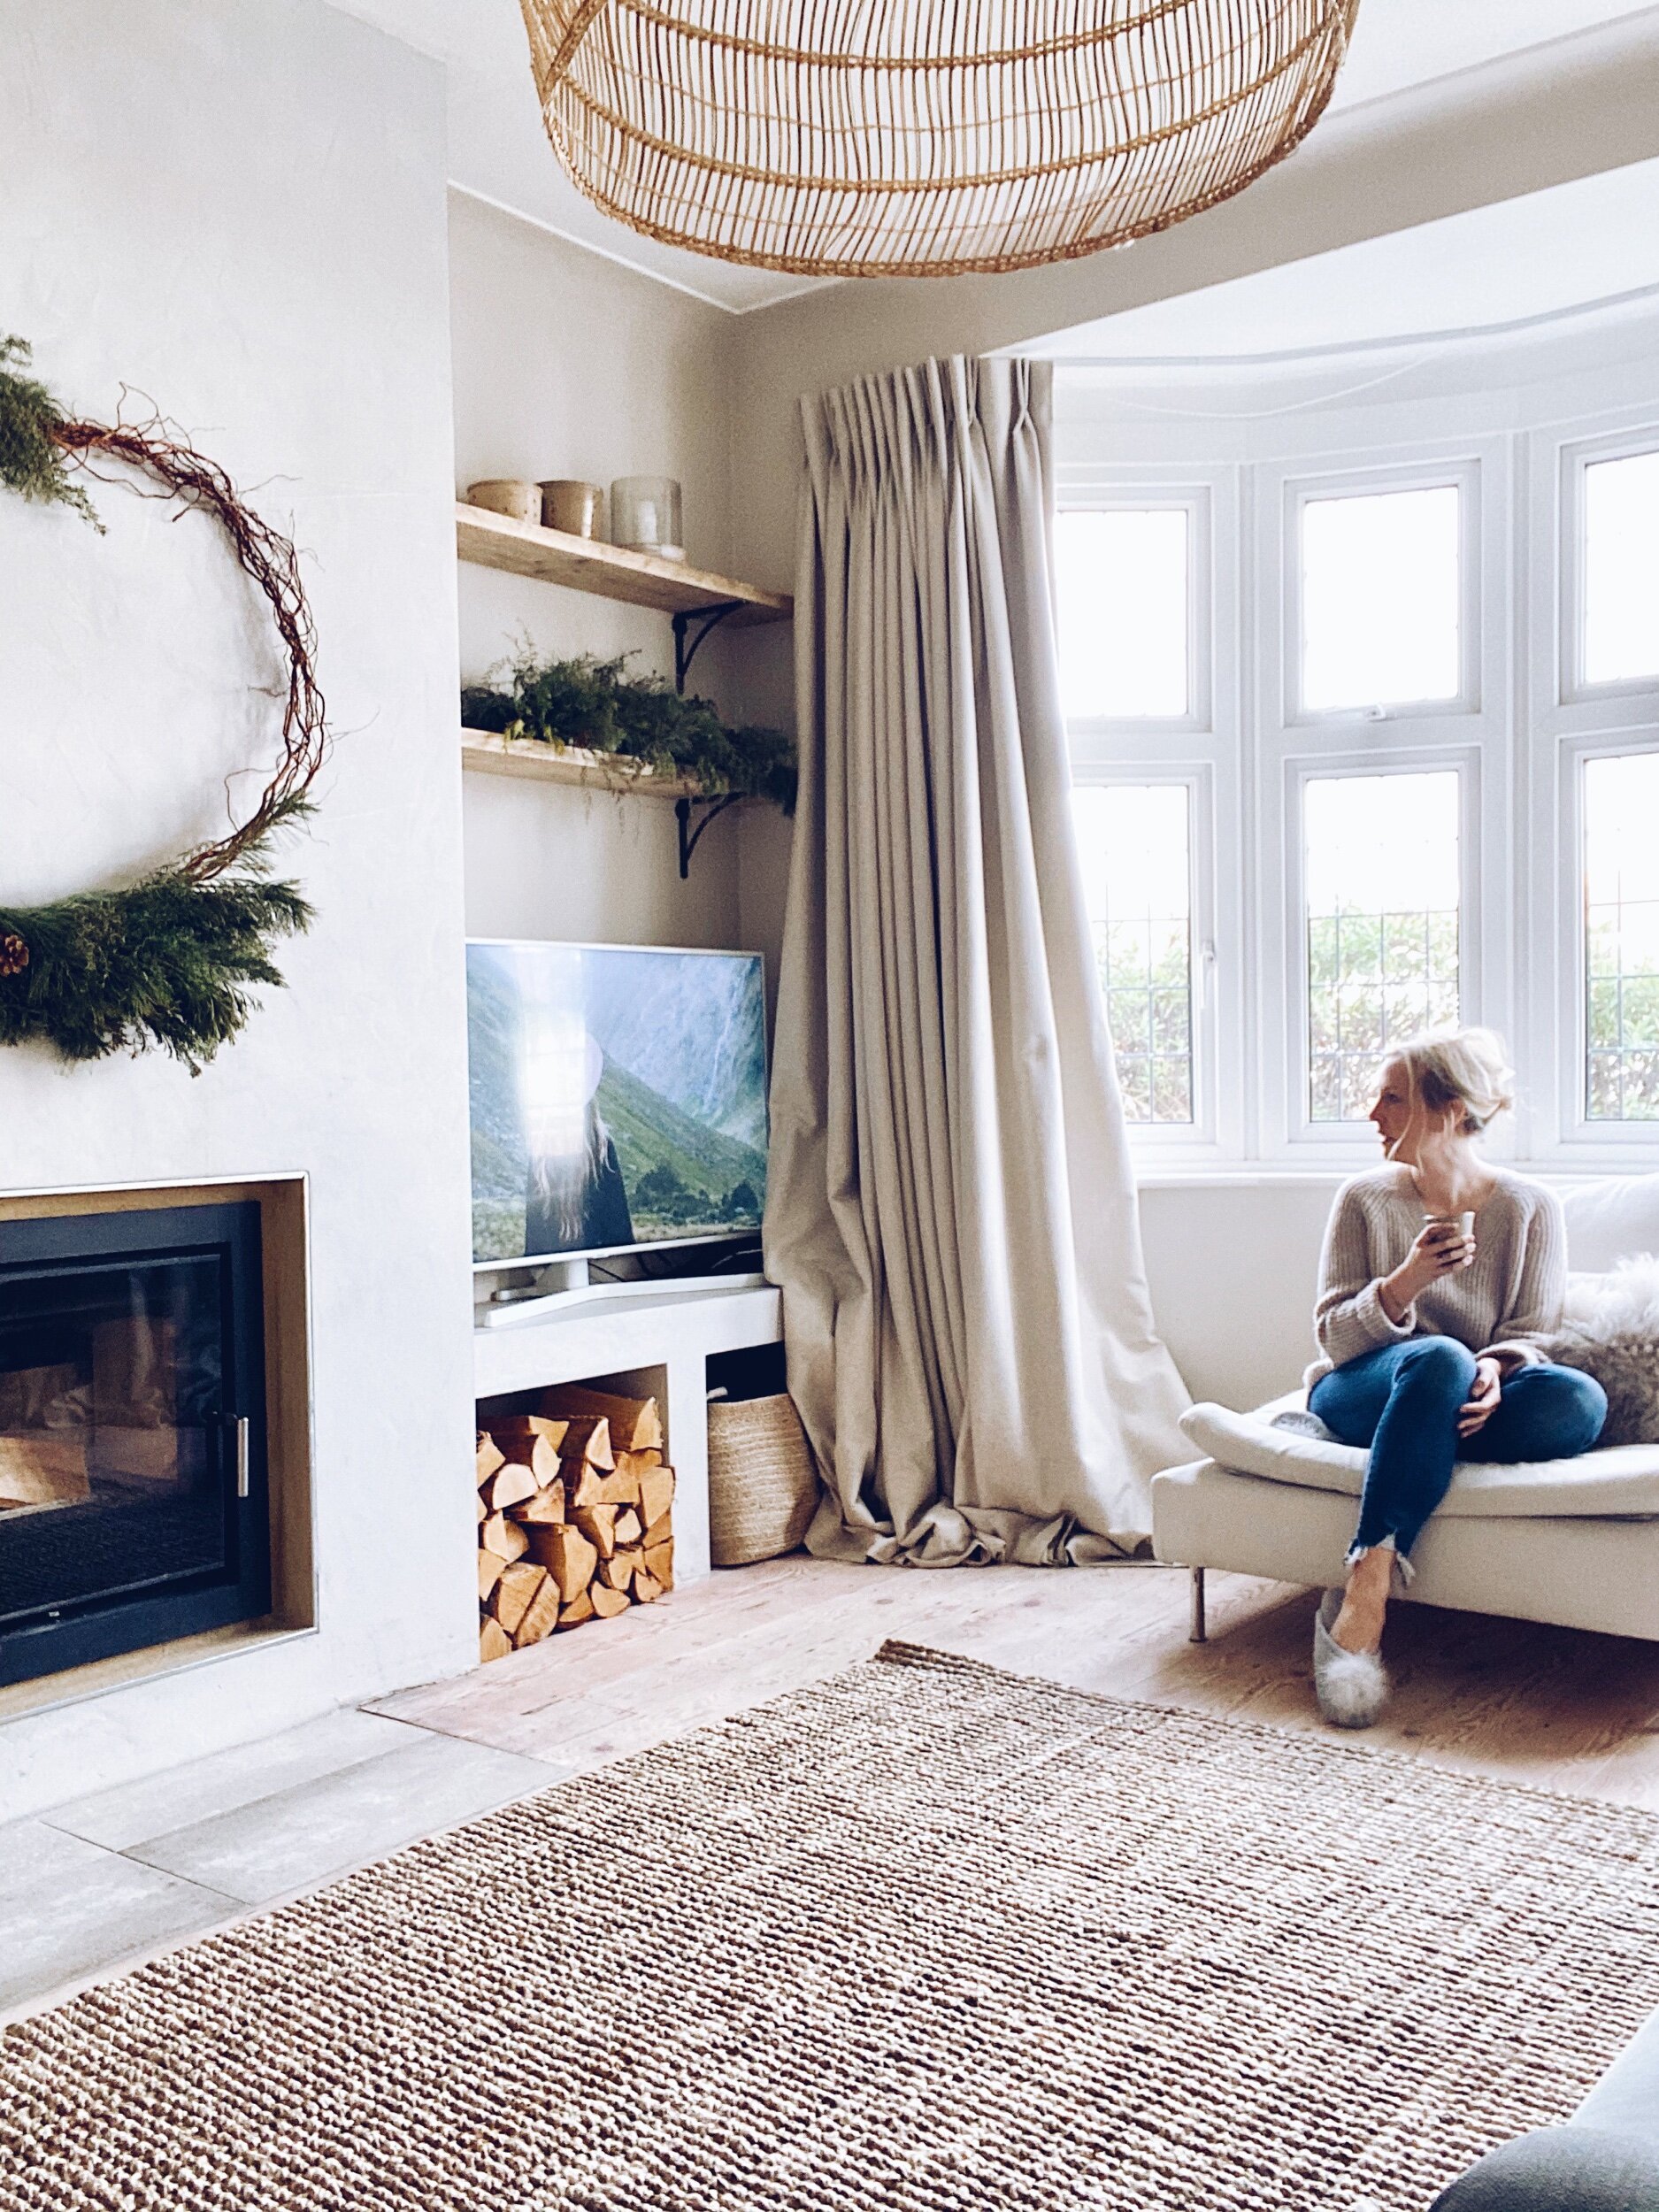
Flint creates the perfect white backdrop in our dining space making this a light filled space


Woodwork, walls and ceilings in Stock from Little Greene in our loft bedroom and ensuite
This blog post is part of a paid collaboration with Little Greene