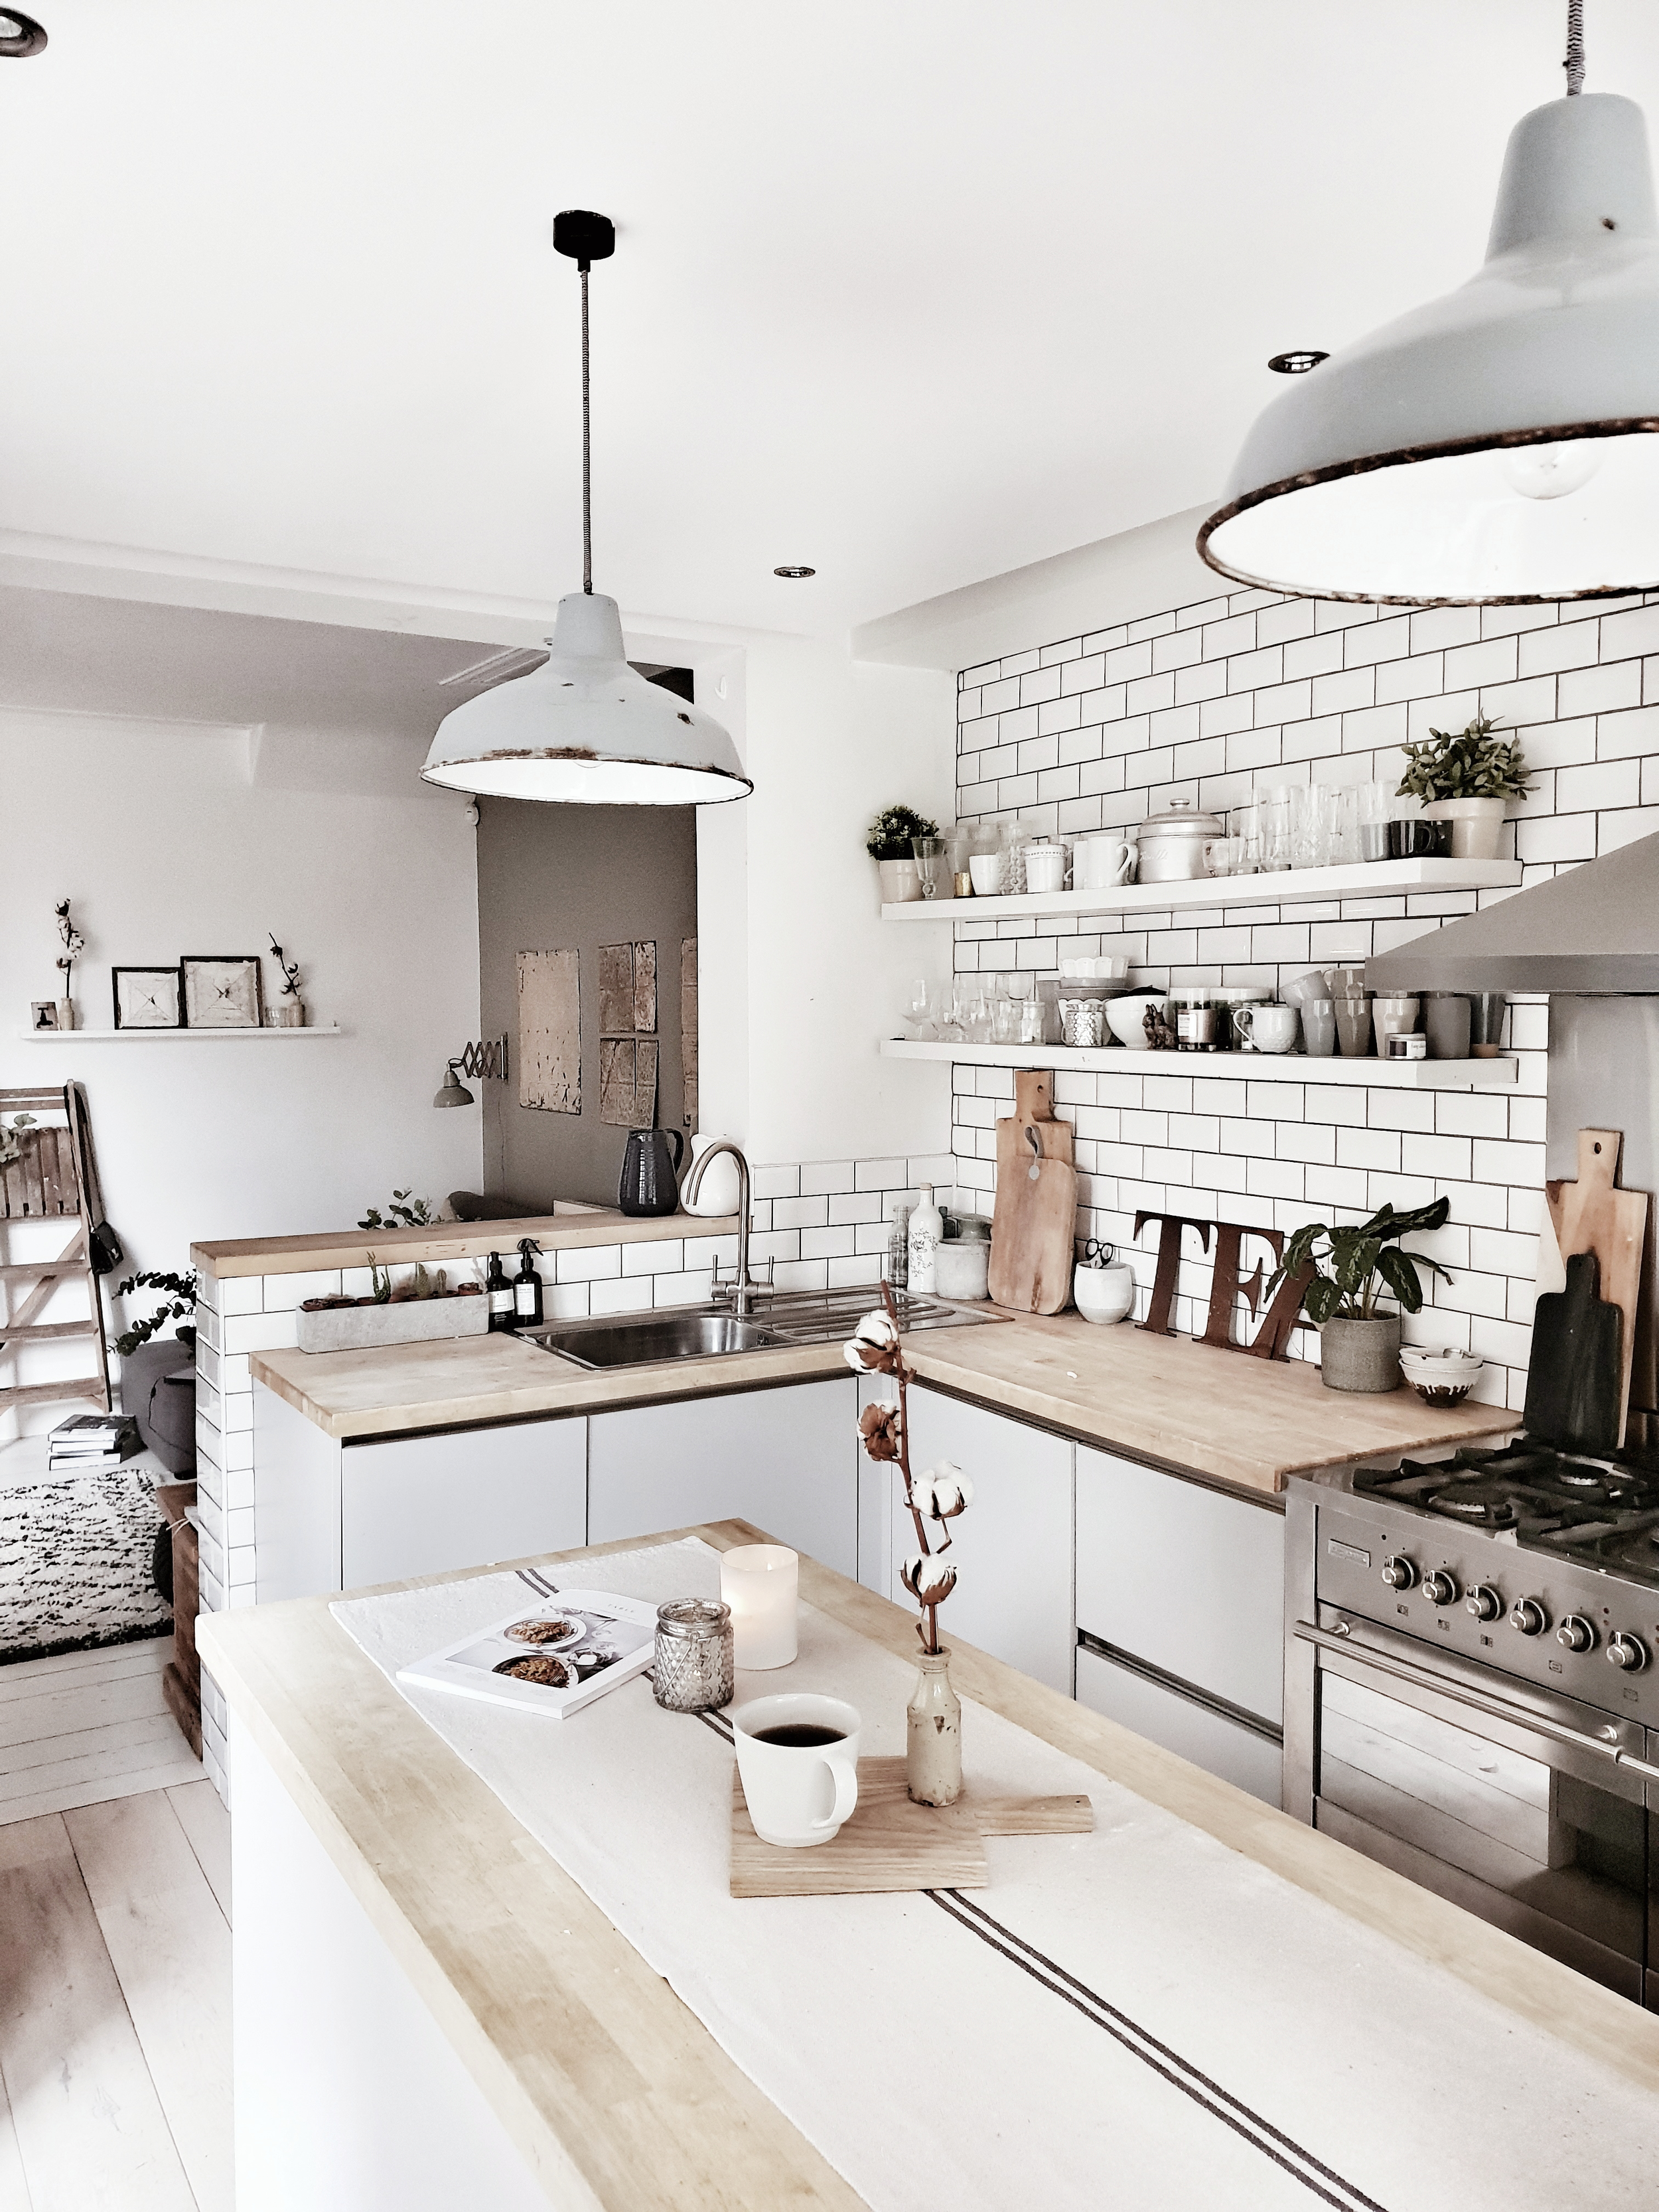
Last month on the blog I revealed the first part of my mini kitchen/diner renovation. You may recall that we have longer term larger scale renovation plans but, whilst we work out how much loose change we need to find down the back of the sofa to afford them, for now I am making some smaller changes to try to make the space feel a little bit more Malmo.

Our kitchen after a mini Malmo makeover
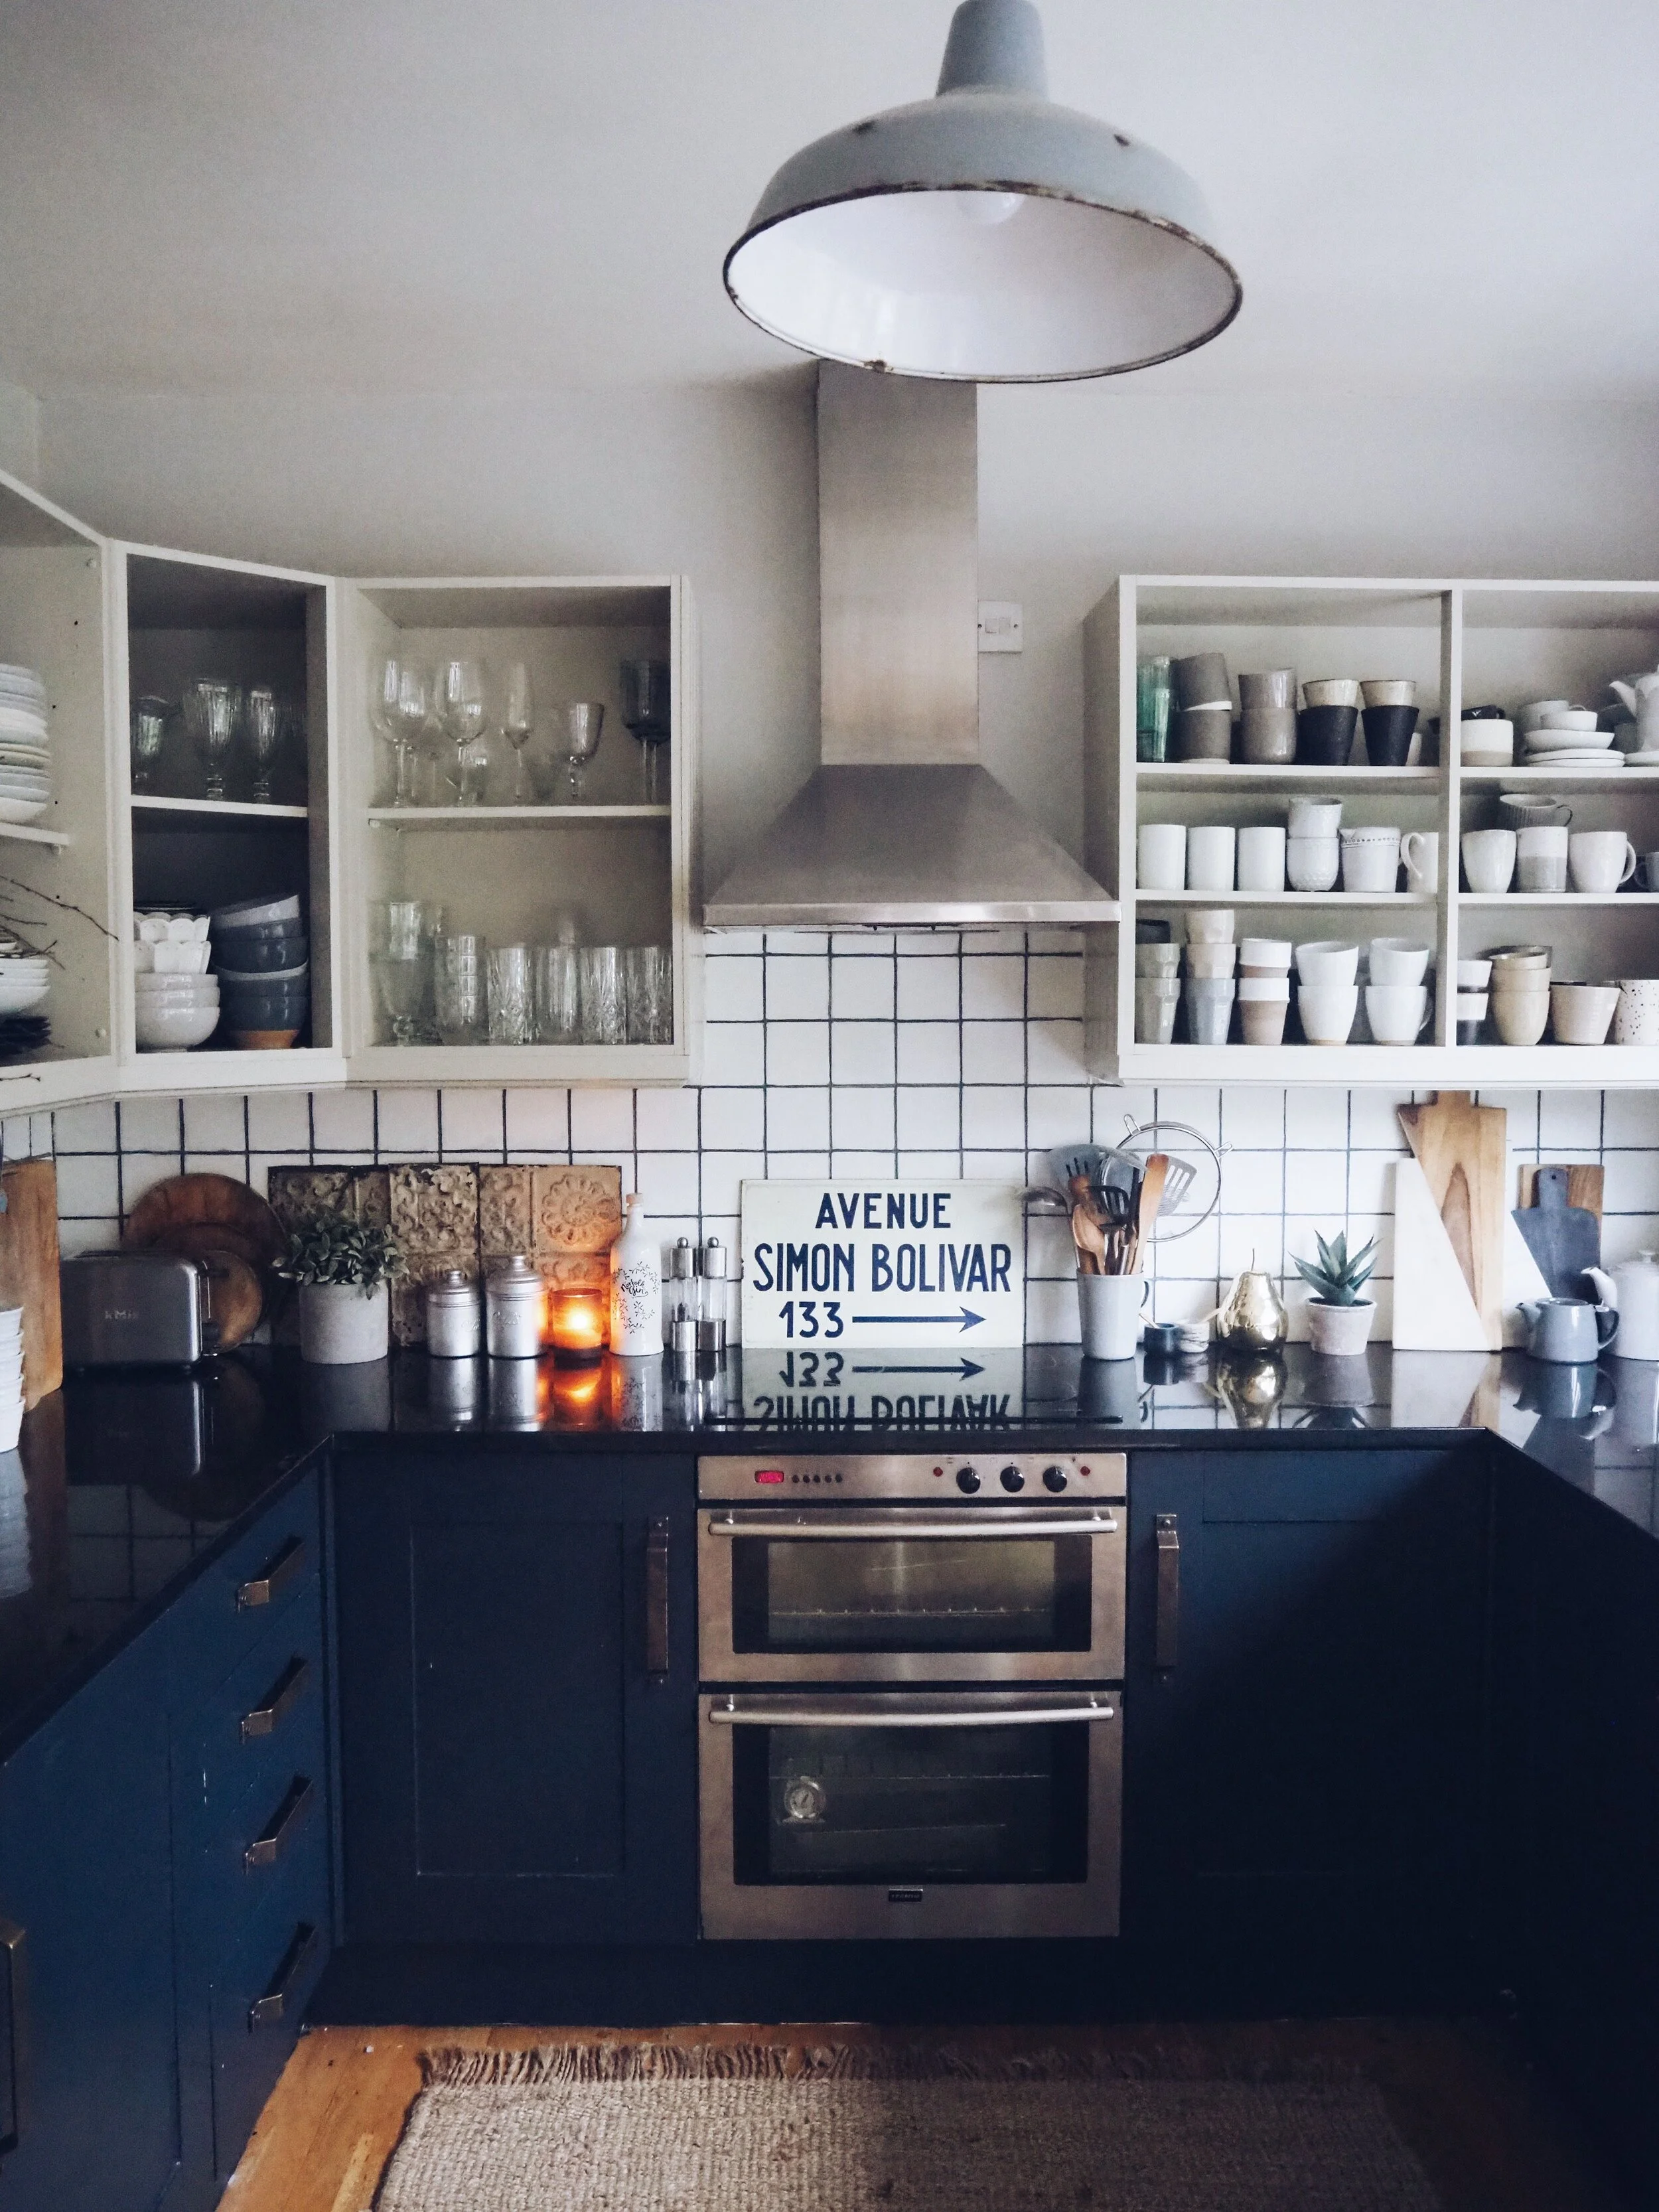
I made over the space for less than £130
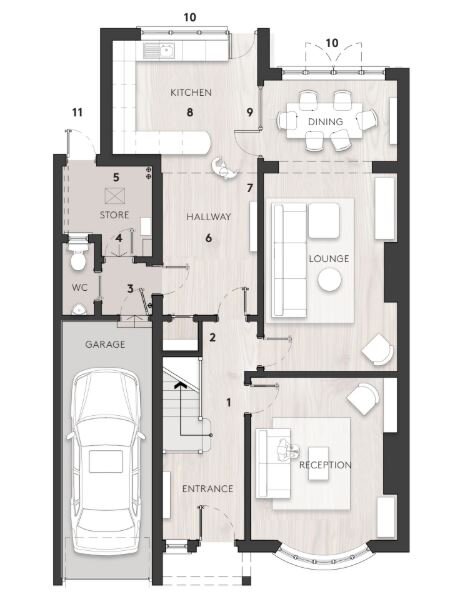
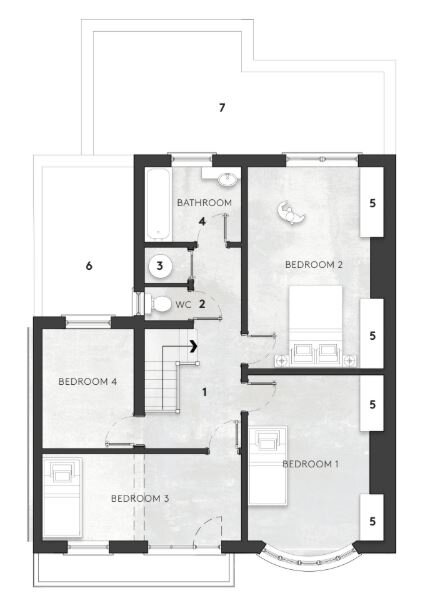
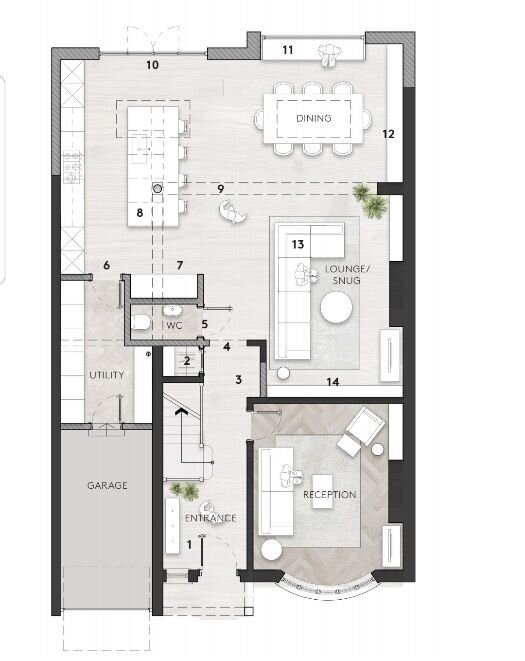
Not unlike me, the new house has a generous downstairs. However, as you can see from the first floor plan below, the kitchen/utility/dining and living space are currently carved up into separate spaces in a way that means that some of the rooms are little awkward to work with. In the longer term we hope (subject to to planning) to be able to reconfigure the space to give us a bigger open plan kitchen/diner by removing the walls that currently divide the three rooms and shifting the utility room backwards into part of the garage. I have included a second floor plan below that shows what that reconfiguration would look like.

However, as we currently find ourselves in uncertain and unprecedented times I am not really daring to dream too much about those plans at the moment. Instead, to help preserve some semblance of my sanity whilst socially distancing, I am turning my mind and painting brush to completing the second part of the shorter term kitchen/diner revamp.
Round one of the mini revamp focused on the kitchen at the end of the dining space. This Scandi came over all Handy Andy and removed the upper wall cupboard doors, painted the lower cupboard doors and switched up the handles. Those simple changes made such a huge difference so now I want to wave my Scandi-Rustic-Industrial wand over the remaining, untouched dining space.

This time I am unbelievable excited to have a little help from my ultimate fairy godmother: Neptune. My love affair with this British brand started 10 years ago when I came across one of their beautiful kitchens on holiday in Norfolk but their story actually started 10 years earlier with a hammock hand sewn at a the kitchen table. It turned out to be a case of from small hammocks big beautiful lifestyle brands grow. Today there are 26 stores across the UK (with a handful more in Europe) all of which are gorgeous destination experiences in themselves.

Gorgeous home inspiration galore on the Neptune Instagram Page
Whilst it is not currently possible to visit their beautiful shops in person, the online Neptune experience is just as swoonworthy. I regularly lose myself down an inspiration rabbit hole on their website, Pinterest and Instagram pages and the great news is that lots of the helpful services they offer in store (such as design consultations) are now available virtually instead. So if you need help with a room revamp you can talk to a dedicated Neptune designer by phone, zoom or whats app and started planning how to improve your space with expert advice and ideas.. You can also still order items from their website with their online delivery service still running (working closely within all relevant government guidelines).

To be honest being asked to collaborate with them was a bit like Brad Pitt turning up and asking to take me to my school prom so I am absolutely delighted to be able to champion one of my favourite brands in these challenging times for British retailers.
The Plans for Part Two of the Mini Kitchen/Diner Revamp
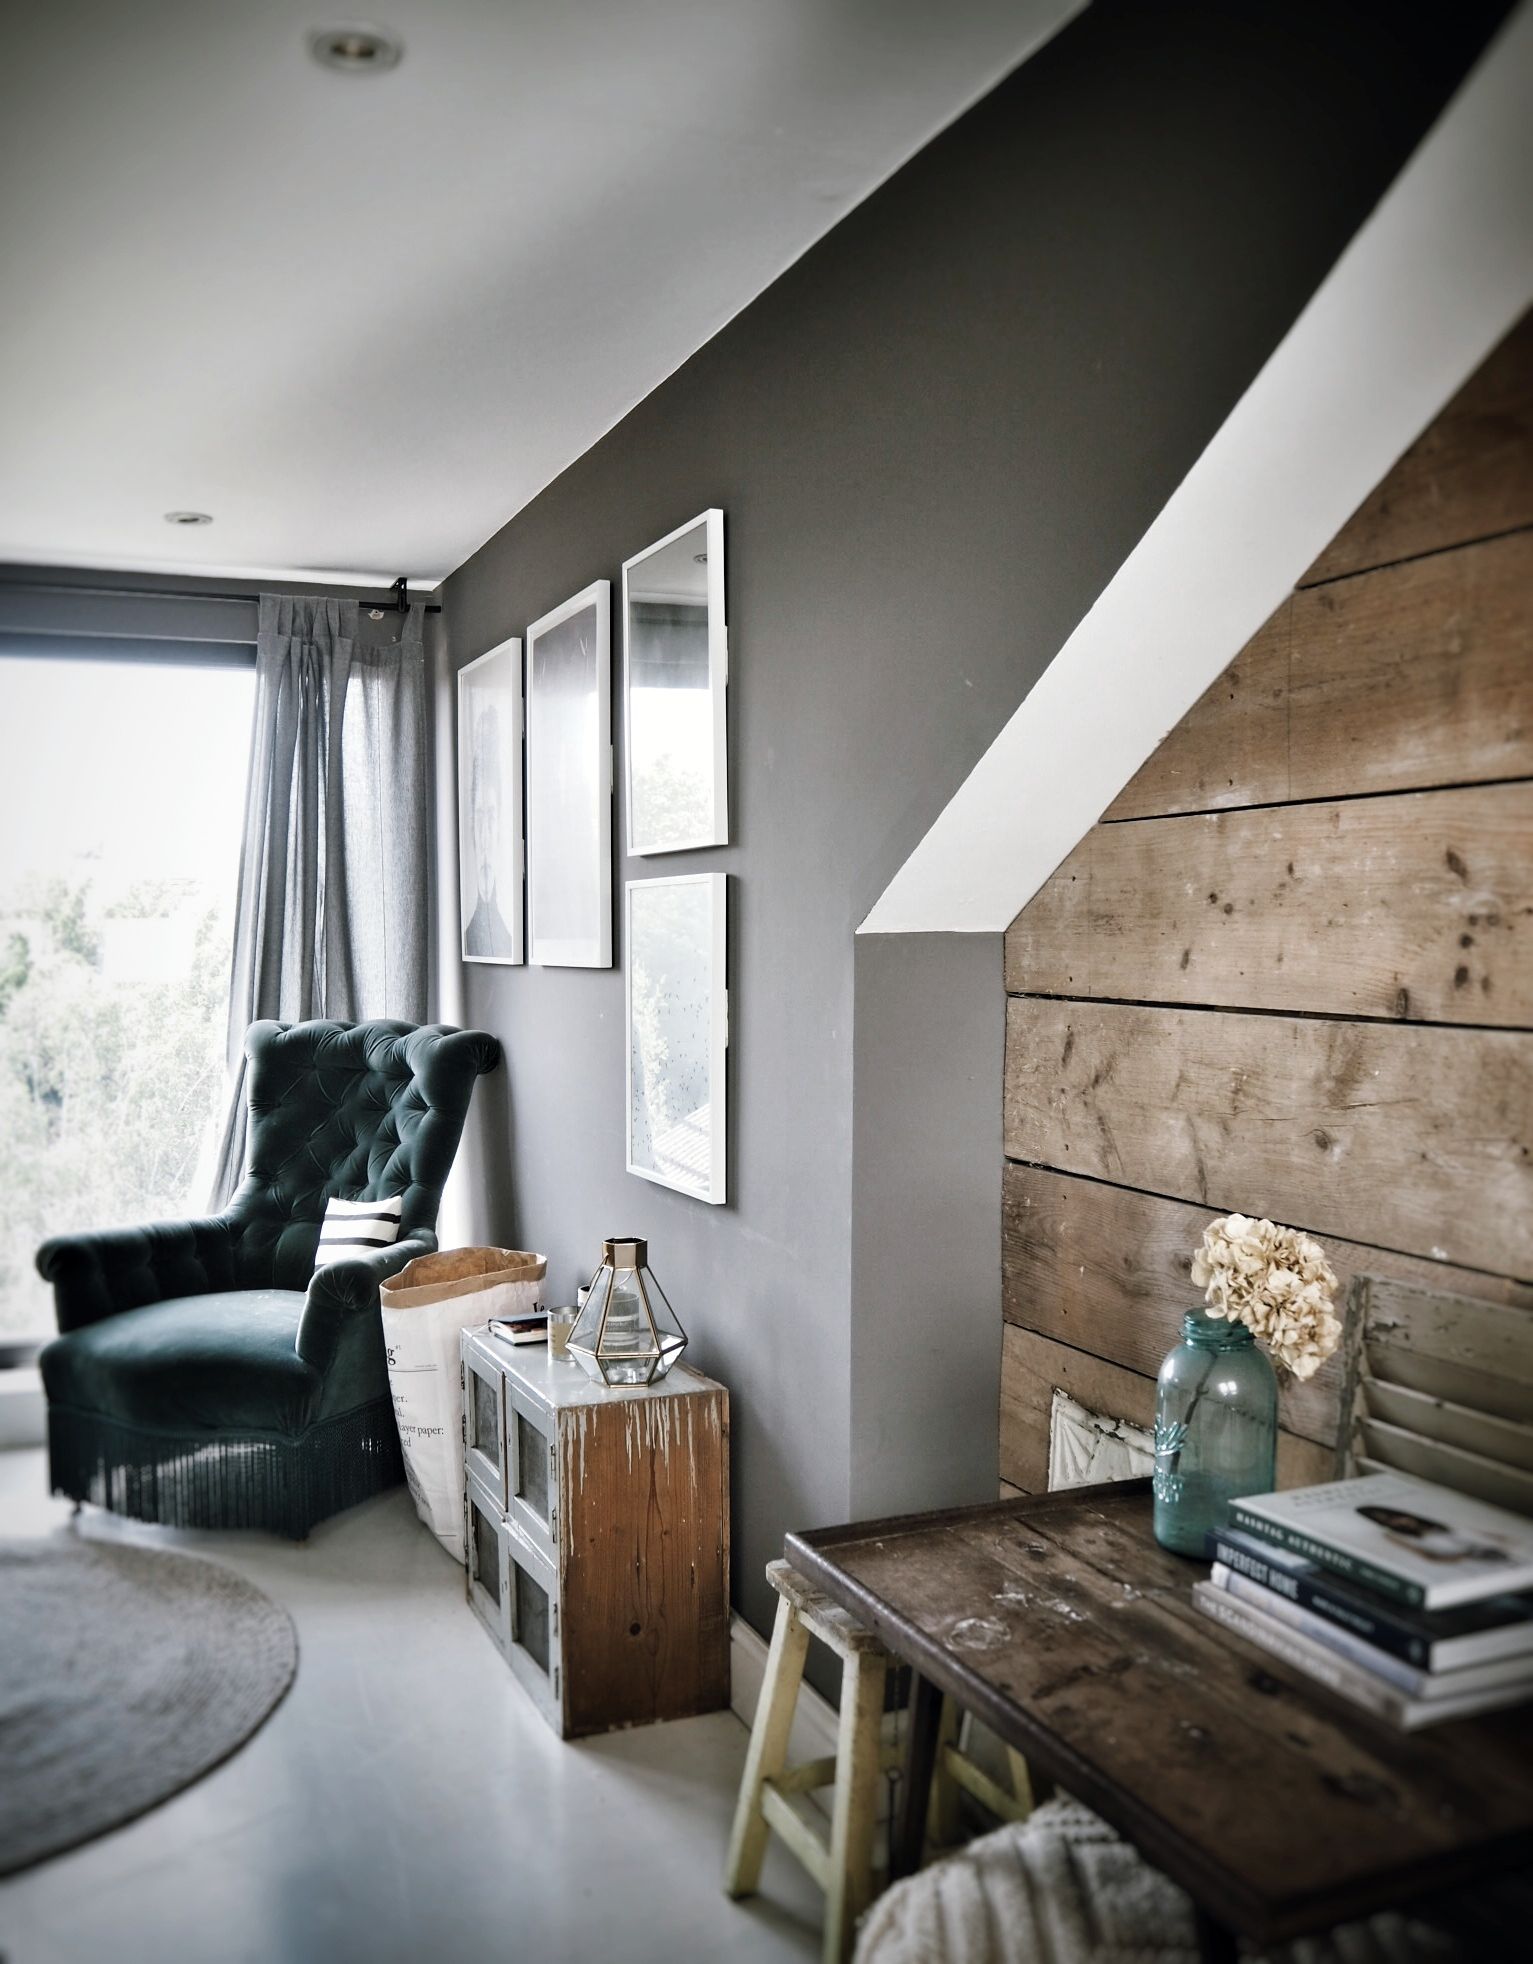
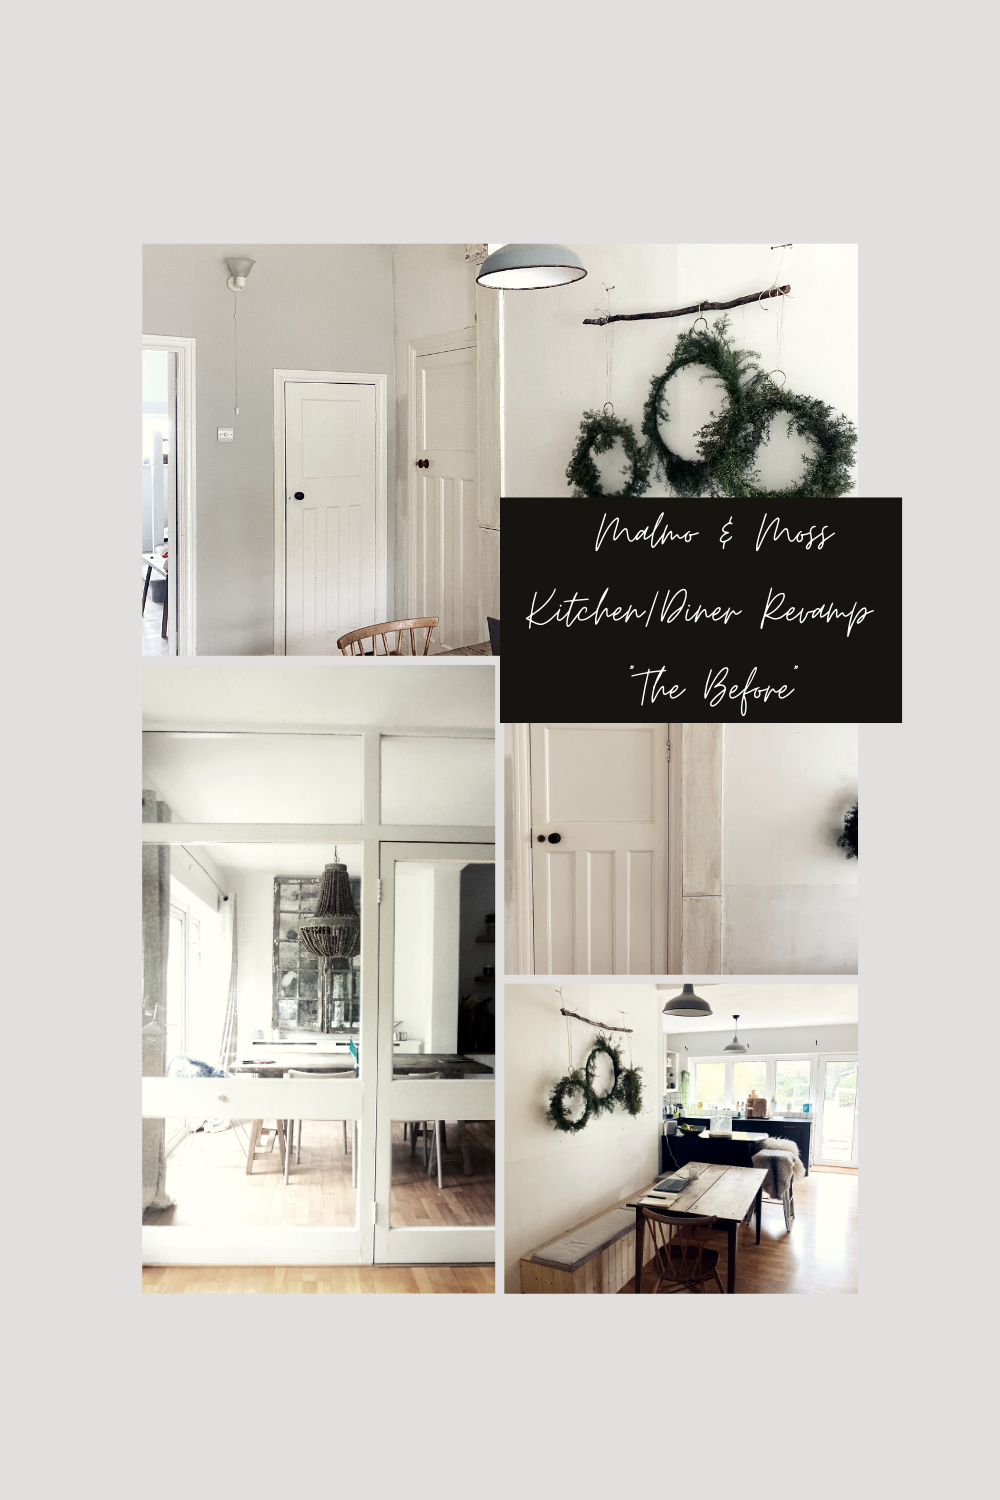
So are you ready to see the space I will be working to transform? It is slightly awkward in that it is sandwiched between the kitchen, utility and living room and is relatively narrow. When we first moved in it was wallpapered in a textured flock wallpaper that I believe Lawrence Lwellyn Bowen may have designed during a fever. We said farewell to the flock on Friday evening before Christmas when, after a gin & tonic, I tore it off with my bare hands (sorry Lawrence).

When we first came to view the house this area had a table in but our existing dining table was too big and wide to fit in the space so we chose to put it at the end of the living room on the other side of the wall instead. However, we quickly realised that without a table in the space the area just felt like a big corridor and it rapidly filled up with anything and everything that didn’t have a home somewhere else in the house.

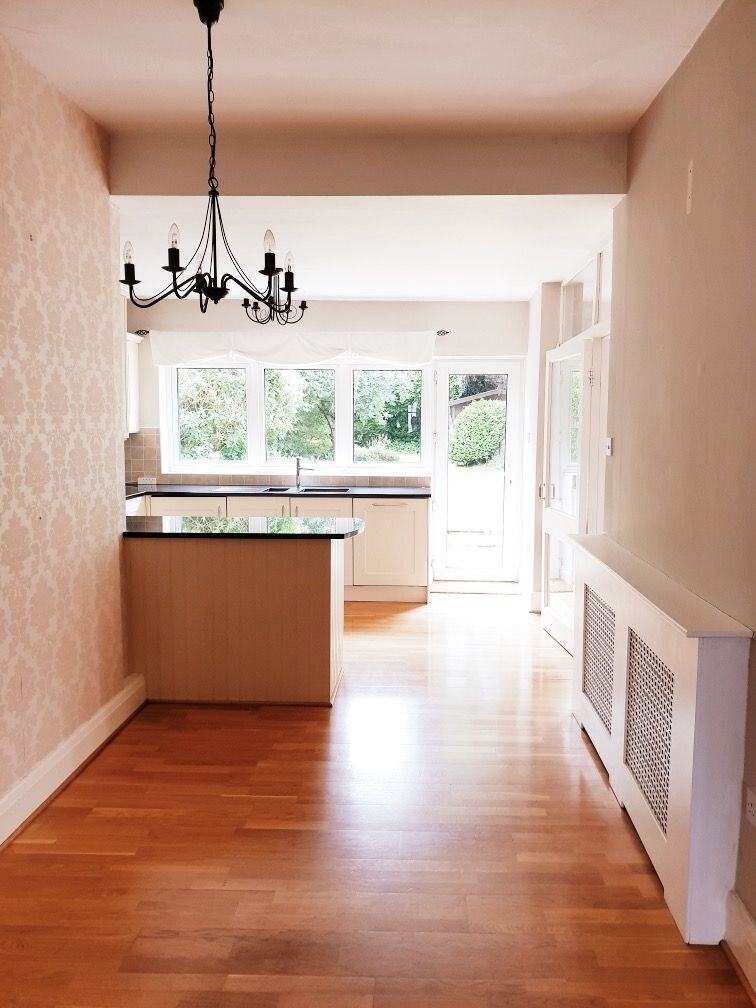
The dining end of the kitchen when we came to view the house.
So before Christmas Mr Malmo got his drill out (not a euphemism) and knocked up an L shaped seating bench with built in storage so that we could create a second more casual dining area that would make the room feel less like a suburban branch of Big Yellow Storage.

The storage bench construction in progress

It has built in storage
At the same time I threw myself on the mercy of Vintage Curator Interiors who I had sold my old, smaller dining table to before we moved. That table held many happy and sentimental memories for me as it was the first piece of vintage furniture we bought for our old house and hosted many happy (and messy) family dinners. I was therefore overjoyed when my puppy dog eyes and pleading tone combined to persuade Sam to let me have the table back.

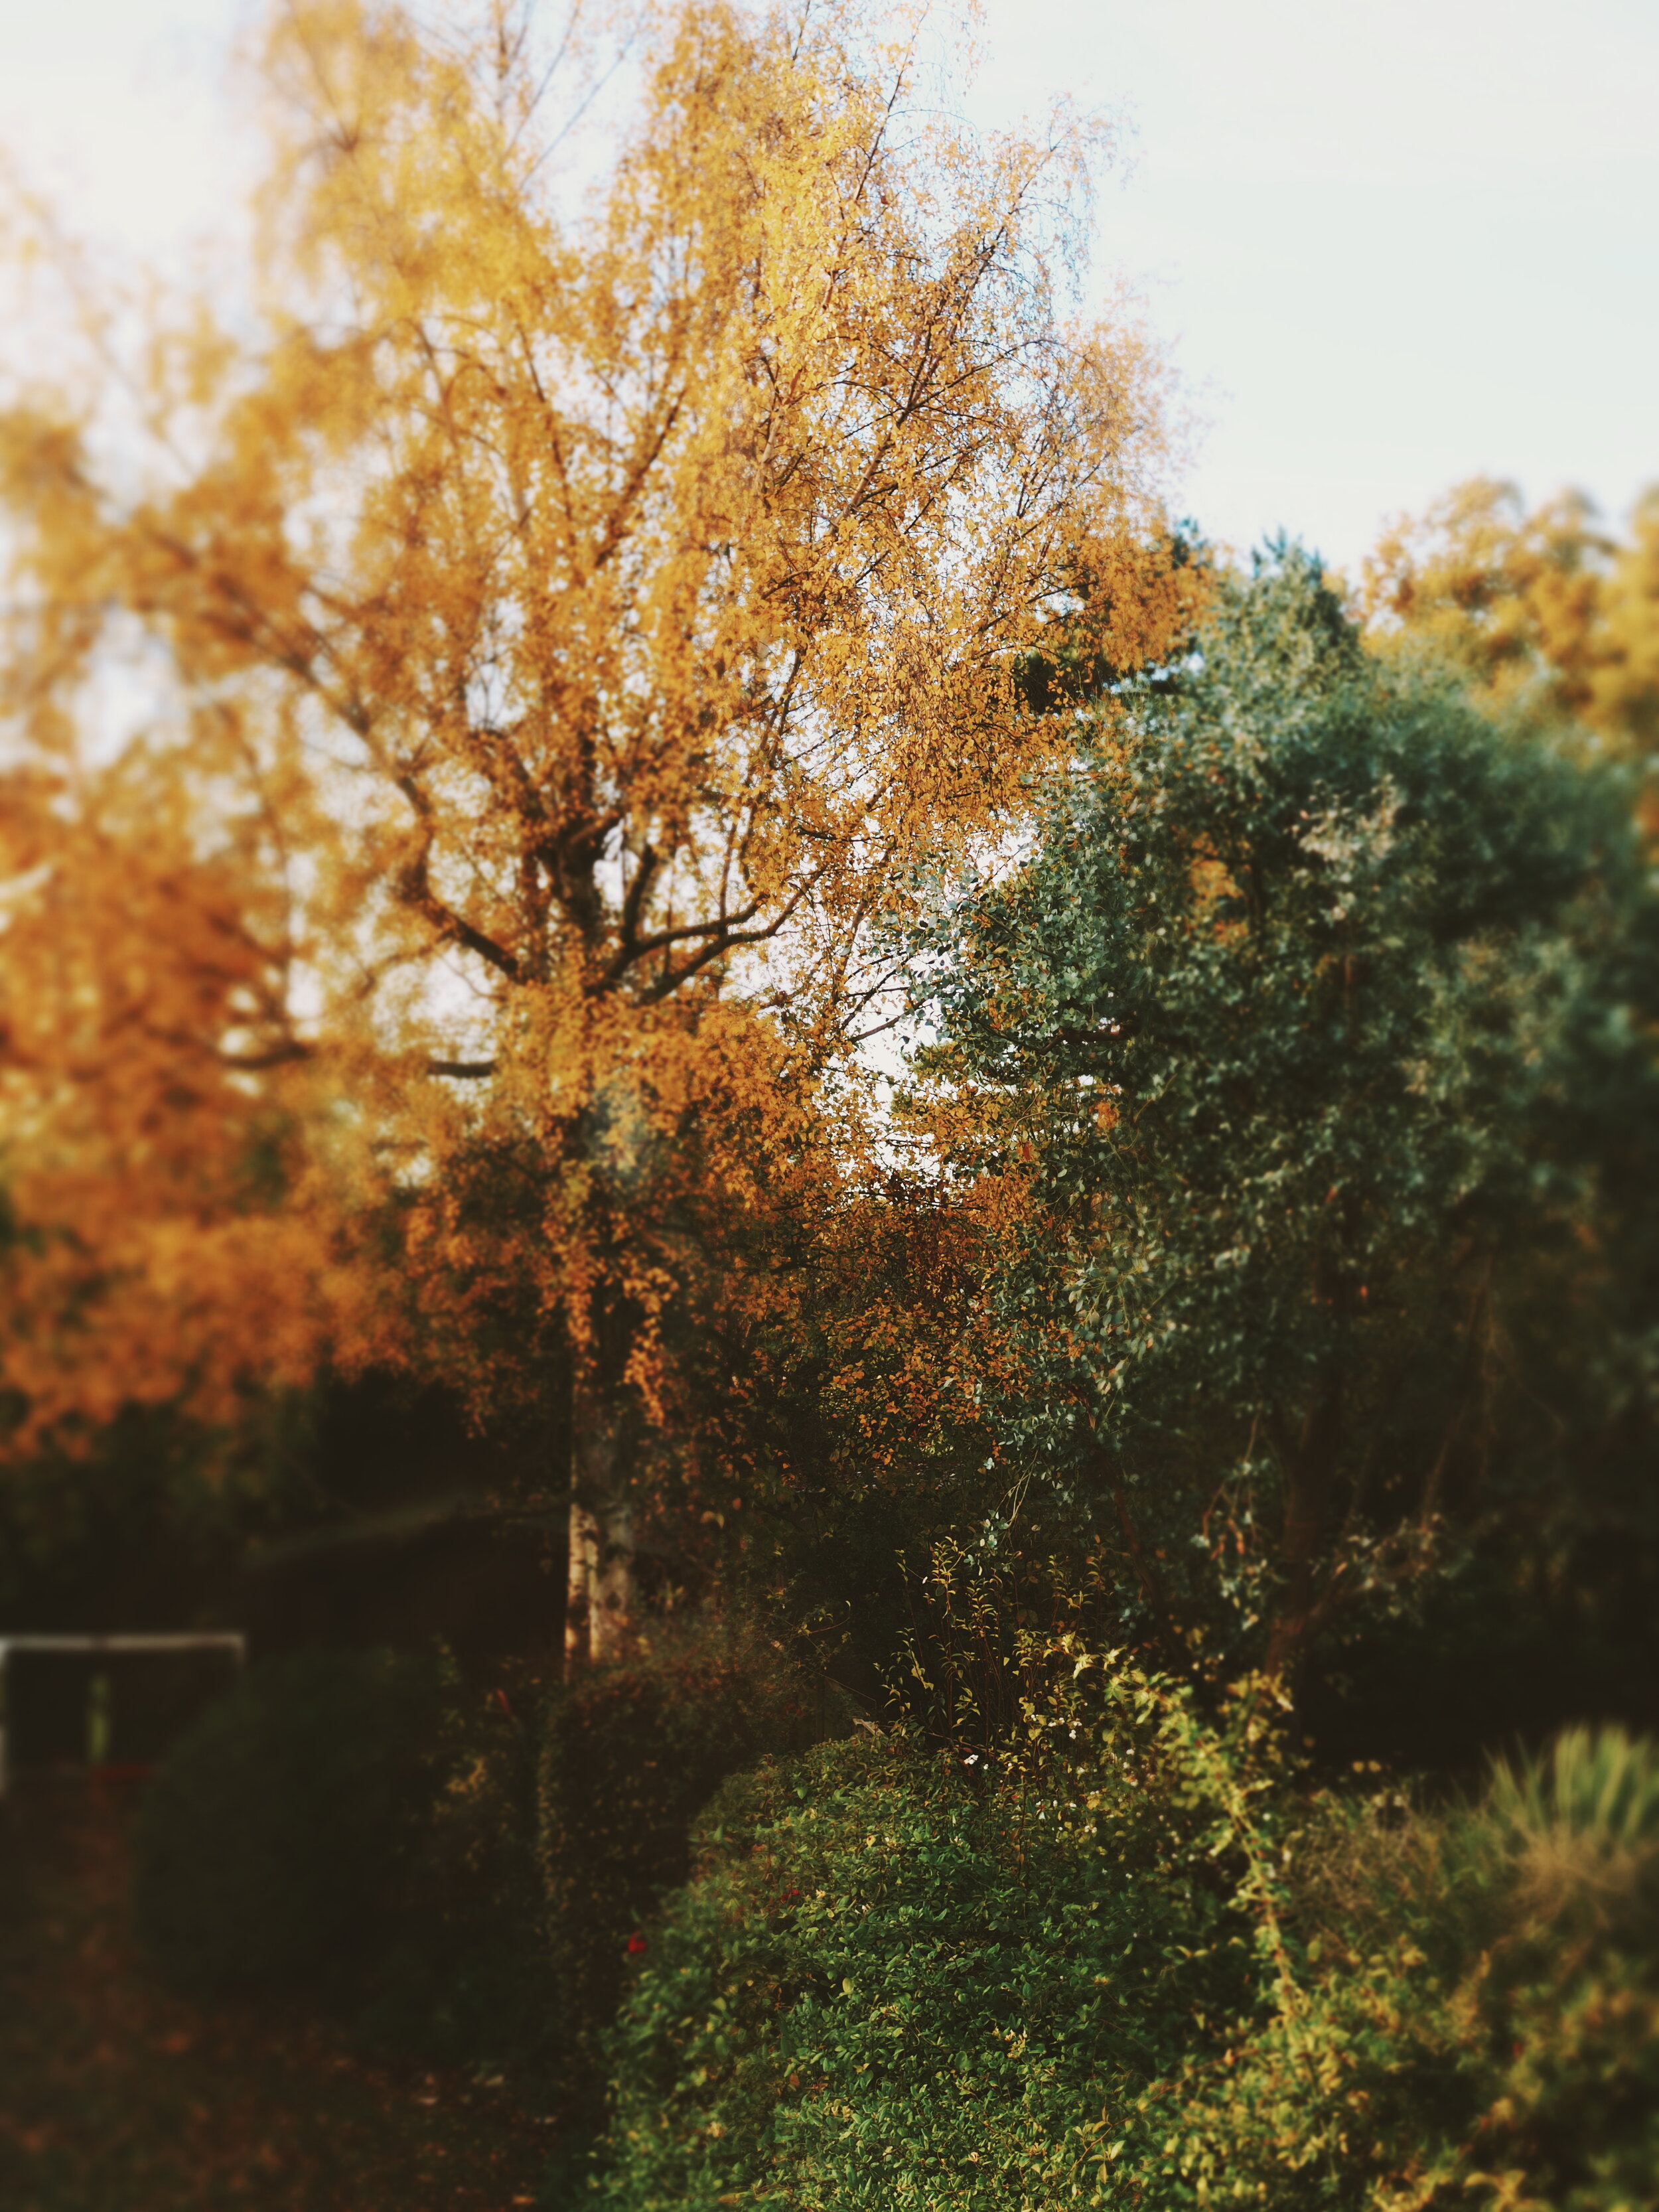
The old table styled up for Autumn
However, as you can see from the pictures below, there is still lots of work left to do! These are the 5 further changes I am going to be working on to fully convert it into a secondary relaxed dining space with Scandi Rustic style with a little bit of help from Neptune.
Transforming the wall
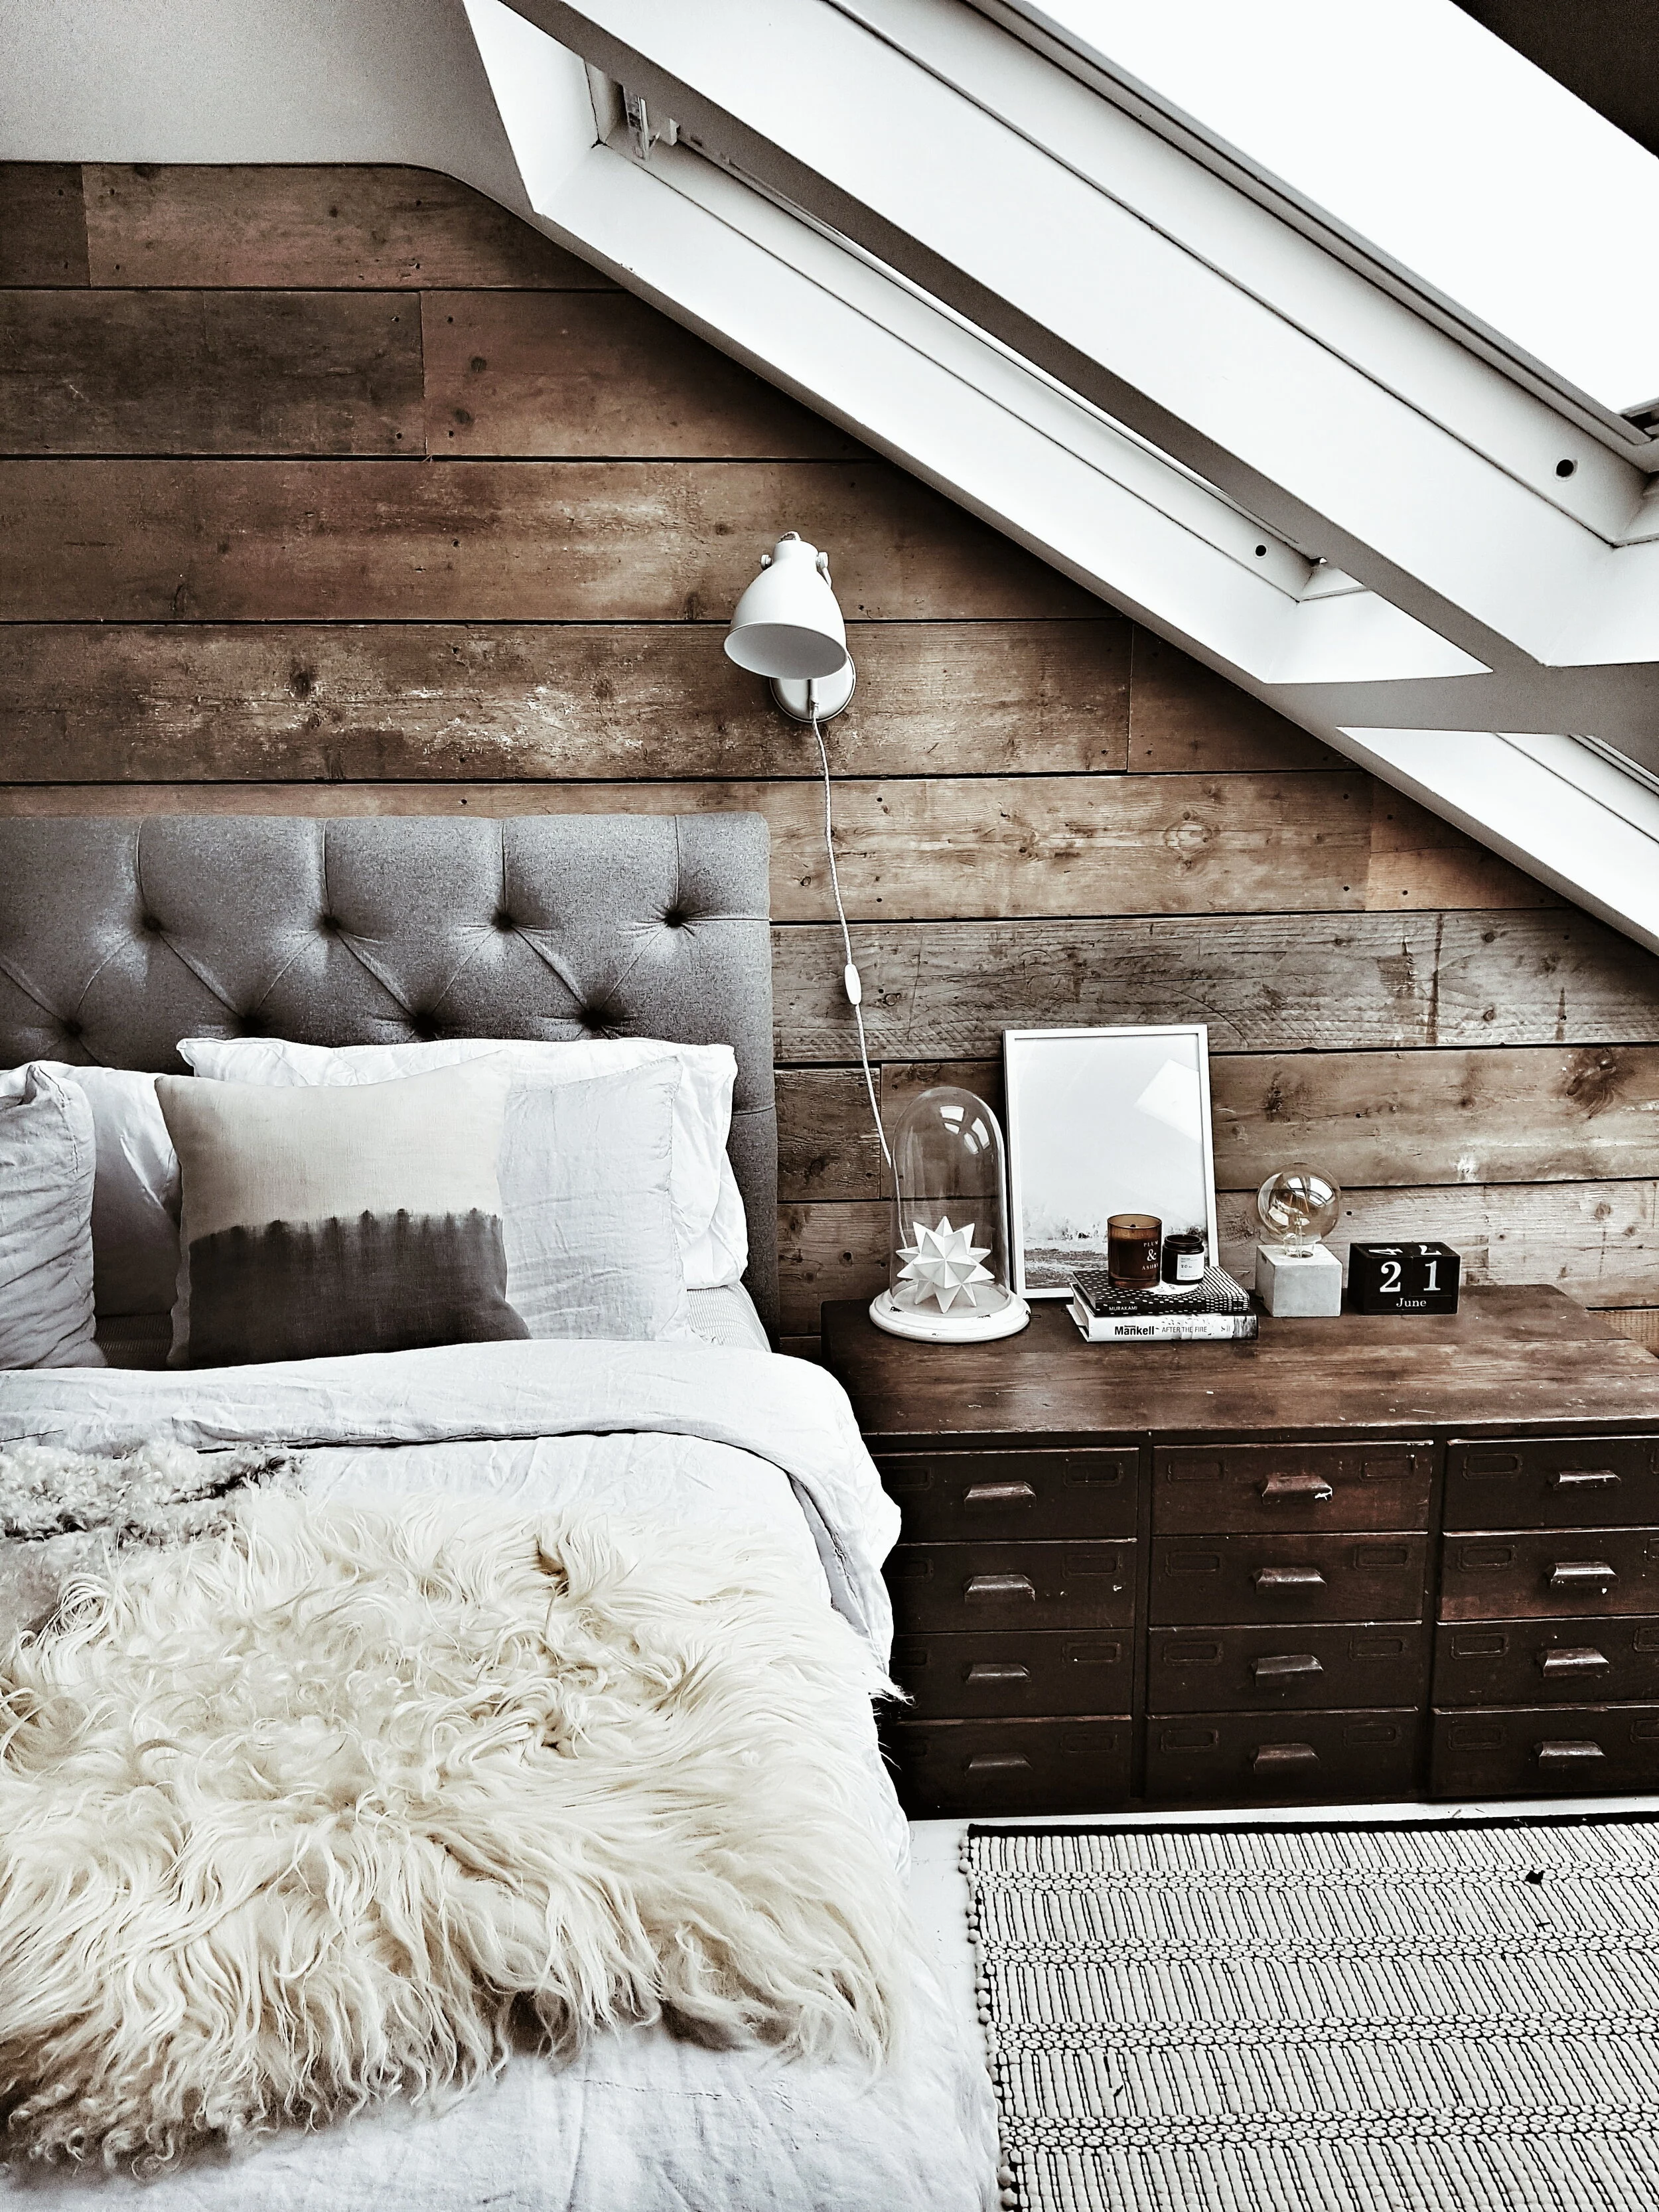
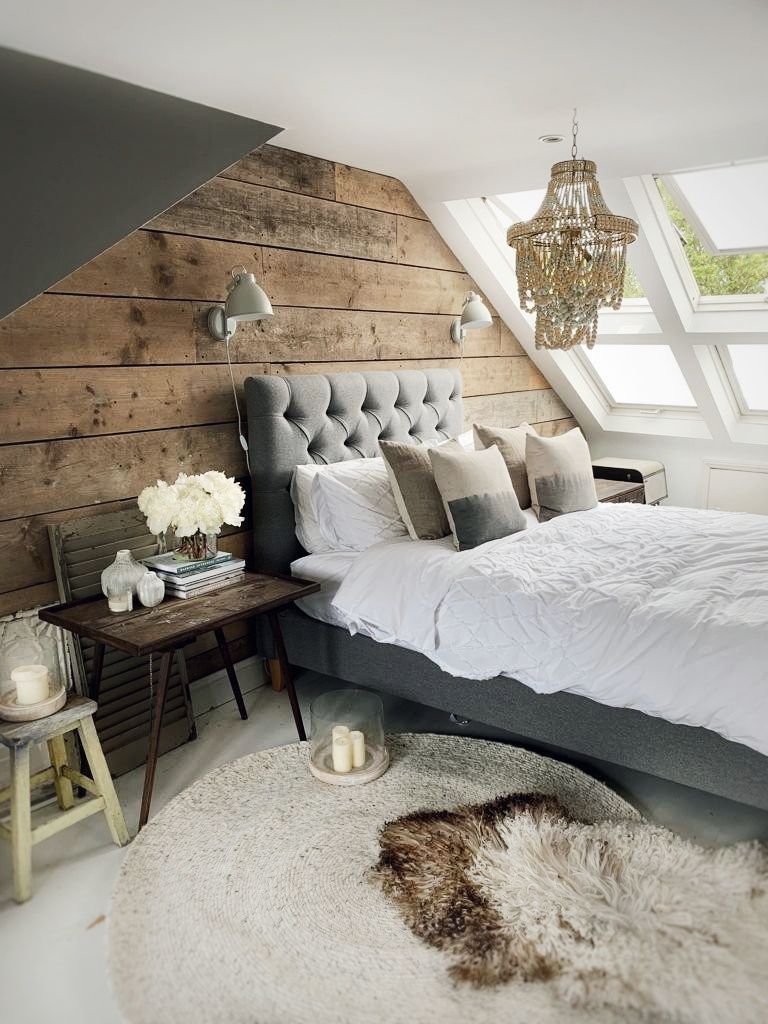
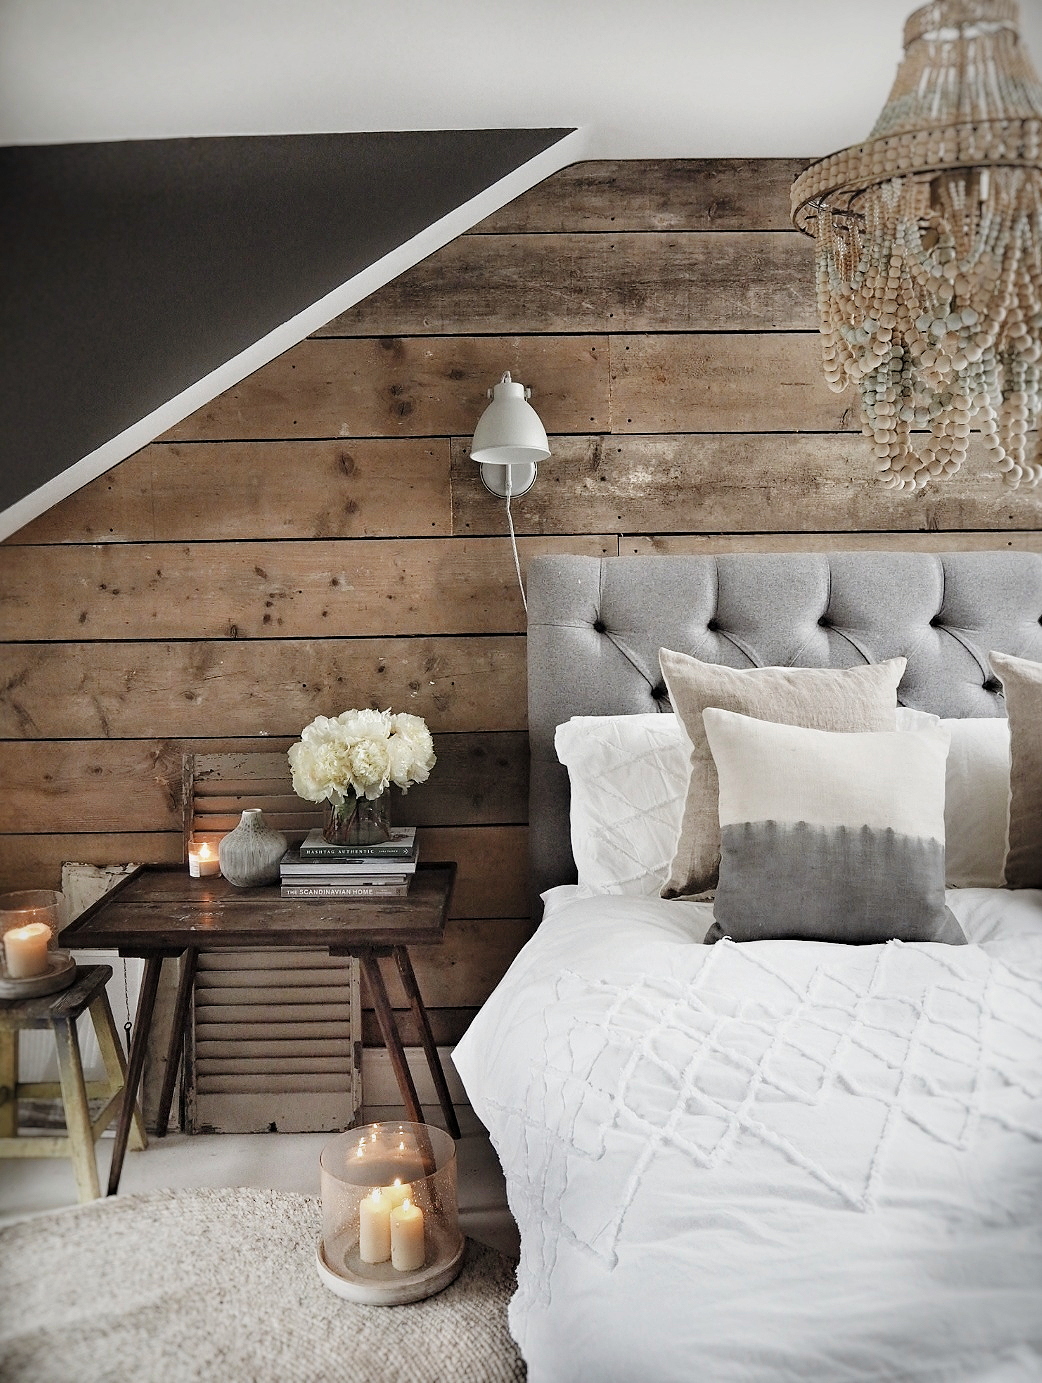
Whilst my wallpaper stripping frenzy before Christmas saw us saying sayonara to the flock it left us with an unpainted wall that looks like we are pioneering a new trend in seventies hippie squat chic. My plan, to add some texture into the space, is to clad the wall in a pale rustic wood which, when we go ahead with our larger renovation, we can then reuse in the new utility room.

The wallpaper is gone but the blank wall left behind is ripe for a revamp.
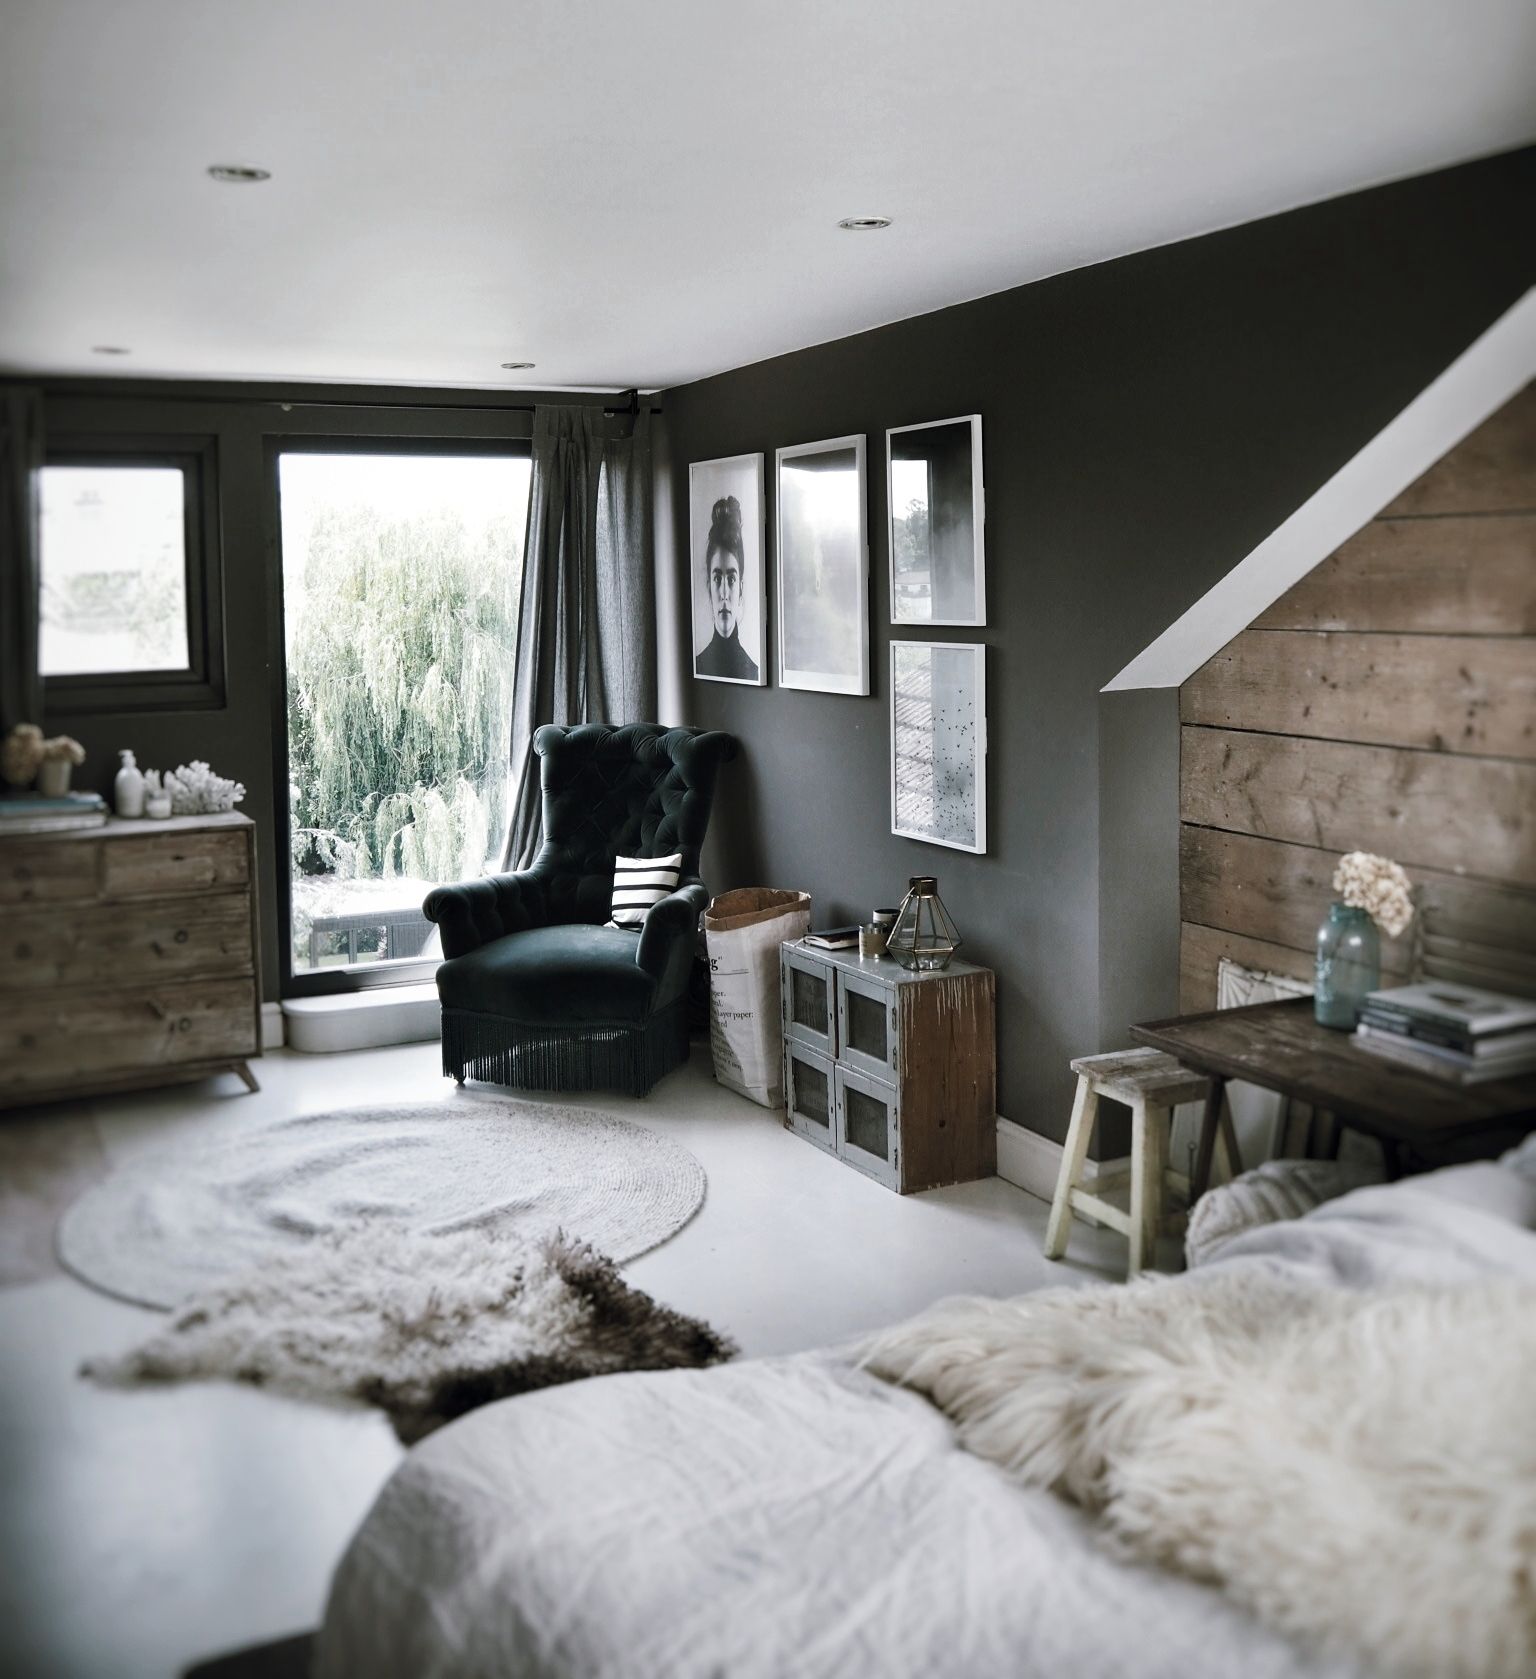
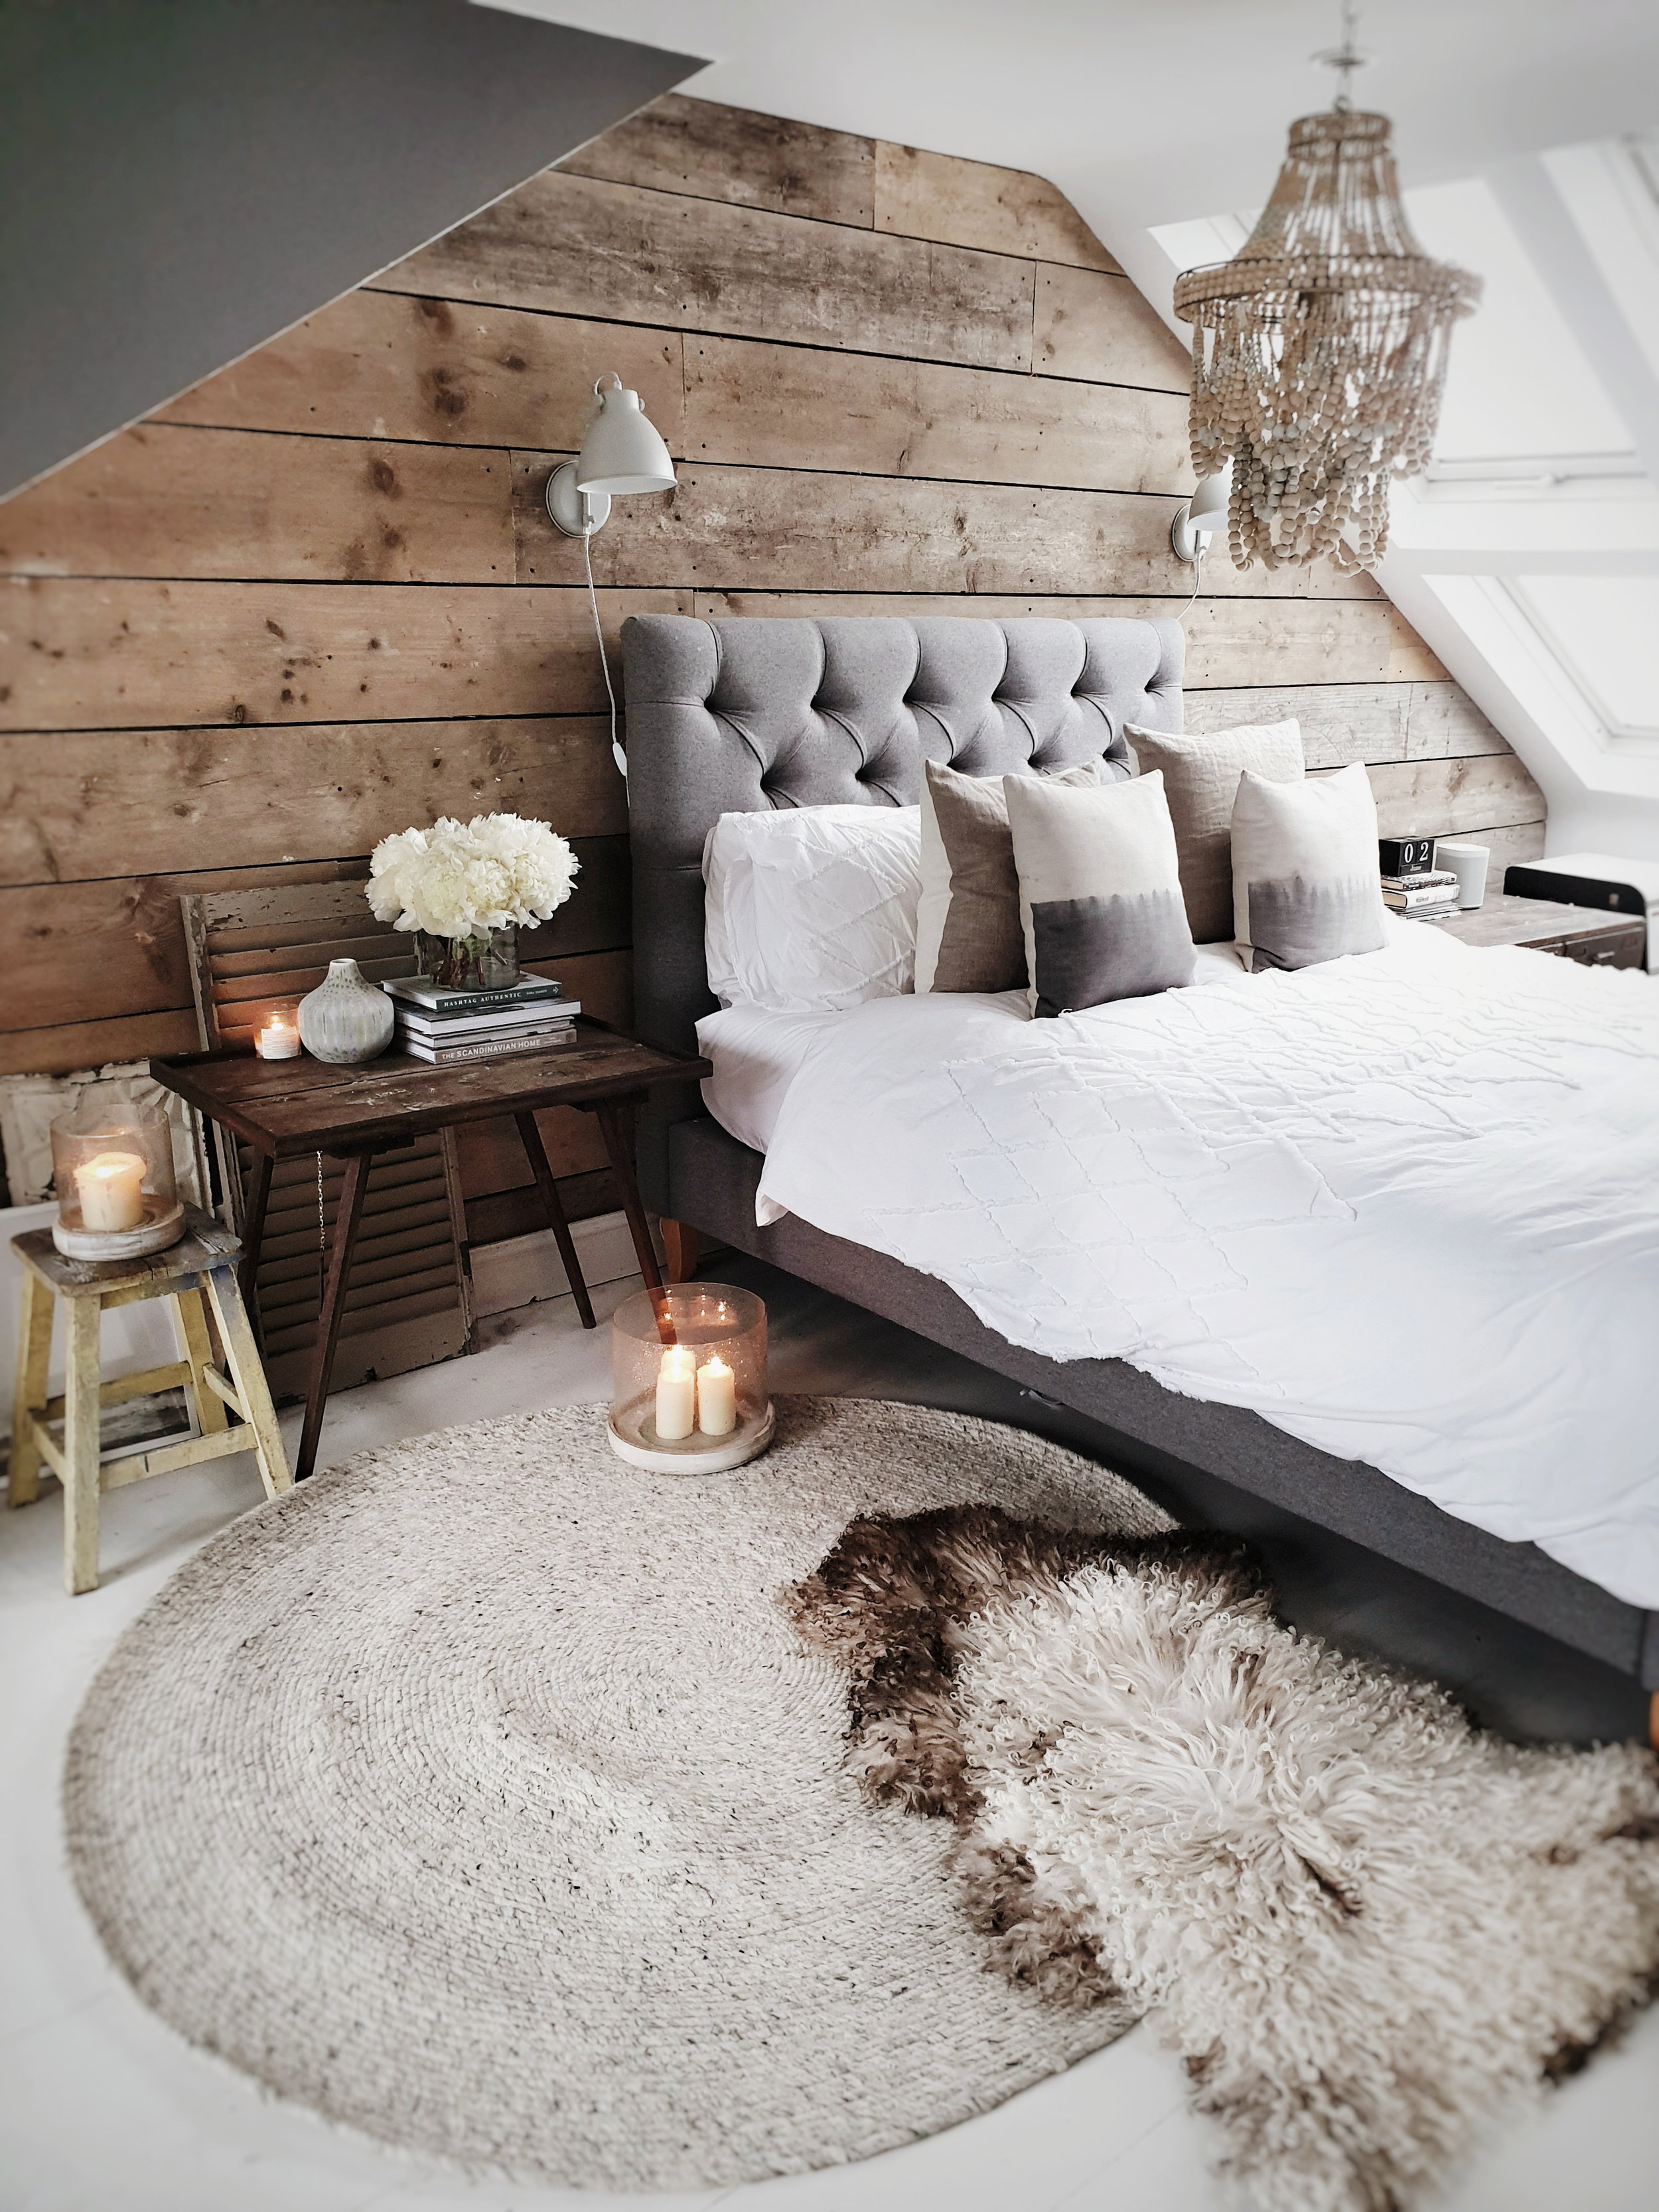
These two images from the Neptune Pinterest page have been serious cladding inspiration for me and I am hoping the end result will have this lime washed, coastal inspired feel.


Painting the walls and floor
Because the space is relatively narrow and set back in the house one of my number one goals with the mini makeover is to brighten it up in order to make it feel more spacious. We were fortunate in moving into a house where the previous owner liked neutral colours as much as me so the kitchen is currently painted in a gentle shade of taupe that is by no means offensive. However to try and bounce some more light around I am going to take the walls whiter.
The floor is currently engineered wooden floor boards but they have quite an orangey appearance and a shiny varnish which currently makes the space feel darker. In an ideal world I would probably sand them down and oil them but given the Corona crisis that is not really an option so my Plan B is to paint them an off white colour. Mr Malmo has some serious reservations about this plan so I am hoping it doesn’t turn out to be an even worse idea than the Dirty Dancing sequel.

The floors currently have quite an orange varnish that makes the space feel darker

I am hoping that by painted the walls and floors white it will significantly refresh the space. Picture from Pinterest source unknown
Updating the lighting
Whilst I am hoping that freshening up the walls and painting the floor will make the space feel naturally much brighter I also want to change the current lighting to add a softer mood to the room in the evenings. The only lighting we have at the moment is a small overhead light above the table that creates about as much hygge atmosphere as the floodlights at Wembley. I have plans to add in both some new overhead lighting and a couple of wall lights that will create a more balanced lighting scheme.
Upgrading the seating
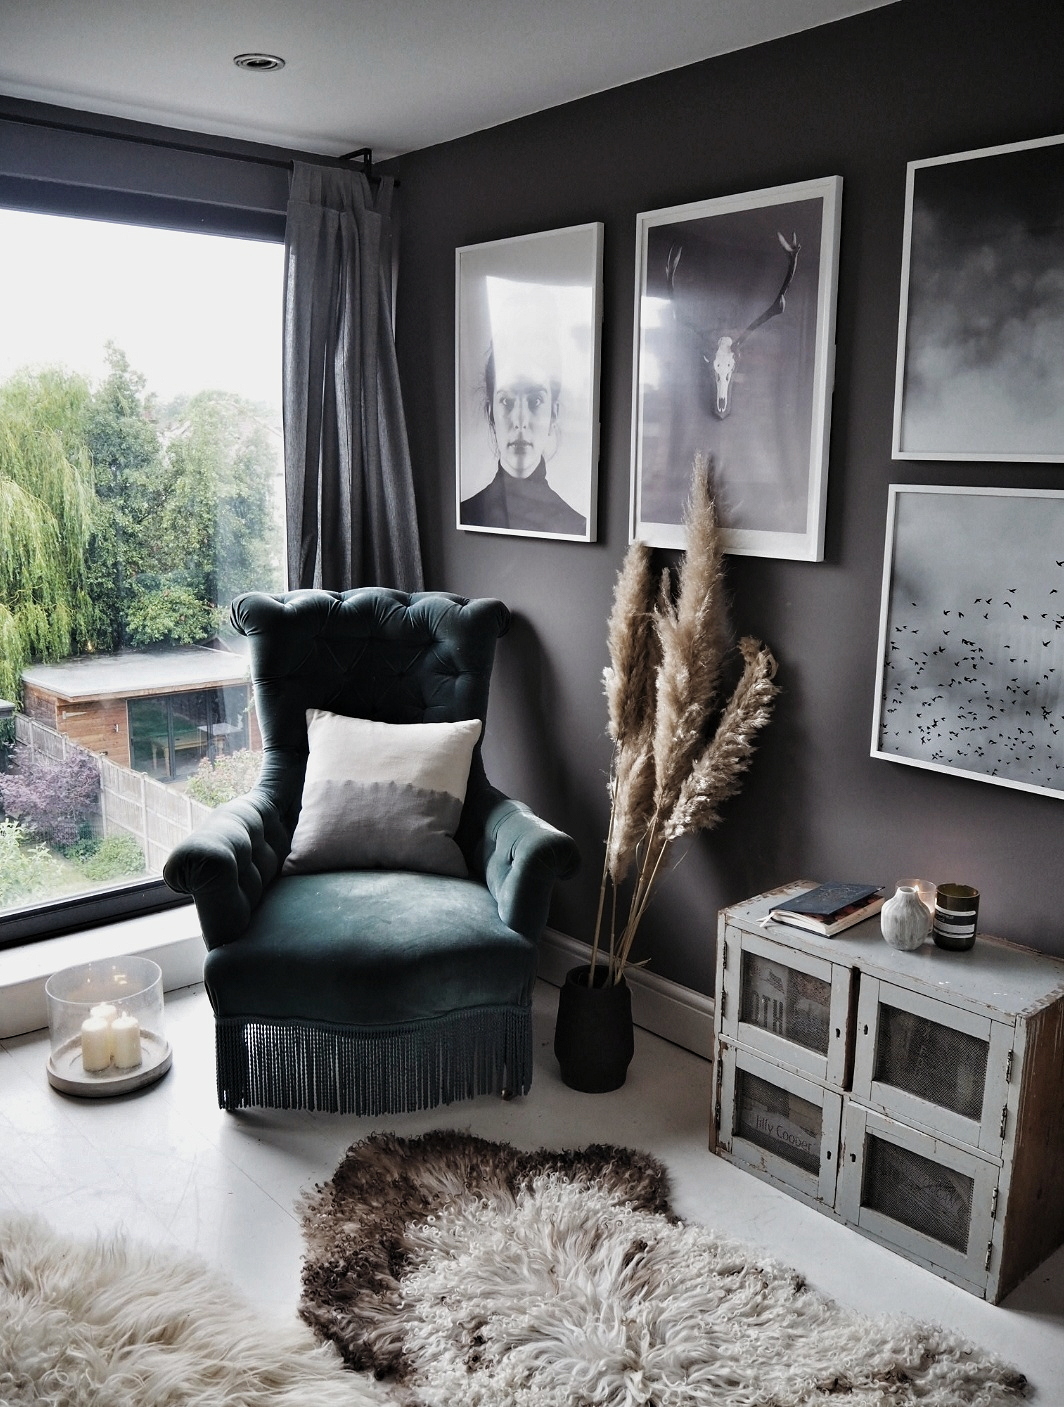
Whilst the newly built storage bench has already provided an element of seating in the space we are still a few seats short of comfortably accommodating a family of 5. As a makeshift seating solution we have been using a vintage Hungarian milking bench that usually lives in the hallway. However, whilst it may be the perfect size for a lone Hungarian milking maid, if any more than two people sit on it at one time it has an alarming tendency to topple over. I am therefore hoping to add some more stable non-agricultural bench seating to the other side of the table and perhaps a statement chair in a darker colour at the end.

The rustic Hungarian milking bench that has been doubling up a seating in the dining at present
Removing the radiator cover and disguising the radiator
On the wall opposite the table there is currently a large radiator cover that takes up almost half of the wall and protrudes out into the useable space which is already quite narrow. I know some people prefer radiator covers to seeing the raw radiator but I am personally not a massive fan. I think, therefore, that I am going to take the cover off, pray for a not entirely Soviet looking radiator underneath and put a Scaffold shelf over the top to distract the eye away from it
The radiator cover that currently cuts into what is quite a narrow space
Creating Crittall
The final big change I want to make is to transform the glass doors that currently divide the kitchen from the living/dining space on the other side of the wall. They are nice and wide and I think they are a perfect candidate for a crittal on the cheap style makeover. My DIY to date has not extended to woodwork, perhaps because my last brush with a jigsaw in 1992 nearly took my CDT teacher to the point of nervous collapse, but there is no time like the present to extend my home improvement skill set.

The dividing doors I want to give a crittall makeover on a budget to. As you can see the dining table is currently doubling up as a table tennis table in lockdown

Ultimate crittal door inspiration from Plain English

Mine may not end up looking quite this chic but I am hoping that they add an industrial edge to the kitchen/diner
I hope you will enjoy following along with the revamp over the coming weeks, I know I am going to need your support and guidance when I am hacksaw in hand trying to craft myself that crittal!.
This Blog Post is Part of My Paid Partnership with Neptune

My moodboard for the makeover