Girth: not a filter term you can enter into Rightmove but it was one of the main things we were looking for when we searched for a new house 9 months ago. Our old house was lovely in many ways but it was relatively narrow with little scope to add extra width (especially when it came to the kitchen). As soon as I saw the floor plan for our new house I knew it was the one because it had the girth that would allow me to have the spacious open plan kitchen/diner of my dreams. It is almost double the width of the old house but, in its current configuration, the space is divided up in a way that does not make the most of the space.

Our old kitchen was a lovely space but it was narrow

The desire for a wider kitchen/diner was one of the motivations for our move
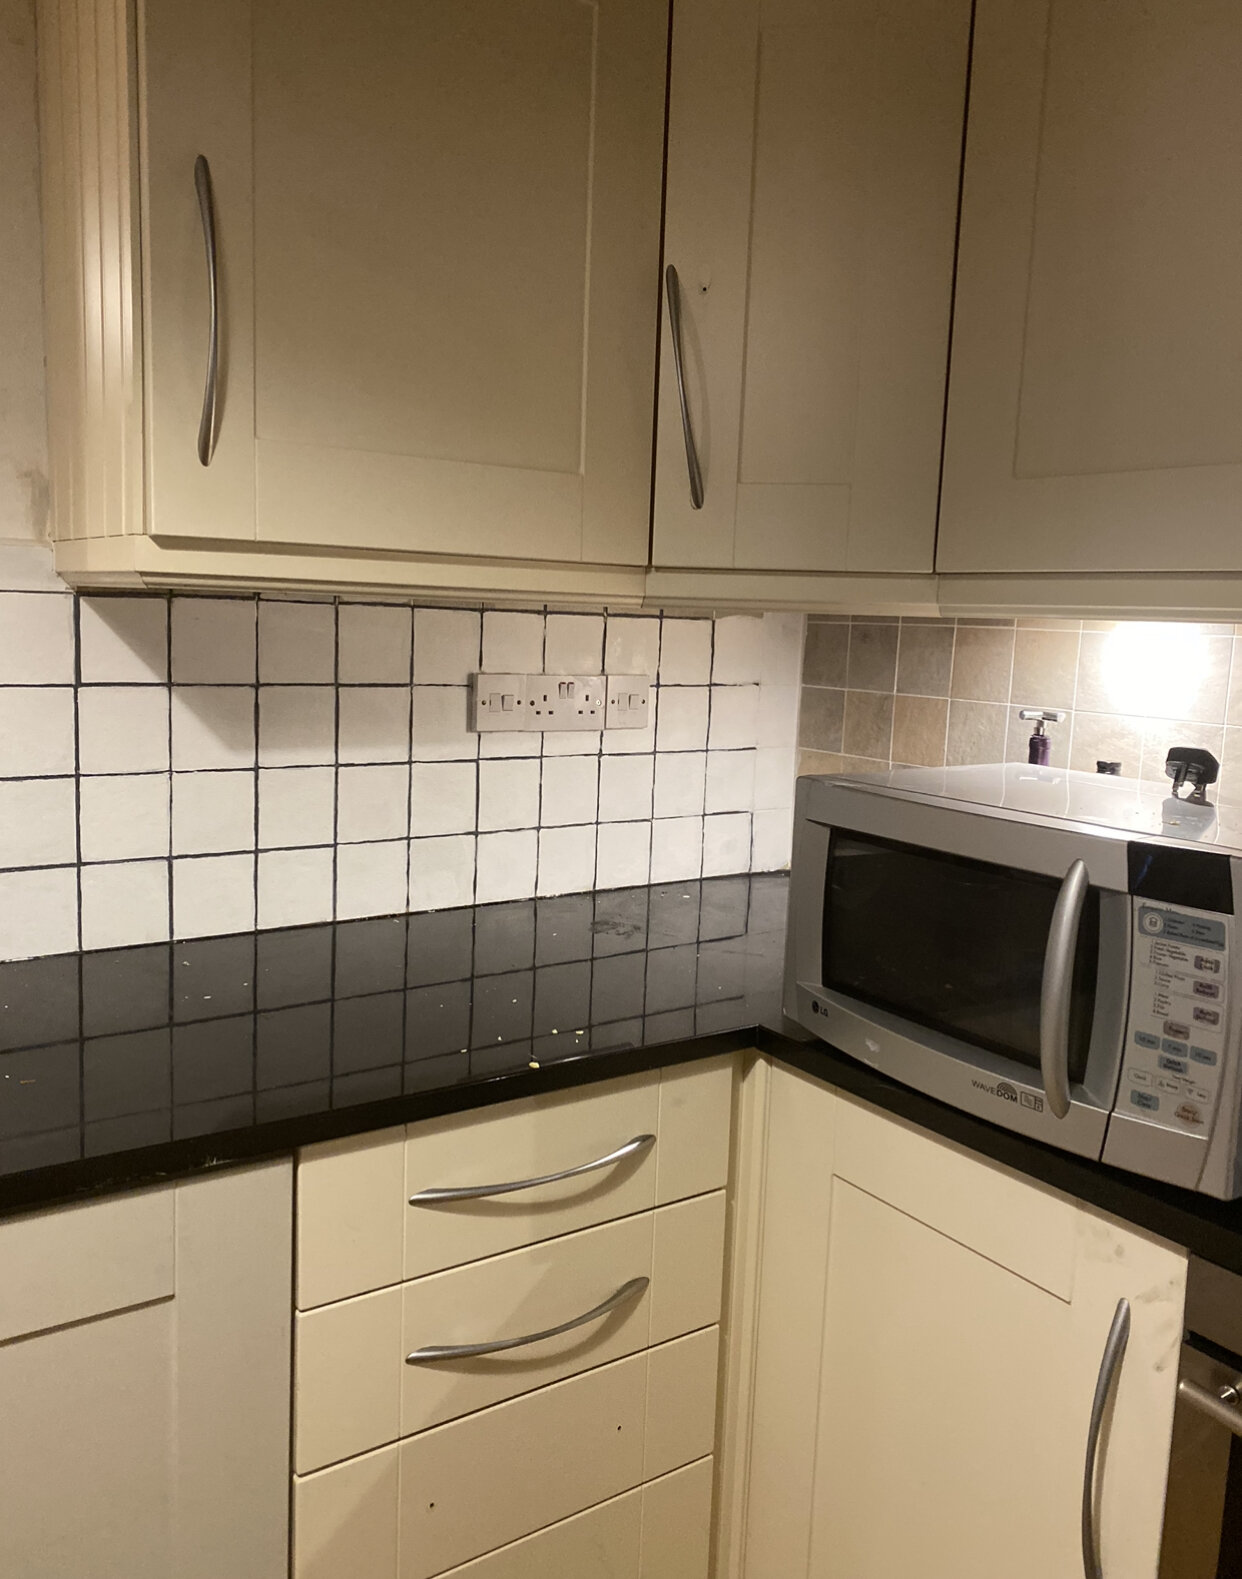
We have submitted a planning application to extend and reconfigure the space as well as to add a loft conversion. However, with a less than Roman Abramovitch sized bank balance, we are not currently sure how much of the work we will be able to complete in one go so it may be a while before I get the kitchen of my dreams. The kitchen we inherited was in OK condition and immaculately clean but it is just a little bit dated. So, before Christmas, I decided to embark on a mini makeover to #MakeItMoreMalmo in the short term. Because we are going to be doing a bigger renovation in the not so distant future I couldn’t justify ripping out and replacing things like the tiles and cupboard doors. My challenge, therefore, was to achieve the Scandi/Industrial look I was after by pimping what was already there.

The kitchen we inherited was clean and relatively light and bright it just felt a little bit dated.
I knew there were some simple inexpensive changes I could make that would bring the space instantly more up to date. Sphincter tighteningly for Mr Malmo, they mainly involved me, left over tins of paint from the garage and his electric screwdriver. The key areas I wanted to tackle were the tiles, the cupboards and the handles.

Adding in my own possessions helped to make it feel a little more homely to start with

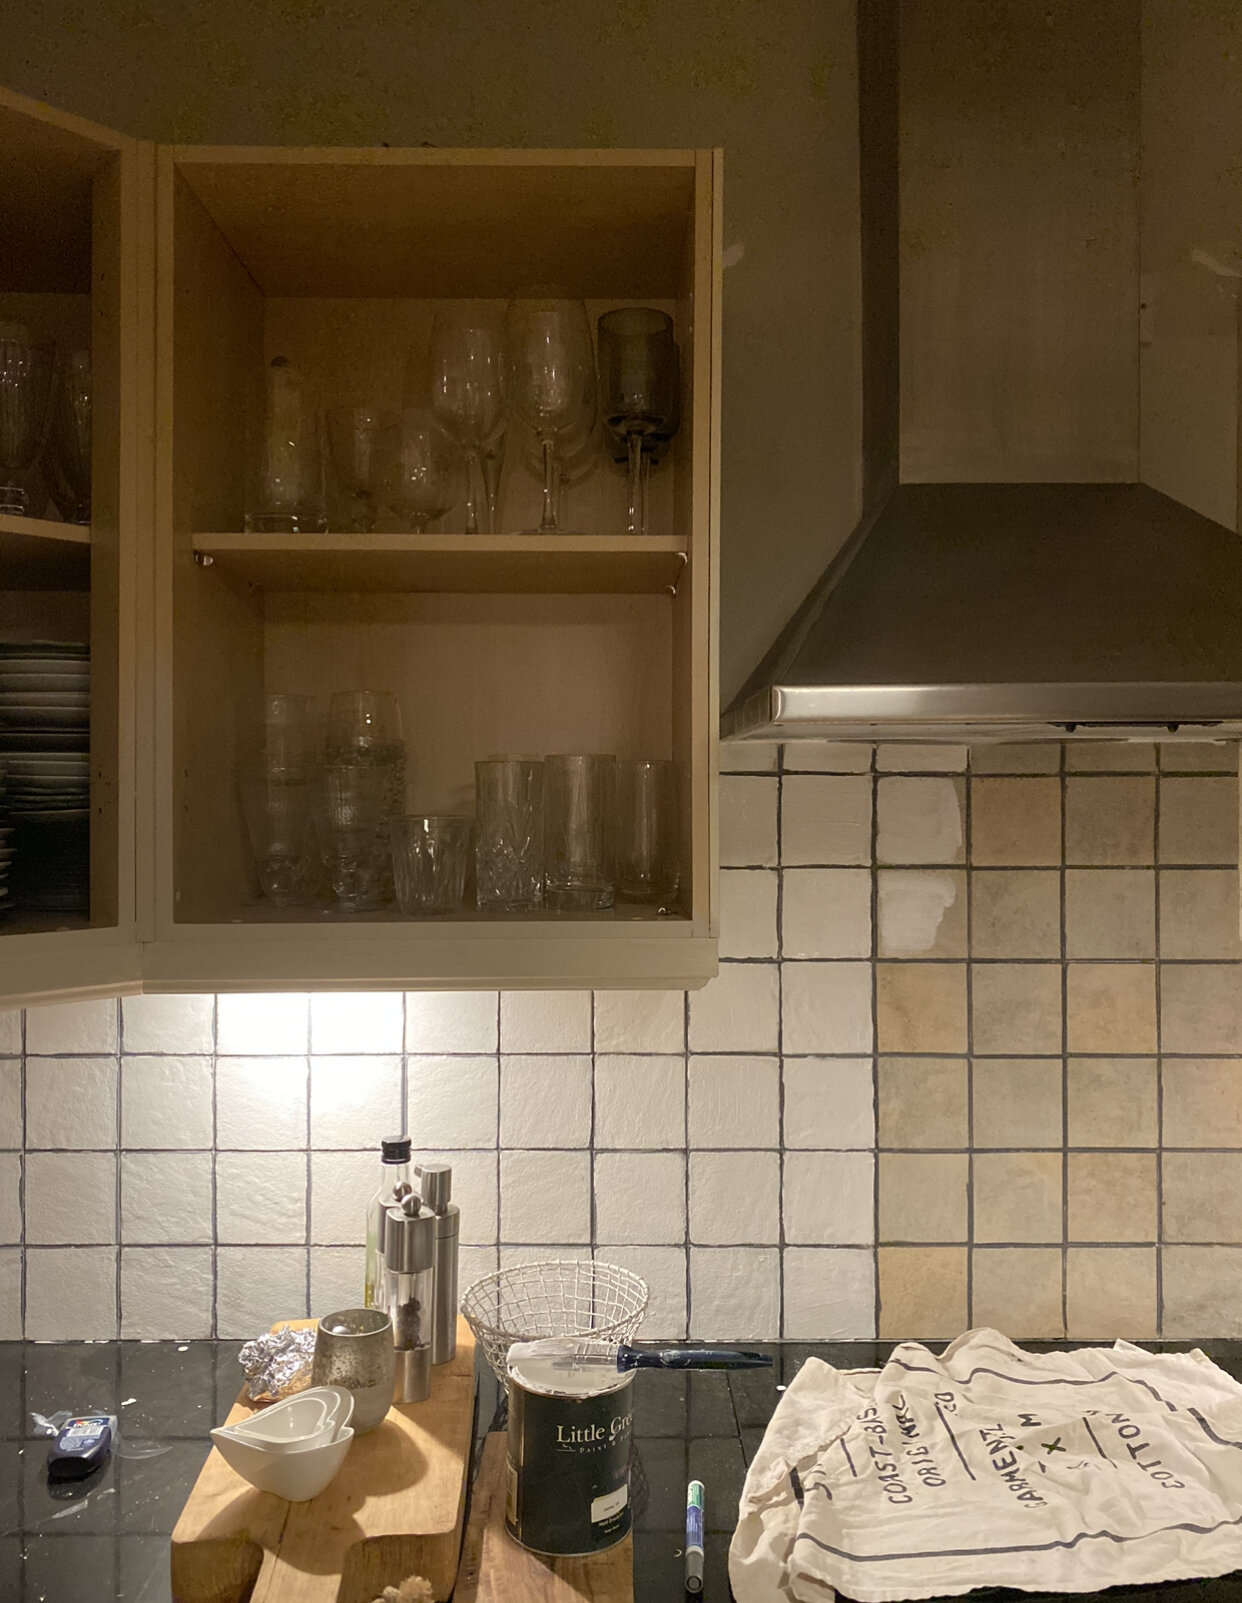
But I was itching to do something with the wall cupboards
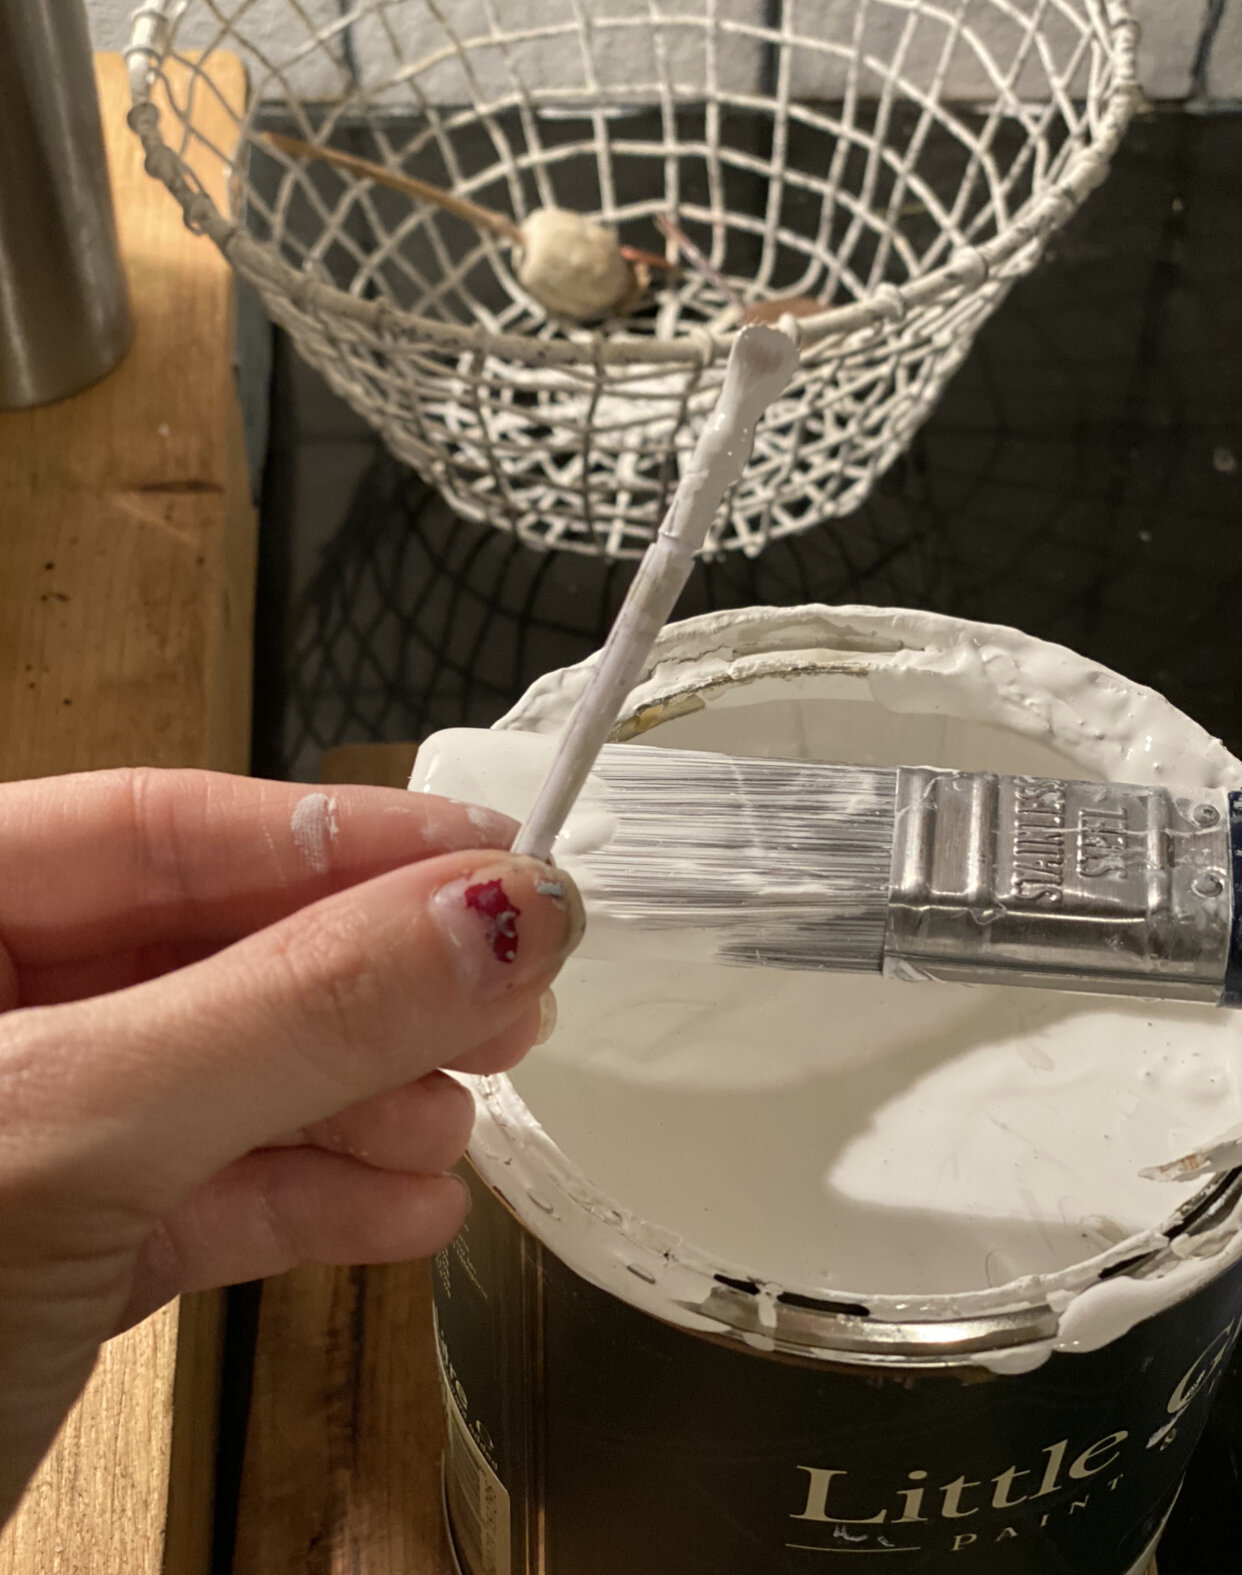
For the tiles I decided the simplest course of action was to paint them white and use a grout pen to give them a refresh. Now an experienced DIY blogger would no doubt have carefully researched and purchased both primer and specialist tile paint before embarking on this job. However, #SlapdashScandiHandyAndy bought a tin of ordinary white emulsion and a grout pen off Amazon and cracked on with the job after a couple of glasses of wine one Friday night.

Can of white paint at the ready I made a start on transforming the tiles
Considering that my technique involved individually painting the tiles and filling in the corners using the brush from a child’s face paint set I would say it is a miracle I finished the job before 2022. Even more miraculous given said painting technique is the fact that the end result actually looks half decent (especially if you are squinting and have consumed four strong gin and tonics). It may not be the perfect paint job but it has instantly freshened up the kitchen and given it a much more contemporary feel.


If I was to do the job again I would definitely adopt a different painting technique though, using a roller to paint the tiles on mass rather than painting each one by hand!

As long as you squint the paint job looks pretty good!

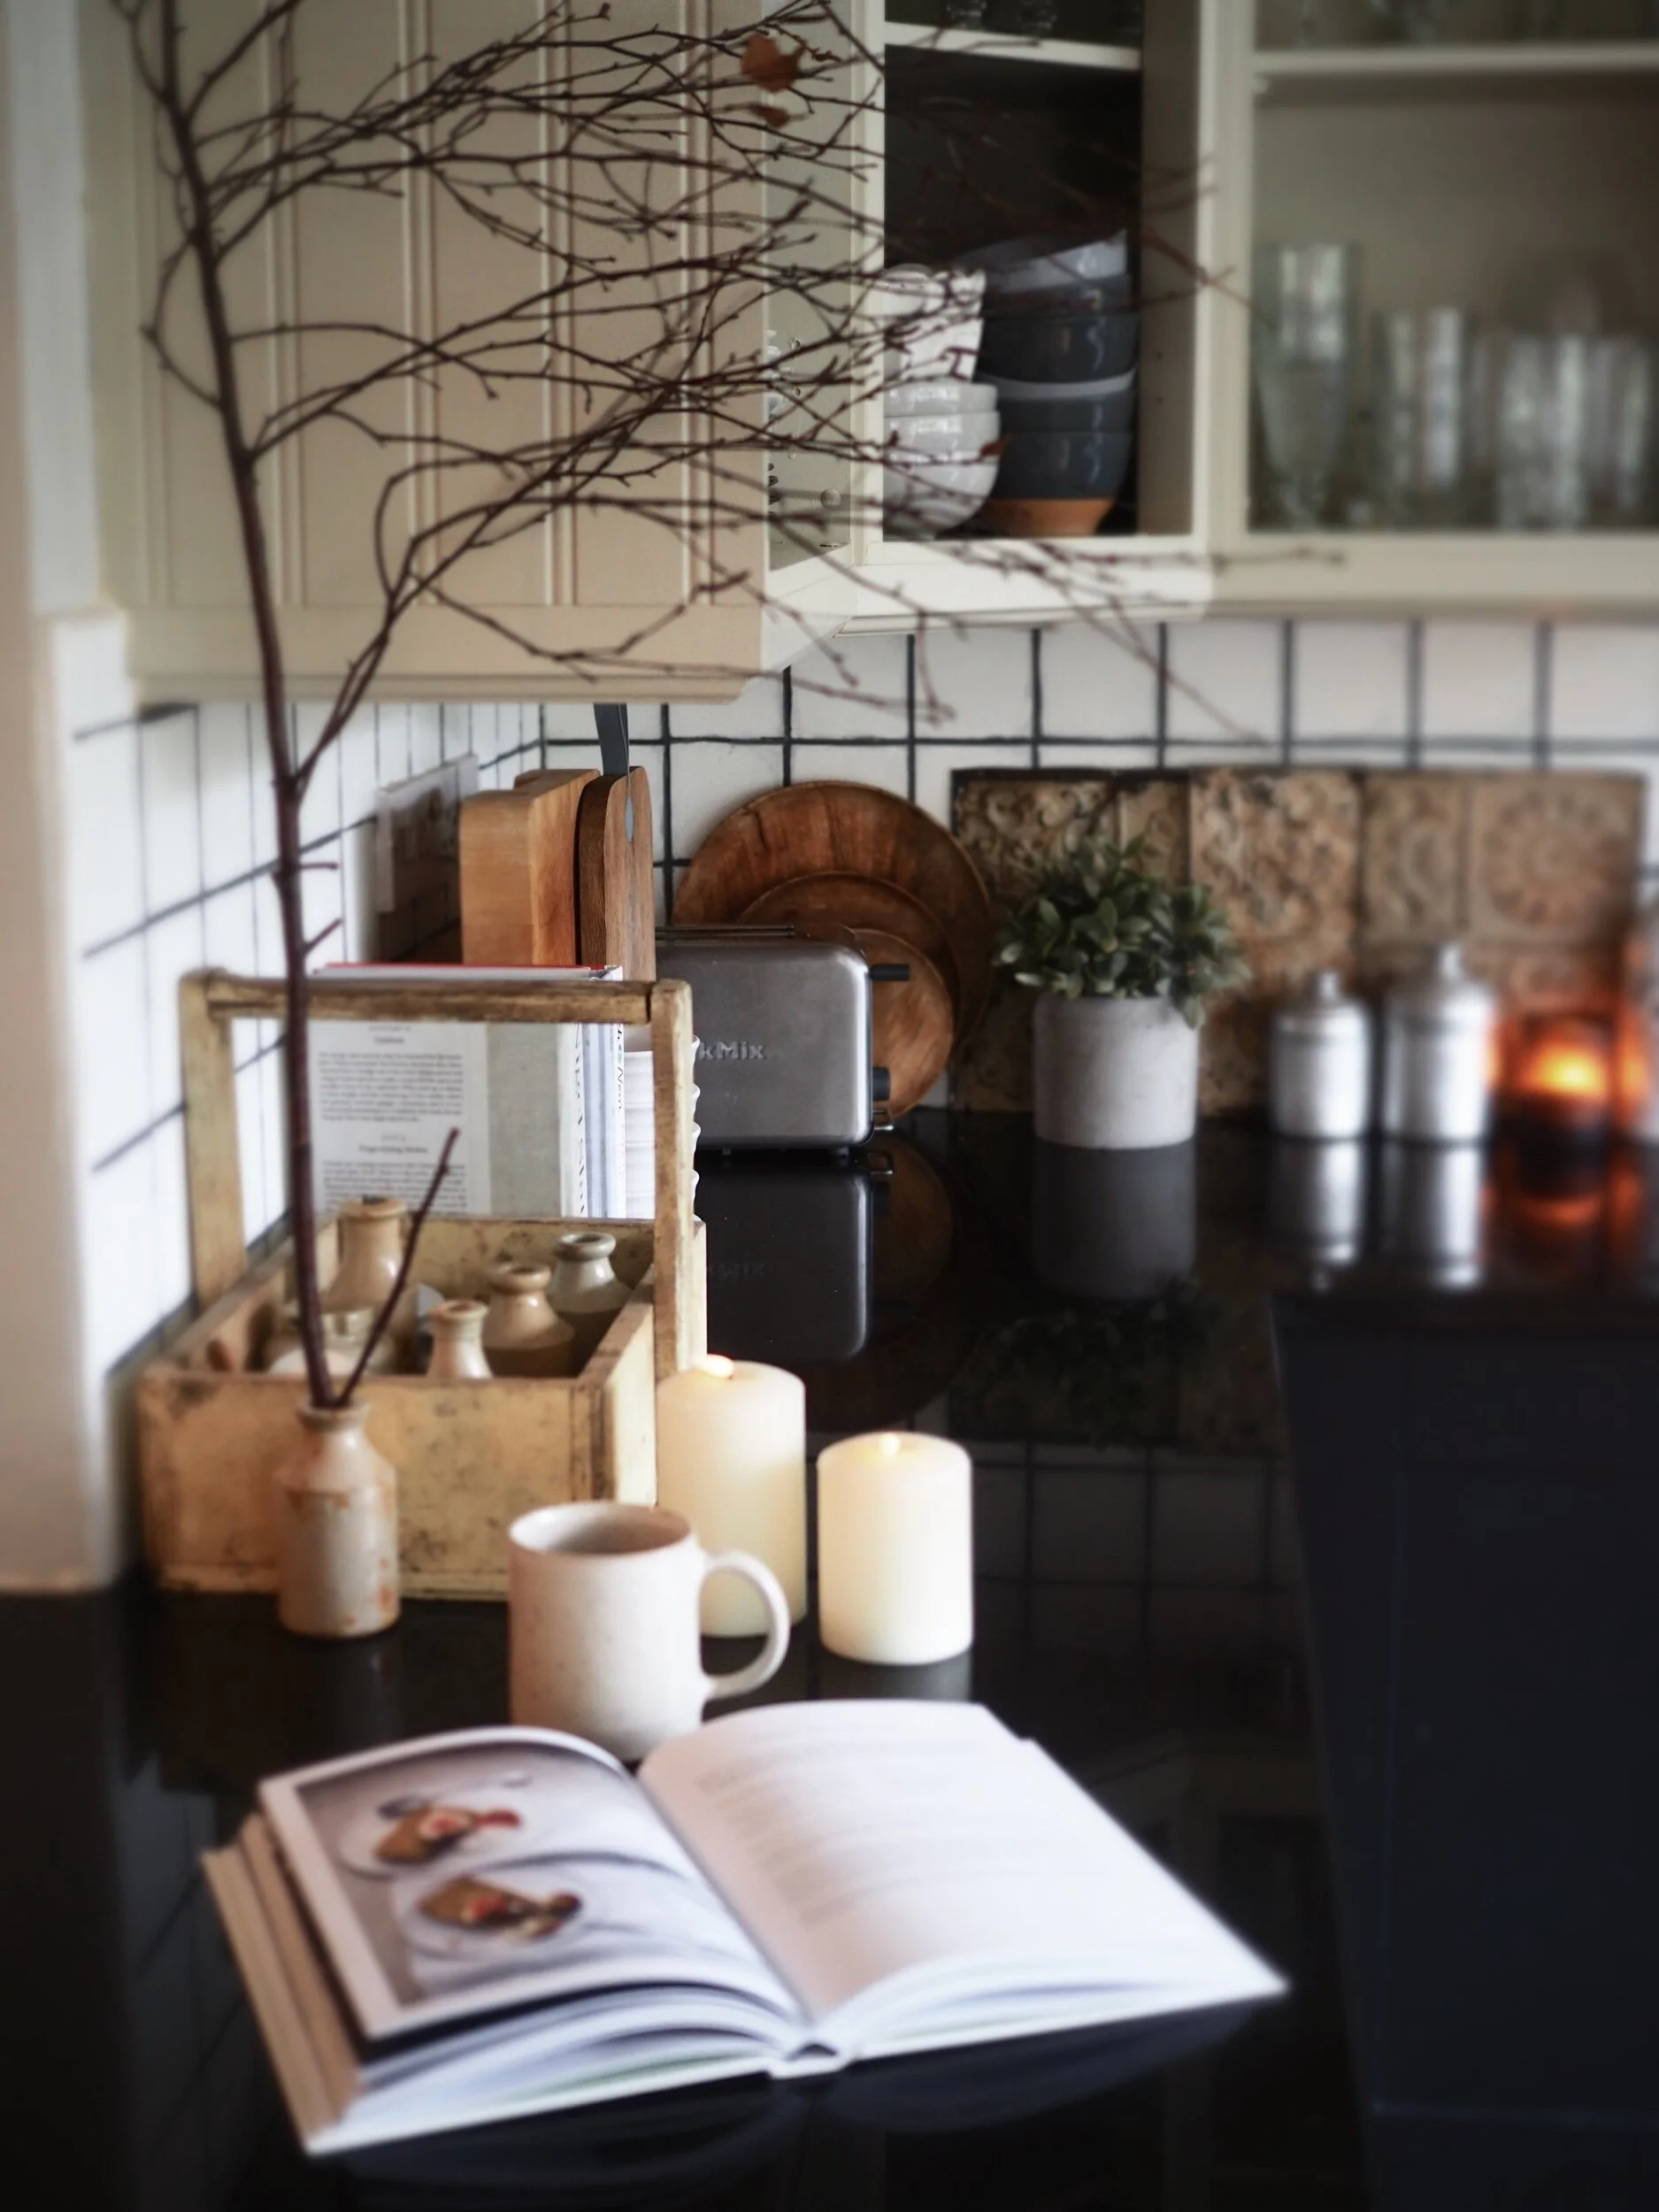
The newly painted tiles create the perfect backdrop for a bit of nonchalant recipe book reading
The second change I made was to #GoToWarOnTheWallCabinets. I know a lot of people like their crocks behind closed doors but I have always been more of an open shelf kind of girl. I like to wear my mugs on my sleeve. So from the moment we moved in I had the wall cupboards on my hygge hitlist. My ideal scenario was to take them off the wall completely and replace them with open scaffold board shelves. But I feared that might end in us having to replaster the walls which was definitely not on my budget kitchen makeover plan. So the compromise option was to take the doors off and paint the cupboards.

#SlapdashScandiHandyAndy in action

Even just one cupboard in I knew the decision to take the doors off was the right one
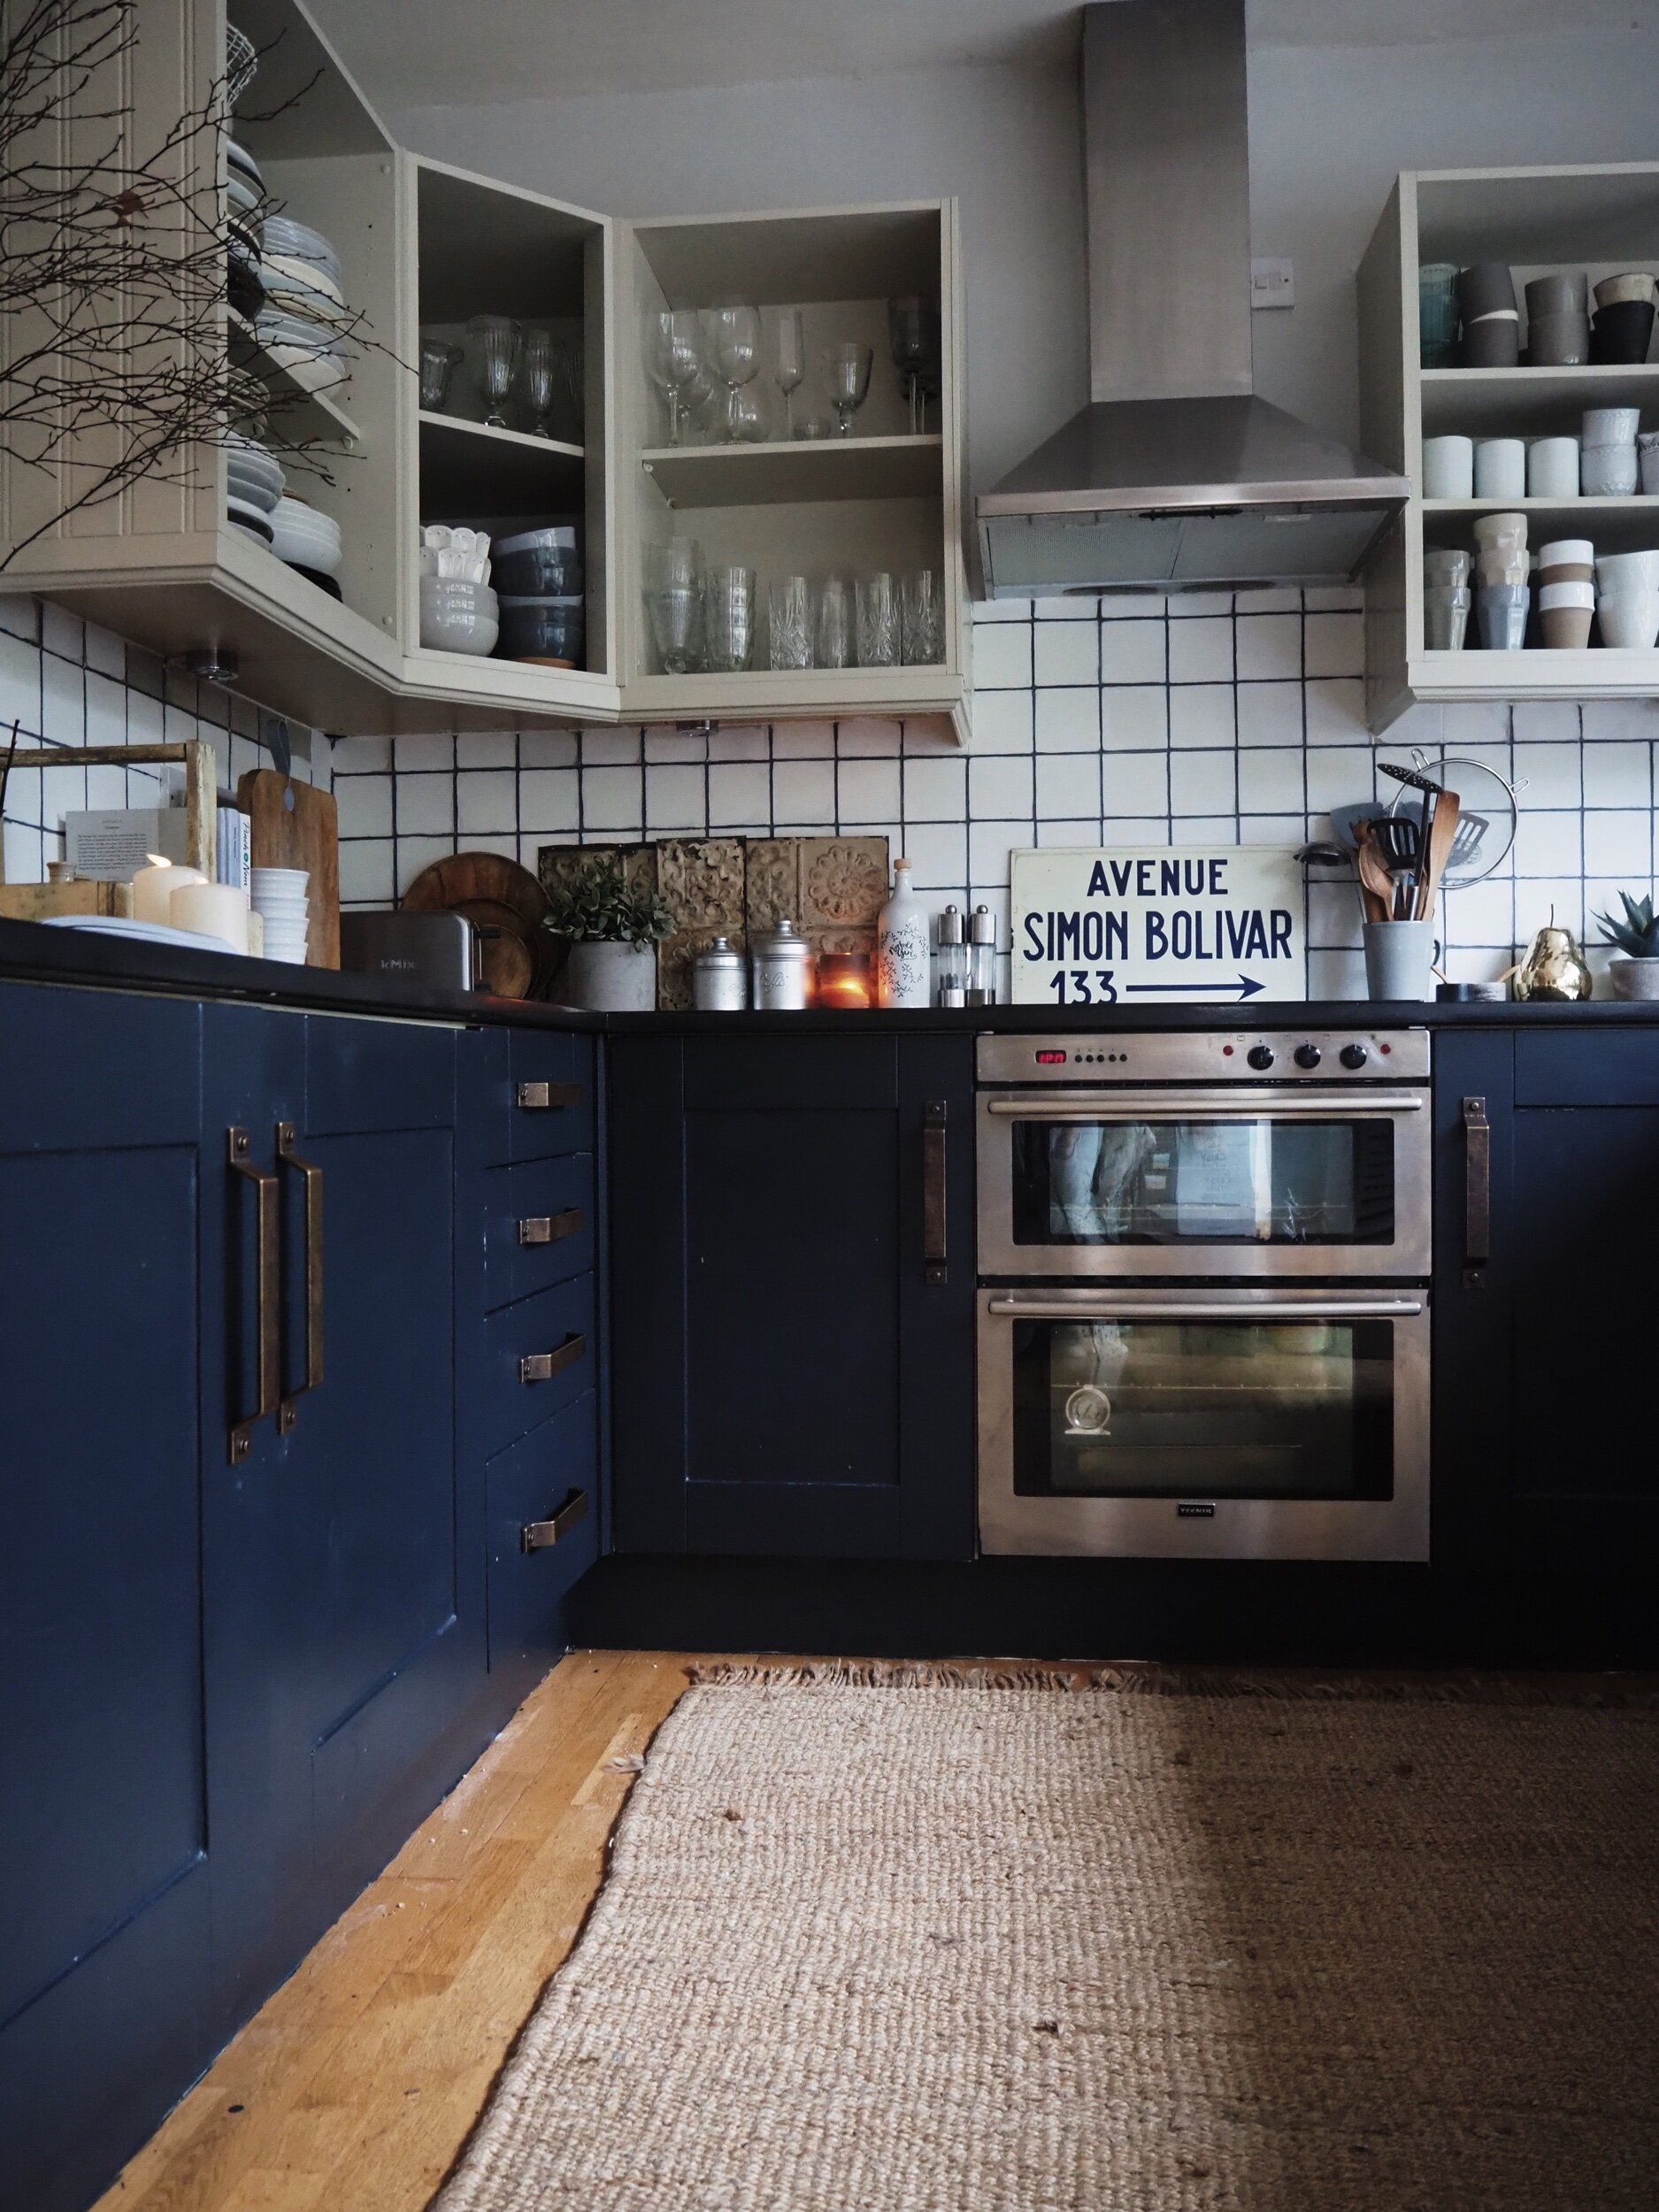
Usually I would rely on Mr Malmo for any job requiring a Black & Decker but in a bid to prove you don’t need a dick to (screw) drive I tackled this task myself. Having removed the doors I painted the cabinets in Portland Stone from Little Greene (I bought a 2L pot and had some left over by the end). No replastering was required and it means that my impressive/excessive mug collection is now back on display.

Wearing my mugs on my shelf

I love the interest, texture and (muted) colour they add to the kitchen

Is 79 an excessive amount of mugs to own (asking for a friend)

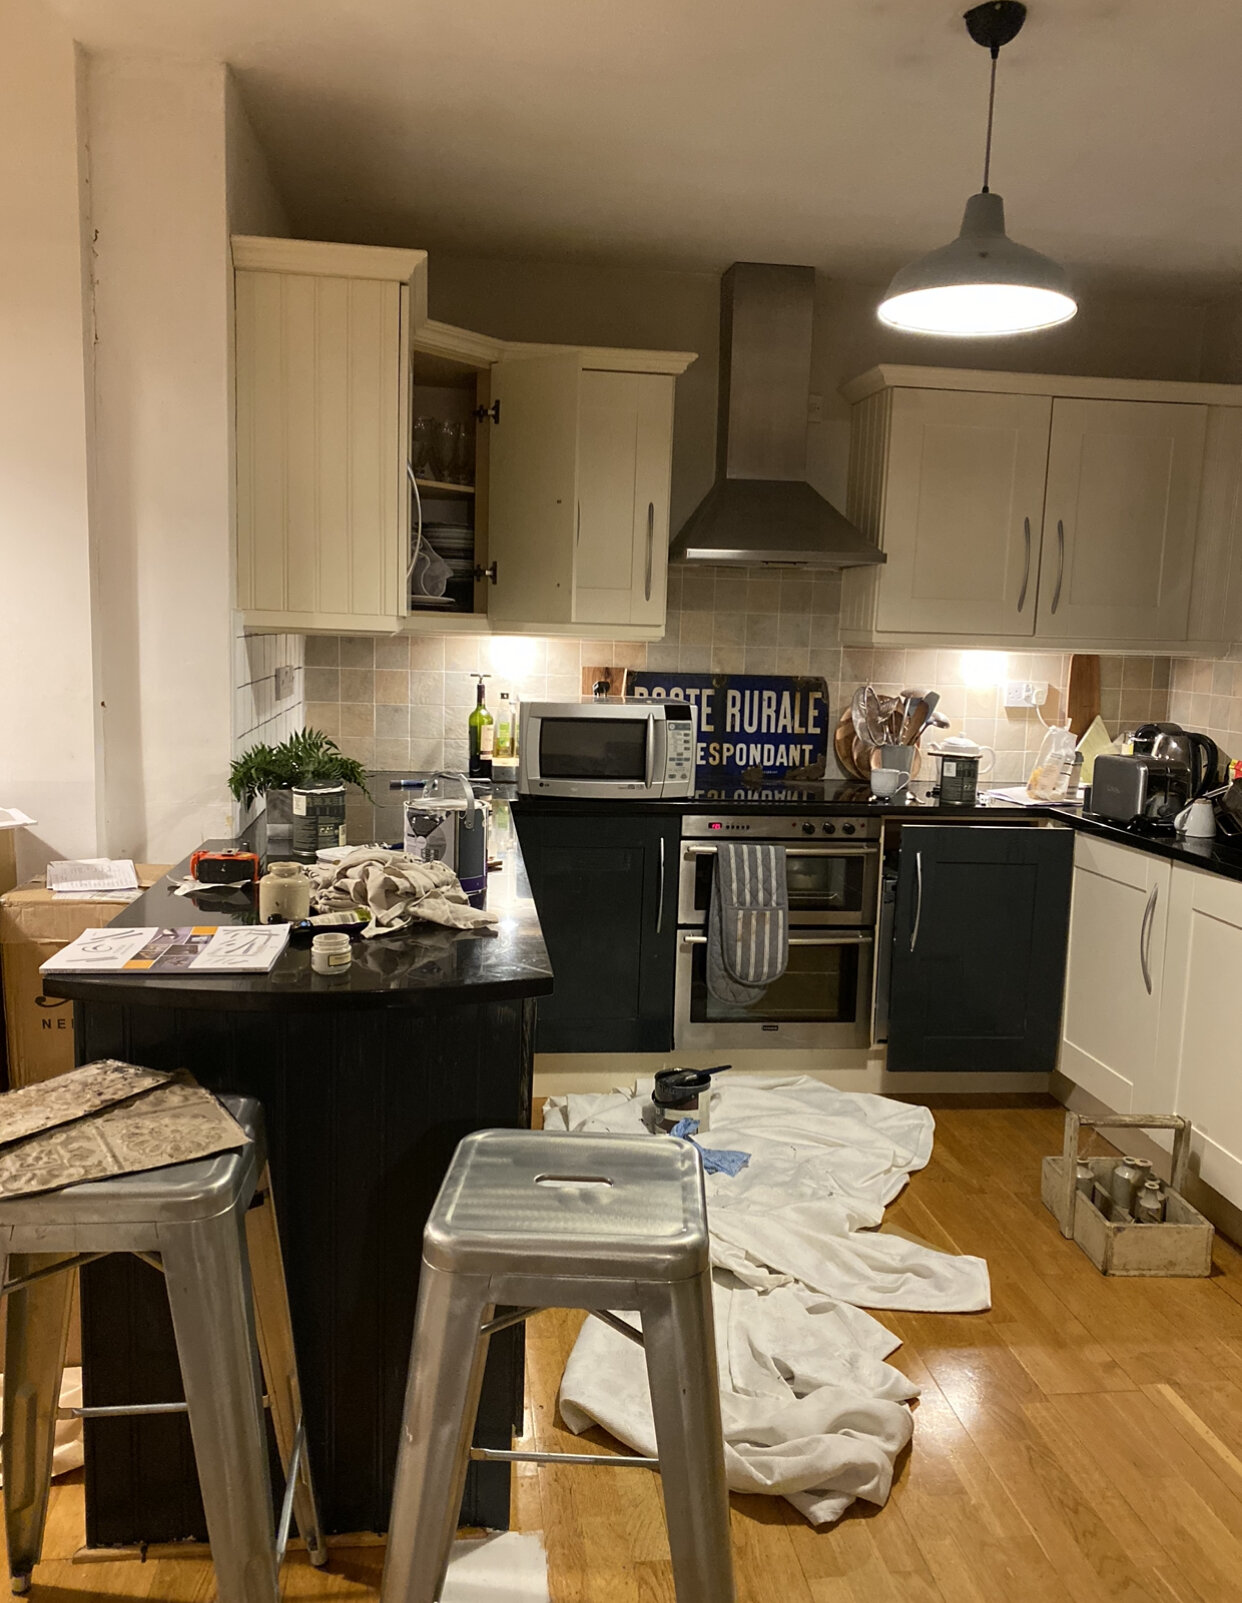
The next decision was what to do about the doors on the lower cabinets. I initially thought of also painting them in Portland Stone but when I tested the colour out on one of the cupboards it just felt a bit meh so I decided to dip a toe in the dark side instead (perhaps also inspired by the fact that I had 3/4 of a tin of leftover Railings paint in the garage). Whilst the upper cupboards were easy to paint the bottom ones were what can only be described as a complete bastard! Because I had tested out a few different shades on them before plumping for Railings it felt like Farrow & Ball could sense the presence of its Middle Class paint competitor and was determined not to be on the same cupboard as them! I should probably have stopped, gone and bought some primer and tackled the task afresh but that level of patience/preparation is not my DIY style.
If you don’t zoom in too close the paint job really doesn’t look too bad despite my epic struggle to get the paint to stay on the cupboard
However despite my struggles, as long as you don’t zoom in too close, I think it has turned out OK in the end. I don’t think I will ultimately chose to have a dark kitchen but, for now, I am definitely enjoying having a temporary flirt with dark side. With the (bad) paint job complete, the final finishing touch in my budget kitchen makeover was to update the cabinet handles (a couple of which had actually fallen off). I initially thought about going for a copper bar style handle but, echoing my mum’s thoughts about the casting of Timothy Chalamet as Laurie in the Little Women reboot, I decided that they were too modern for the part.

A sneak peek of one of the aged brass handles I opted for
Instead I tracked down some aged brass handles from More Handles which were the princely sum of £6 per handle meaning the handle refresh came in at approximately £80. I have had pedicures that cost more (foot maintenance is an expensive business in London!). They really helped pull the makeover together and were super easy to fit.

I chose industrial style aged brass handles from More Handles

They were very easy to install and I love how they have changed the look of the cupboards
So what do you think of the end result? I added up what I spent on the white emulsion, grout pen, Portland Stone paint and the handles and it came to the princely sum of approximately £130. With the exception of the handles I have just worked with what was already there and I think it has really underlined to me that creating a space that feels contemporary and cosy does not have to cost the earth.

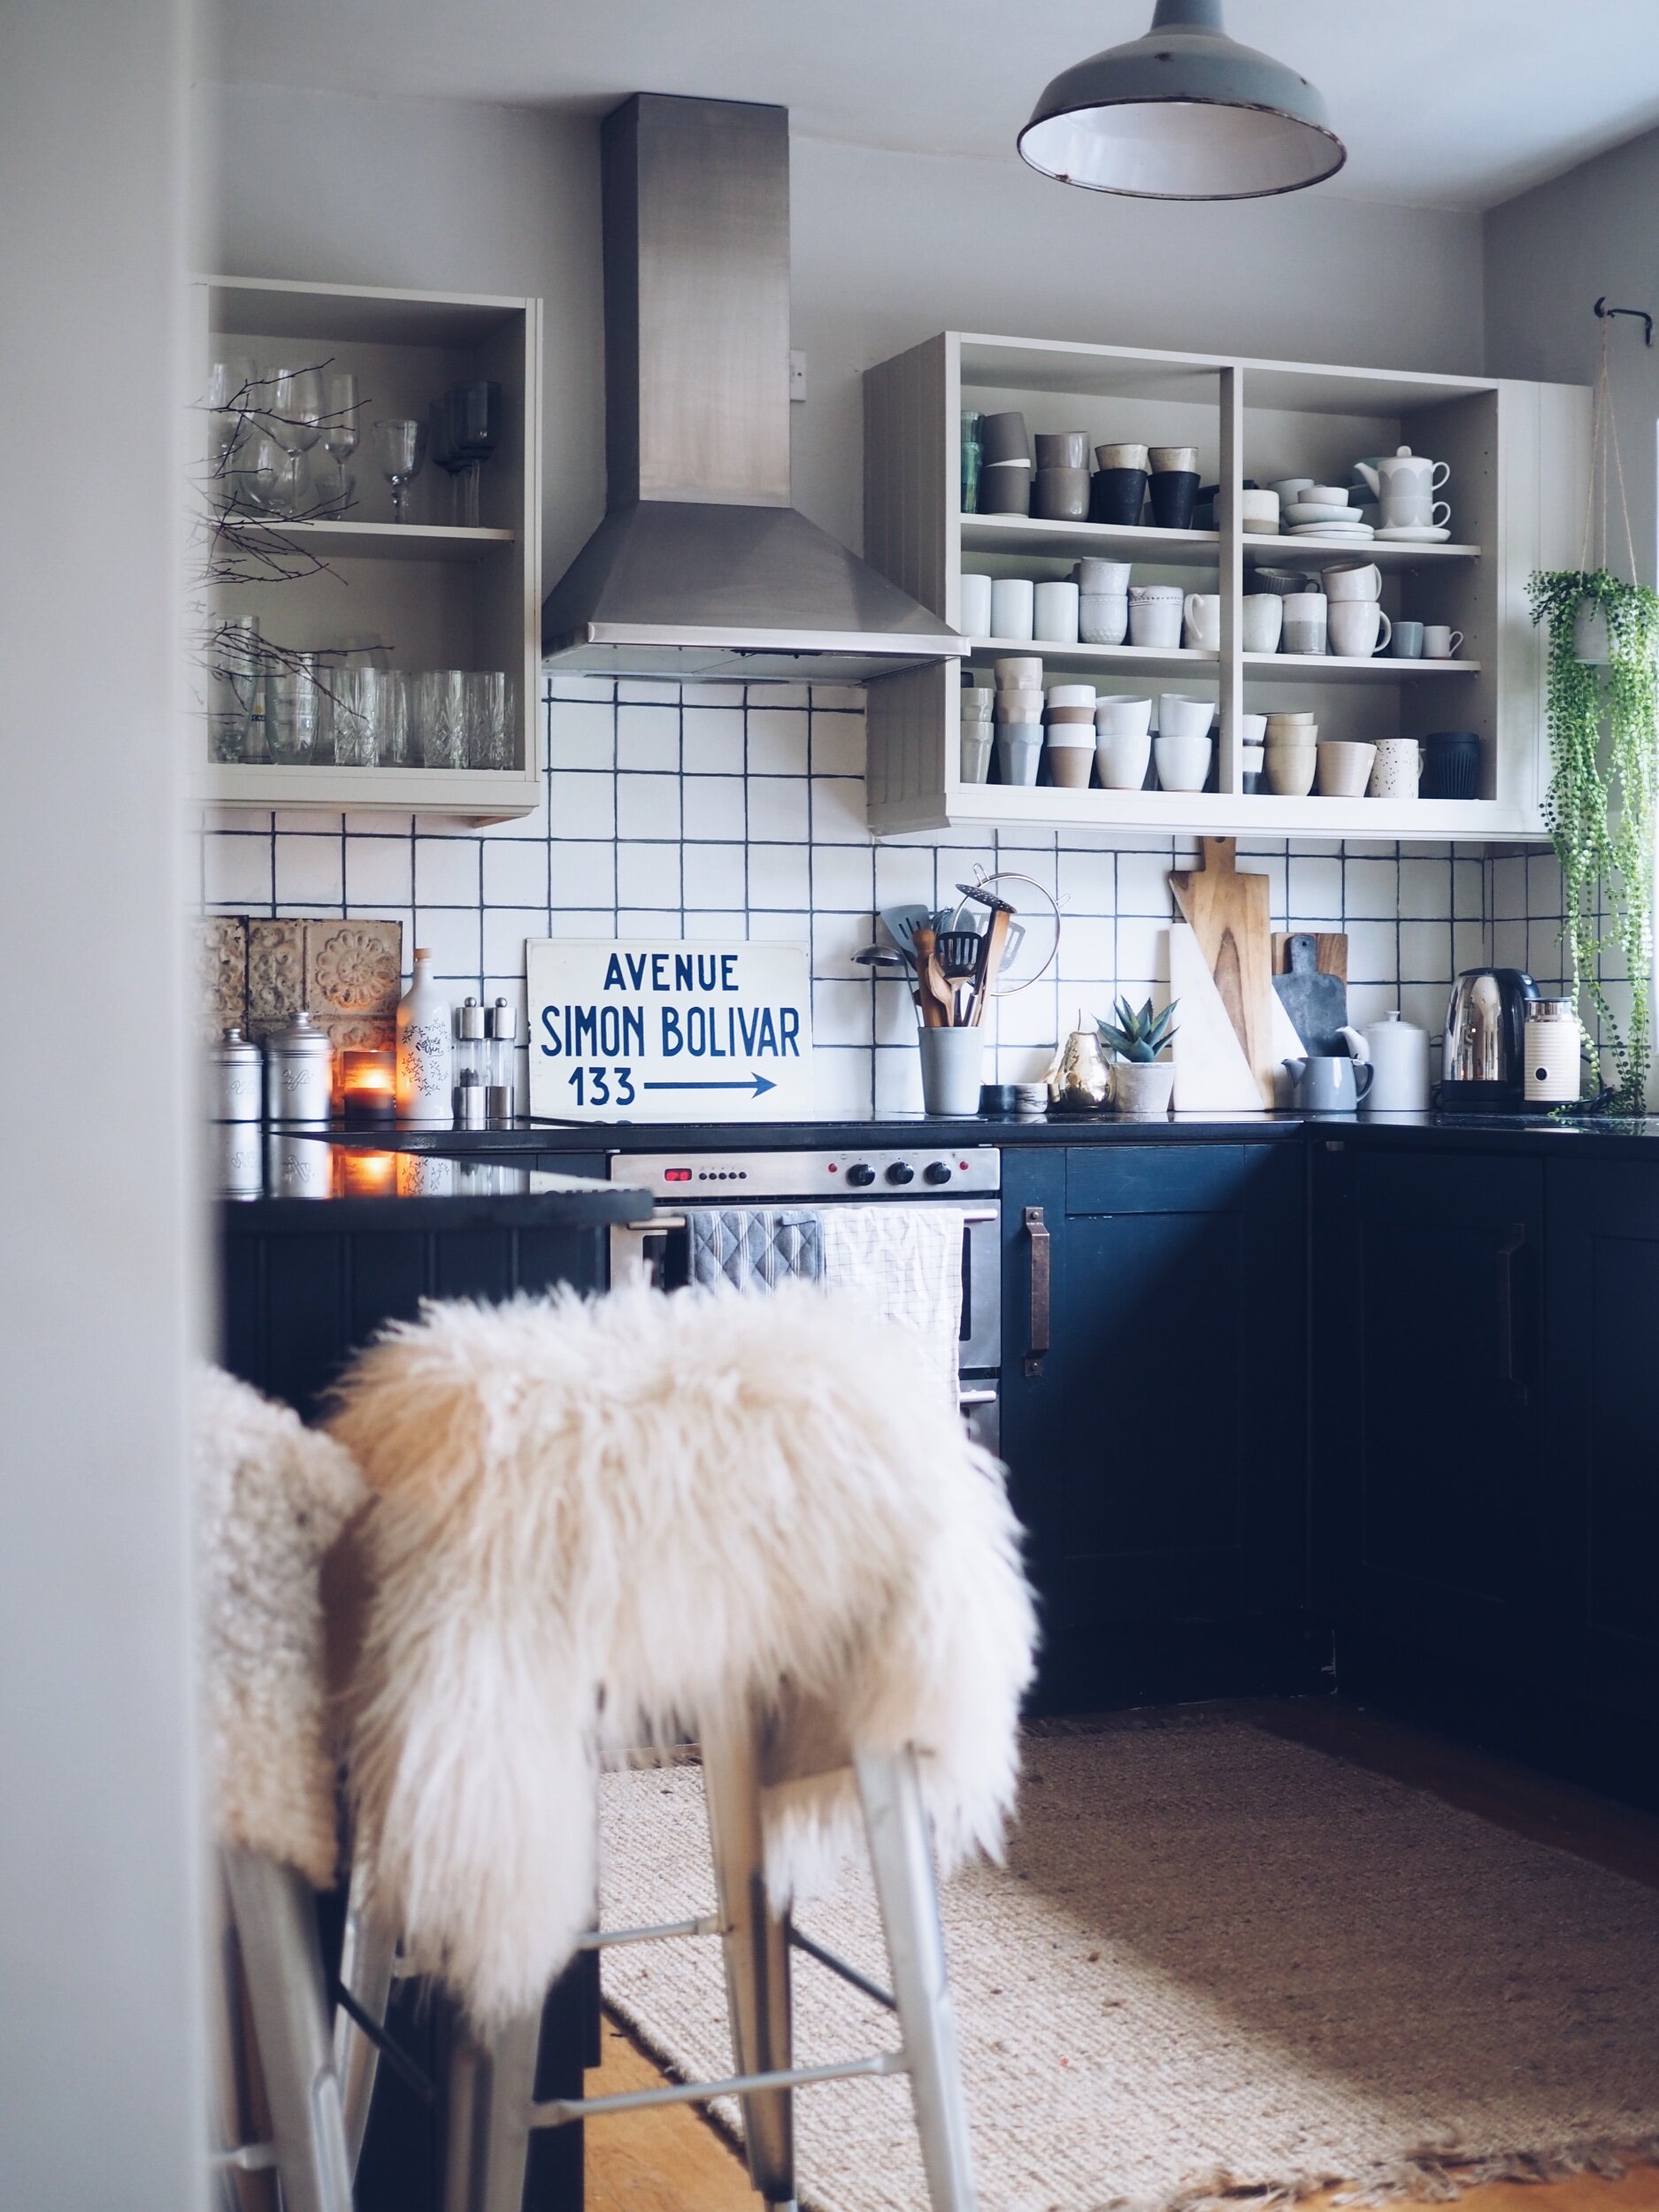
A cosy, homely kitchen that feels like Malmo for £130


This is my favourite corner to hang out looking like William Shakespeare off to do a spot of DIY
The one change that I didn’t make which I am now slightly regretting is painting the floor. The flooring is engineered wood but the boards have a quite shiny/orangey varnish finish and I have an urge to paint them an off white to take the edge off them. What do you think? Get my paint brush back out or leave well alone? Perhaps that will be one of the changes I make in Malmo’s Mini Kitchen Makeover Part II as there is actually another part of the kitchen that I haven’t shown you yet! I can’t wait to share my plans for the rest of the space with you soon and maybe this time I will invest in some primer…..

The shiny floorboards that I have an urge to paint off white. Please ignore the fact that I should have hoovered before I took this photo!

New kitchen and a new fringe - only one of them now looks like I borrowed it from Rod Stewart


A full frontal of the newly revamped kitchen

Taking a break from painting but I am already plotting Part II of the kitchen makeover