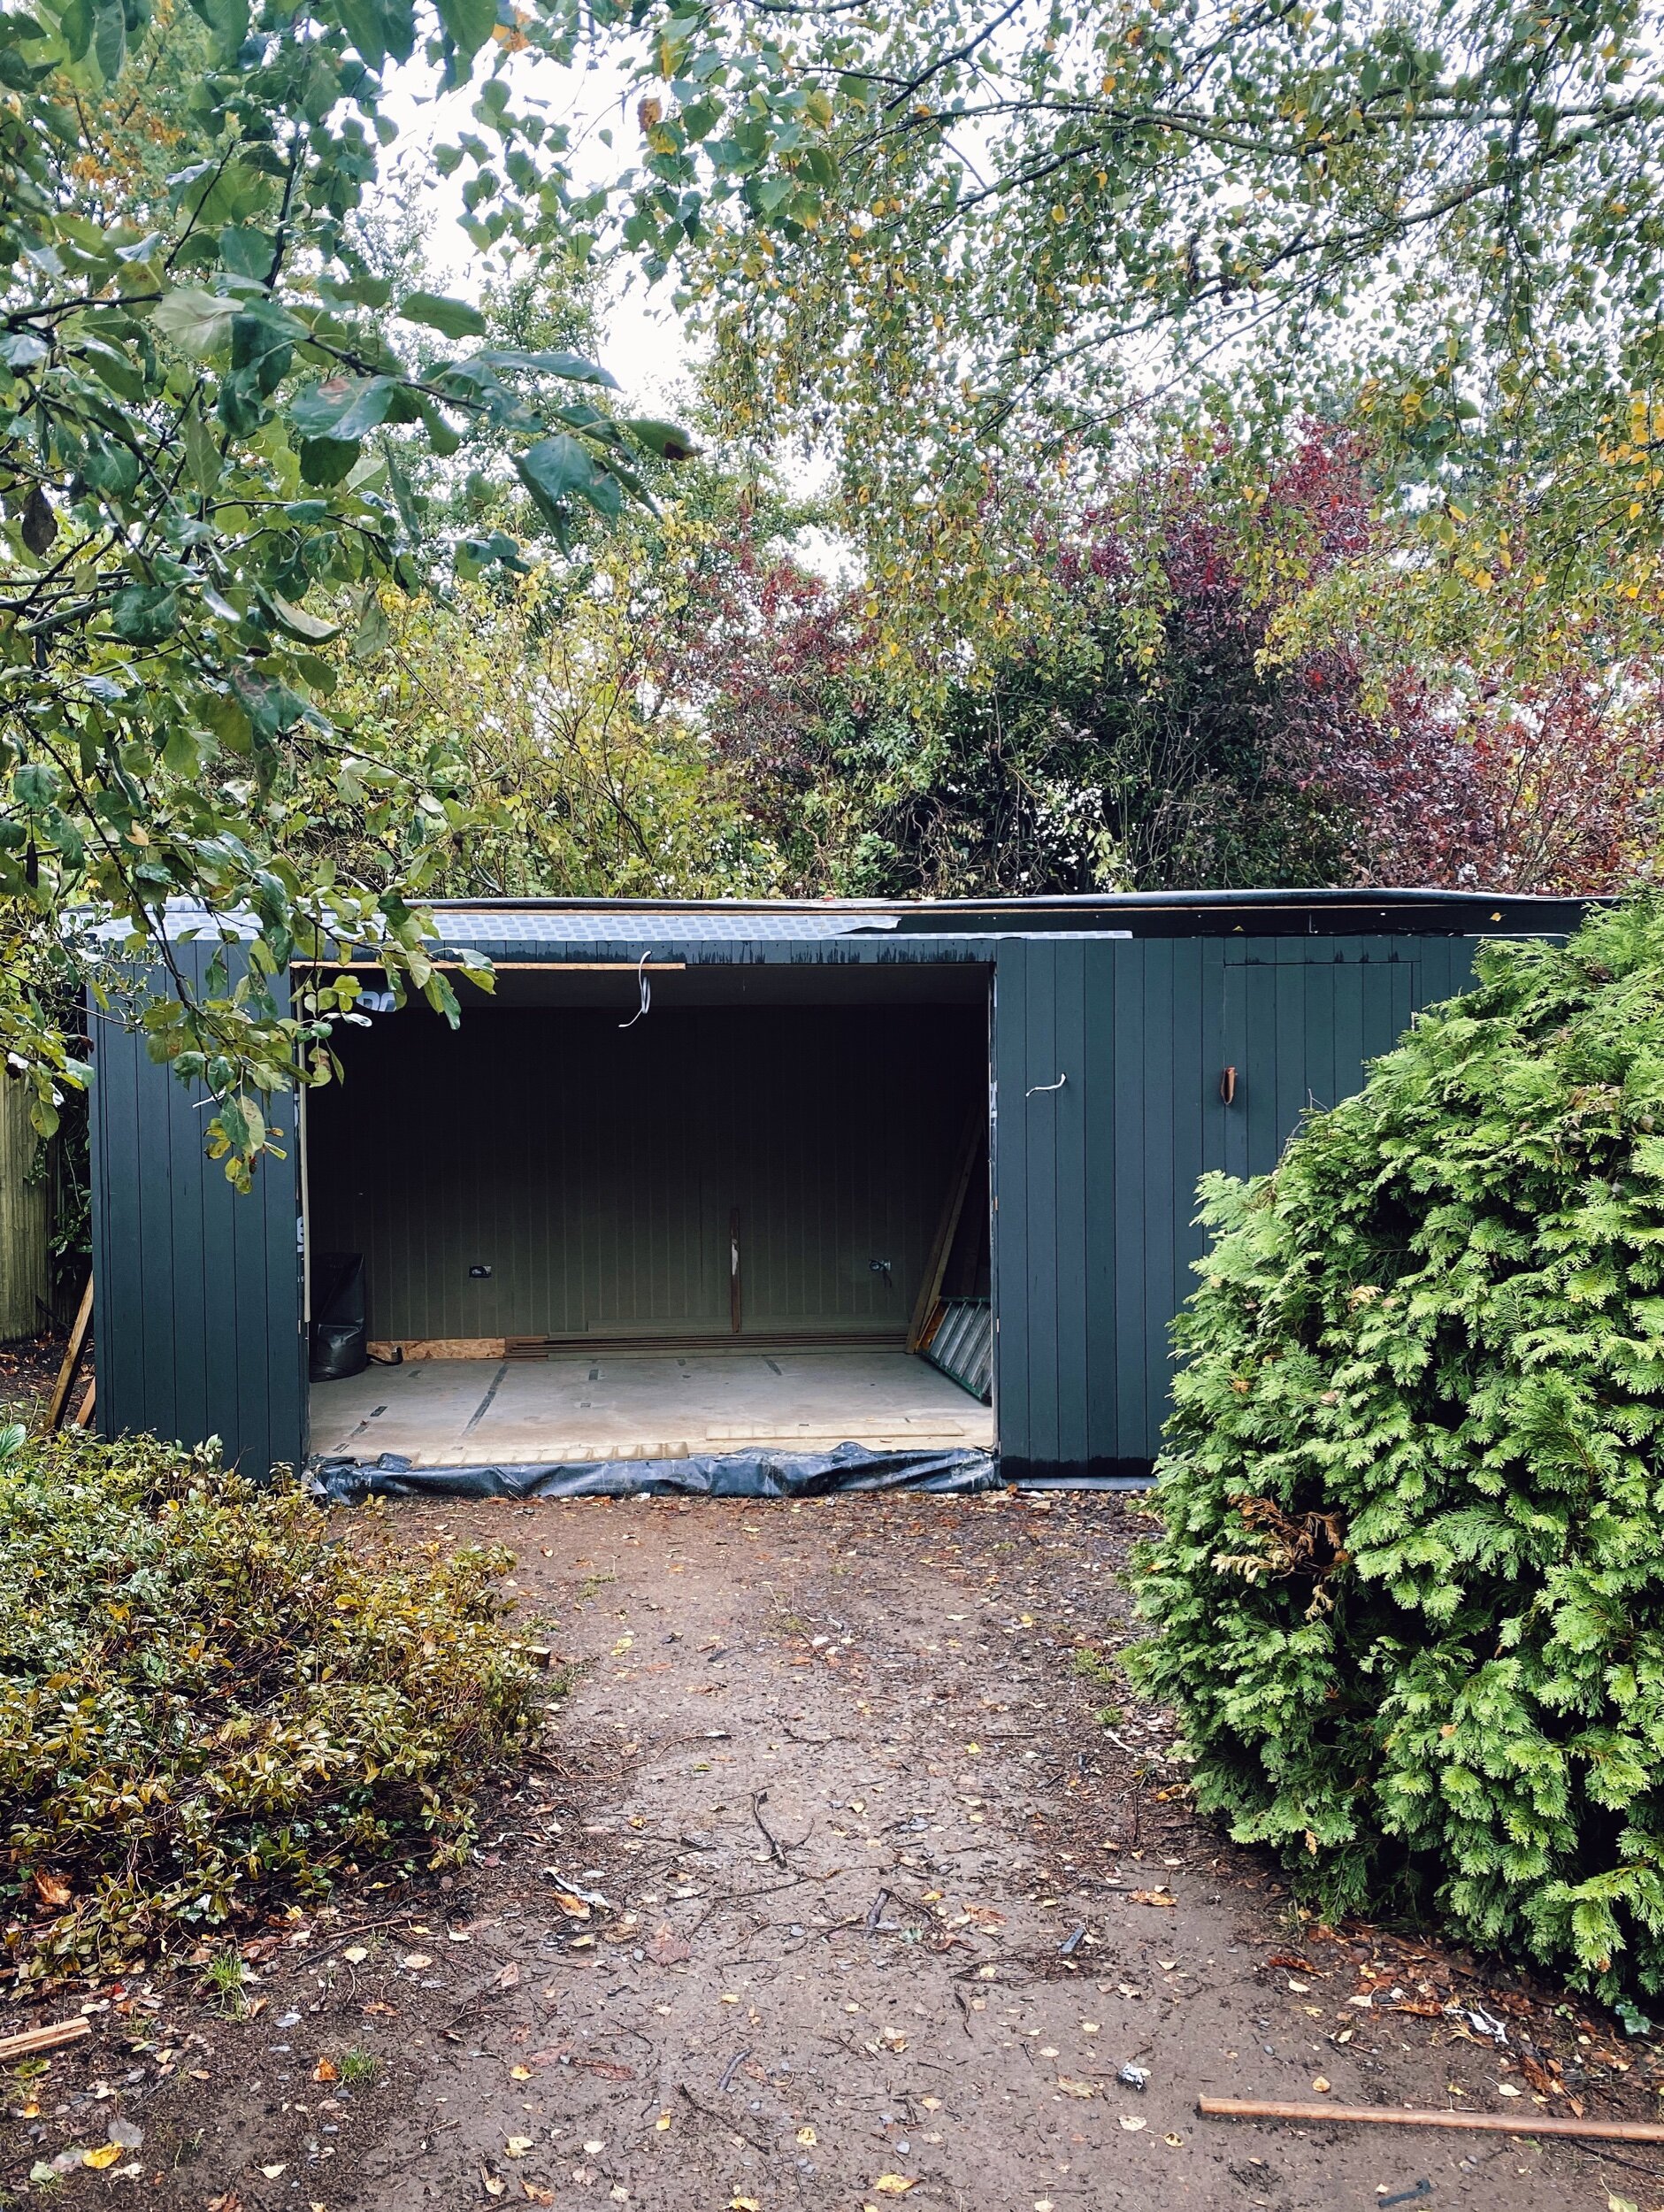
For everything there is a season and, excitingly, this Autumn has been the season of garden office construction for us! To recap, after six months of home working/schooling in the spare room and at the kitchen table we decided to accelerate our plans to build a Scandi style Office with an integrated shed (aka a Shoffice) at the bottom of the garden.
We originally started looking options available from bespoke Garden Studio companies but for the size and finish we wanted (roughly 6m wide by 3.5m deep) we quickly realized they were going to be significantly out of budget at around £35 - 40K. So we decided to have one built from scratch instead - an option that works out almost half the price.
After many hours pouring over Pinterest I produced a sketch (although that is probably a generous description!) of what I wanted to achieve and called my builder Tony to see if a) he could tell what the drawing was and b) take the project on. Luckily for me it was a yes on both counts (although admittedly given my shaky grasp of Albanian it could actually have been “did a four year old draw this?”).
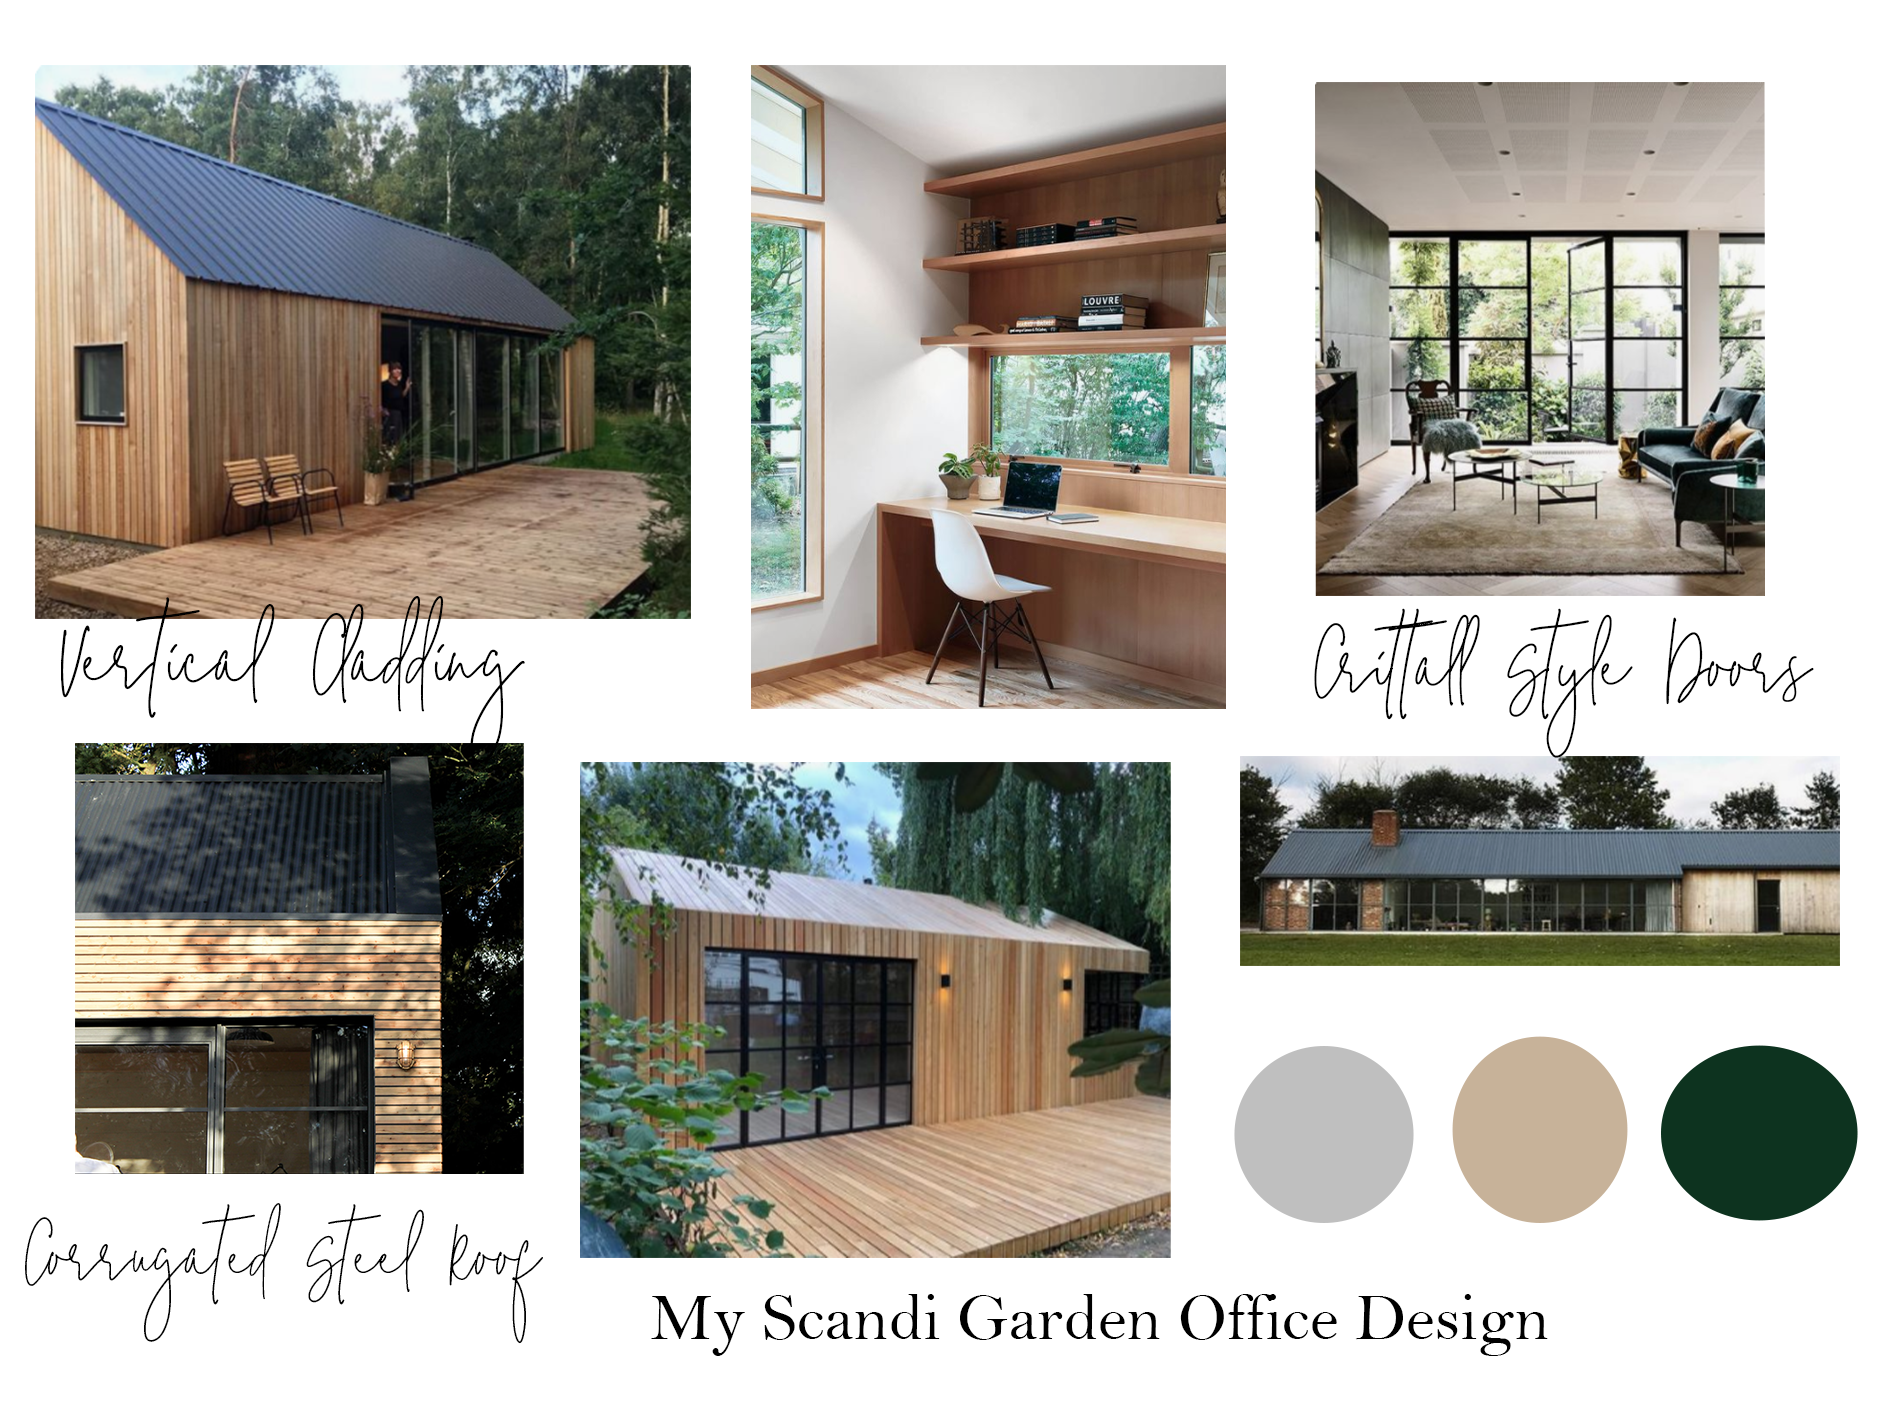
Sadly not my drawing but the inspiration for it - Cabu Cabins in Kent
It has been amazing watching my sketch literally coming to life out of the kitchen window for the last two months as Tony and team have made rapid progress. The first step in the process was lay a concrete base, after which they built a timber frame which has been insulated and boarded before then being clad. Electrics have been run out to the garden from the house (this cost approx £1K) but we decided against plumbing it with water as that would be a much more expensive option. The office will have underfloor heating and the option to have a wall heater as well if needed. For the office segment of the Shoffice (which measures approx 4m by 3.5m) the underfloor heating mat cost approx £175 so it is actually more affordable than you might imagine.
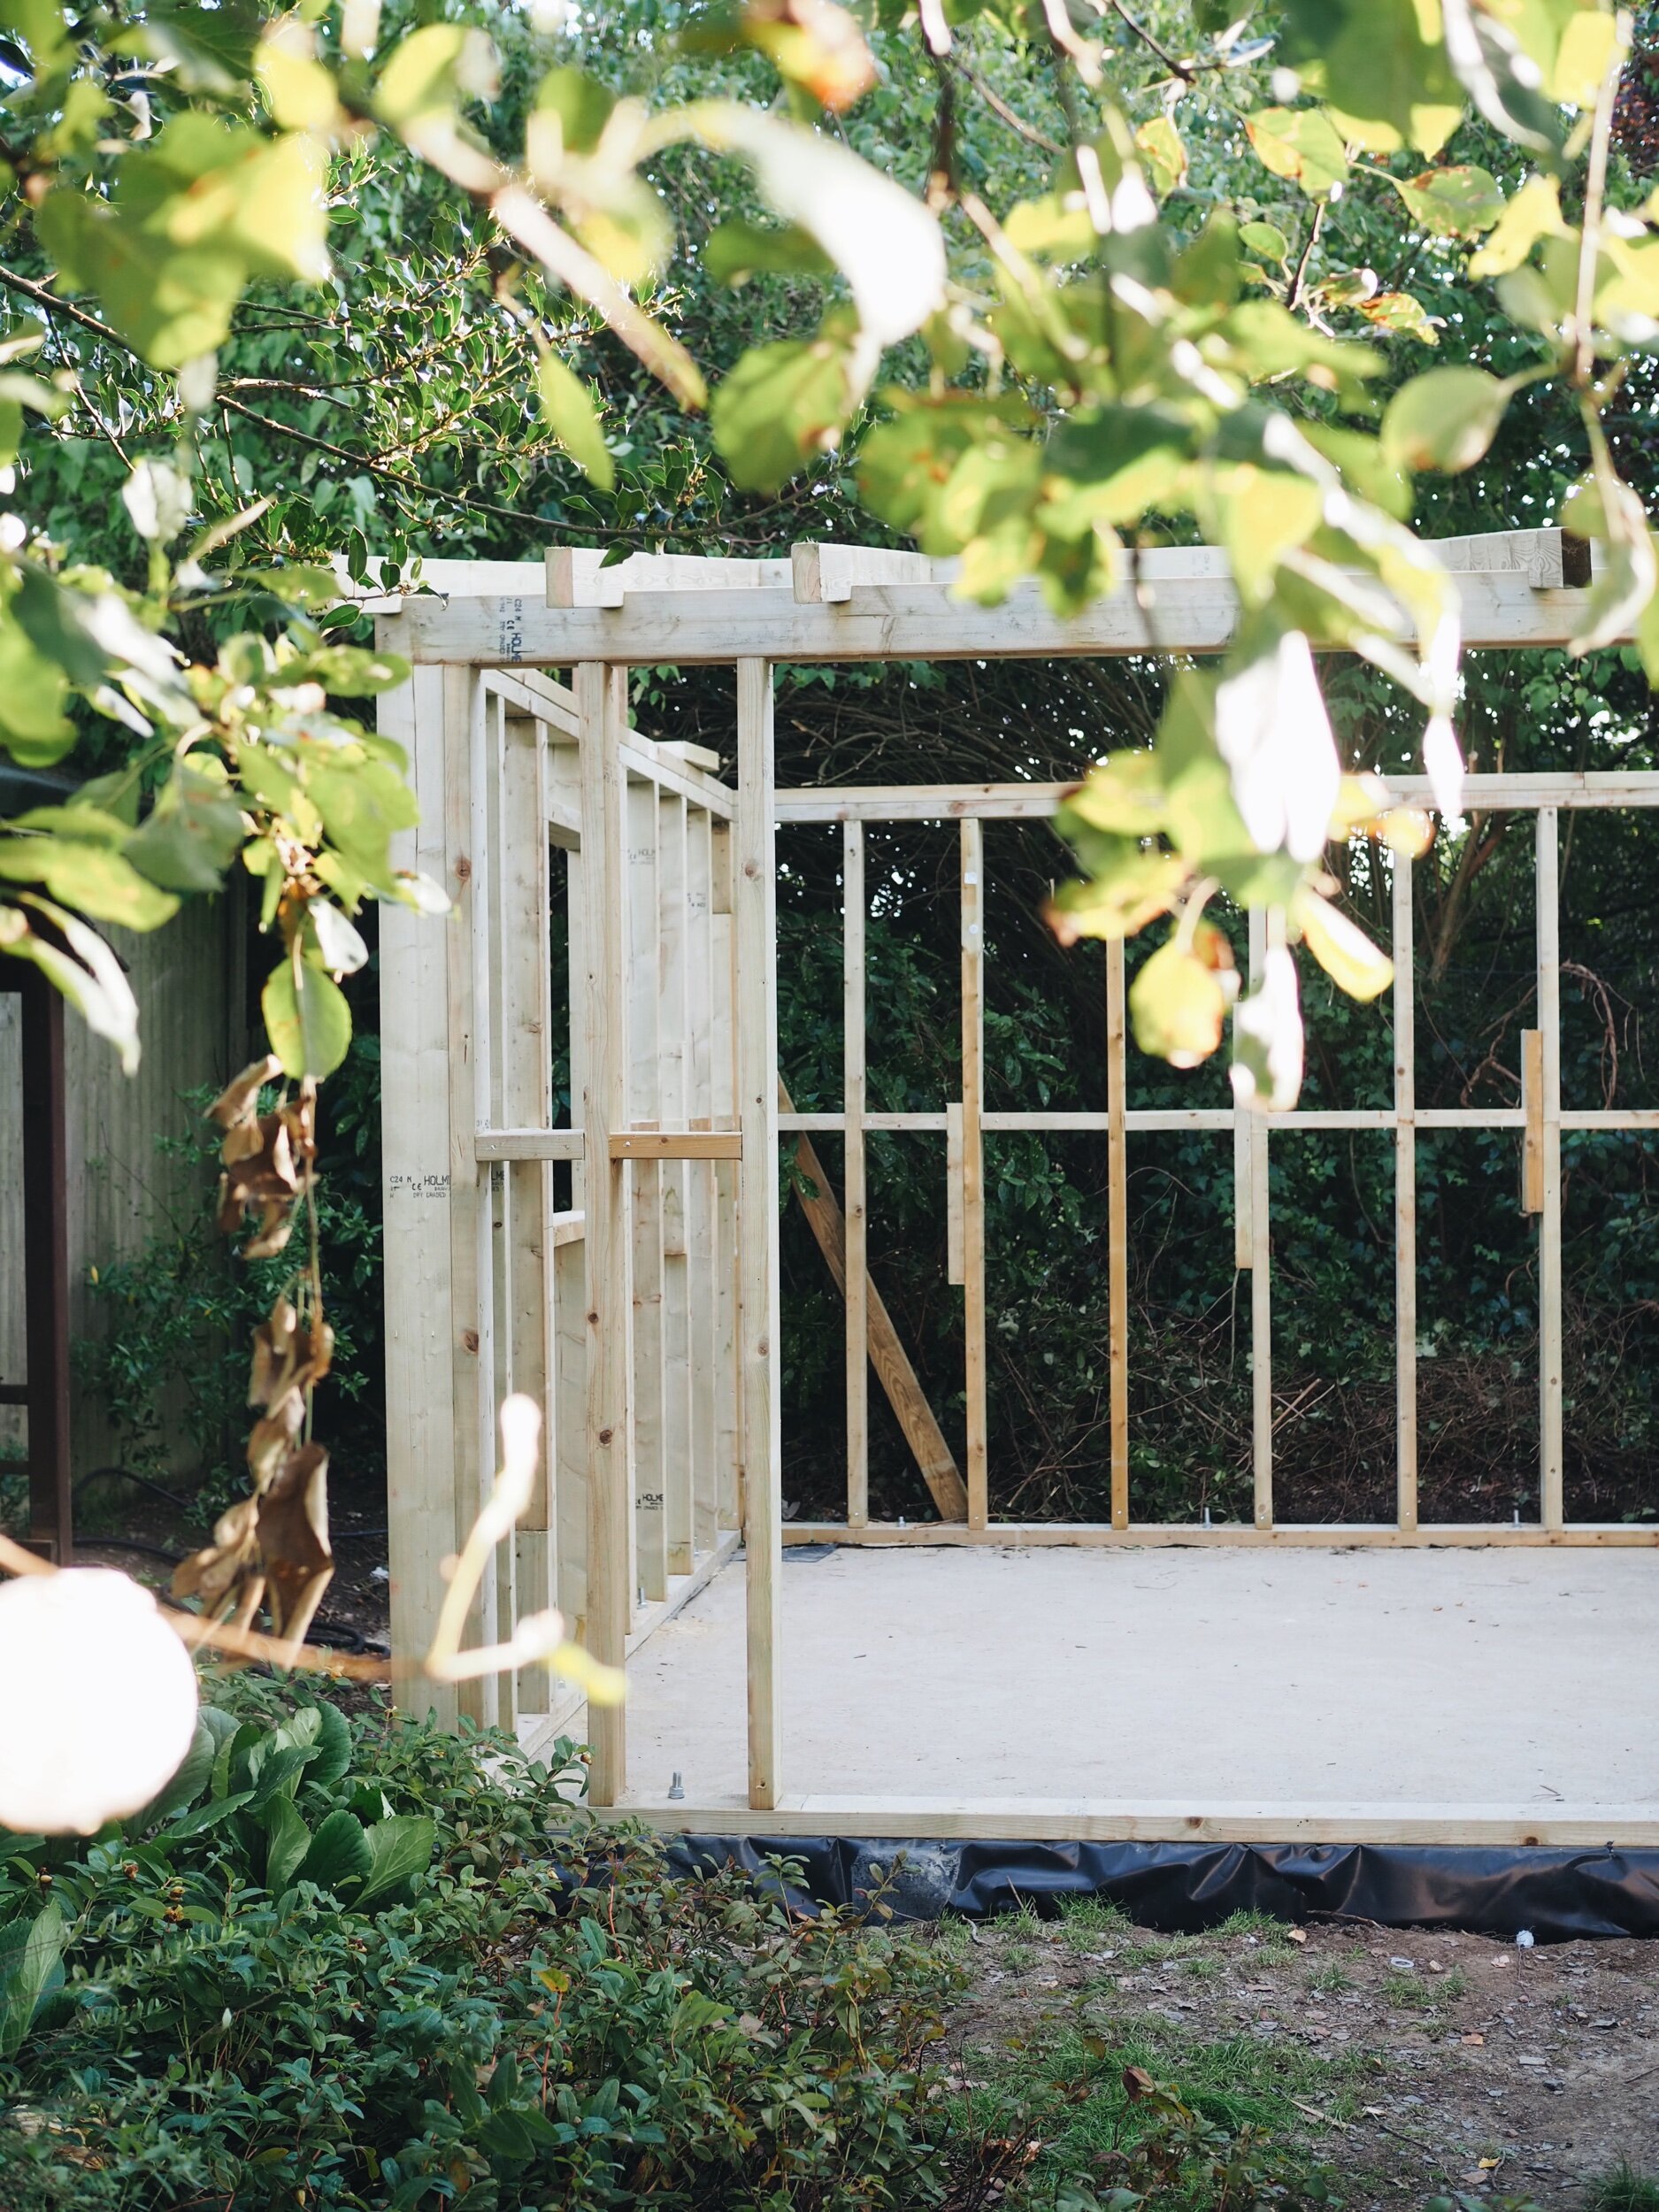
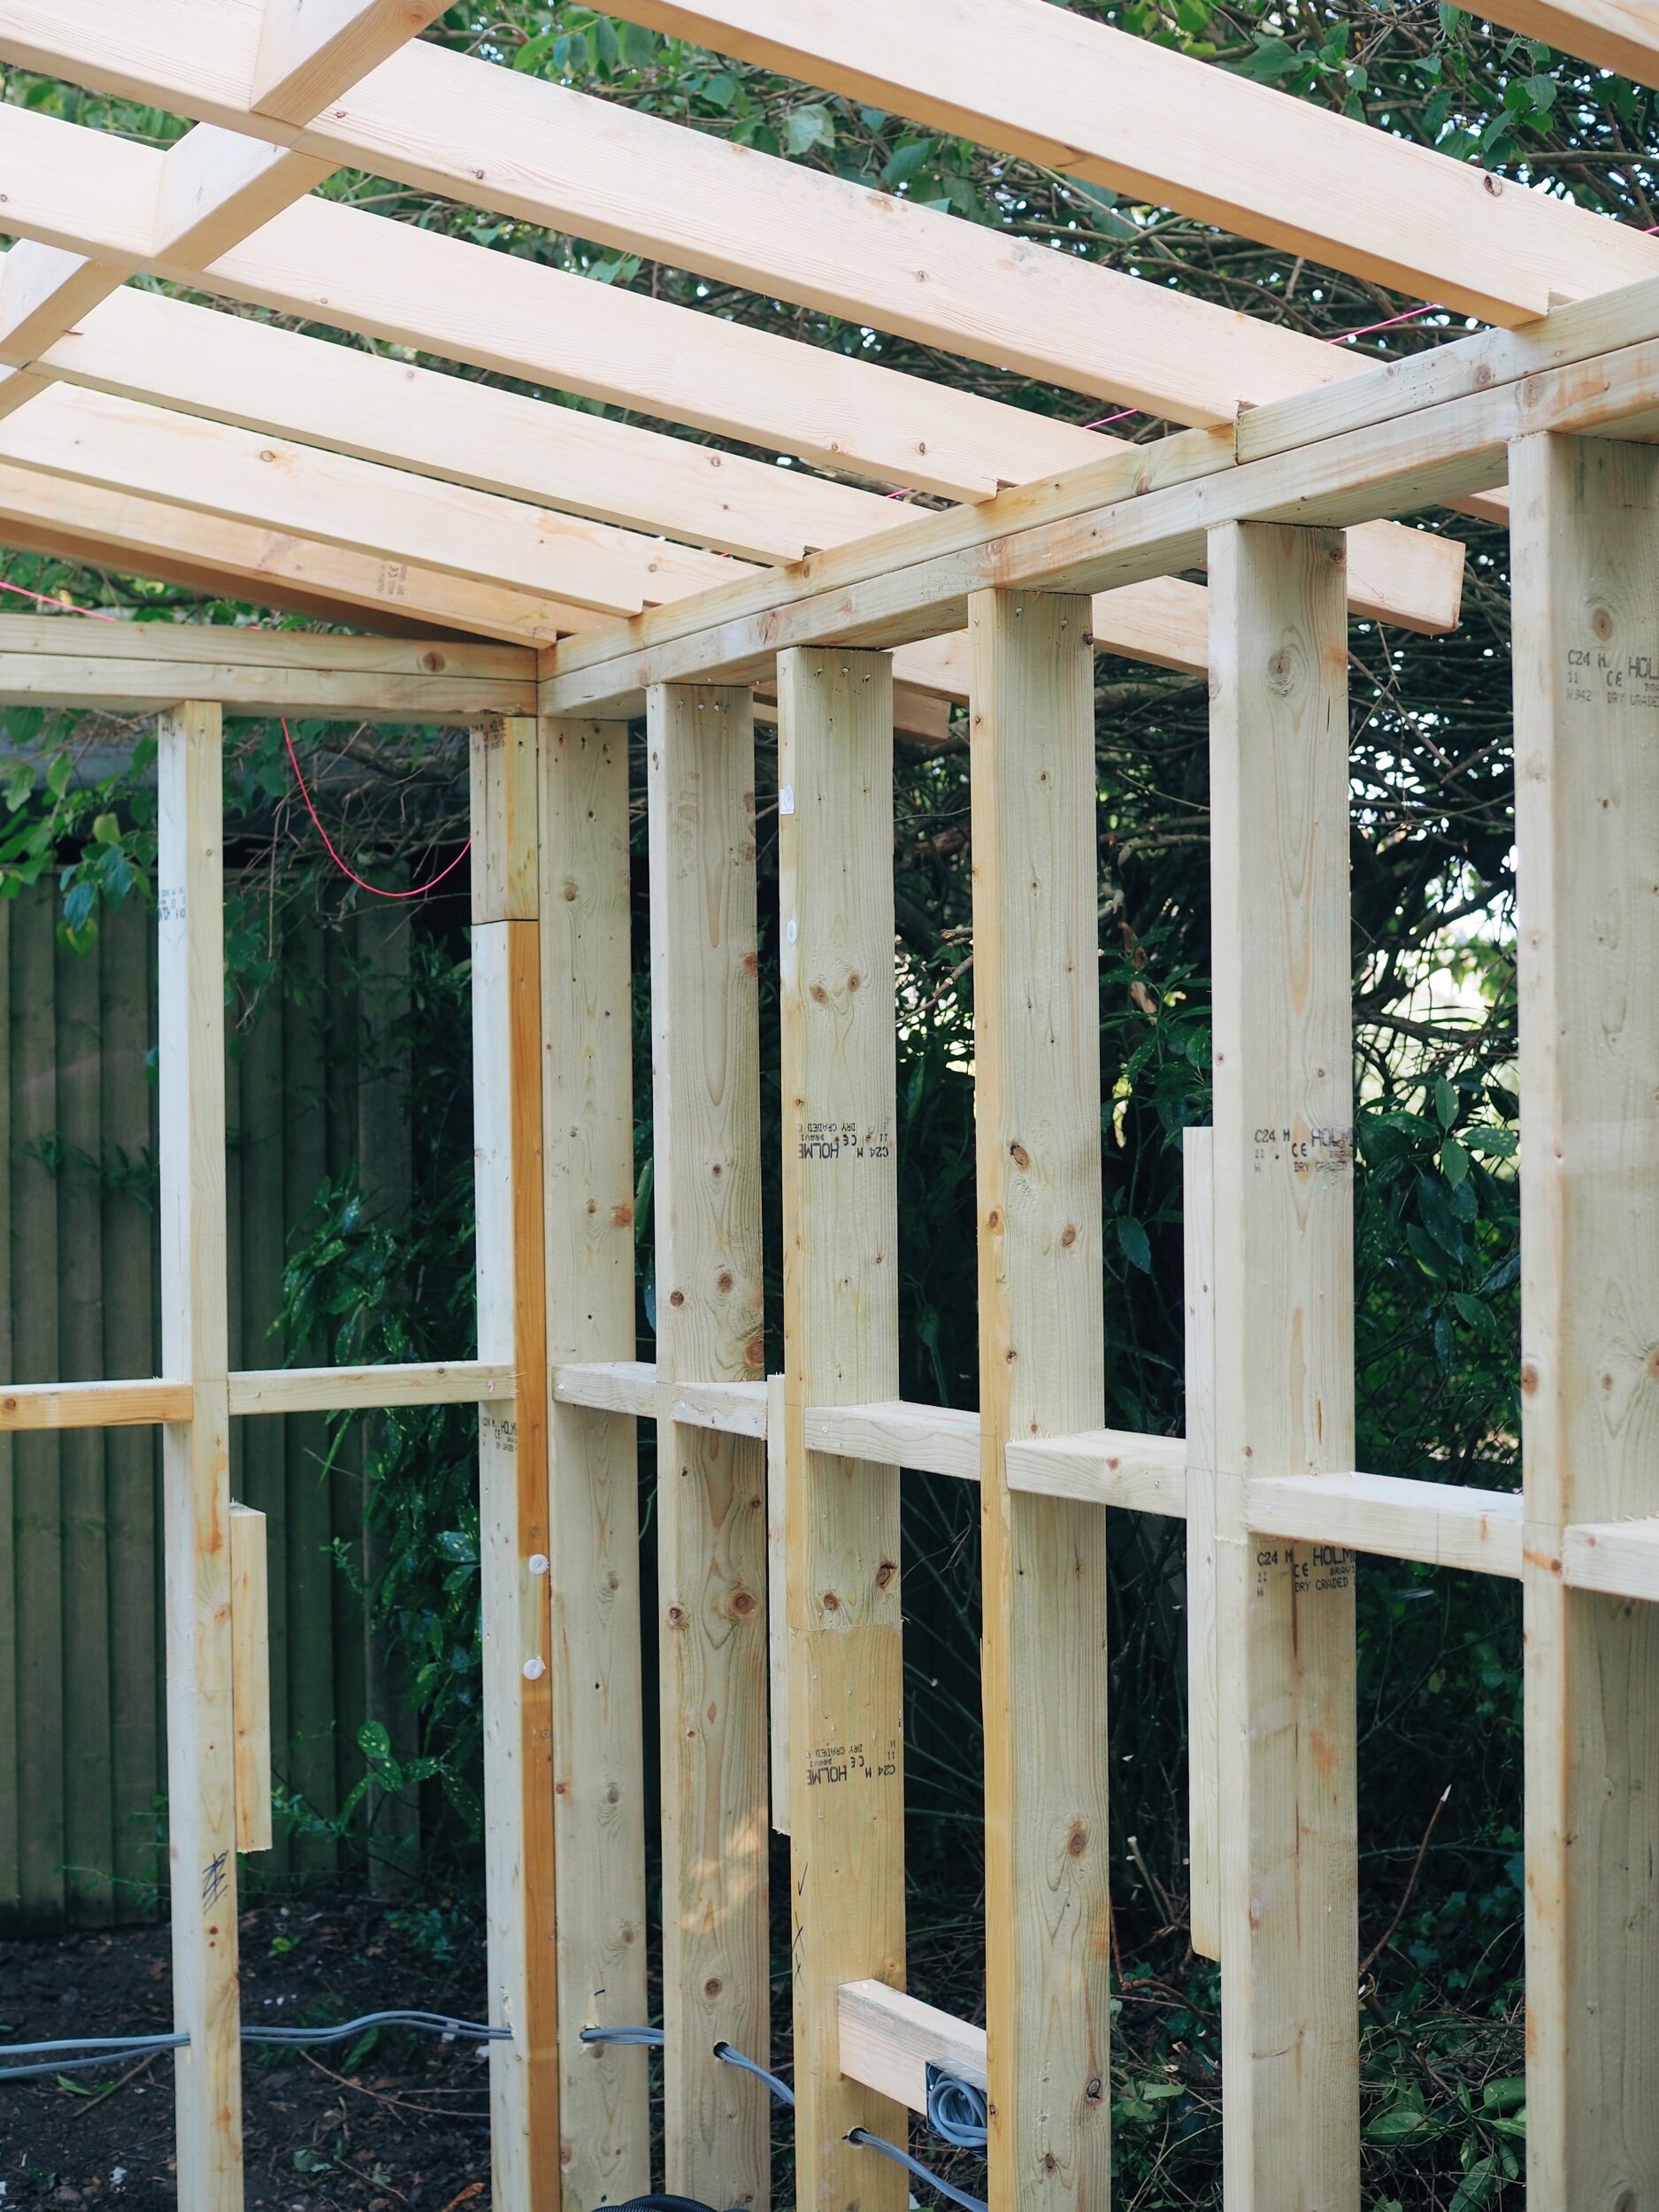
Once the concrete base had been laid the builders started constructing a timber frame
Electrics were brought out through the house and run down the side of the garden.

With the timber frame complete the next step was adding insulation
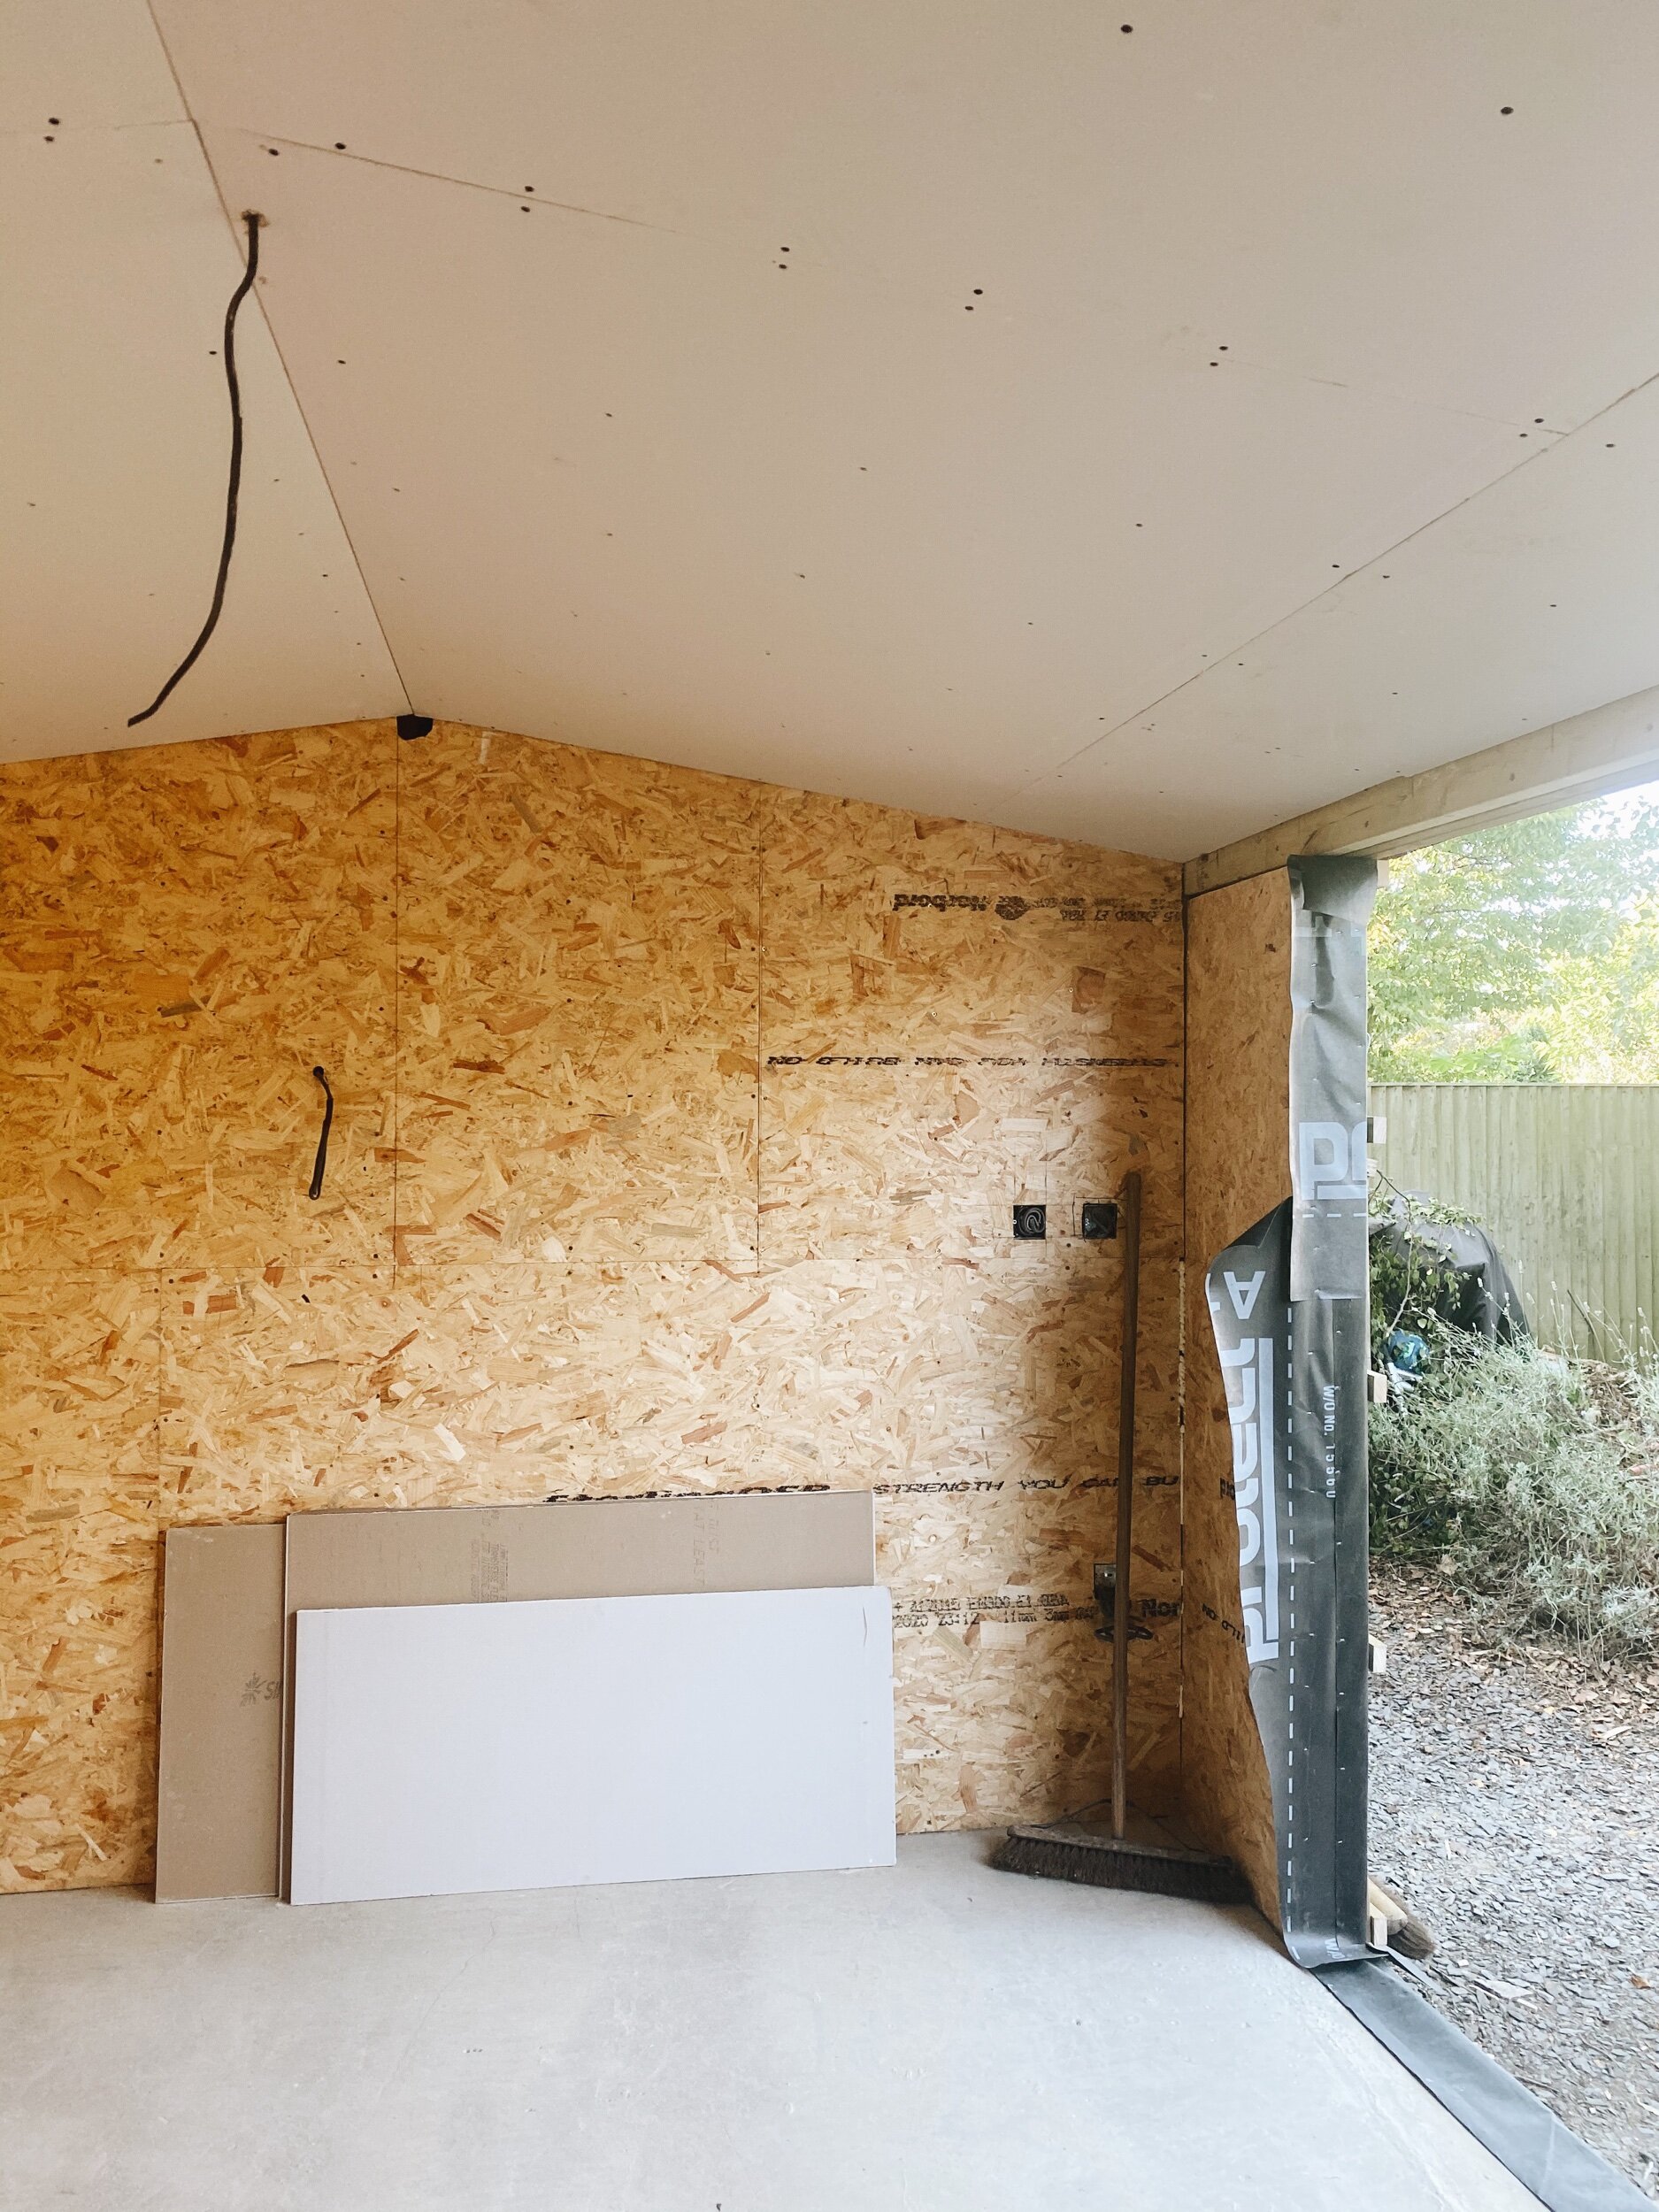
Starting to look like a proper room with the roof boards on, USB on the walls and the opening ready for the doors
In terms of the exterior, I deliberated for a long time about whether to go for real wood or composite cladding. My heart said go for the aesthetically pleasing timber that would weather to a lovely Scandi silver grey but my head (ok Tony’s head) said composite would be a better option in the longer term in terms of maintenance. In the end,after many hours of googling, I found a product that I think delivers the best of both worlds from a company called Envirobuild. Their Hyperion wood-plastic composite cladding is engineered from an innovative composition of 60% FSC® certified wood reclaimed from post-industrial manufacturing and 40% recycled High Density Polyethylene.
I love that these materials would otherwise be going to landfill but have instead been recycled into a long lasting durable form of cladding. And actually my heart has ended up as happy as my head as it doesn’t look or feel plasticky at all - it looks just like wood but is much easier to maintain. I chose to go for the darkest shade Graphite but it also comes in lighter “wood” finishes.
We used Hyperion cladding from Envirobuild for the exterior
One of the things I knew from the start (and that was hopefully obvious from my sketch) was that I wanted to invest in having crittall style windows having fallen in love with how they looked in the Cabu Cabins down in Kent. Because it is a relatively small space I wanted to go for ones with as slim frames and sight lines as possible (within budget!). Real crittall was sadly out of our price range but the aluminium alternative I found from ODC Glass achieve the look I was after for a much more reasonable price*. ODC are a British company with their manufacturing plant down in Poole, Dorset which means they are able to offer really quick lead times. Our doors arrived in 5 weeks compared to the 10-12 week lead in times other companies I approached offered. They installation was super quick and efficiently completed in a day and I am really happy with how they look. They are a sliding system with the two middle doors sliding to the sides and very easy to operate.

ODC fitting the doors

Installation was complete in a day

They are exactly what I was looking for in terms of the slim frames and sightlines.


The turnaround time on the roof and guttering have been slightly less impressive after an international aluminium coil crisis (who knew) slowed things up somewhat but it finally went on this week. I was originally thinking of having a zinc roof but to keep costs down I went for a more cost effective corrugated style sheet roofing from Cladco and chose matching aluminium guttering in the same anthracite finish.

With the roof on the exterior is now nearly complete and I couldn’t be happier with how it is all looking

Using corrugated sheet roofing was a more cost effective option than zinc on the roof.


I am going to worry about what used to be our lawn later - for now am just enjoying how it looks nestled at the bottom of the garden
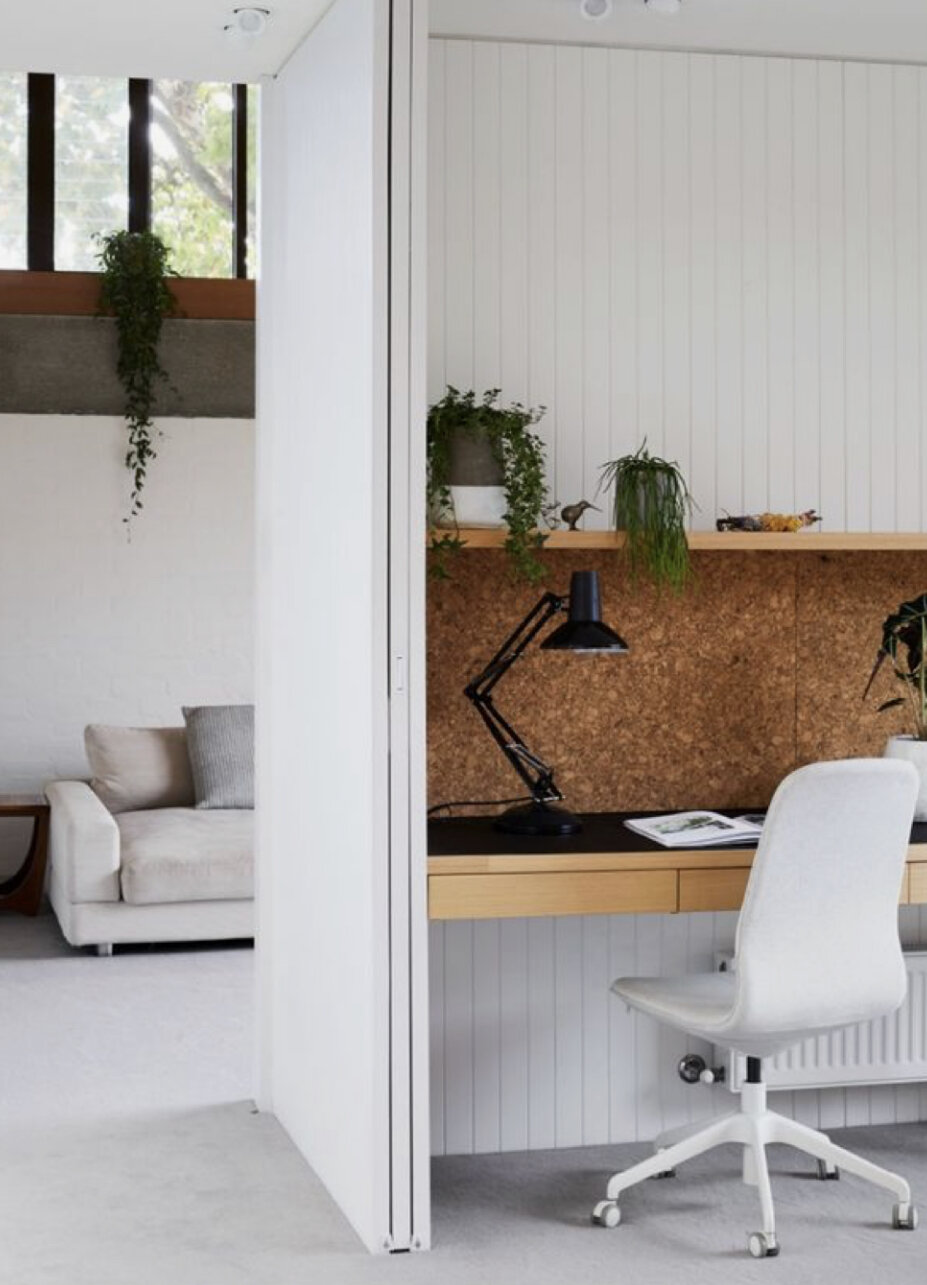
So with the exterior now almost complete, I am now finally at the stage where I can start properly planning the interior and I couldn’t be happier to be teaming up with Neptune again to help me create a soothing serene workspace. To give you an idea of the look and feel that I want to achieve I have put together a moodboard which is inspired by American design duo Studio McGee (if you haven’t watched their show Dream Home Makeover on Netflix yet you are missing a treat) . Neptune do this simple, calm sophisticated look so well so I can’t wait to start work on the interior and showcase how to create the look working with their beautiful paints, textiles and furniture.

Scandi meets Studio McGee is my inspiration for the interior
Whilst Neptune stores in England are presently closed (bar for appointments only) owing to lockdown, they have recently relaunched their website and it is full of beautiful inspiring interiors and ideas and their team of home designers are doing virtual consultations if you need help designing a space.

A couple of design decisions I have already made when it comes to the Garden Office are to finish the walls in matching board to achieve a pannelled look that is a contemporary take on cabin interiors. I love how it looks in Design at Nineteen’s office and it is much more straightforward than installing individual tongue and grove boarding.

The matching board is already on the walls ready to paint.
I love how it looks in this gorgeous office on Pinterest
After careful consideration I have also decided to position the desk to the side of the room rather than at the back looking out towards the garden as this will allow us to have a long double desk running the length of the wall with two work stations and with storage on the walls and will still allow space to have an L Shaped sofa so that when our working day is done we then have another space to relax and use as a family. In my head we will gather here as a family to play wholesome board games and cards but I suspect the reality in years to come will be a trio of teenage boys loudly playing X Box! I look forward to sharing the next stage of the project with you all and please do ask if you are considering a similar project and have any questions
*I received a PR Discount from ODC Glass. My partnership with Neptune is a paid partnership.