I have lived in period properties pretty much all my life bar a brief stay in a soviet style 1960s halls of residence during my university years. Think less the gleaming spires of Cambridge and more solid concrete Stalin. However bar that brutalist blip I have always been #TeamEdwardianVictorian. The first flat we bought was Edwardian as was our first house. But three kids in when we looking for more space it quickly became apparent that sizing up to a bigger period property in our area would require £500K that we didn’t have (unless there is a lot more loose change down the back of the sofa than I thought). So what we have ended up buying is a 1930 house which offers us the extra space we were after but the compromise is it doesn’t have much in terms of period features.
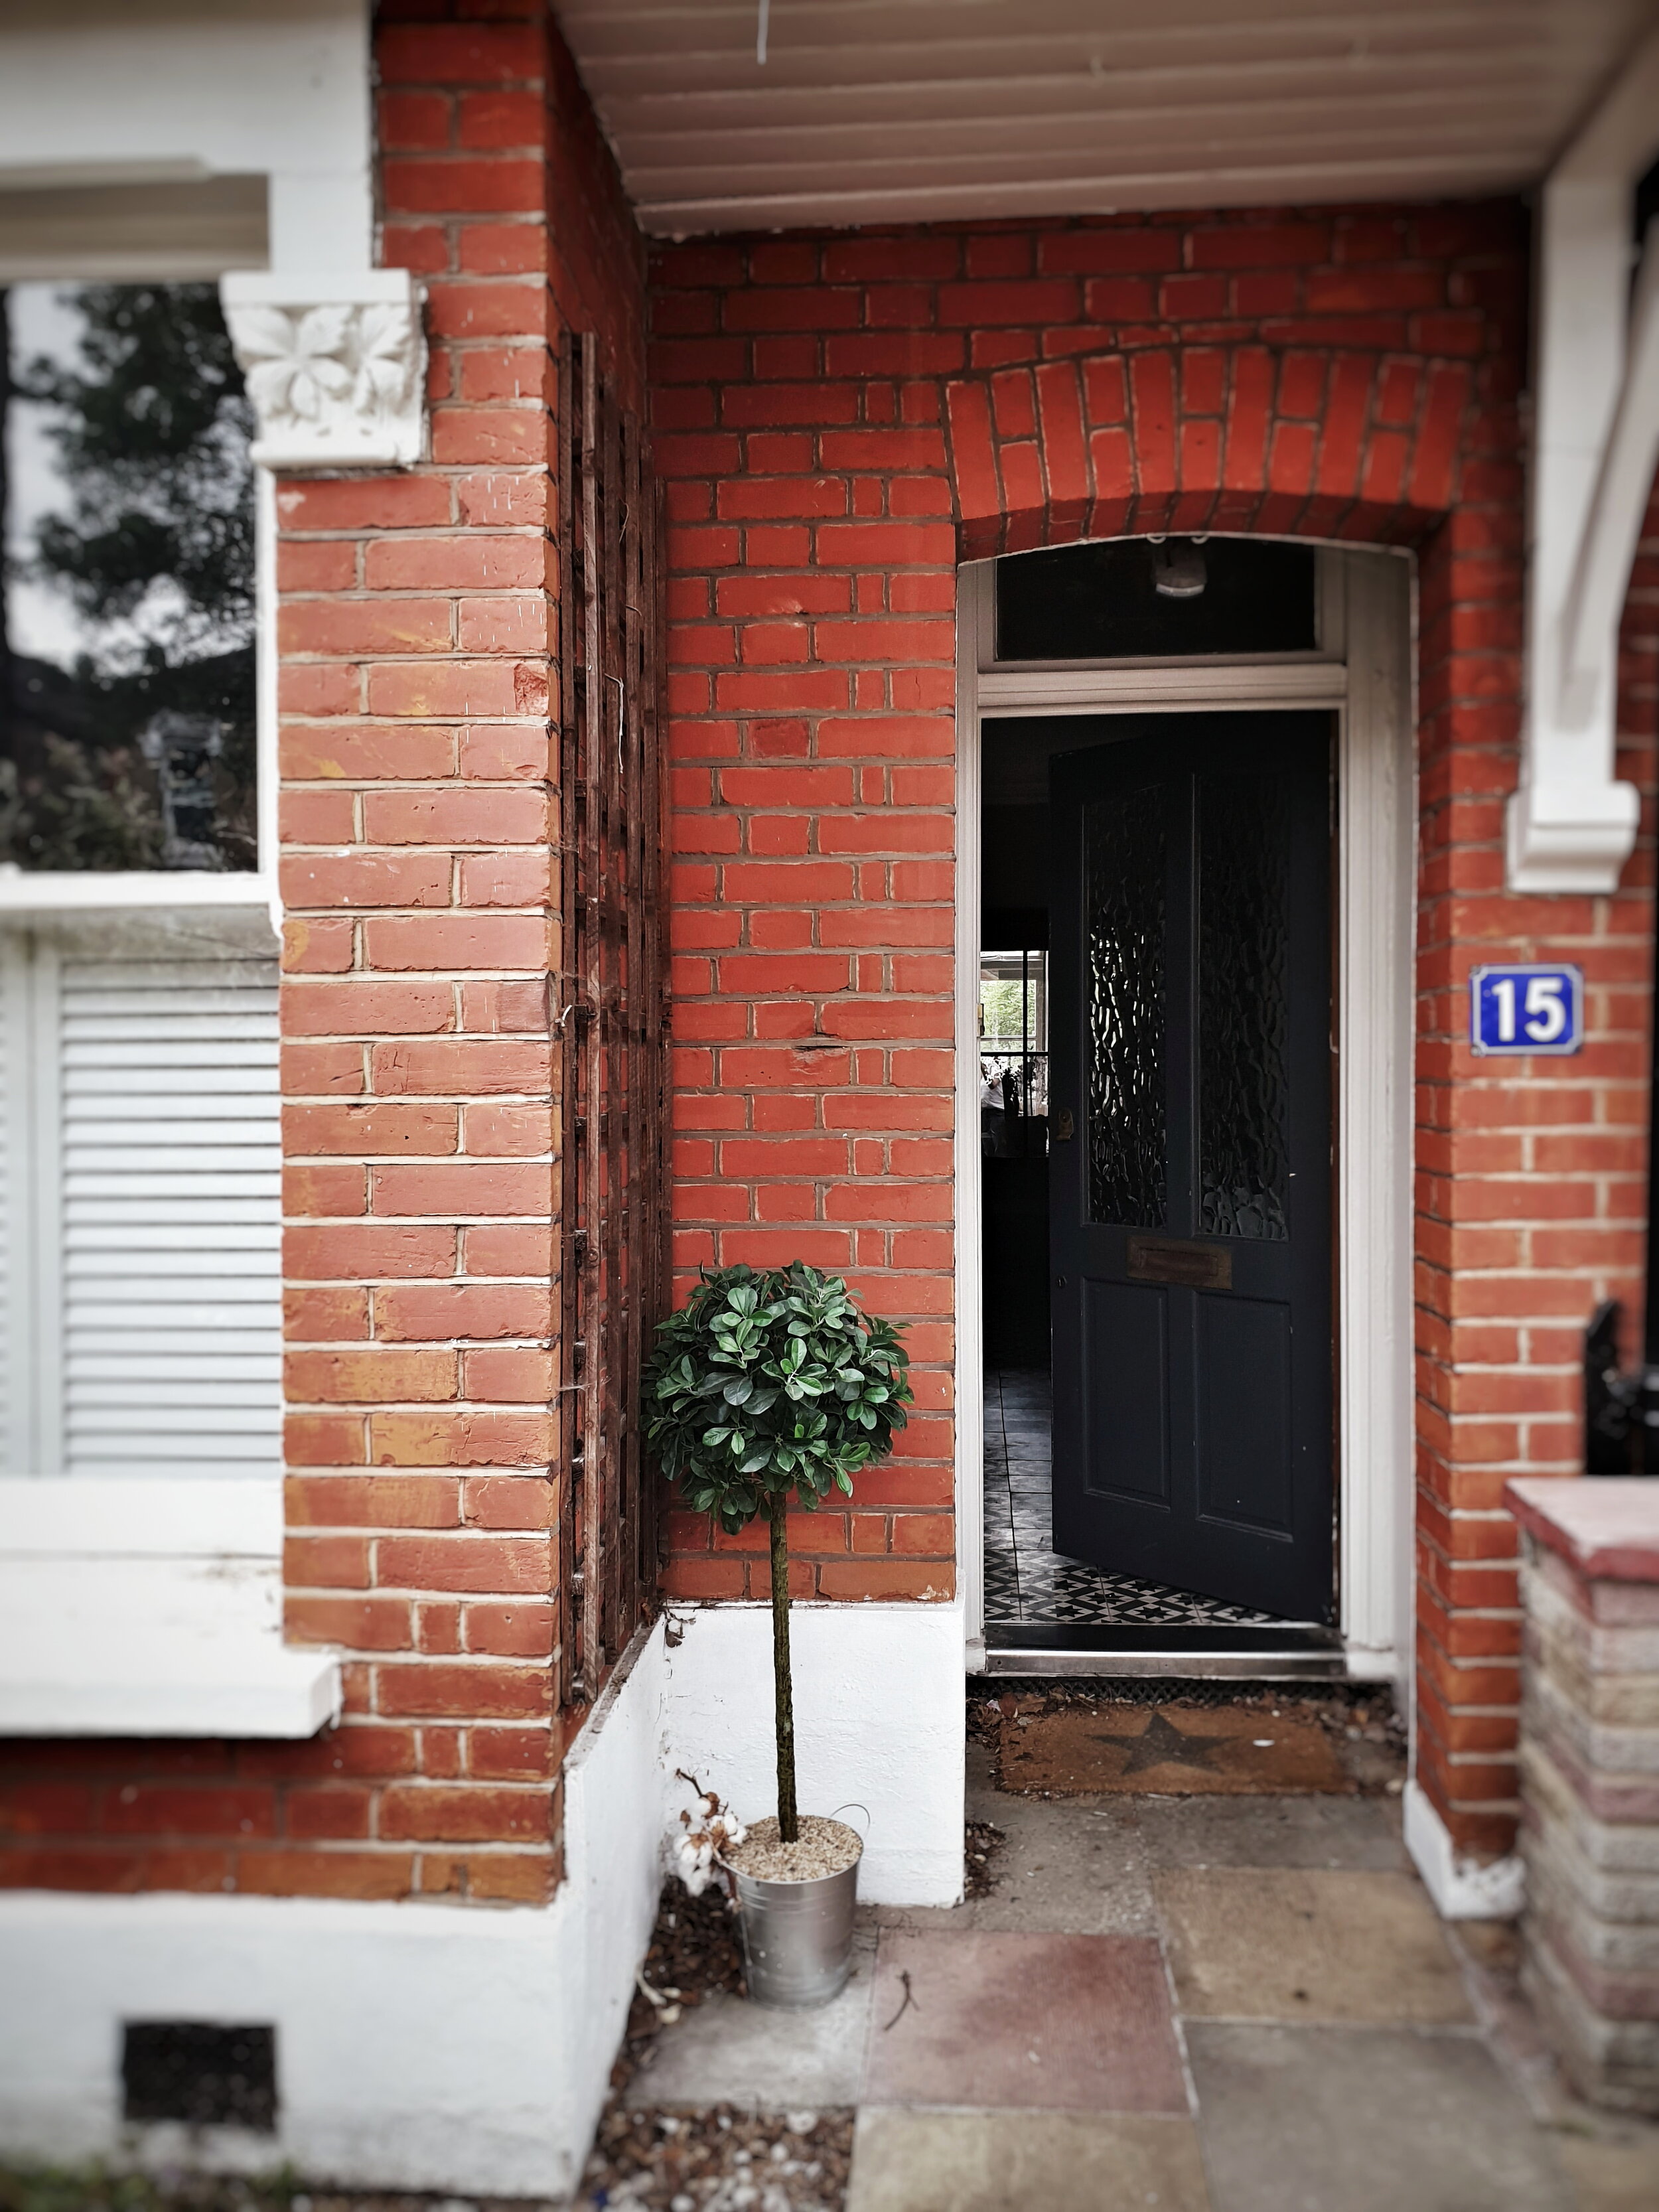
The Edwardian house and all it’s period features that we have left behind
The living room is a case in point. It is a nice wide room with high ceilings neutrally decorated by the previous owner so it feels light and spacious but we have little in the way of attractive cornicing or decorative ceiling roses and no grand fireplace crafted from marble from Roman times. When thinking about how to decorate it to make it a bit more Malmo I had two choices: try and inject some period features into it or go in a totally different direction and try a more contemporary look. My inner Edwardian was shocked to find that I actually leaned towards the latter rather than the former option. There were a couple of key changes I had in mind to take it Twenty First Century. This first was a fairly straight forward sand and oil of the floors to take them down from David Dickinson Orange to Dinesen Doppelgangers.
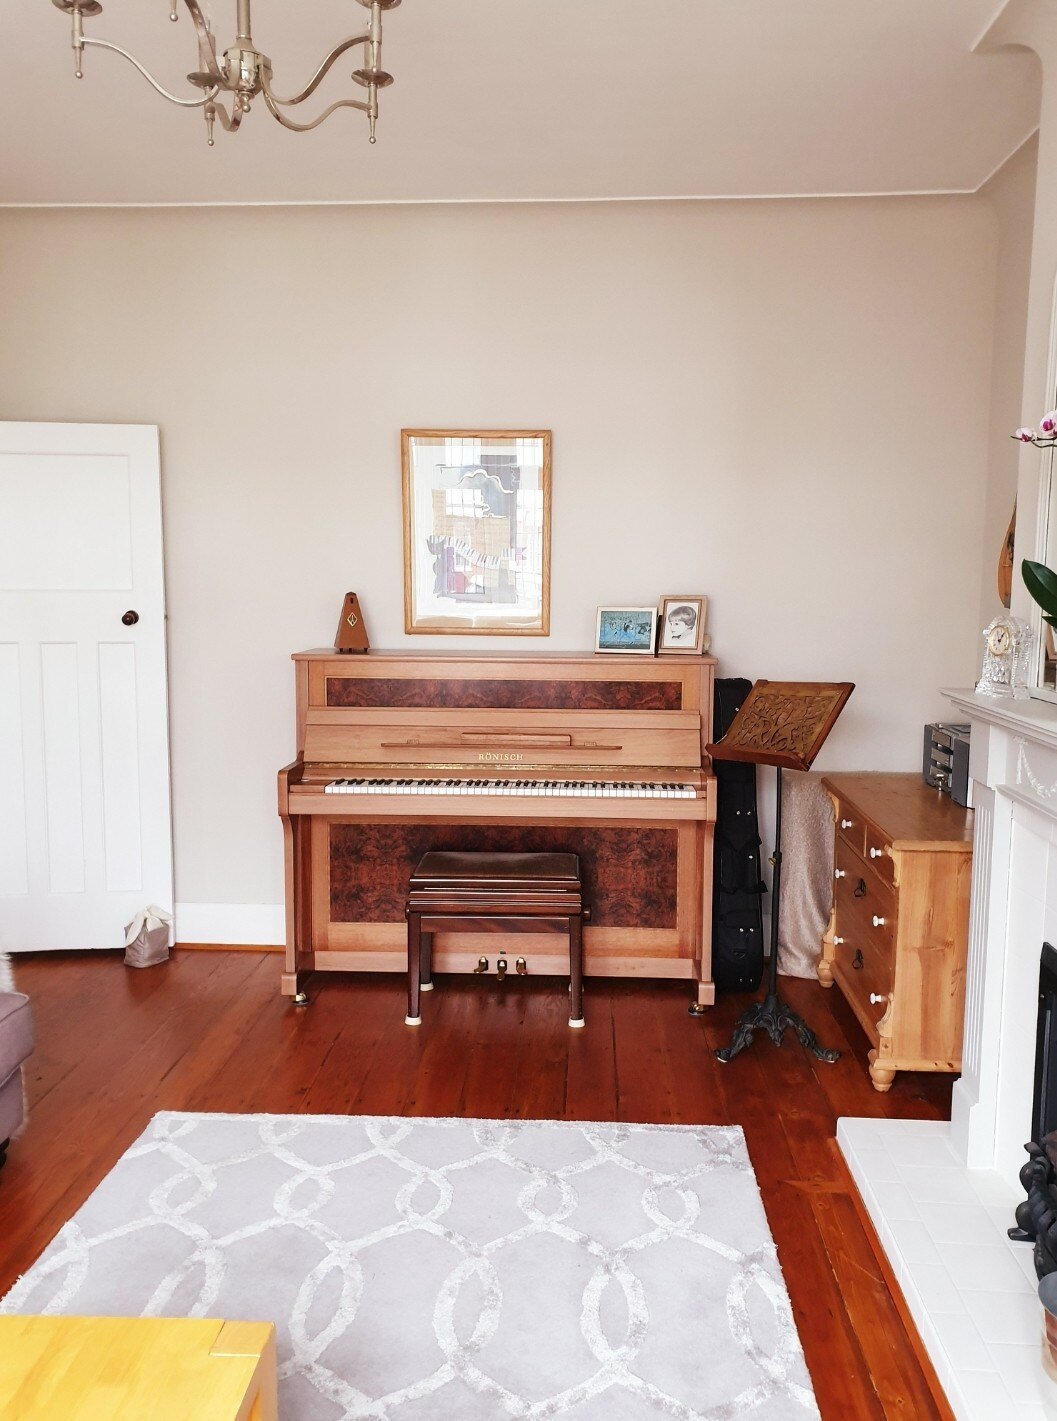
The living room as it was when we came to view the house. A nice big room but not much in the way of period features
Overhauling the fireplace and taking the floors down to a more Scandi shade were two of the main things I wanted to tackle

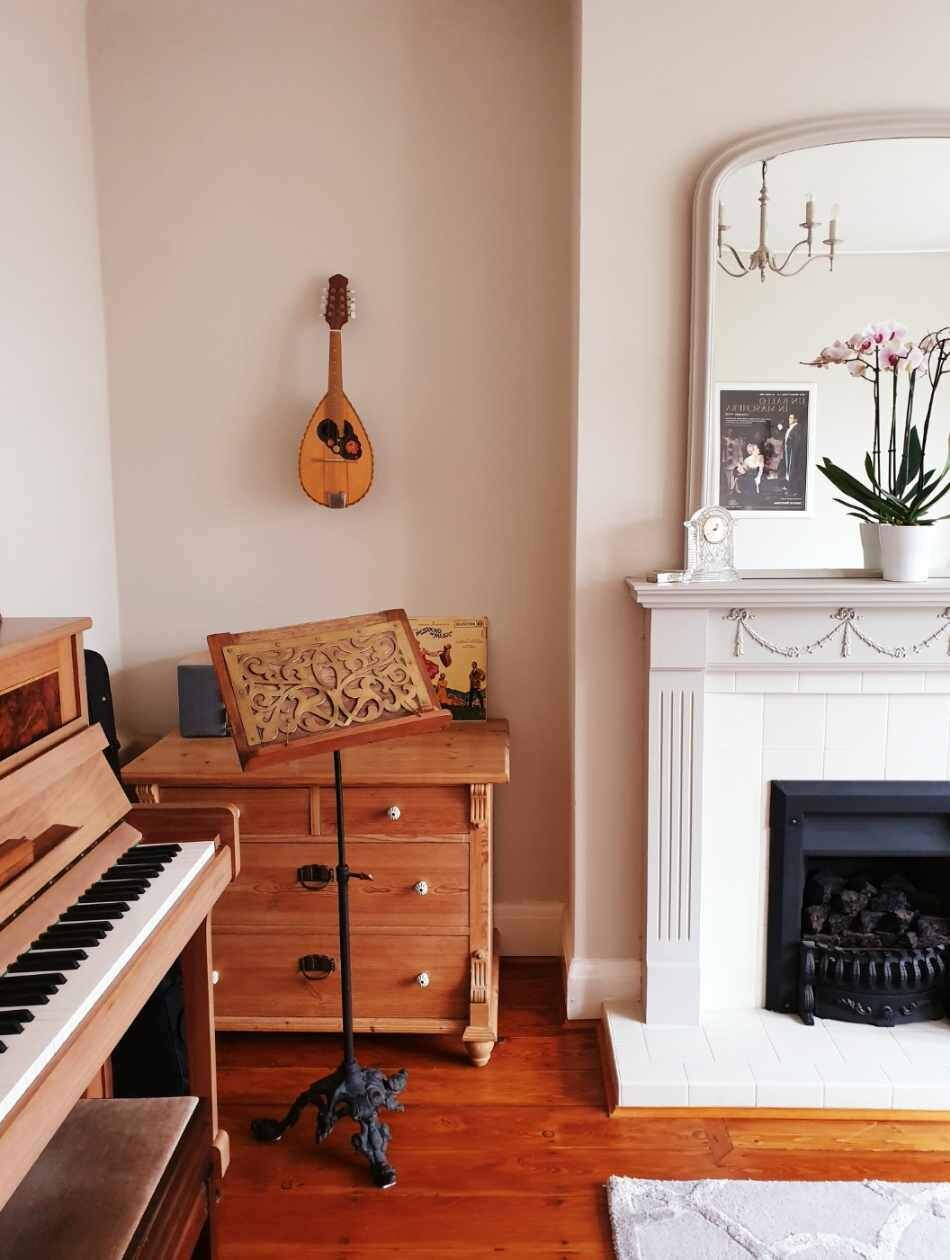
Introducing our own furniture and a few artfully displayed magazines helped to make it feel more us in the short term
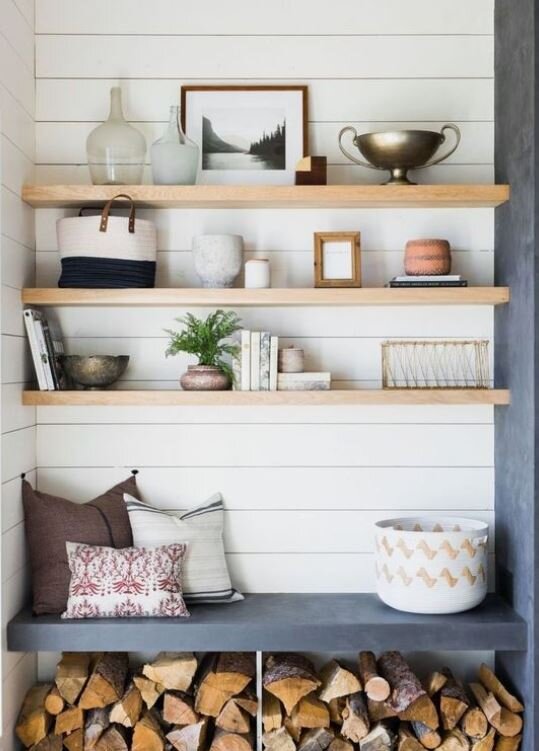
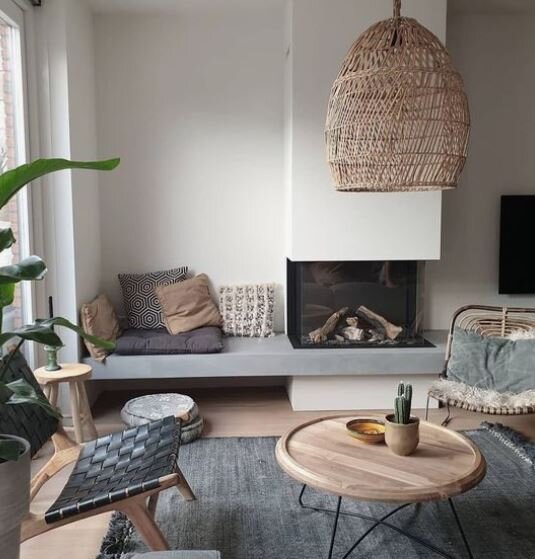
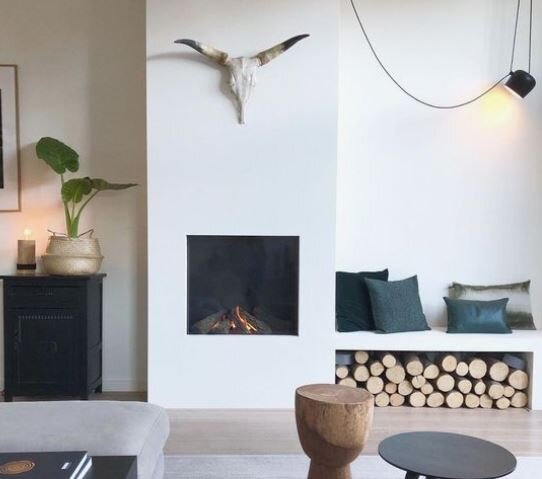
The second change was much more likely to set off Mr Malmo’s “No Fucking Way” alarm because it involved ripping out the existing gas fire, building out the chimney breast, creating two benches either side in the alcoves and then micro cementing the lot. My inspo for this design decision came via Pinterest as well as from a couple of my fave American DIY accounts.


With Tony (Vintage Curator Interiors amazing builder) and, incredibly, Mr Malmo on board we got to work at the end of November. The first step was to cap off and remove the old gas fire and fireplace surround and to then build out the chimney breast by approx 25cm.

Progress by the end of day one: the old fireplace surround is no more and the gas fire is on its way to join it

With the old fireplace gone the next step was to build the chimney breast out 25cm and add benches in the alcoves either side.

Once the structure was extended the next step was to clad it in fire proof plaster board which would then be micro cemented.
I want to be able to give you a detailed description of how this was all done but by Tony’s own admission the young lad he had labouring for him was about as cheerful as Nora Batty with PMT and favoured communication by grunt instead of speech so I mainly stayed out his way instead of taking progress pics. The biggest and messiest part of the job was definitely the micro cementing which required three layers to be applied and then sanded down with a tool that made a kind of high pitch whiny noise not unlike a whippet that has got its tail trapped in a door. You then apply a top coat of oil to seal it. Tony bought the microcement from Imperia Italia in North London and if you fancied having a go with it in your own home they run courses showing you how to do it.

Imperia Italia have a range of different shades to chose from but I went for a natural very pale grey

This was the microcement after 2 coats. It looked quite shiny at that point so I was feeling a little bit nervous!

Luckily after a third sanding down it lost that sheen and started to look just how I had pictured it
I am fairly sure that after 3 solid days of this process neither my neighbours nor Tony ever wanted to talk to me again but the end results are 100% worth it. Although a lot of the inspo pics I liked had a dark grey finish I was worried that might be a bit imposing given the height and width of the chimney breast so I opted for a much lighter shade of grey. I couldn’t be happier with how it looks against the newly pale wooden floor which we (well Tony) sanded down and then oiled with Bona wax in Frosted.

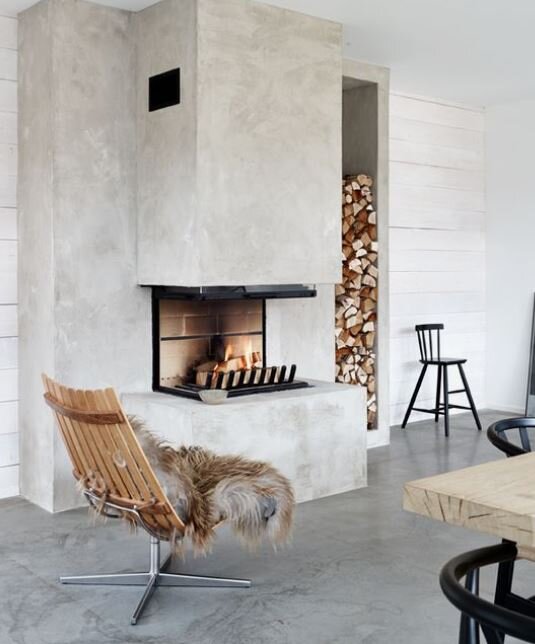
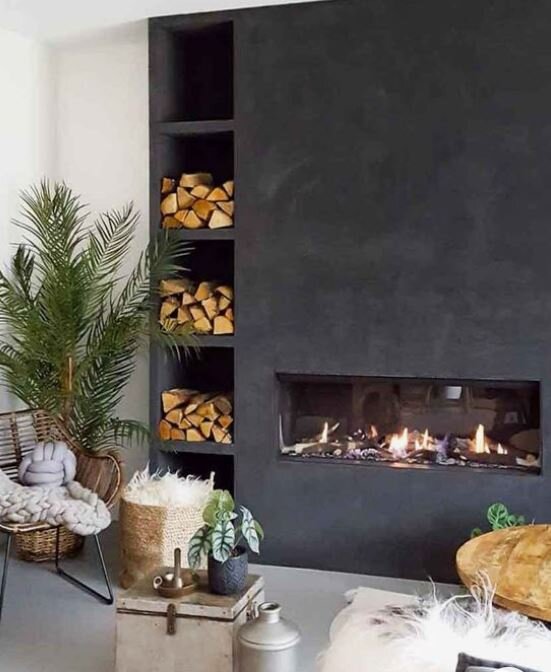
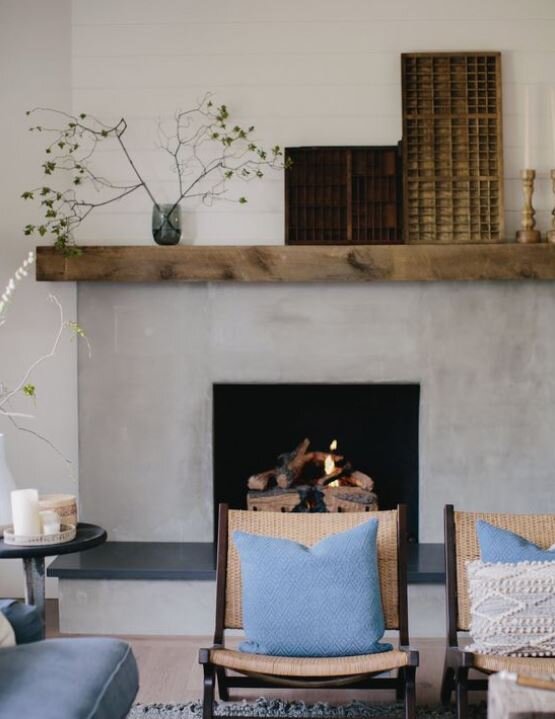
This is the fireplace from Pinterest that was one of my inspo pics but I decided that this shade of grey might be too imposing
I spent a lot of time trying to decide whether to go for a freestanding or inset wood burner. All of the inspo pics I was drawn to had an inset one but I was worried that given we had a fairly large, wide chimney breast that an inset one might look lost and more like a wayward microwave oven than a stove. However my mind was made up to go for one as soon as I clapped eyes on the Arada i750 Series stove. Arada are a small British Company established in 1966 who manufacture all of their stoves in Dorset. It has really crisp contemporary lines unlike a lot of other ones I had seen and crucially at 750mm wide it was big enough not to feel lost in the space. They also have a freestanding woodburner in the same range which has the same clean contemporary good looks! It is also DEFRA exempt meaning it can be used in smoke control areas. Tony created a rendered opening ready for its installation and then we used Essex Stoves & Chimneys to install it based on the recommendation of one of our old neighbours.

John from Essex Stoves & Chimneys on the day of installation

Waiting for the flue to come down the chimney to connect to the i750 Arada Stove
They were very reasonable as well as professional with the other quotes we had from companies ranging from £1500 to £3000. They do installation across London and the home counties. One of the largest costs is actually having to hire the scaffold to enable them to get up on the roof. The most dramatic/instagrammable part of the installation is putting the flue down to connect up to the stove.

John waiting to feed the flue pipe up to the guys on the roof

In it goes! Did I mention before that the new house has a balcony?!
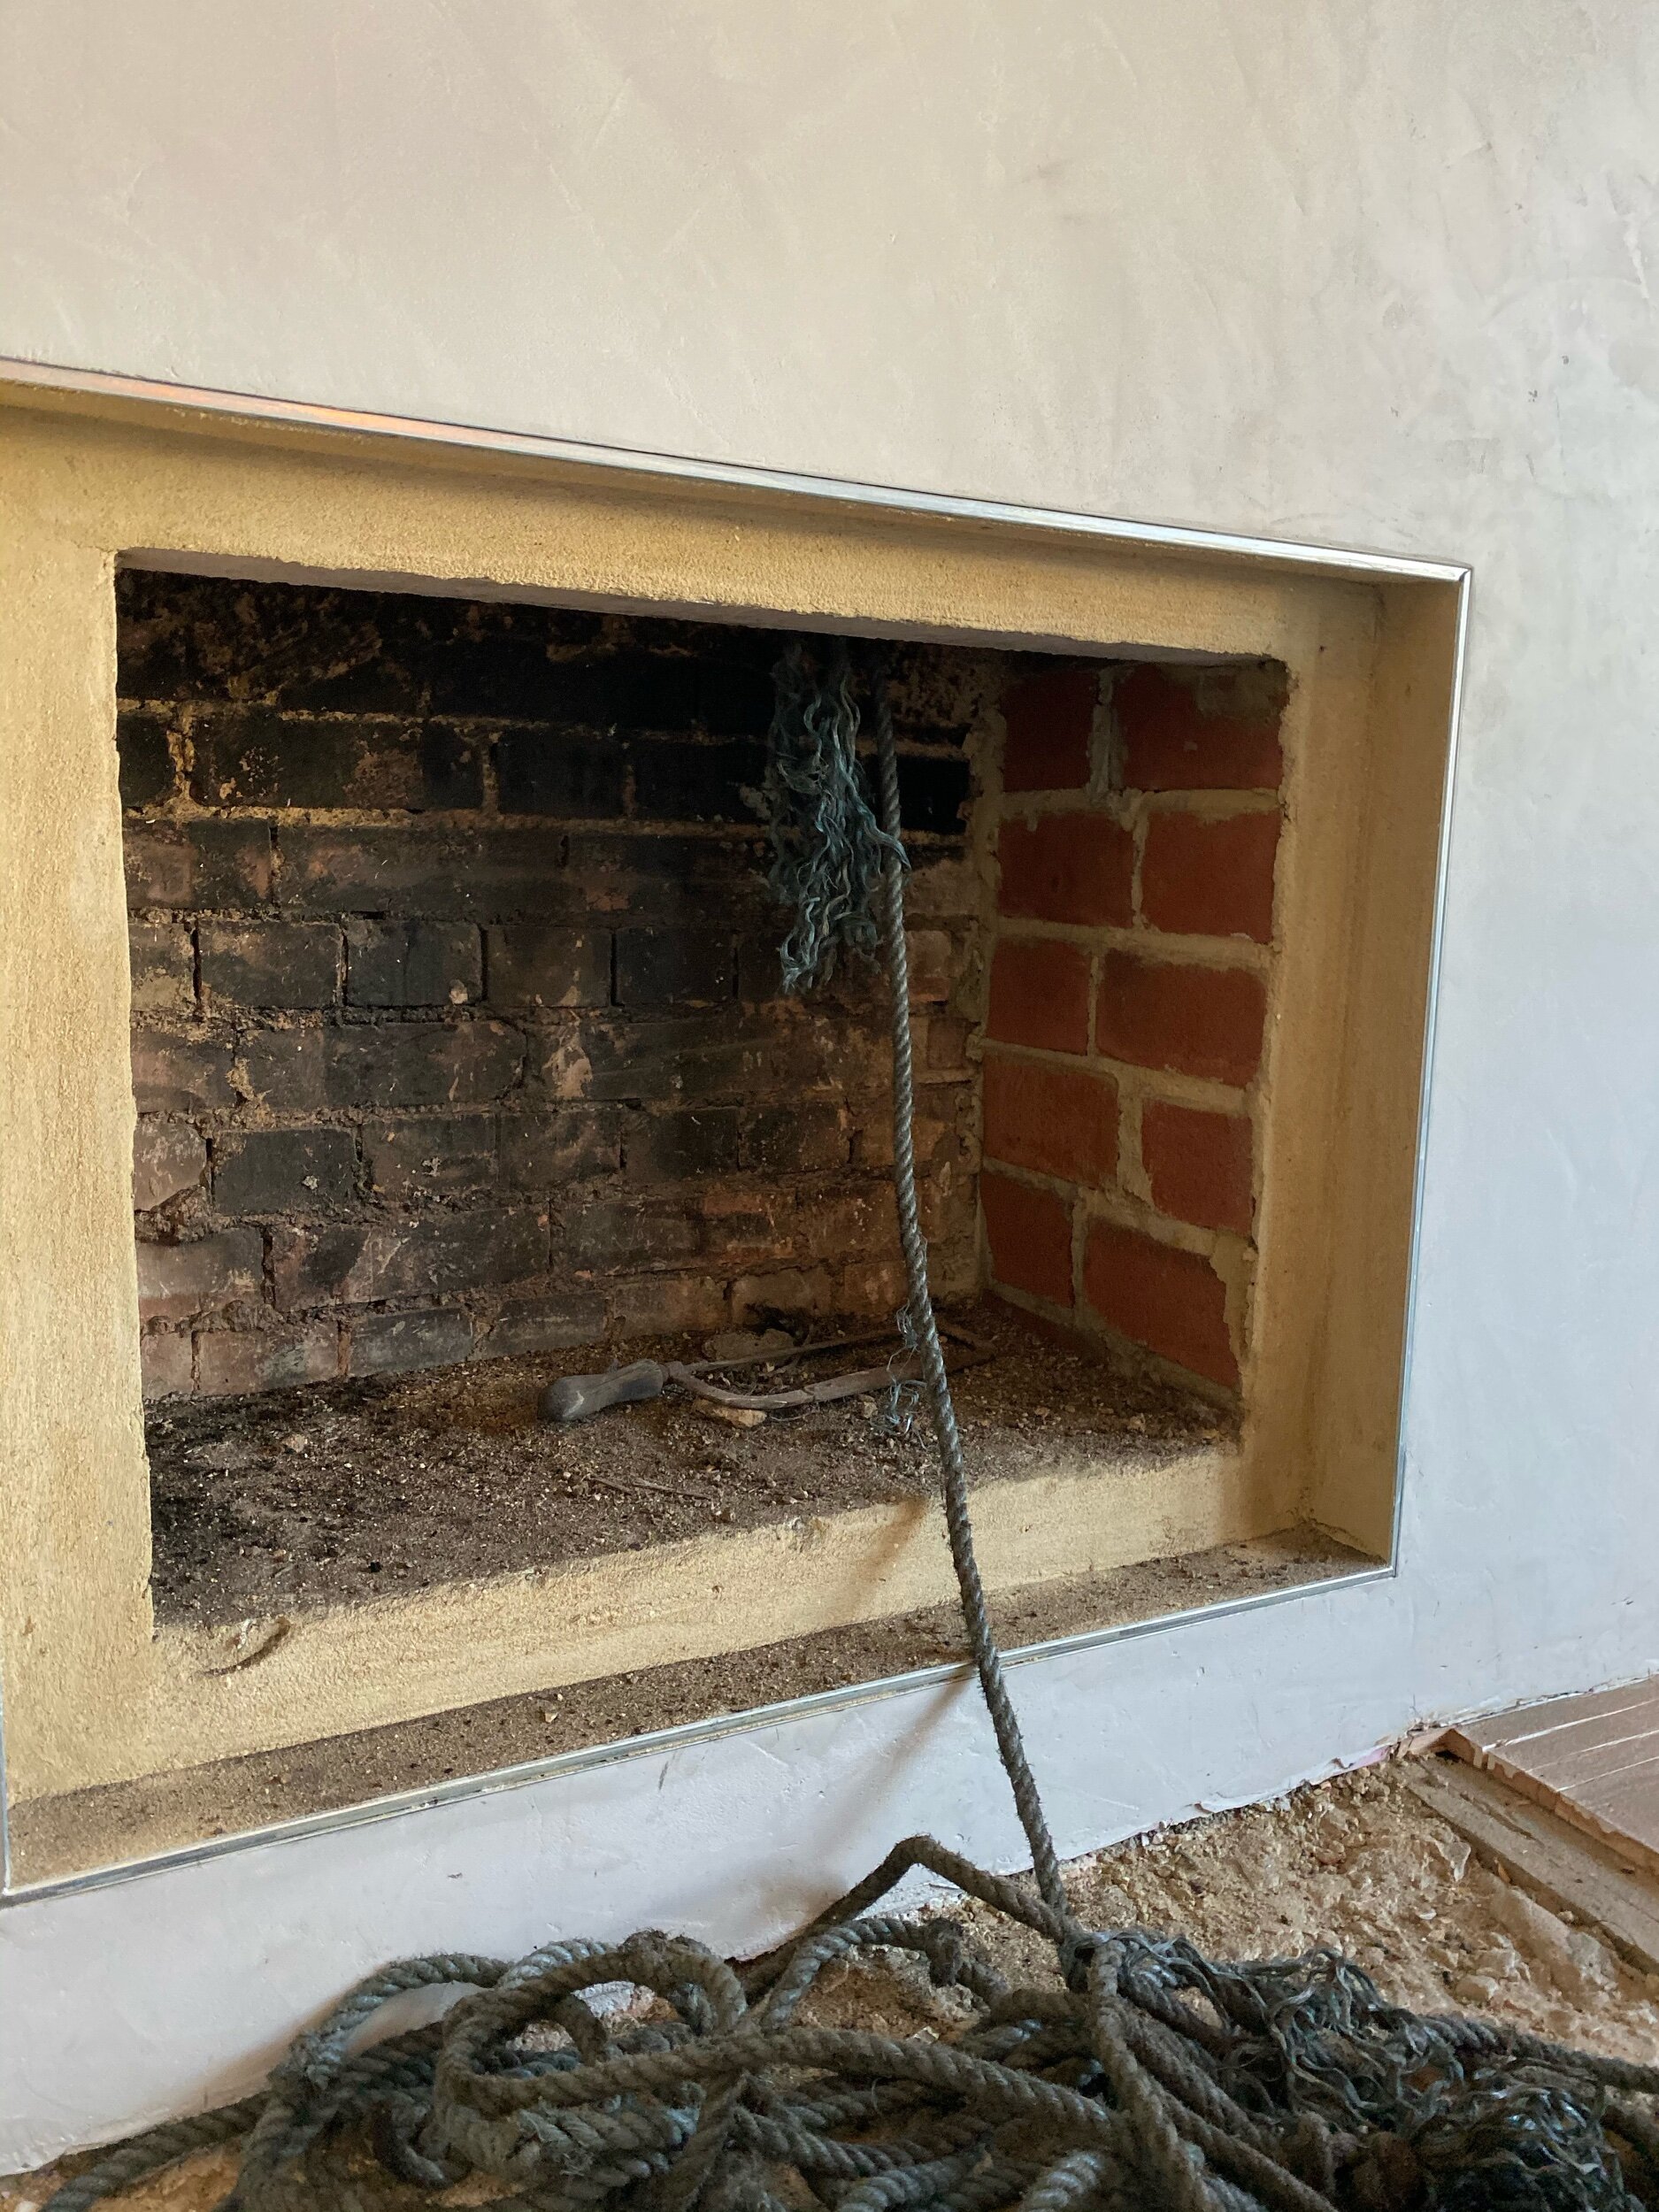
I was slightly alarmed to discover the there was an axe hiding in the chimney when they came to install the flue, hoping that we don’t have the ghost of a serial killing Santa lurking up there!
With that part done you need to ensure you have a suitable air vent in the relevant room and a carbon monoxide alarm. There are also certain regulations that you need to meet relating to the type and size of hearth you have. I had initially thought I might go for a patterned tile on the hearth (I know crazy times) but in the end I decided to go for a concrete tile to keep things natural and earthy and to make the hearth blend with the floor as much as possible.

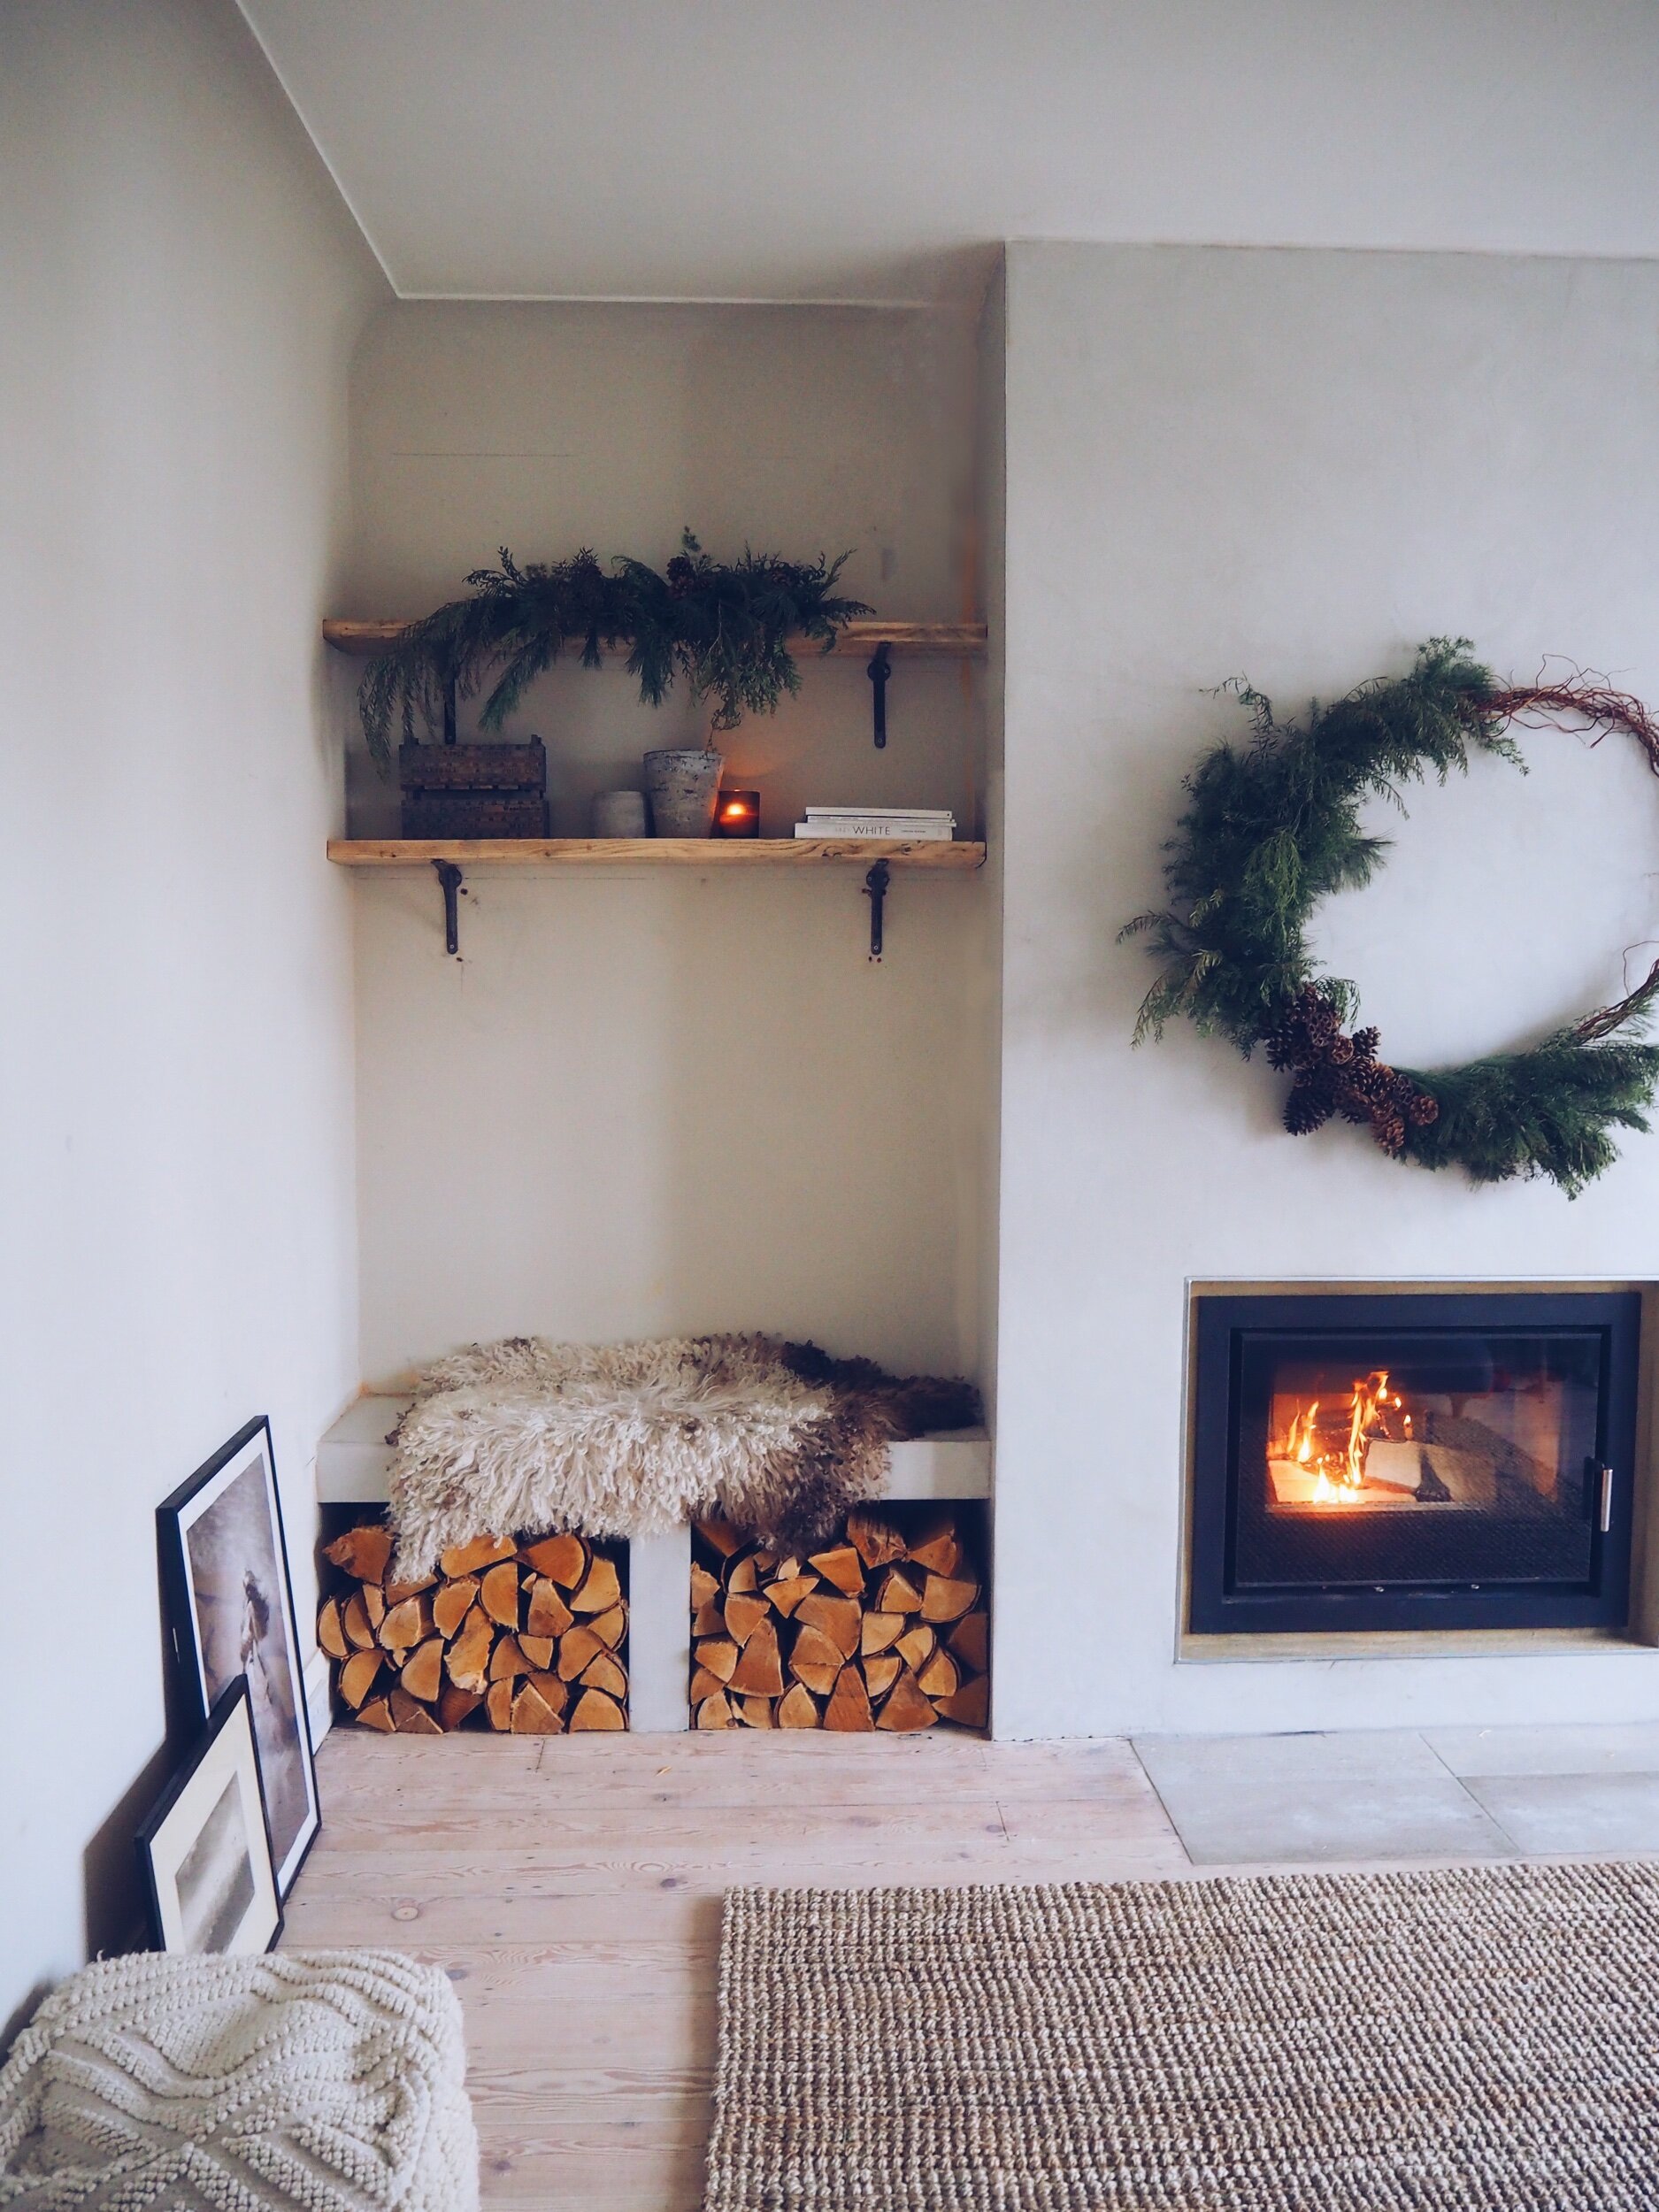
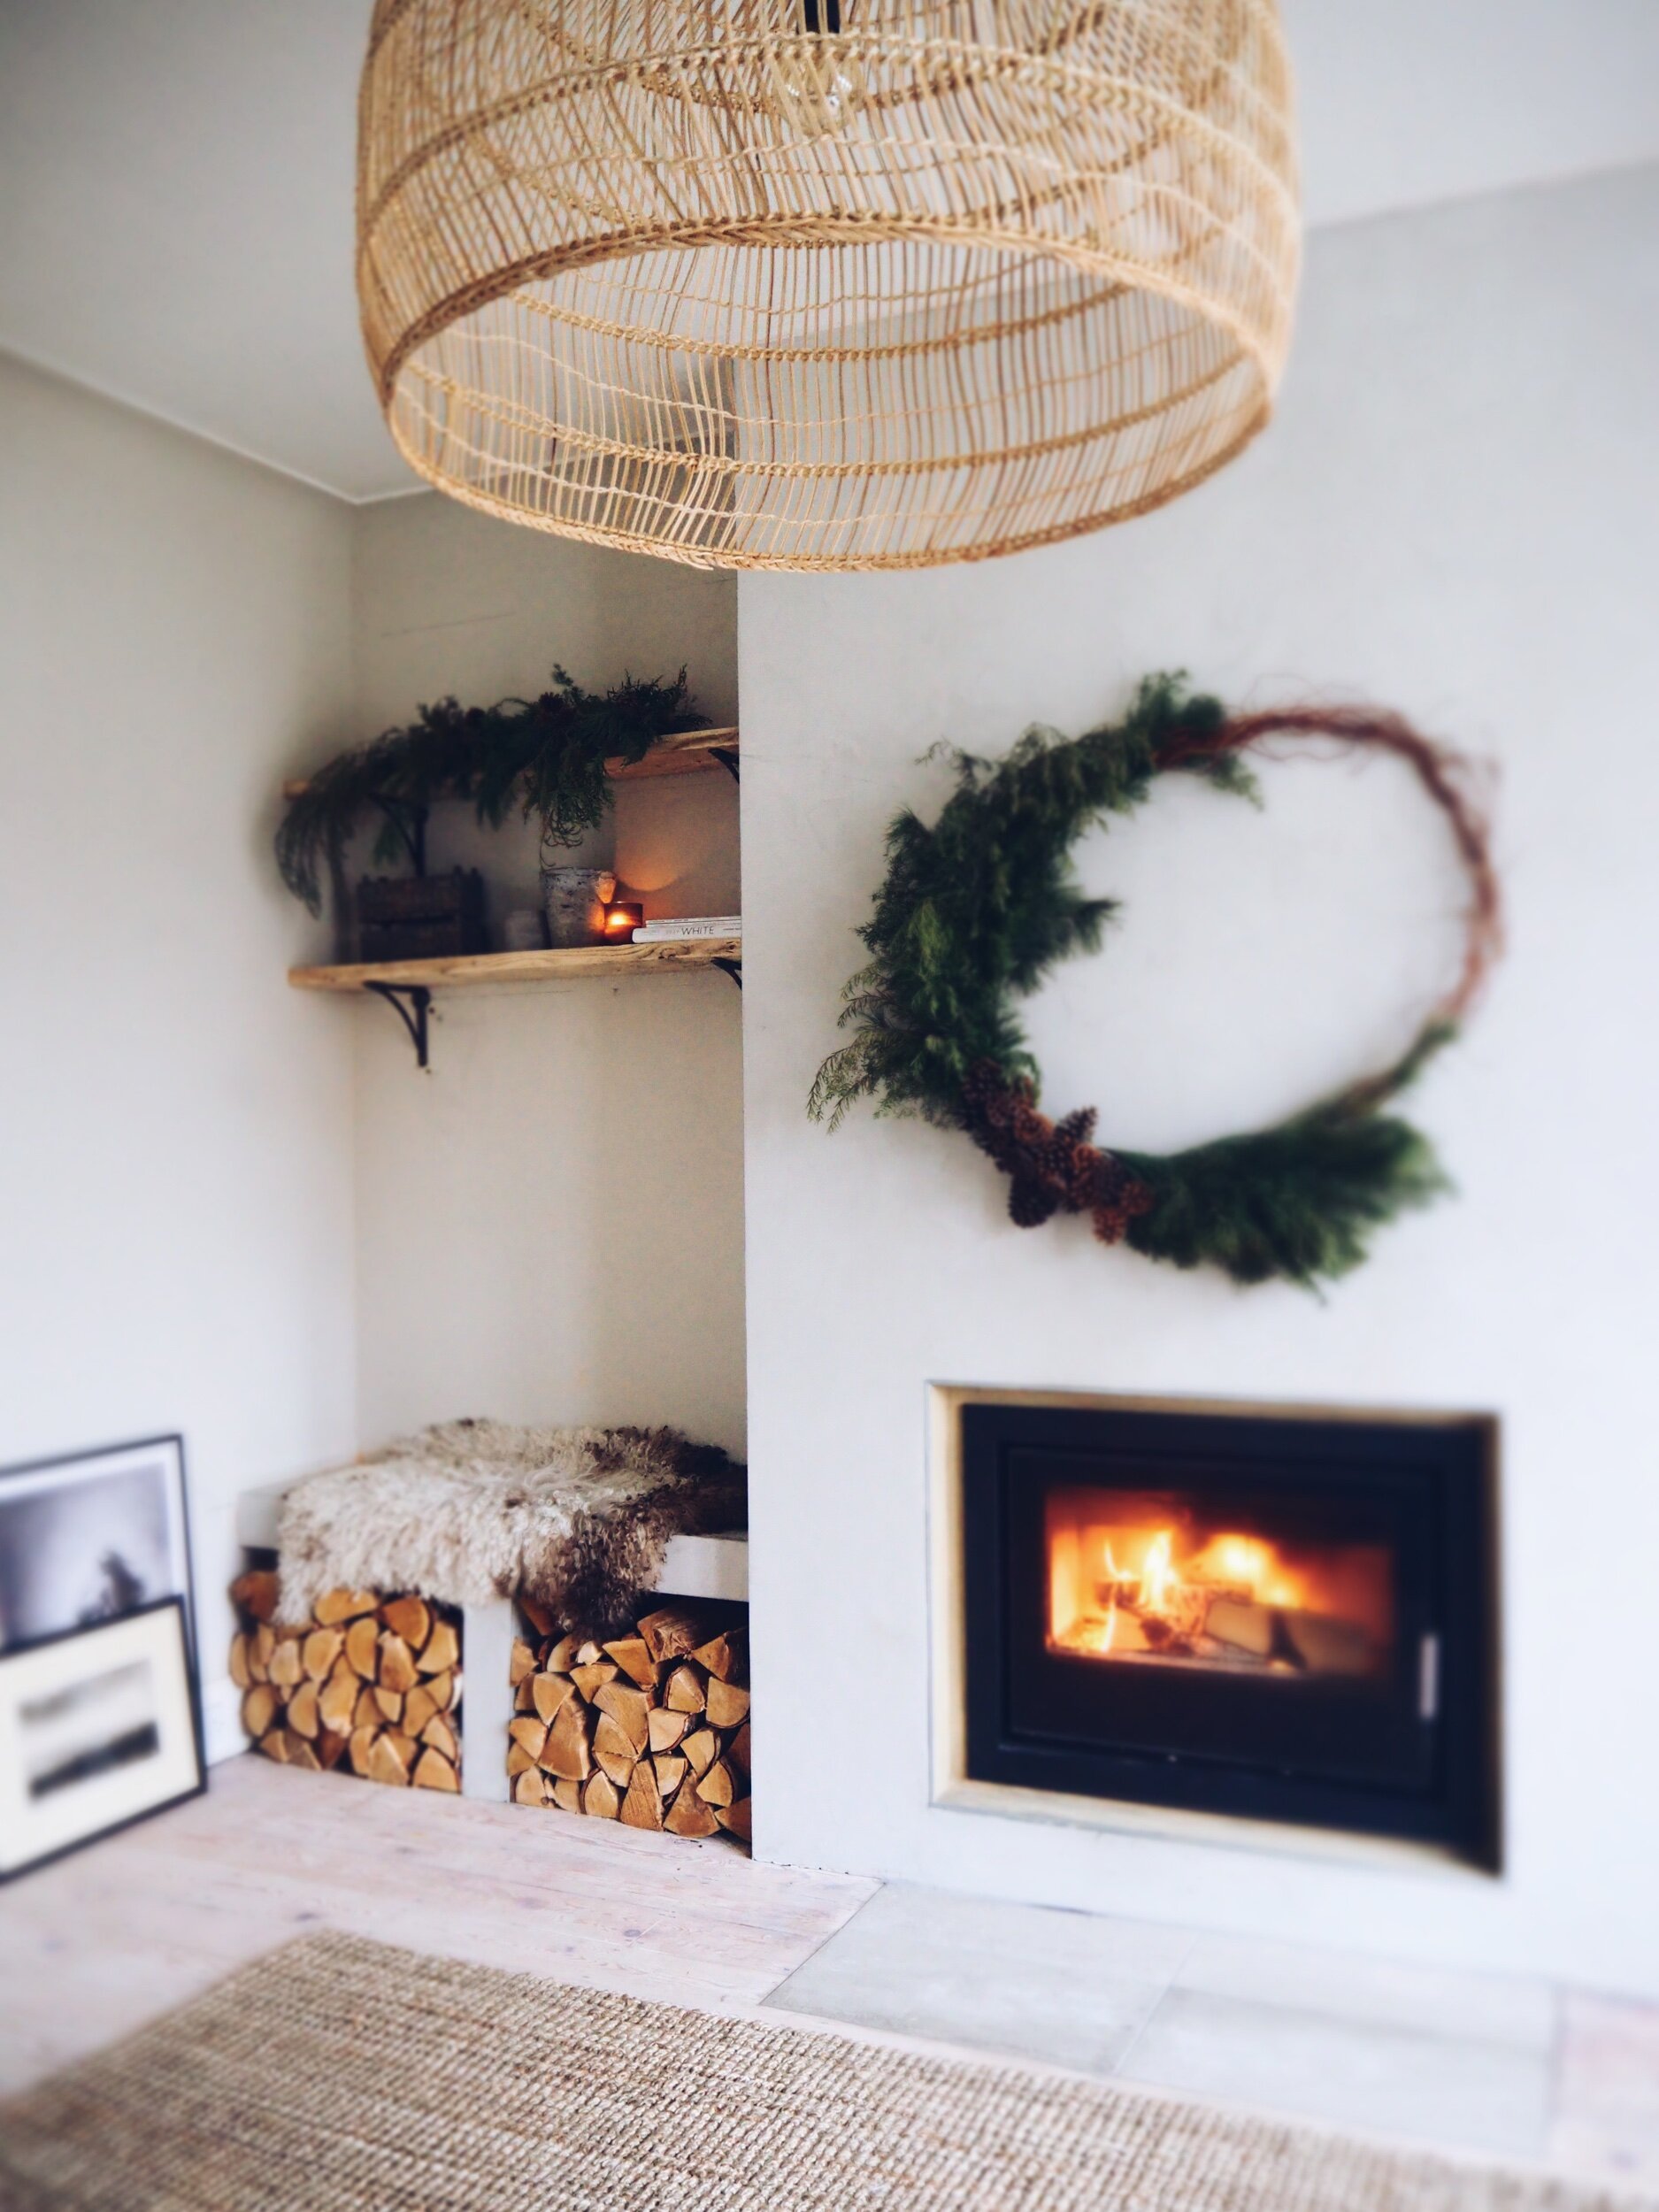
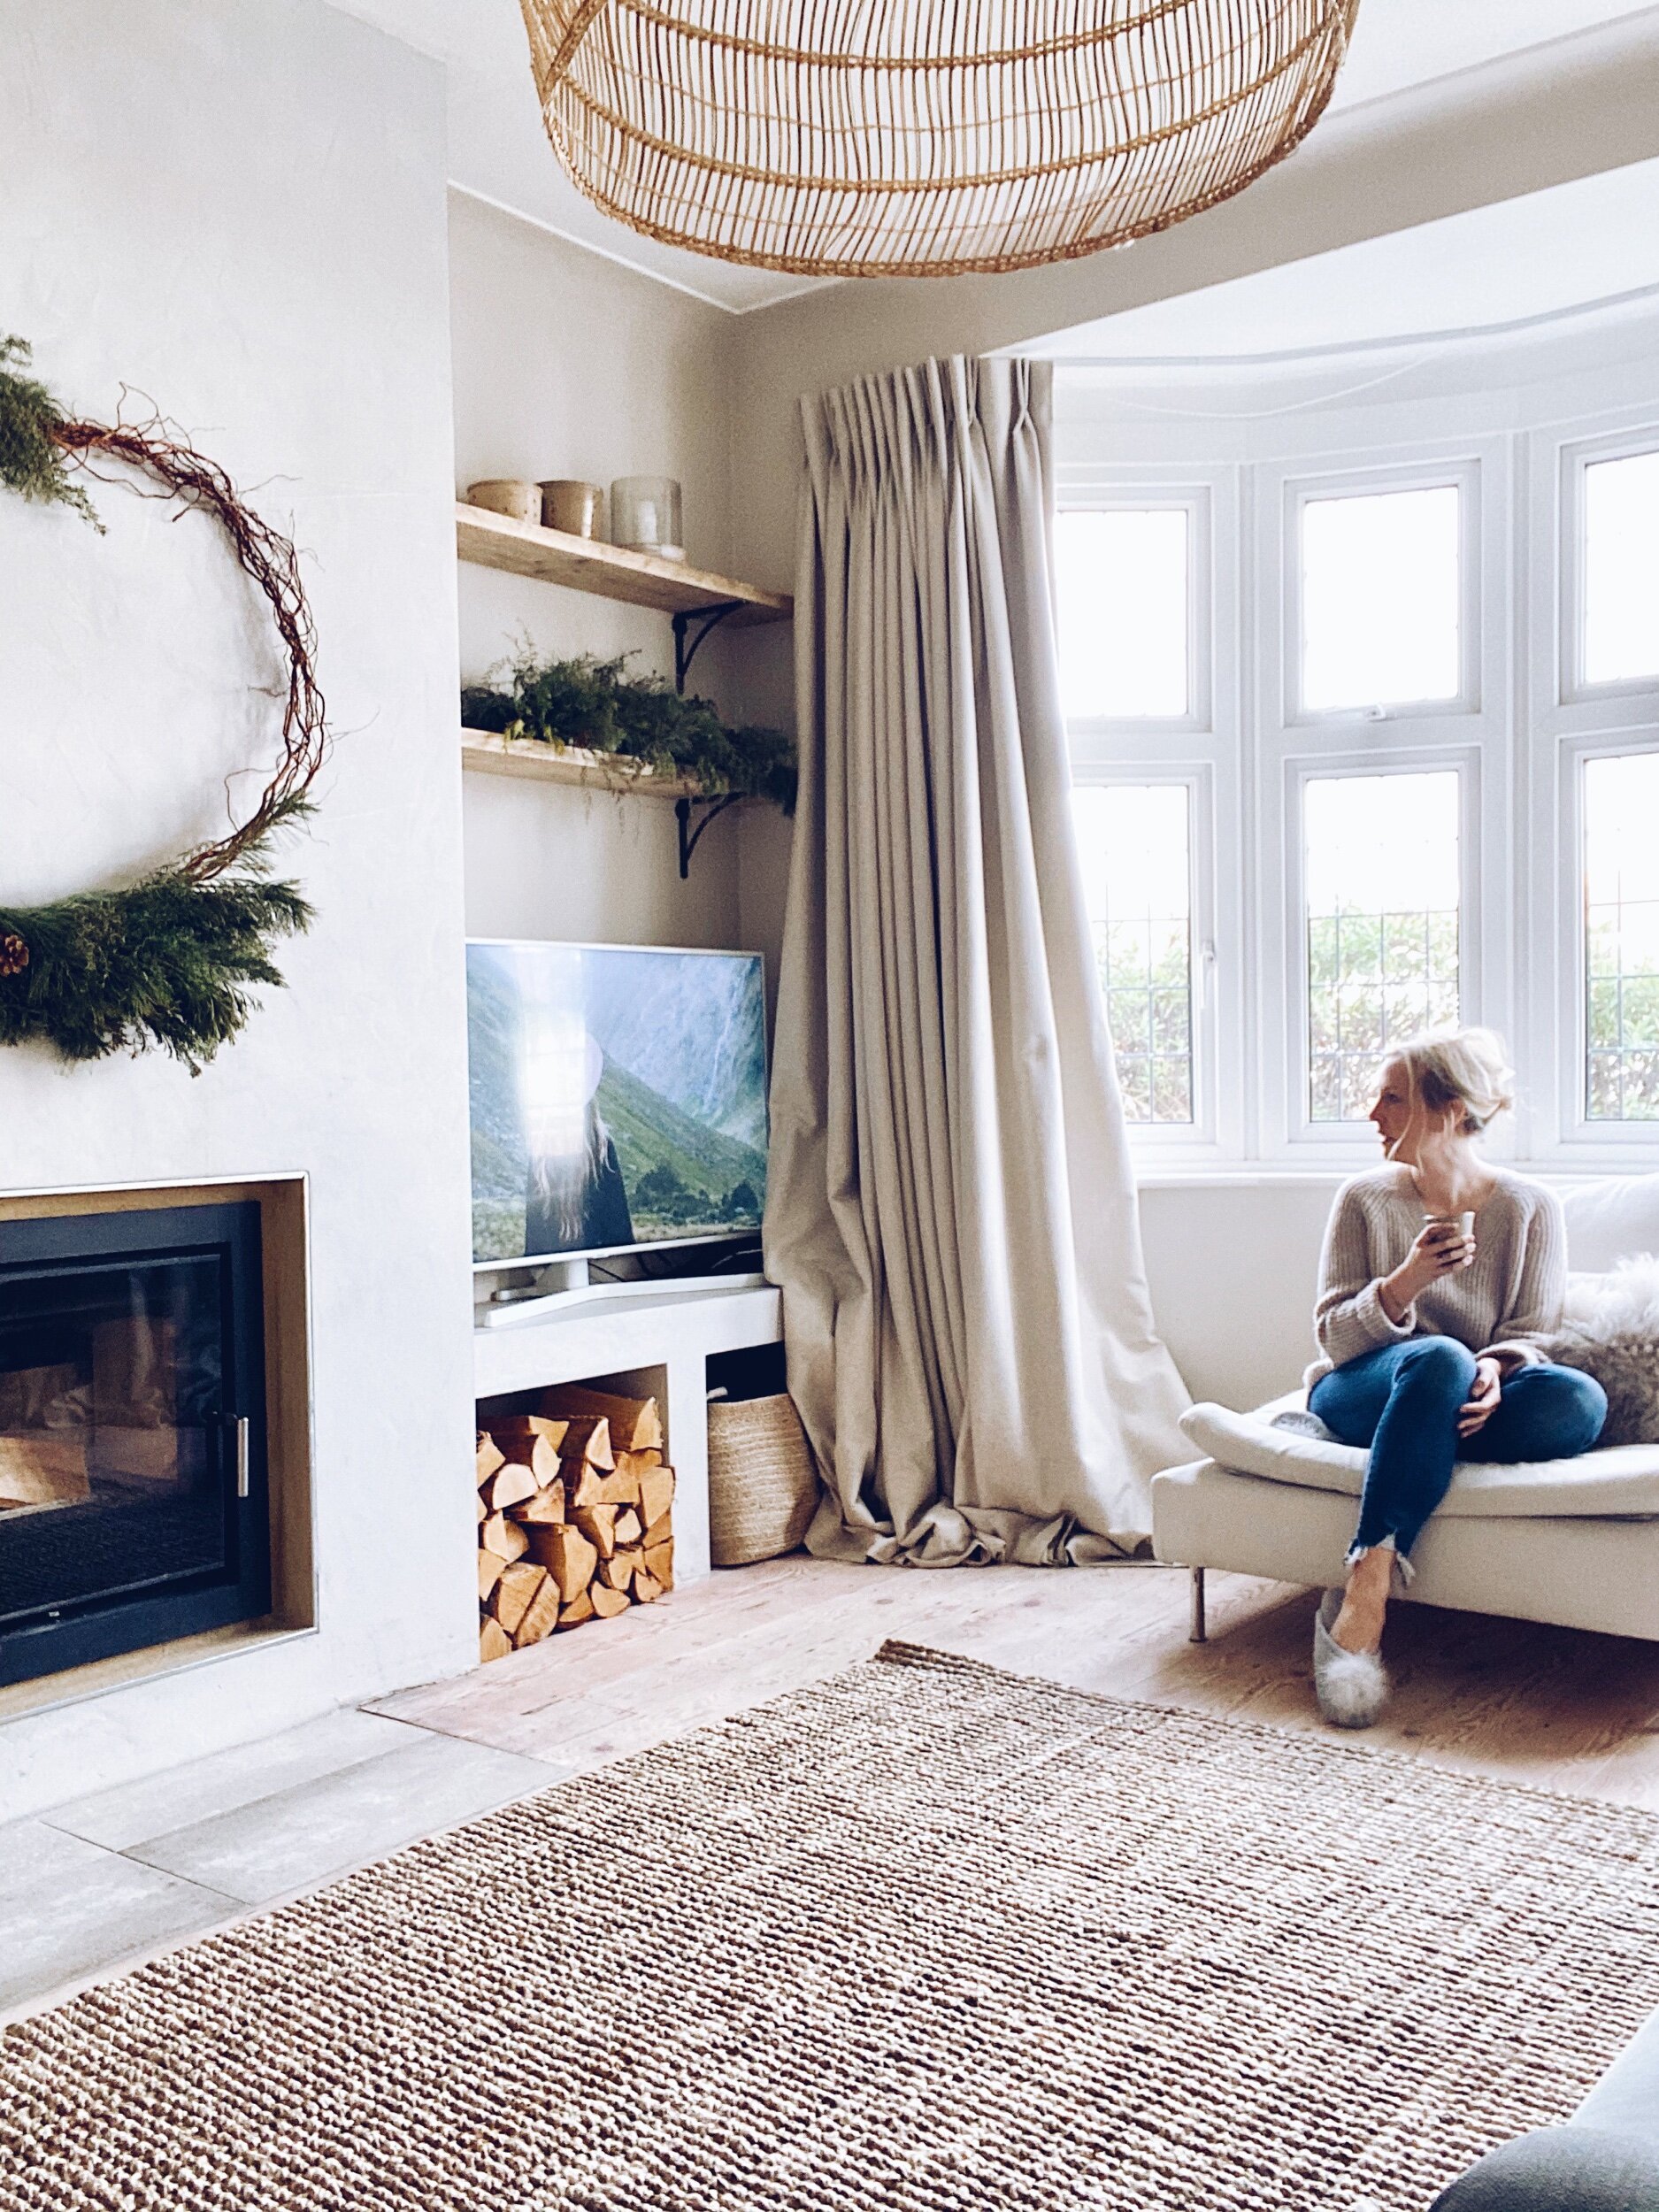
The big reveal!! Stove in, log piles stocked and benches and chimney breast fully microcemented! What do you think??

I couldn’t be happier with the finish and colour of the microcement and I love the contrast of having the black i750 Arada Stove (although you can also chose from a range of other colour finishes)

The oversized Espen rattan pendant was gifted as part of a previous collaboration with Cox & Cox and works perfectly with the high ceilings we have in this room


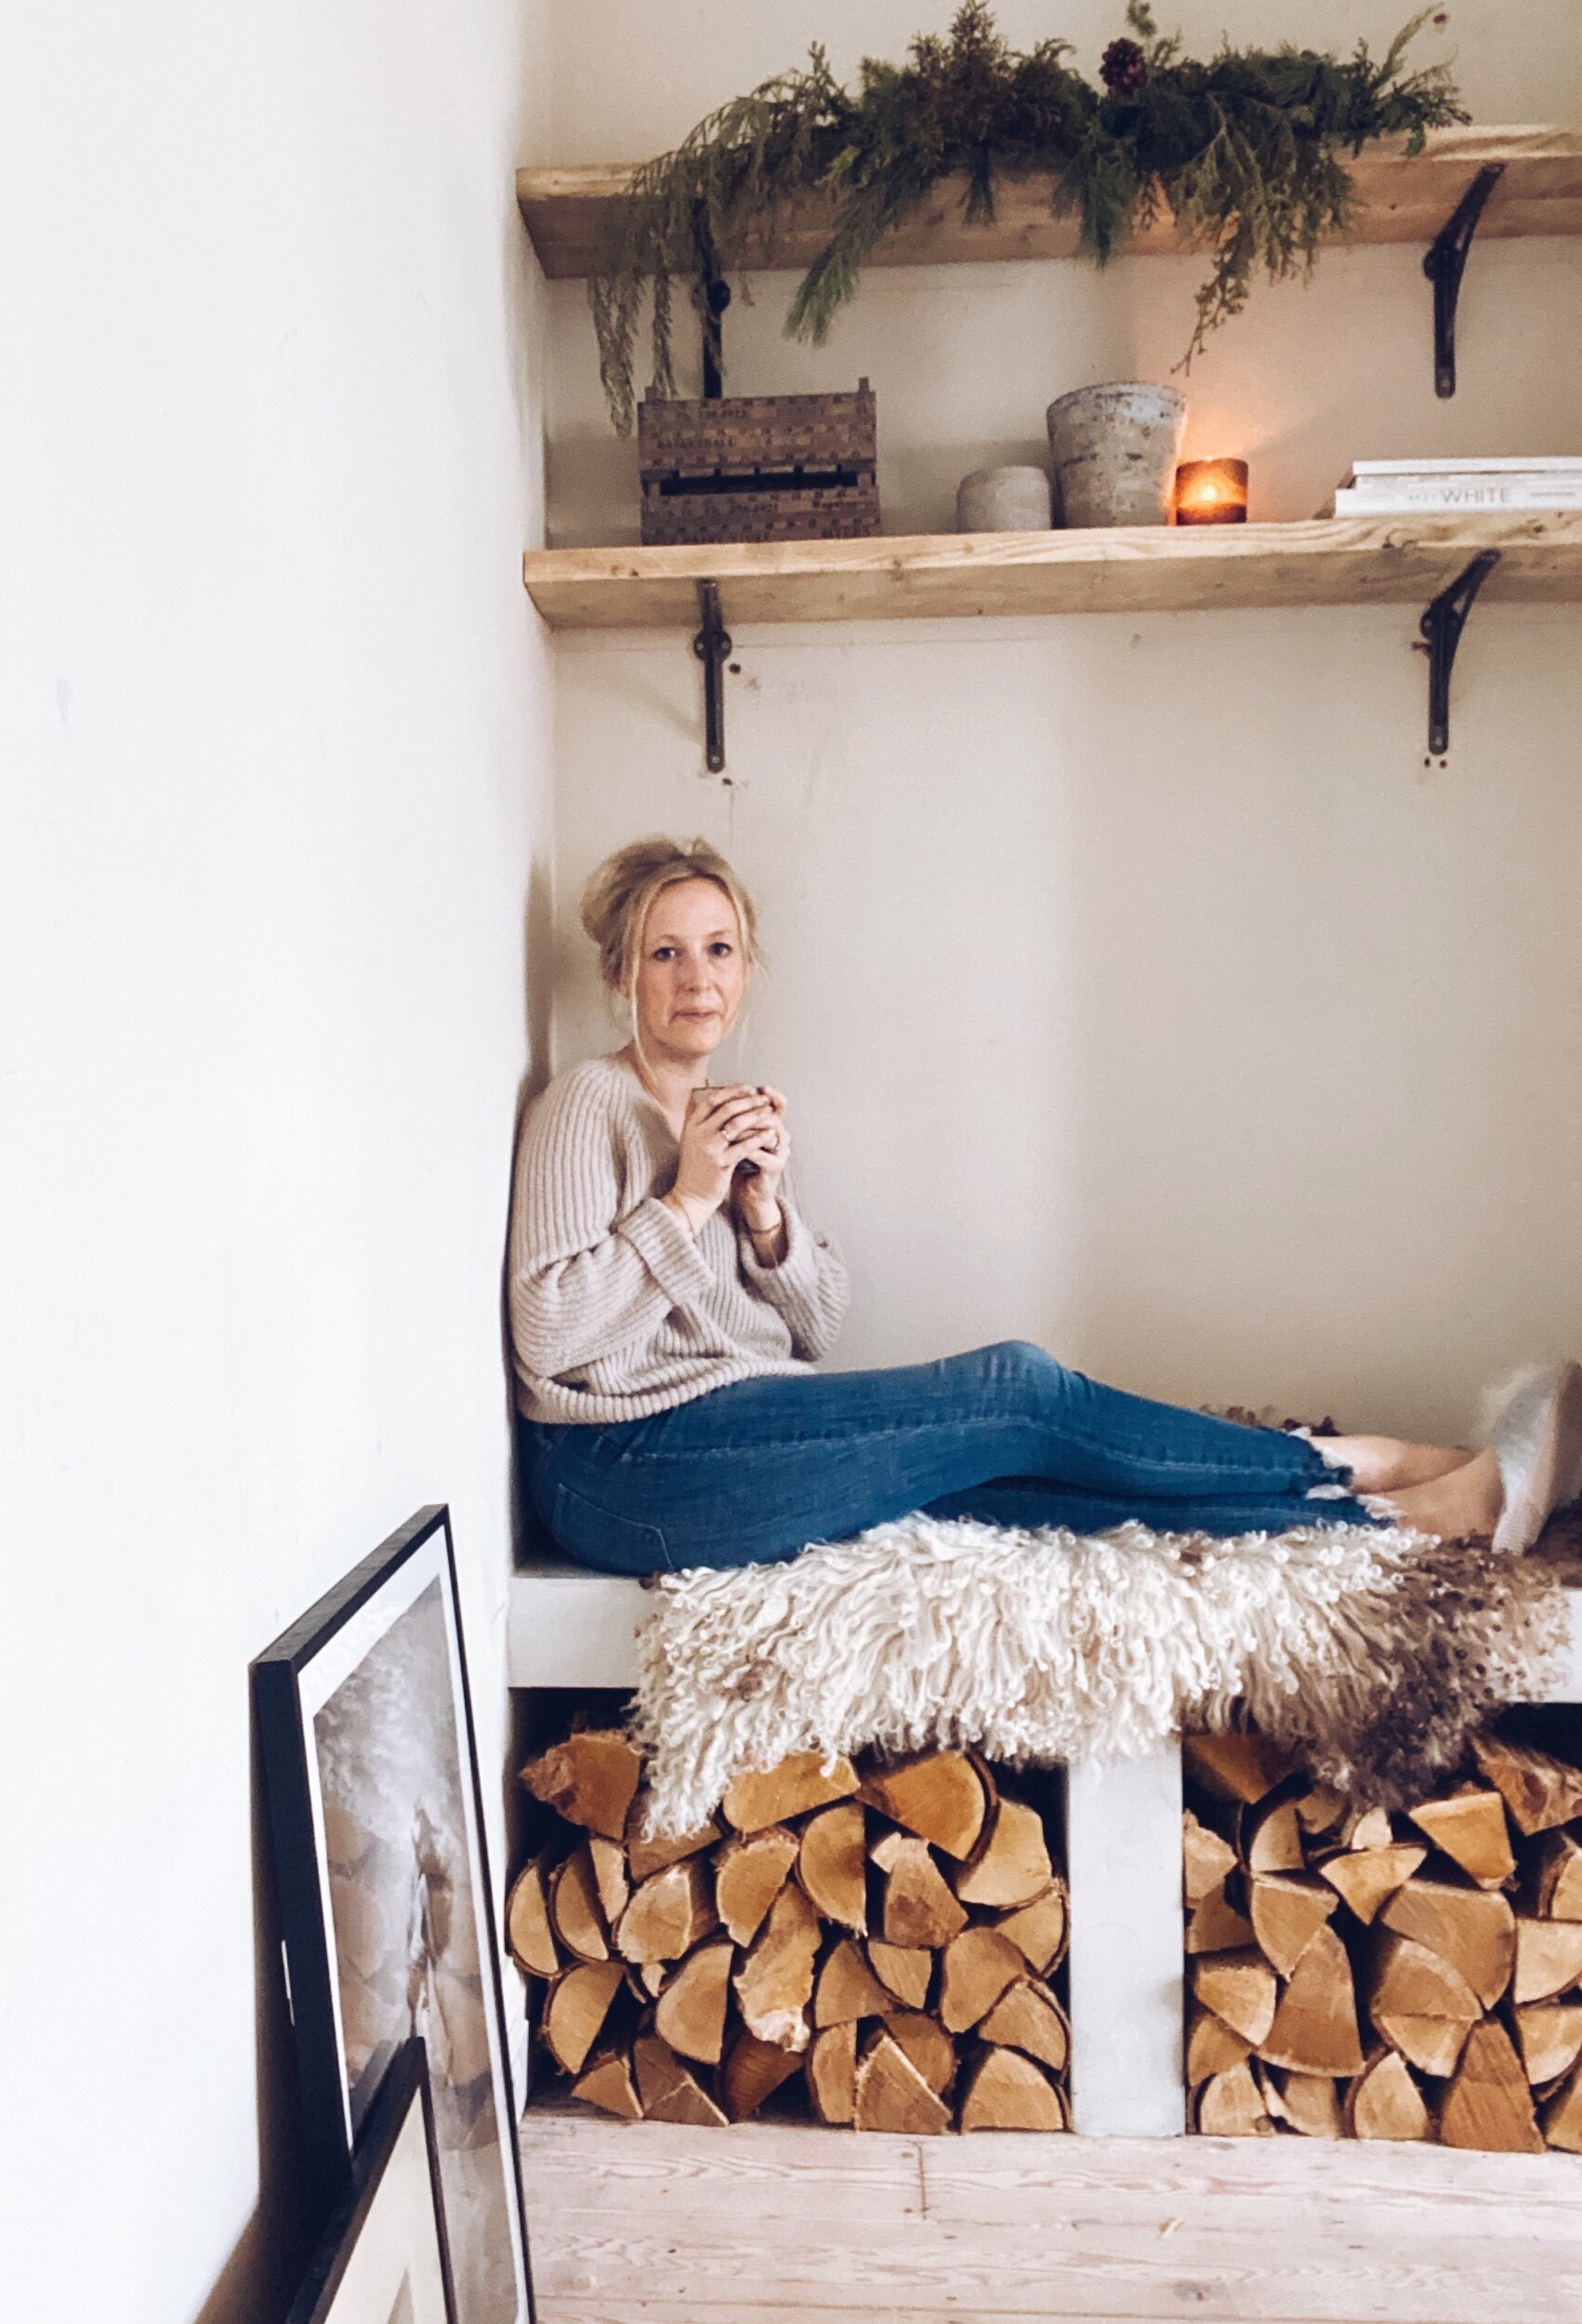
One very happy Malmo in my new favourite spot in the house. It was always my plan that this bench would be wide enough to sit on and I opted for 2 rather than 3 shelves in the alcoves to allow the head room to sit in there.
I originally envisaged the stove being flush with the chimney breast but building it out meant that wasn’t possible but I actually now quite like the fact that it sits back slightly
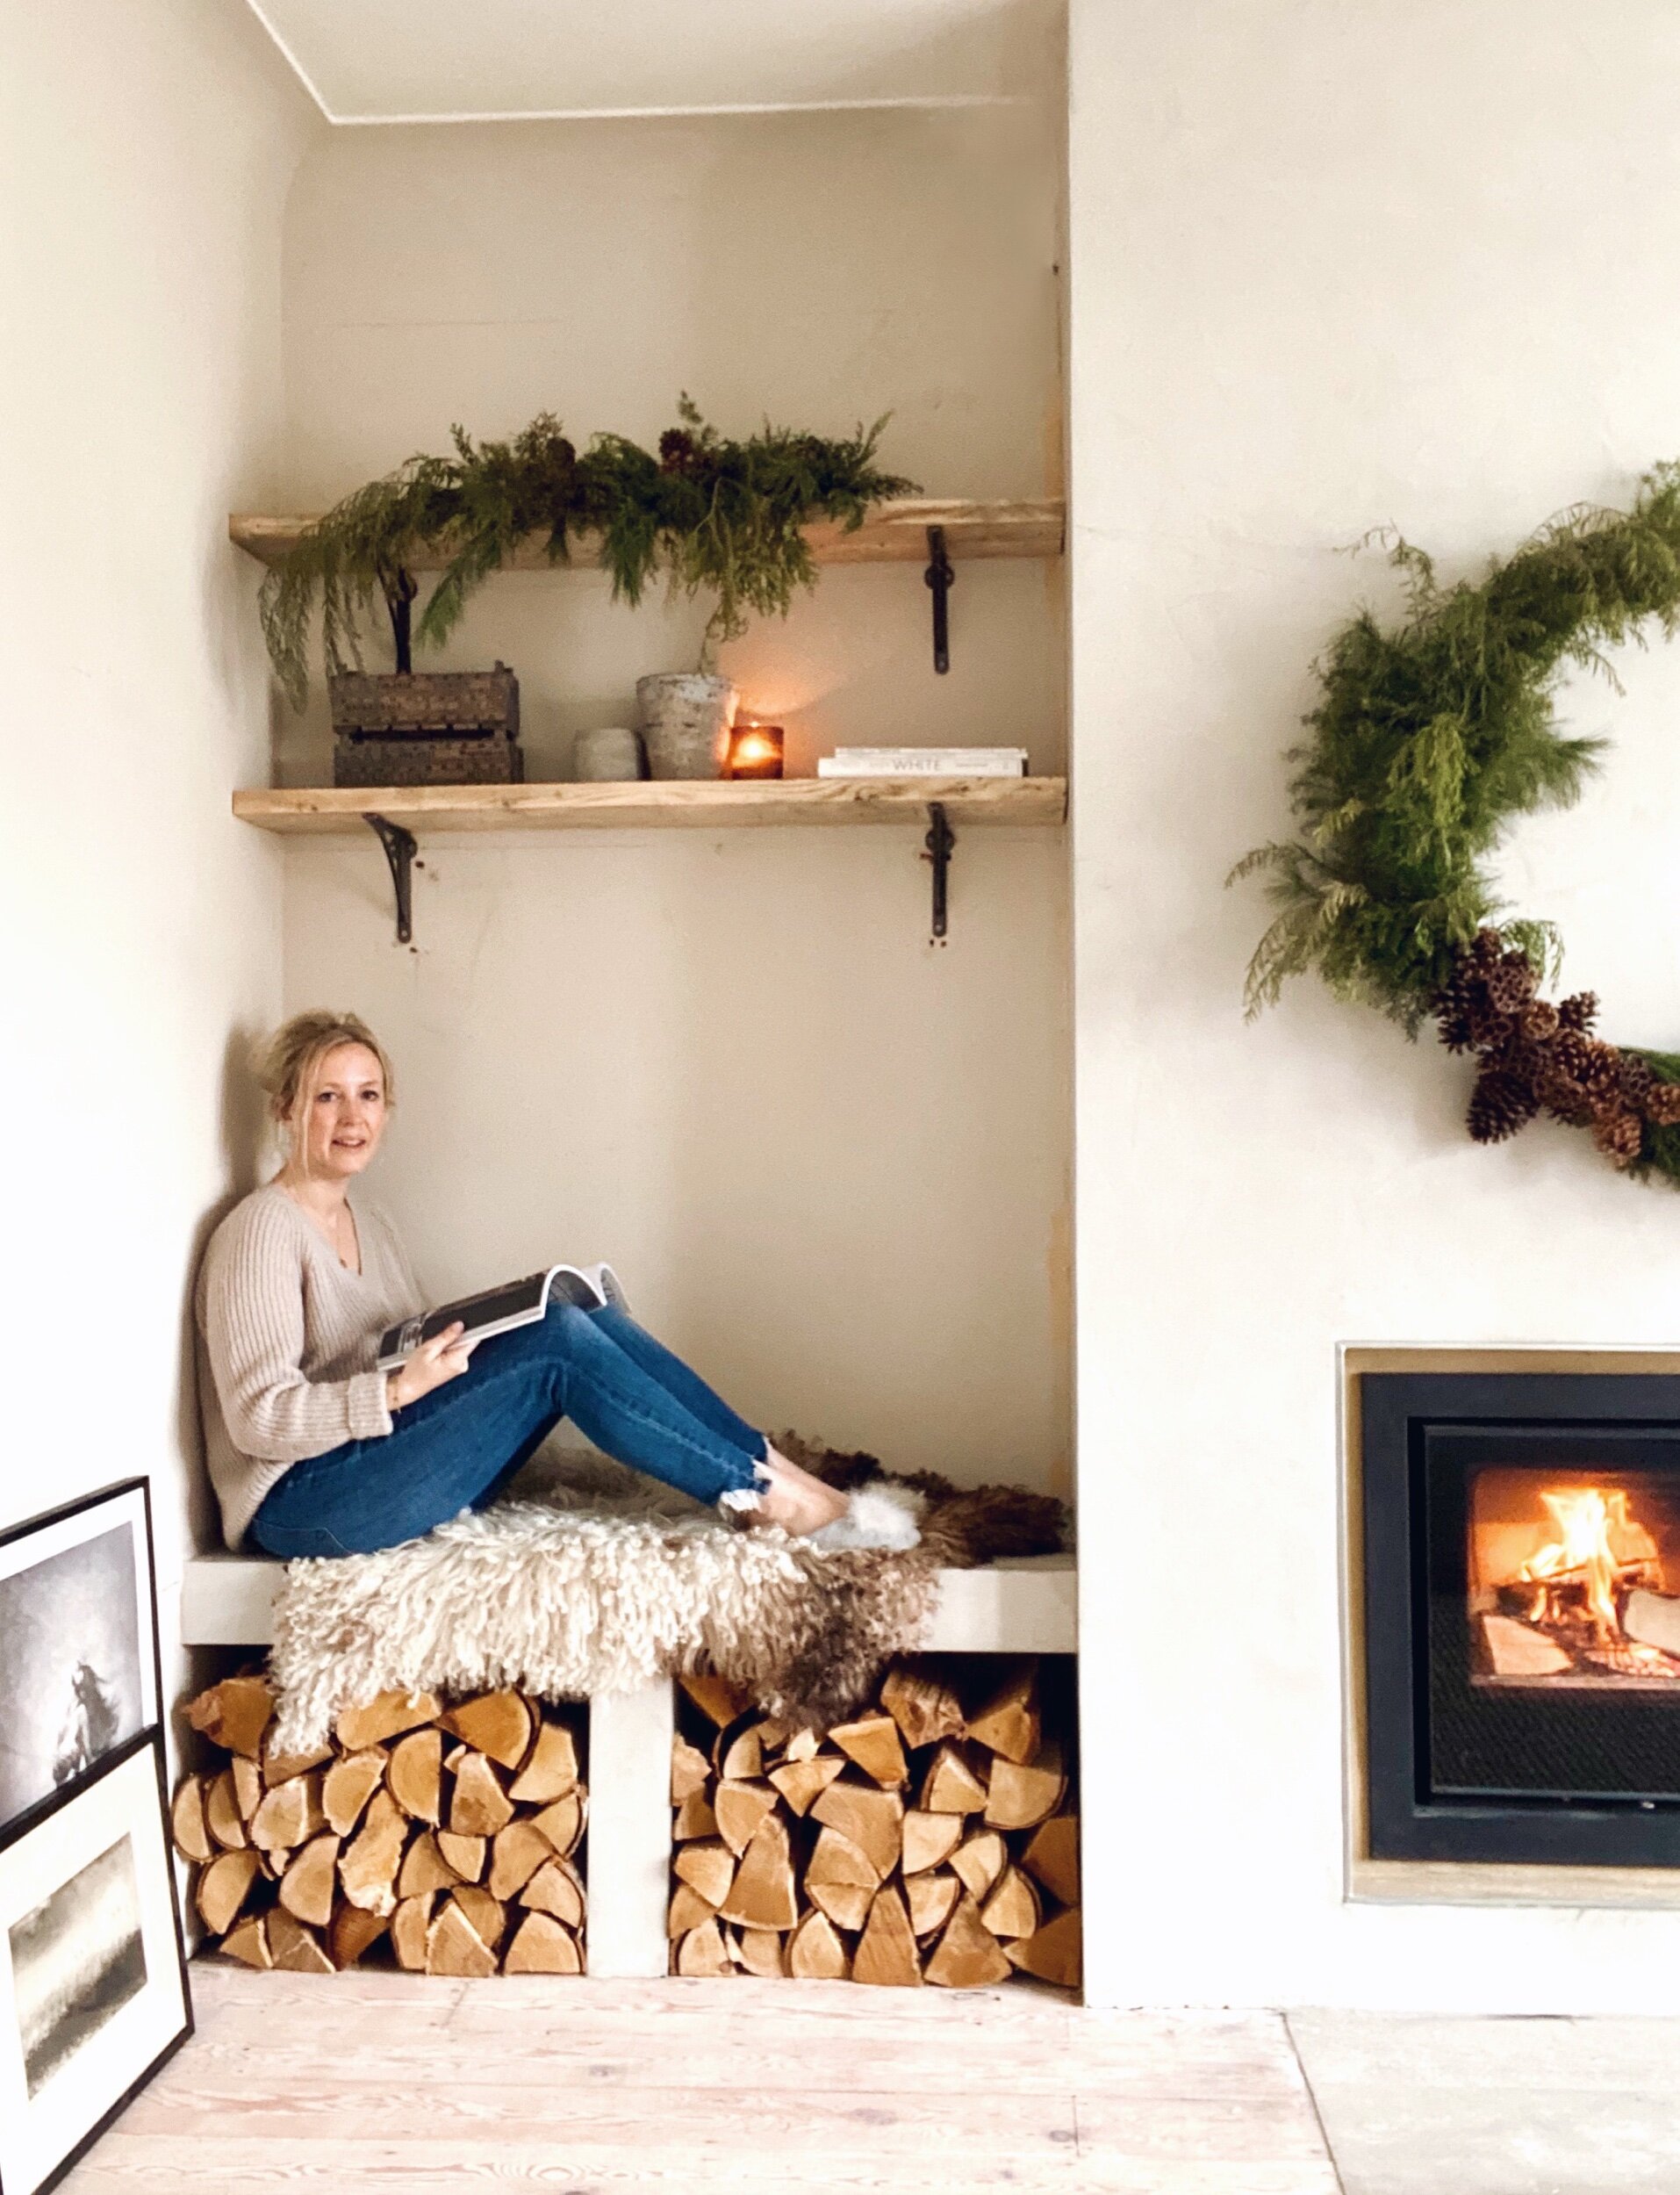
Tony sanded down some old scaffold boards and installed shelves wither side of the chimney breast for me
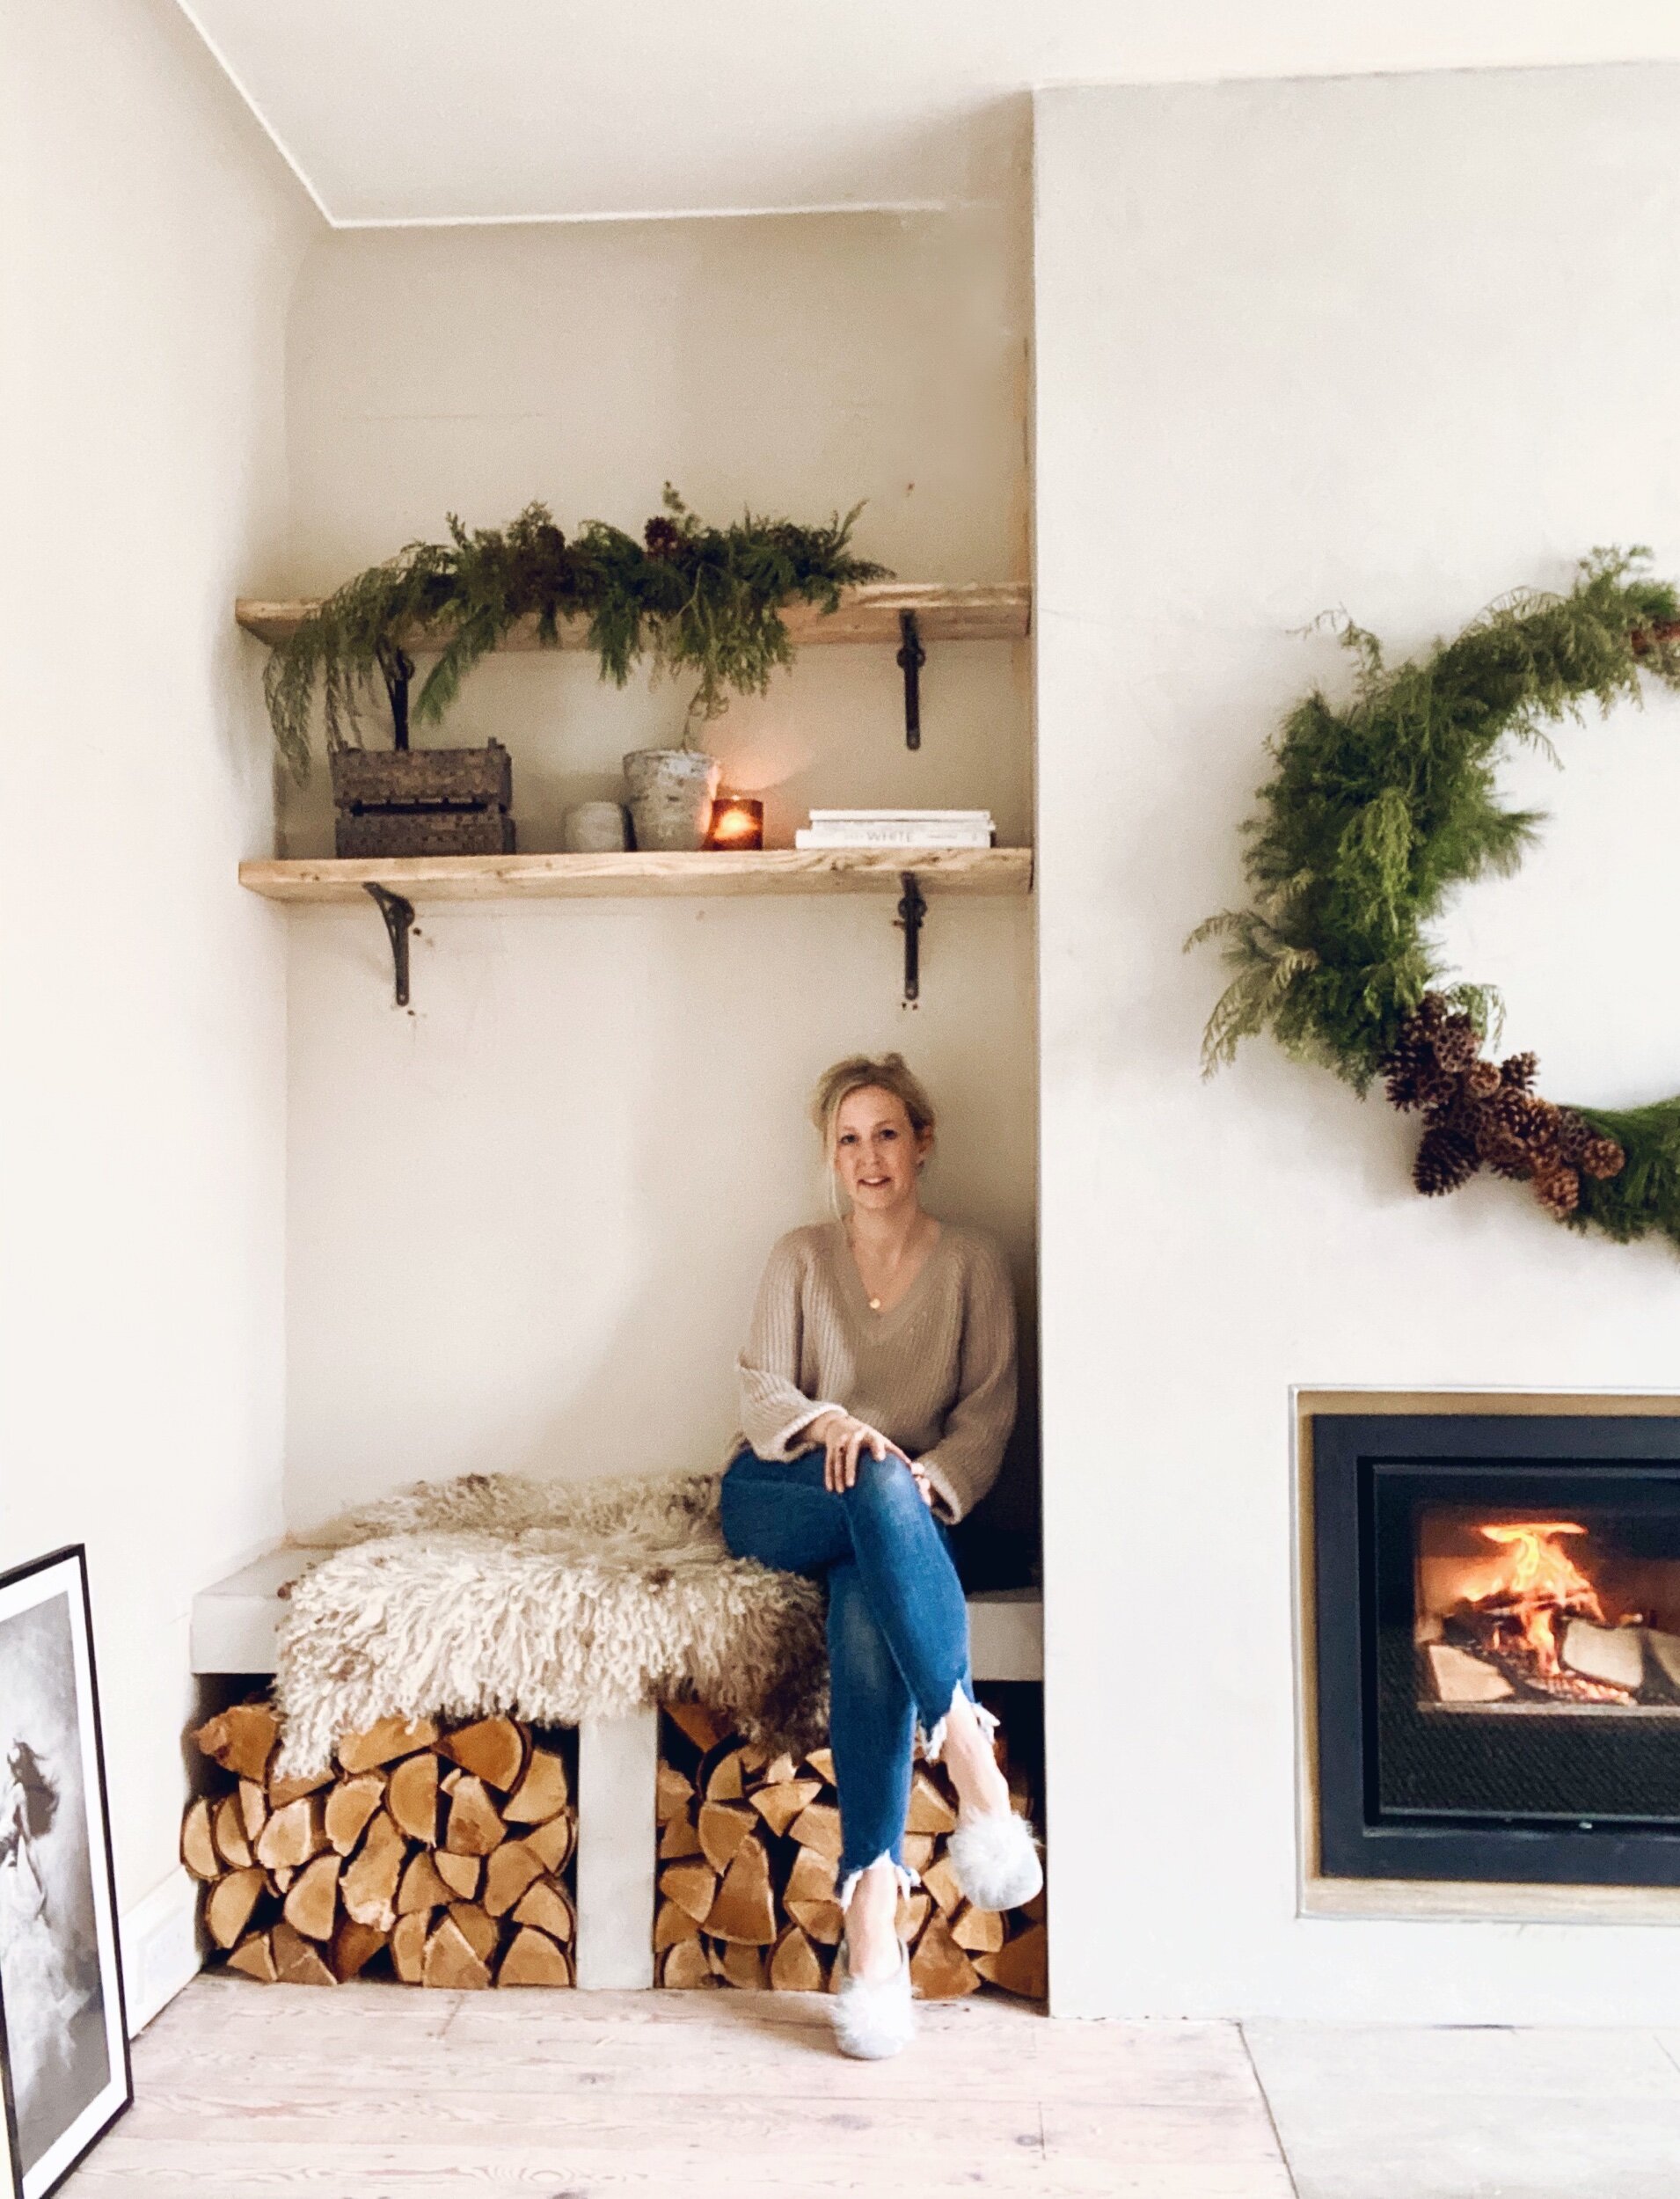
The room is by no means finished. We need to poly fill and paint the walls, chose a rug that fits the space better ( I have temporarily borrowed this jute one from another part of the house), sort out pictures on the walls, find wall/floor lighting and have about a 17 hour faff with the contents of the new reclaimed scaffold shelves. But I am determined not to rush finishing off the room and to just enjoy the process of tying it all together. The changes we have made have already created a room that we absolutely love. In fact I love it so much that it has taken me pretty much all of January to tear myself away from my spot in front of that fire to pick up a pen and write this blog!!
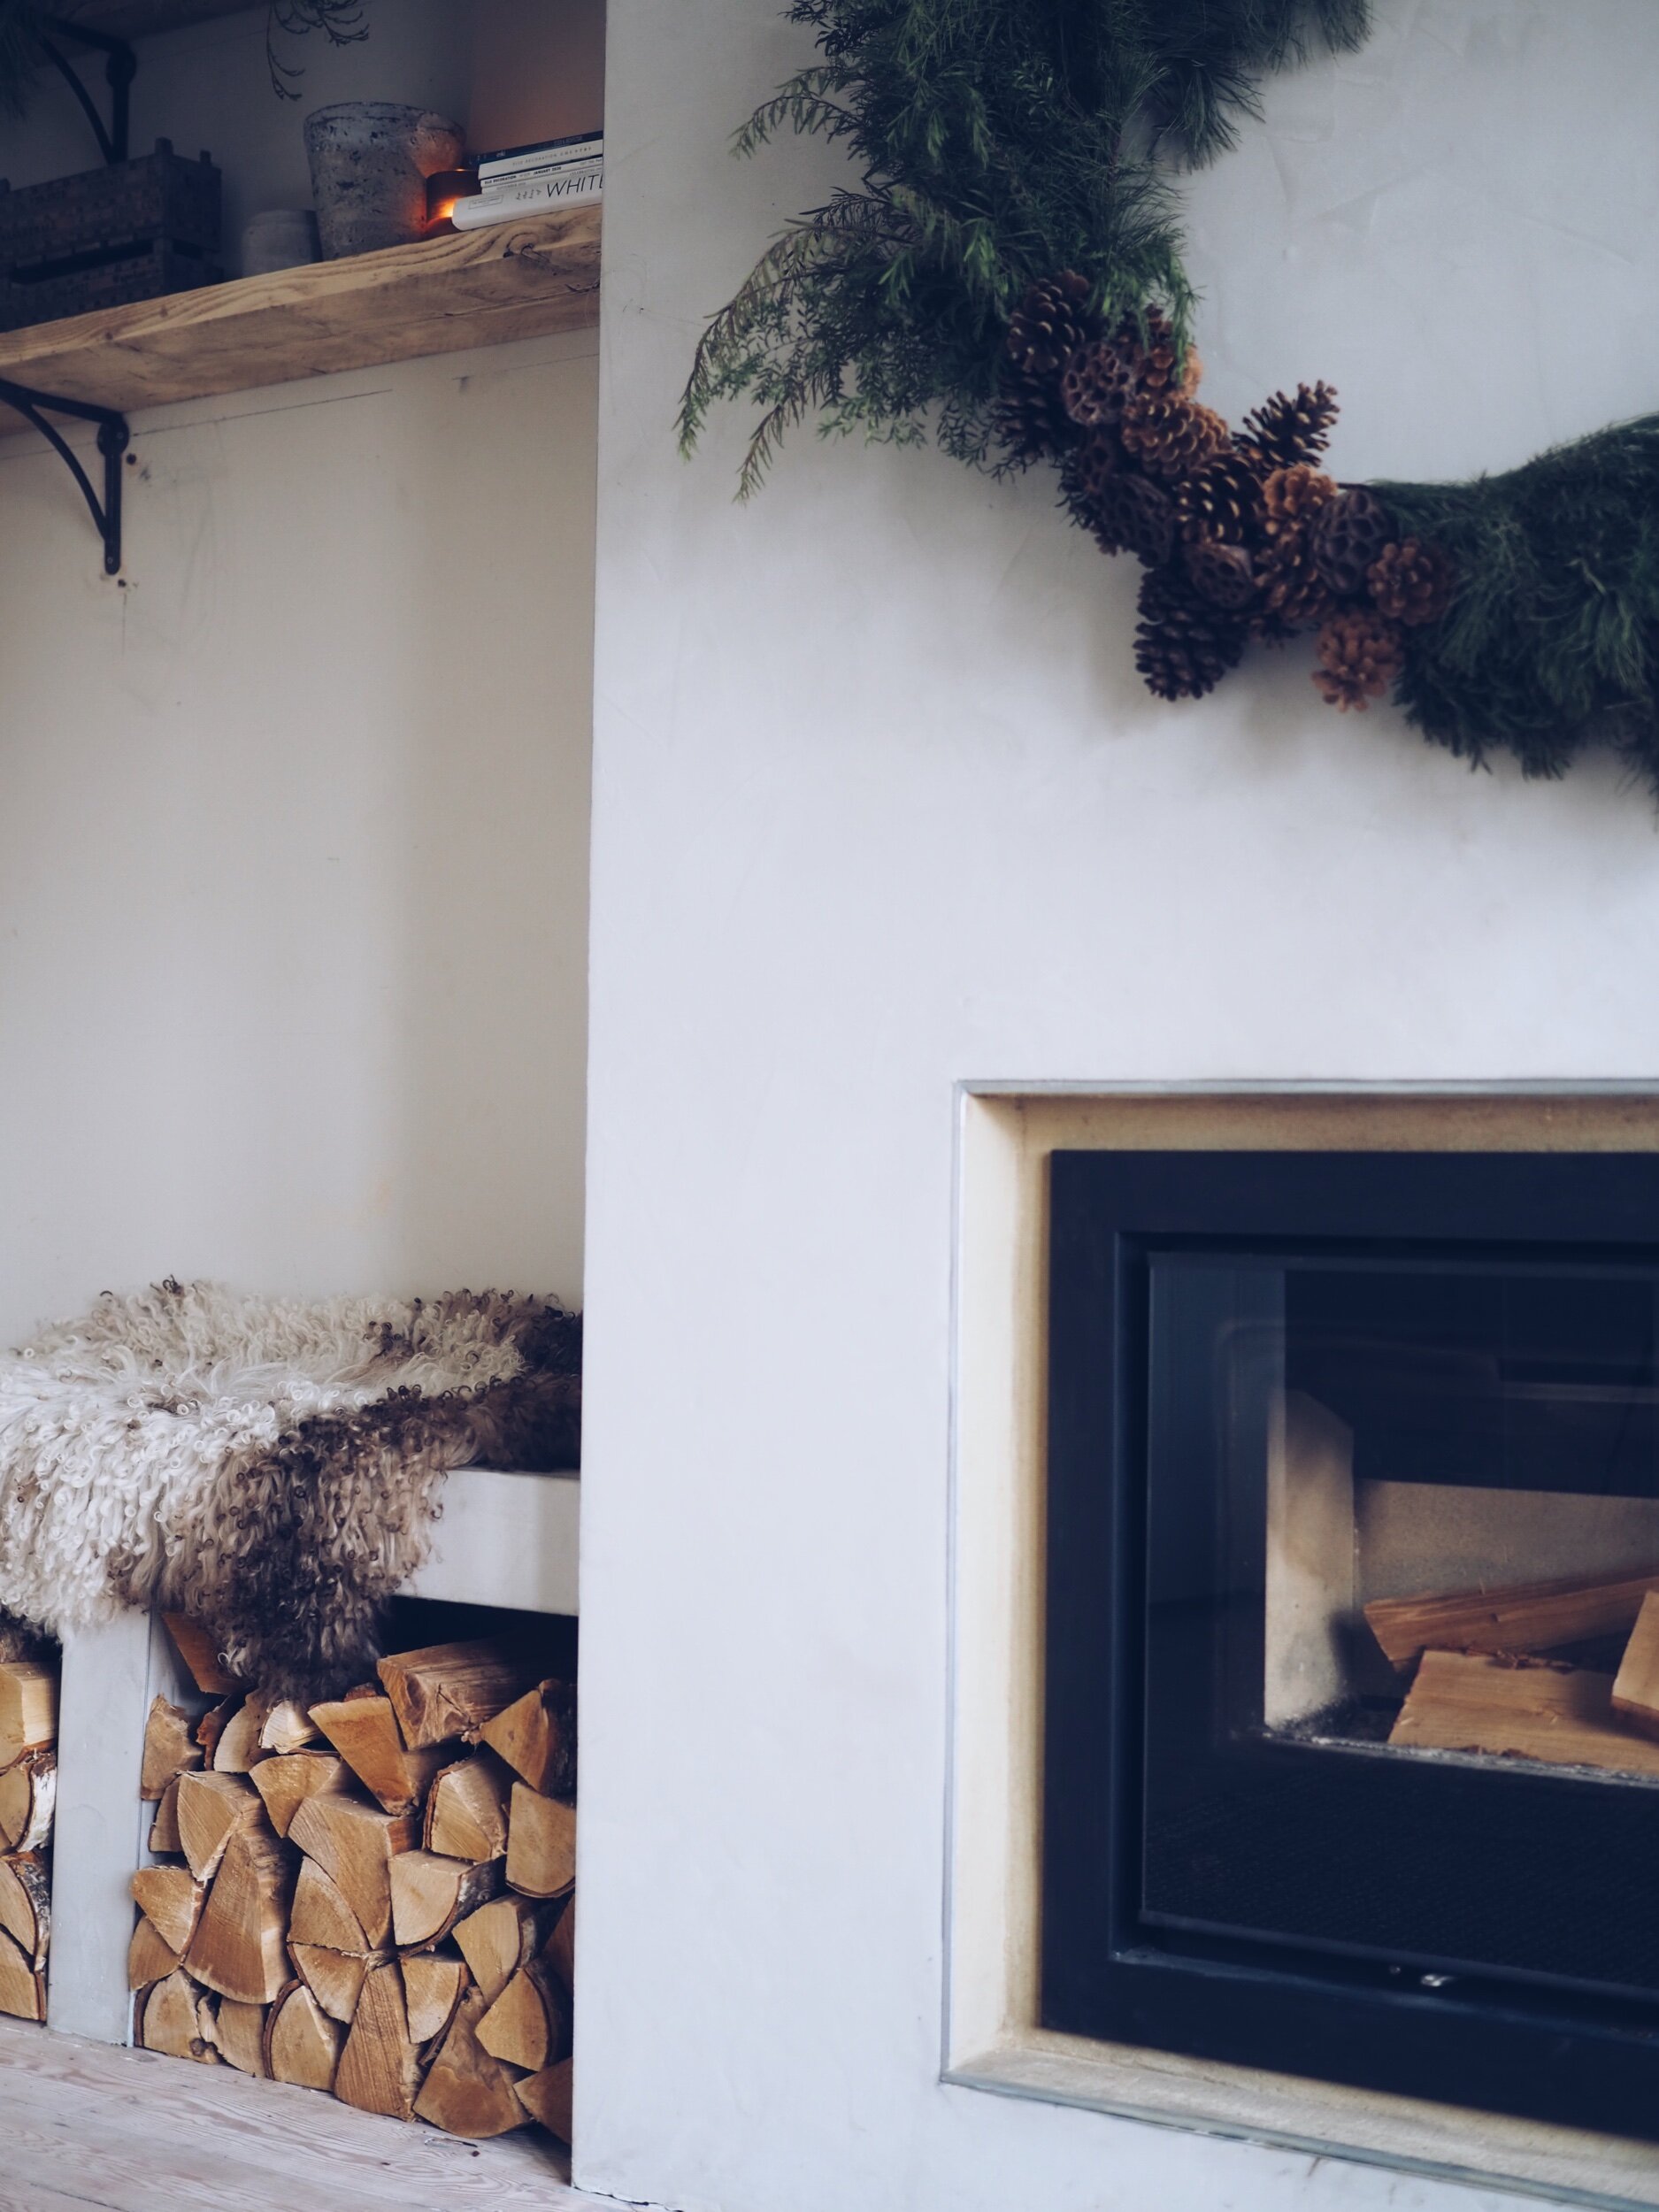
The rustic wreath and garlands in the alcoves were the work of Your London Florist and were actually meant for Christmas but I love them so much I have kept them up past the 6th of January!

Adding new curtains in Kendra Linen from Hilarys (gifted) has helped to really soften the room
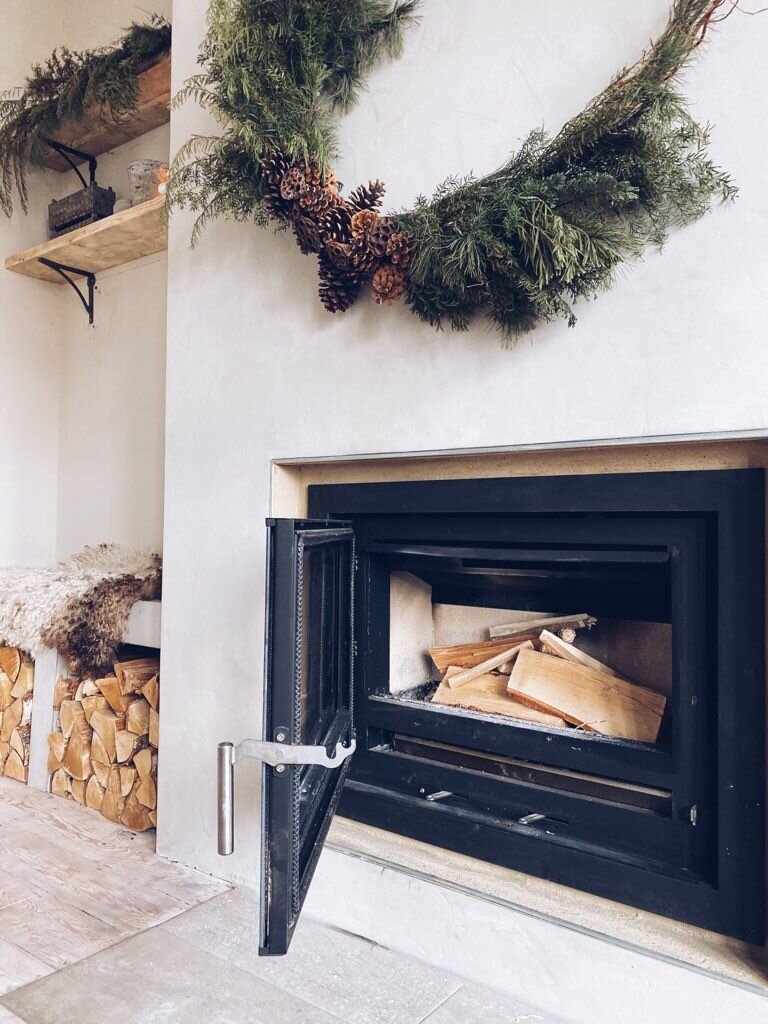
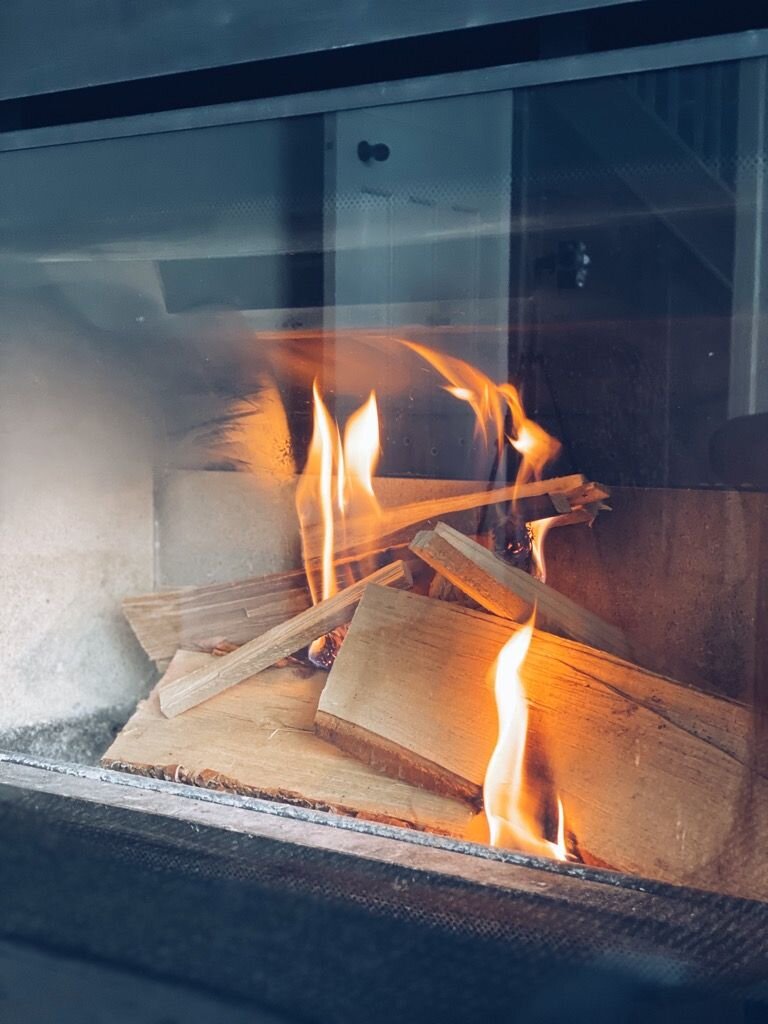
Also for someone who never made it beyond Duke of Edinburgh Bronze (I blame a wet weekend camping in the Brecon Beacons) the stove is stunningly easy to light and keep going. In a reverse of everything watching Bear Grylls has taught me, you actually light a fire in this stove from the top not the bottom. So you lay the logs down first then arrange the kindling on top rather than the other way round. Once you have lit it to get the blaze going you push the air vent levers on the bottom over to the right and then switch them back left again once you have the kind of roaring blaze Ray Mears would be proud of.

Rustic Ray Mears demonstrating her fire laying technique

It is super easy to use and the ash that accumulates after each fire collects on a tray at the bottom of the stove that you can then easily pull out and empty. I just use the hand hoover to clear up any ash that falls onto the hearth when I am cleaning the fire out.

I am toying with maybe getting a hanging chair to go in this window and the switching this chair to the other side of the room. What do you think?


The jute rug is also a temporary loan from a different room in the how. I would like something thinner in the longer term

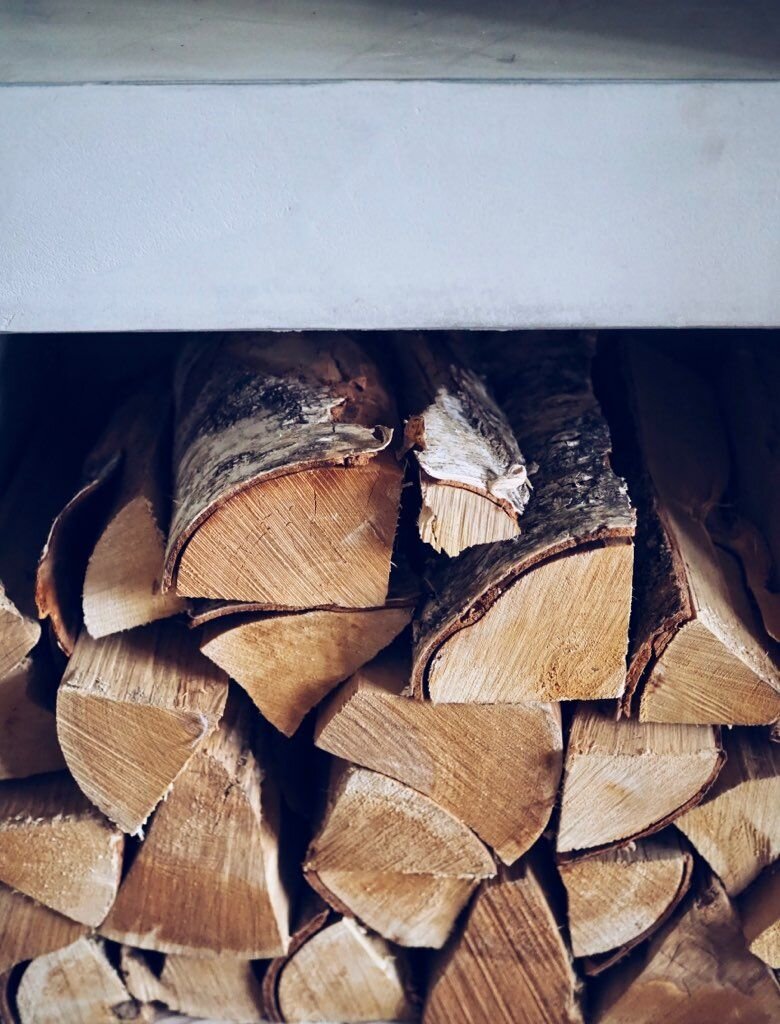
I love the contrast between the pale wooden floors and the logs which we get from Thompsons at Crews Hill in case anyone else is North London/Hertfordshire based and looking for wood!!


Here is where you will find me for the rest of the Winter
Pom Pom slippers on
In the cosiest corner in the house
The i750 Series Stove was gifted to me by Arada Stoves. I also received a very small PR discount from Essex Stoves & Chimneys on the cost of the installation. The curtains were gifted by Hilarys and the Pendant light was part of a previous paid collaboration with Cox & Cox