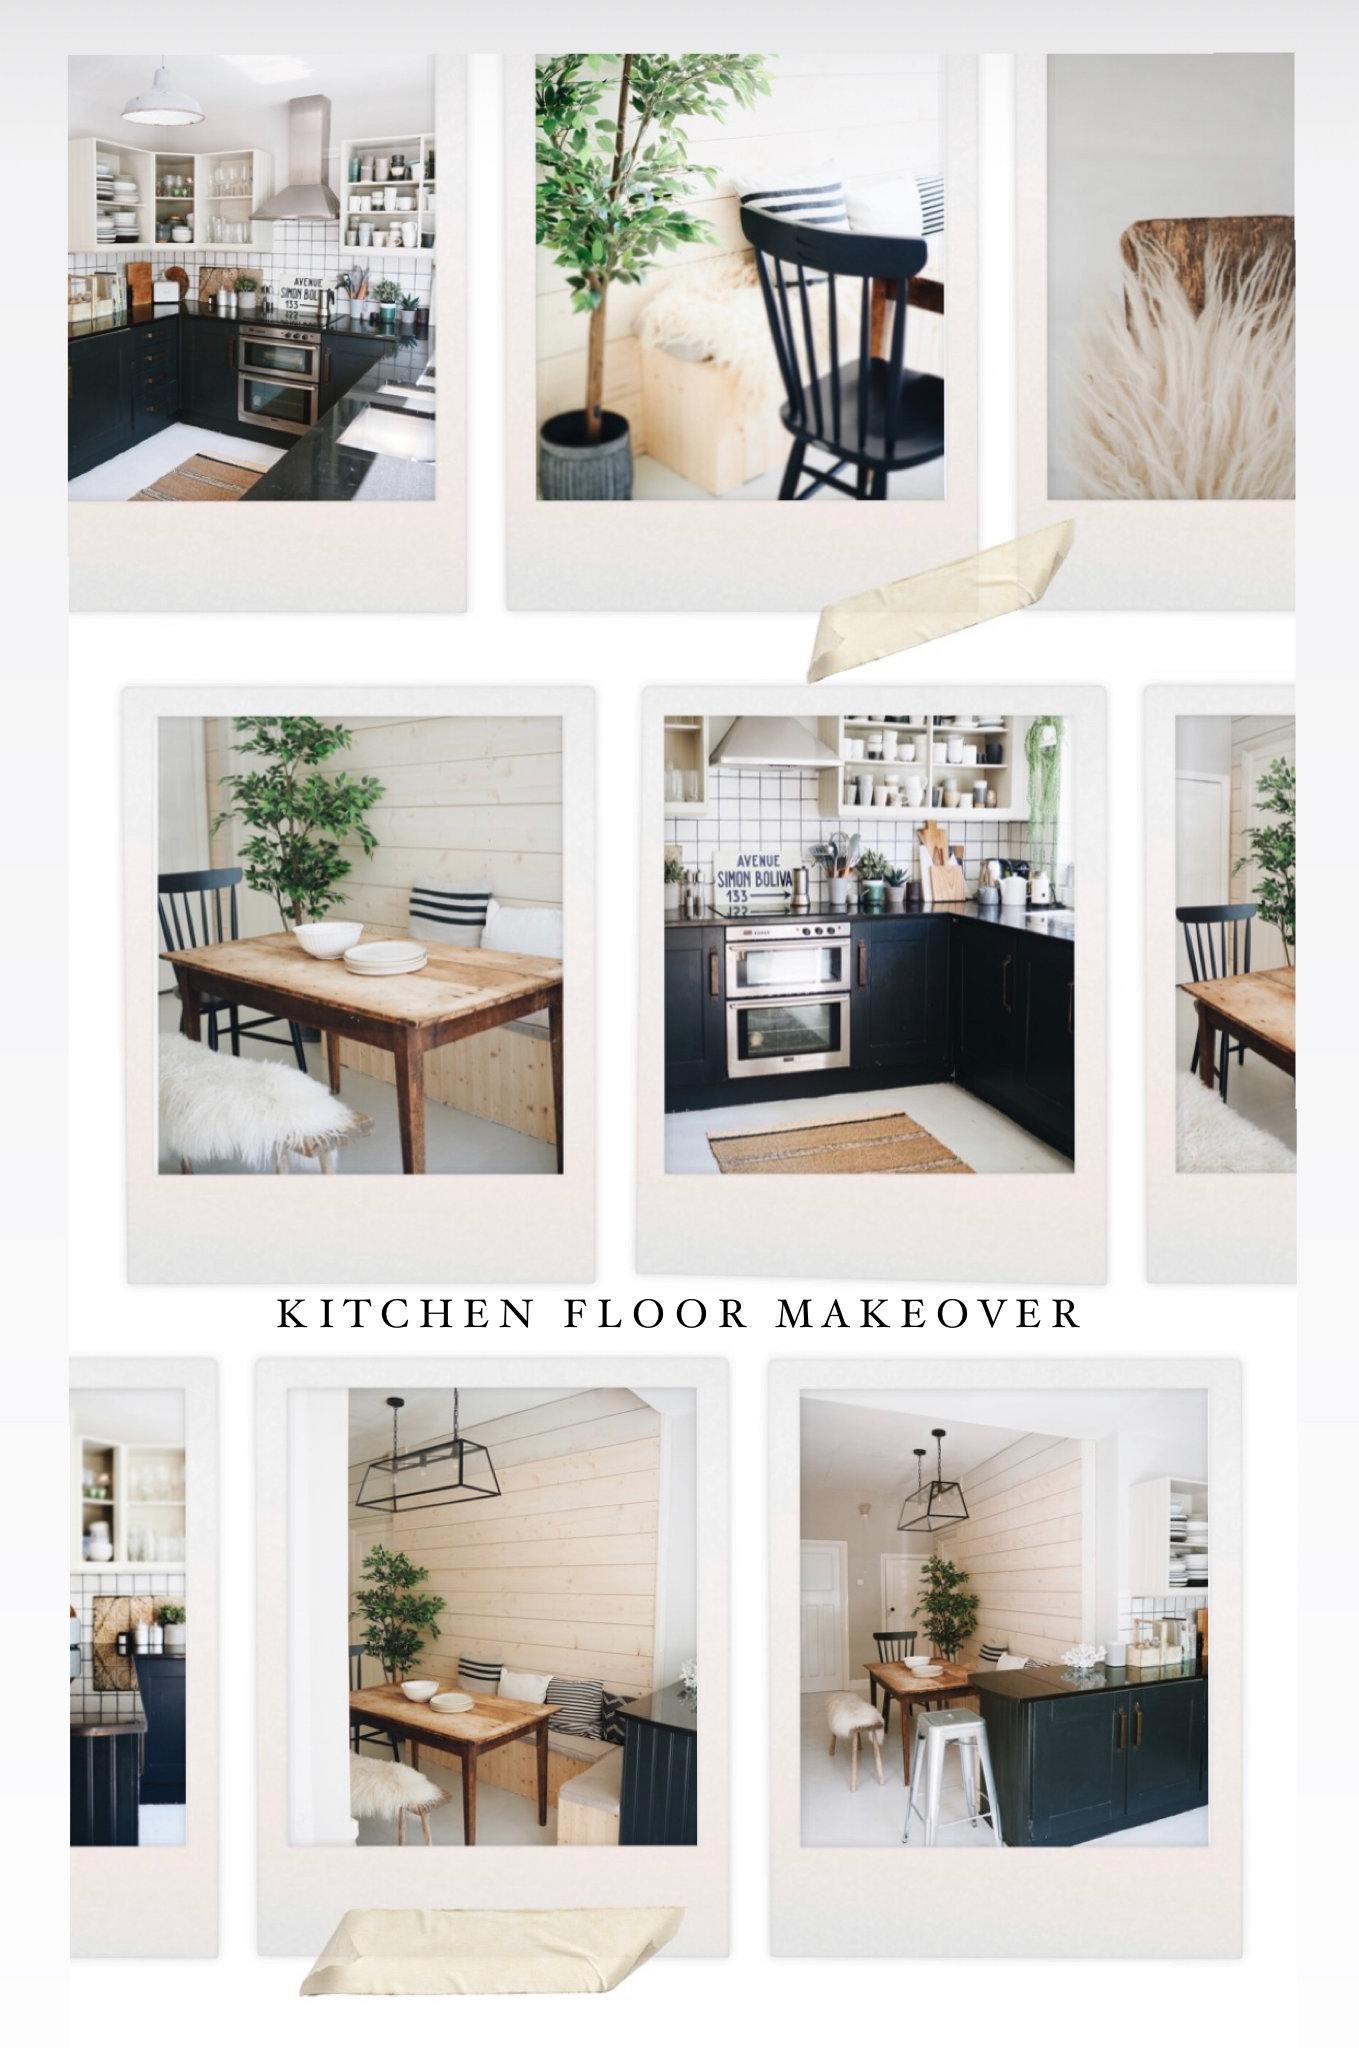
In my last blog post I unveiled the long term renovation plans for our Pebble Dash Princess. However, this week I have an exciting update for you on the shorter term revamp of the kitchen/dining space I have been working on for what may feel like the last millennium.
Sanding the Kitchen Floor
One of the main items on my revamp hit list for this room was the floor. We inherited engineered wooden floorboards that were in pretty good condition but which had an orange varnish that made this Scandi girl wince. In the longer term plan I am hoping to have polished concrete floors throughout the open plan kitchen/living space but, for now, it is sanding rather than concrete mixing on my mind.

The kitchen floor when we came to view the house
After stage one of the Kitchen/Diner Revamp with a filter applied to take the tango edge off the floor
This is not my first brush with David Dickinson floor varnish. We inherited very similar stained floorboards in our old house. On that occasion it was my husband who tackled the tango floor, hiring an industrial sander and then painting them off white. This time round he was less keen to take on the task (perhaps understandably when trapped at home with 3 kids in the midst of a global pandemic). As a result I found myself in Aisle 24 of B&Q on a socially distanced Saturday night, surrounded by power tools, looking as out of place as a nun in Ann Summers.

Like a Nun in Ann Summers I had no idea what I was doing in B&Q’s power tool aisle
How I Sanded The Floor By Hand
I had decided against hiring a big industrial sander because the space is quite narrow and, quite frankly, it would be like putting Thora Hurd behind the wheel of a double decker bus, After half an hour , and a lot of quizzical looks from men in tool belt trousers in B&Q, I selected a MacAllister belt sander for the job instead. According to Screwfix (not me) they offer a powerful, high speed sanding experience for fast removal of material and are ideally suited for use on large flat surface areas. At £40 it was a cheaper option than hiring the large industrial sander.
Malmo & MacAllister: the belt sanding dream team
There followed many hot dusty nights for Becca and the Belt Sander which satisfyingly stripped off the varnish - albeit creating storm clouds of sawdust in the process. I would definitely recommend a mask and googles for the job and having someone in the house who doesn’t mind following you around with a hoover. I did the most back breaking part of the job but, by the end Mr Malmo took pity on me and got his mouse sander out (not a euphemism) to finish off the edges and corners. If you are sanding a bigger room I would definitely say hiring a big industrial sander would be the better option because it collects the sawdust for you into a vacuum bag as you go along and doesn’t involve you being hunched over the floor in a position resembling a toad going to the toilet.
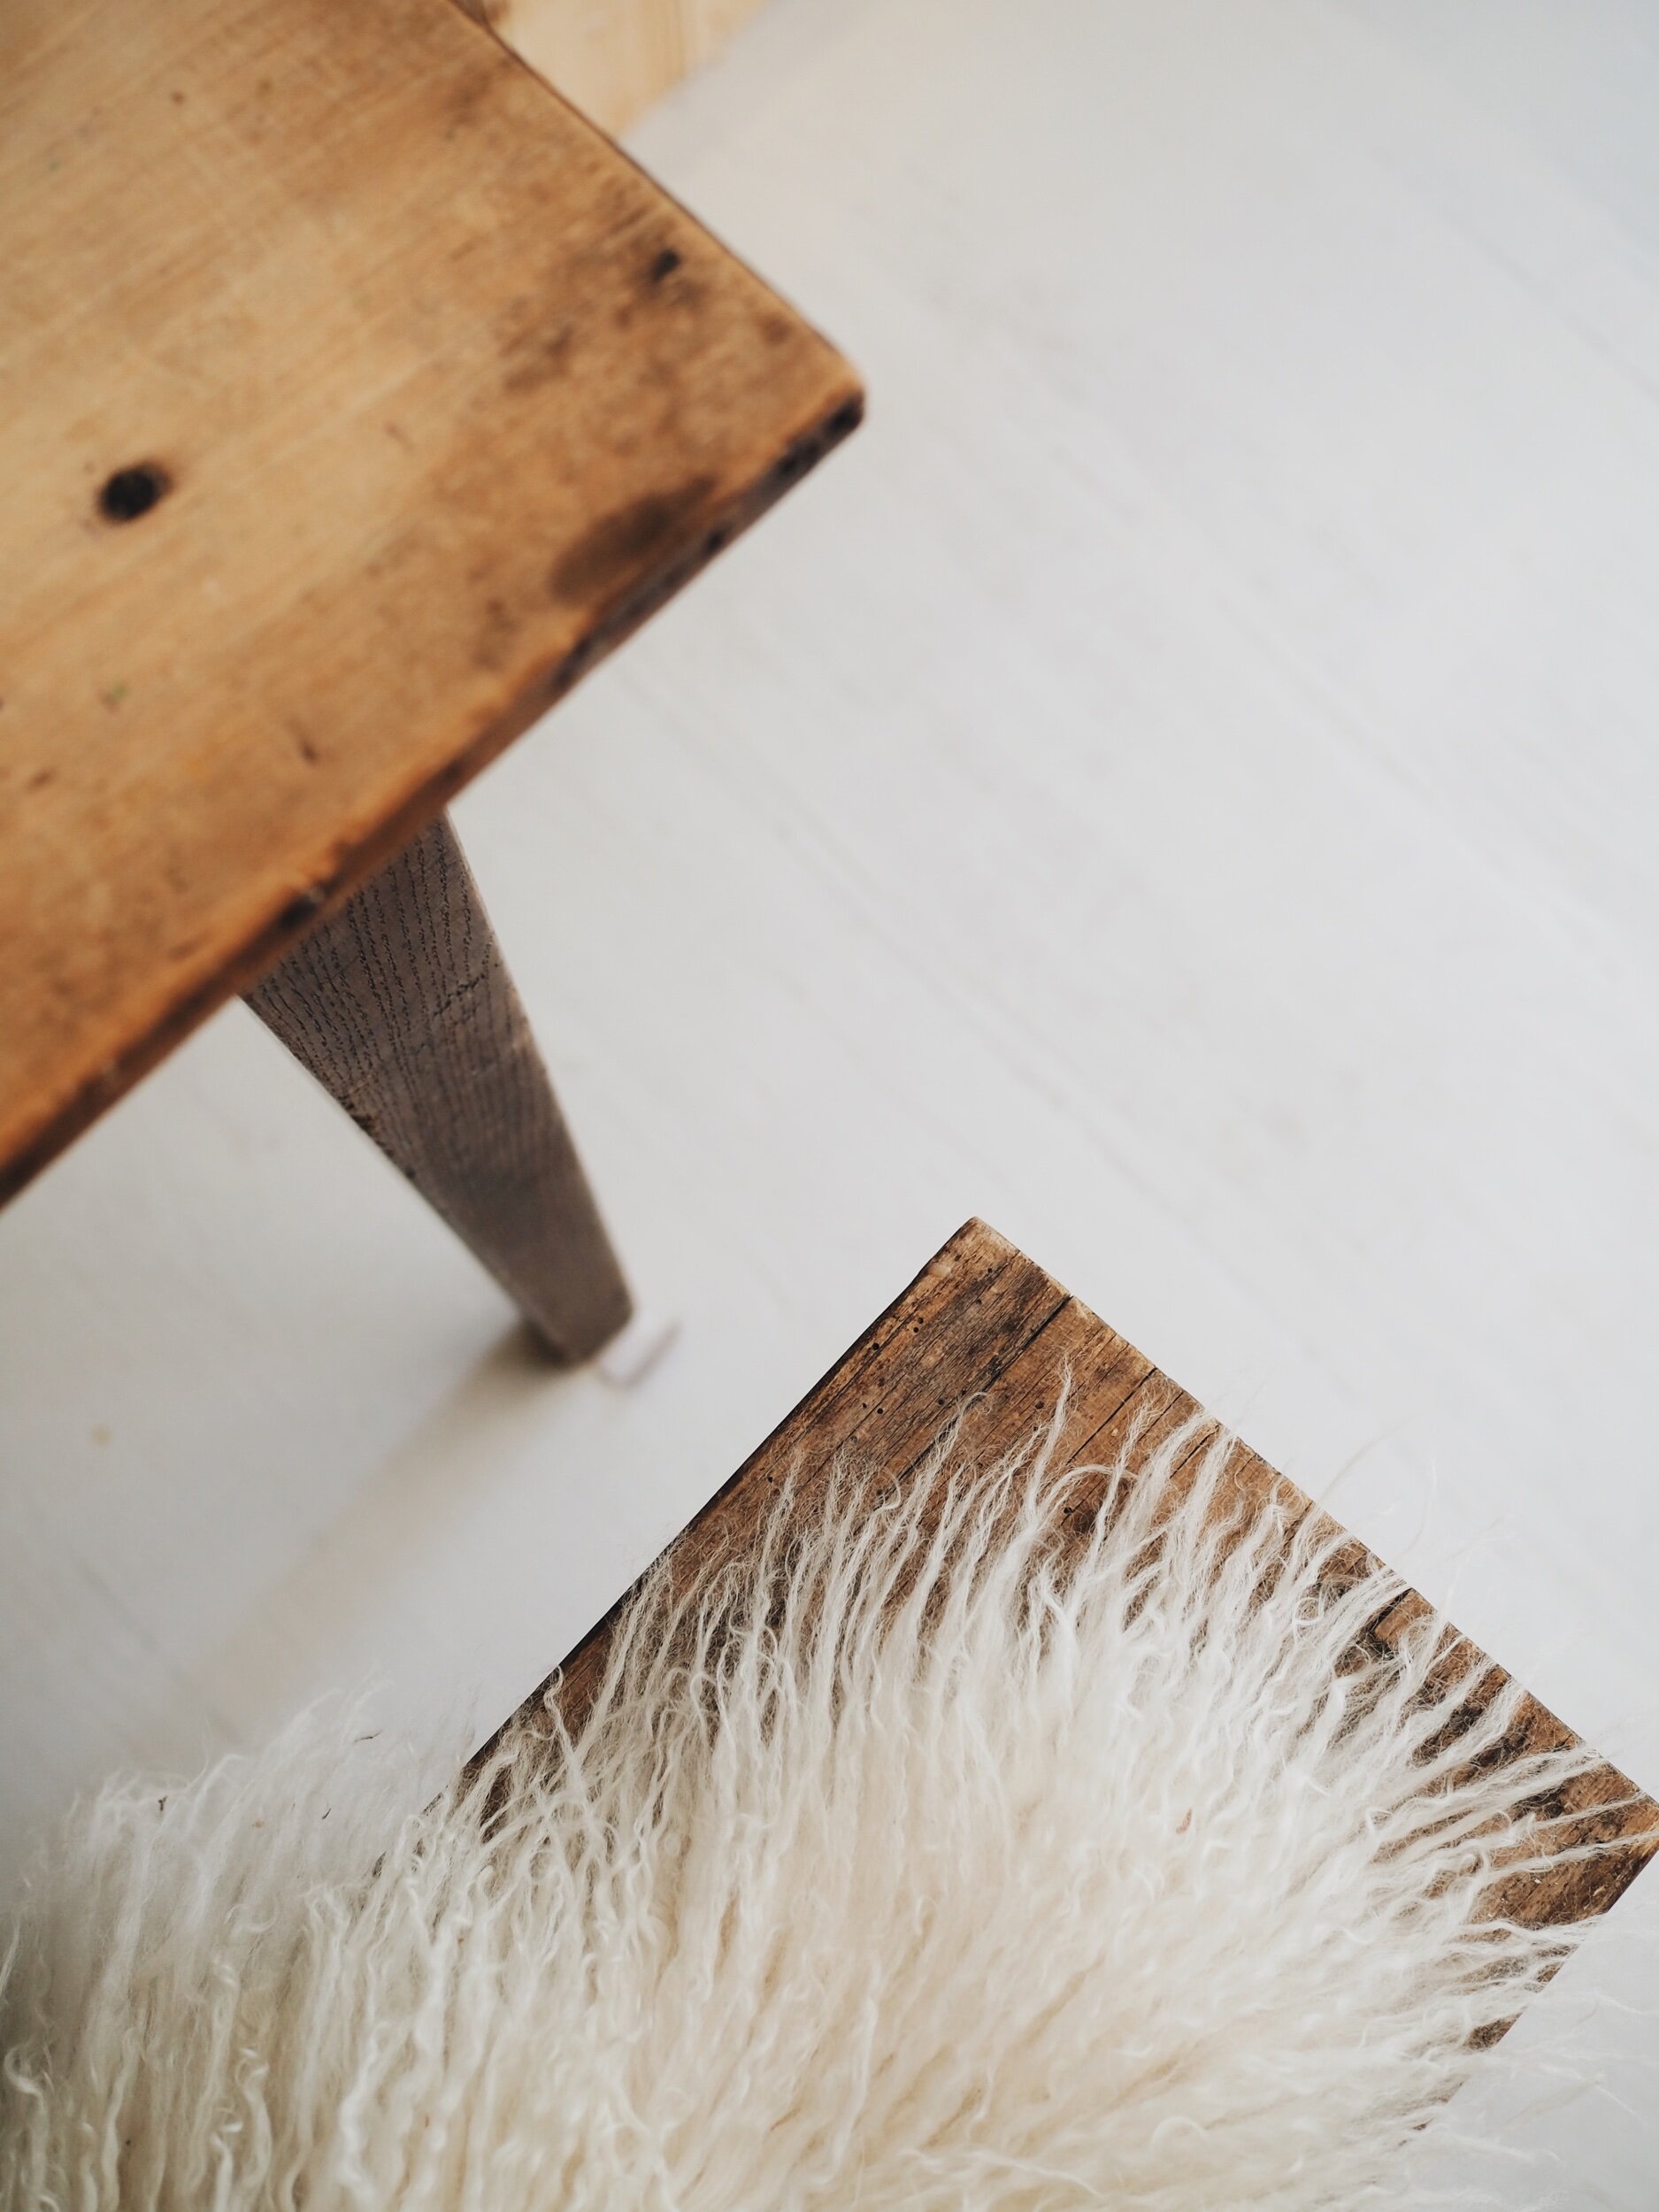
With the worst of the sanding out of the way I became tempted to leave the floors au naturel
How To Give Your Floor a Nordic Look
Once the floors were sanded, I had originally been thinking I would paint the floors white but as the varnish came off I really liked the natural floorboards that were revealed so I started to toy with just staining/white washing them to leave them with an au naturel finish. That is what we did in the hallway and living room using Bona Floor Oil in Frosted to create a Scandi flooring effect that I am really happy with.

We used Bona floor oil in Frosted on our hallway and living room floors
If you are thinking of going down this road some of the other products that people recommended to me to achieve a white washed natural floor feel were Osmo White Tint Oil, Spruce by Treatex, Dinesen White Oil, Woca Softwood Lye and Blanchon Raw.
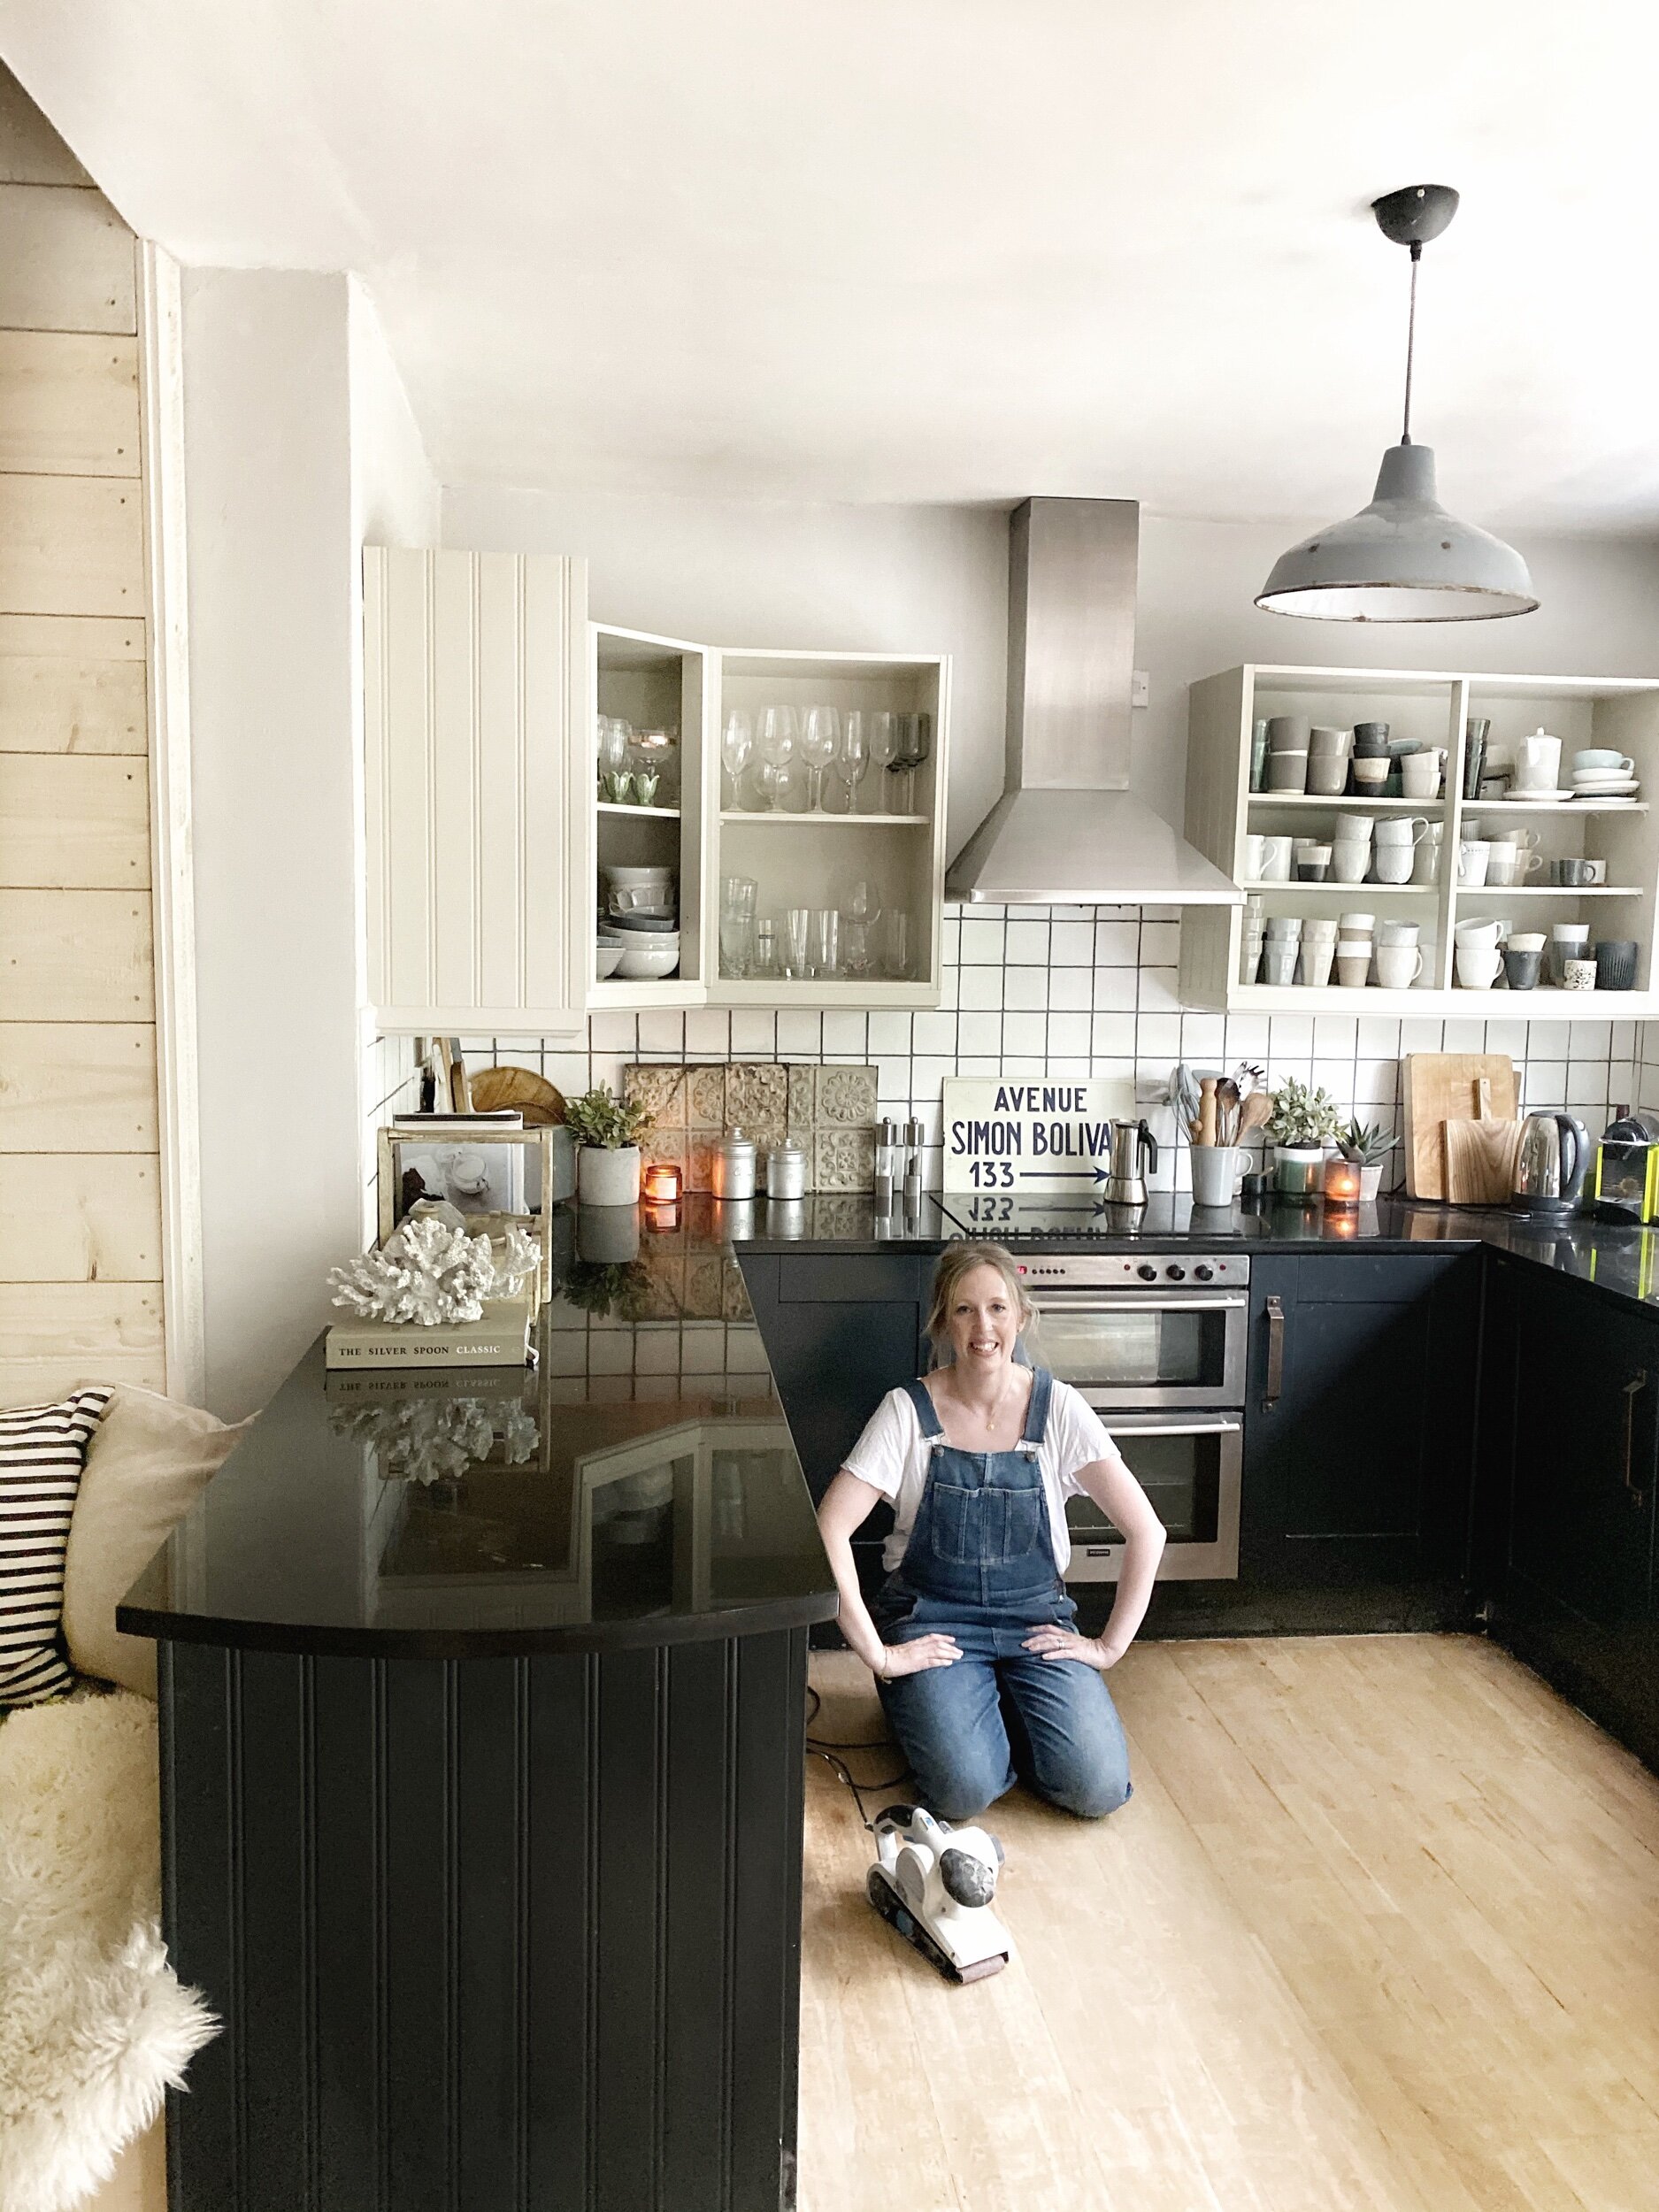
However, in the end, I went back to my original plan to paint them because, truth be told, the quality of my sanding job was suspect with lots of uneven areas. The paint I chose for the job was Little Greene Portland Stone Mid, which is a great off white option that we have also used on the open shelves in our kitchen. We used a paint brush to do the edges and then a roller for the main areas.
At the moment we have only down one coat so you can still see the grain of the wood

Don’t look too closely at the quality of my cutting in!
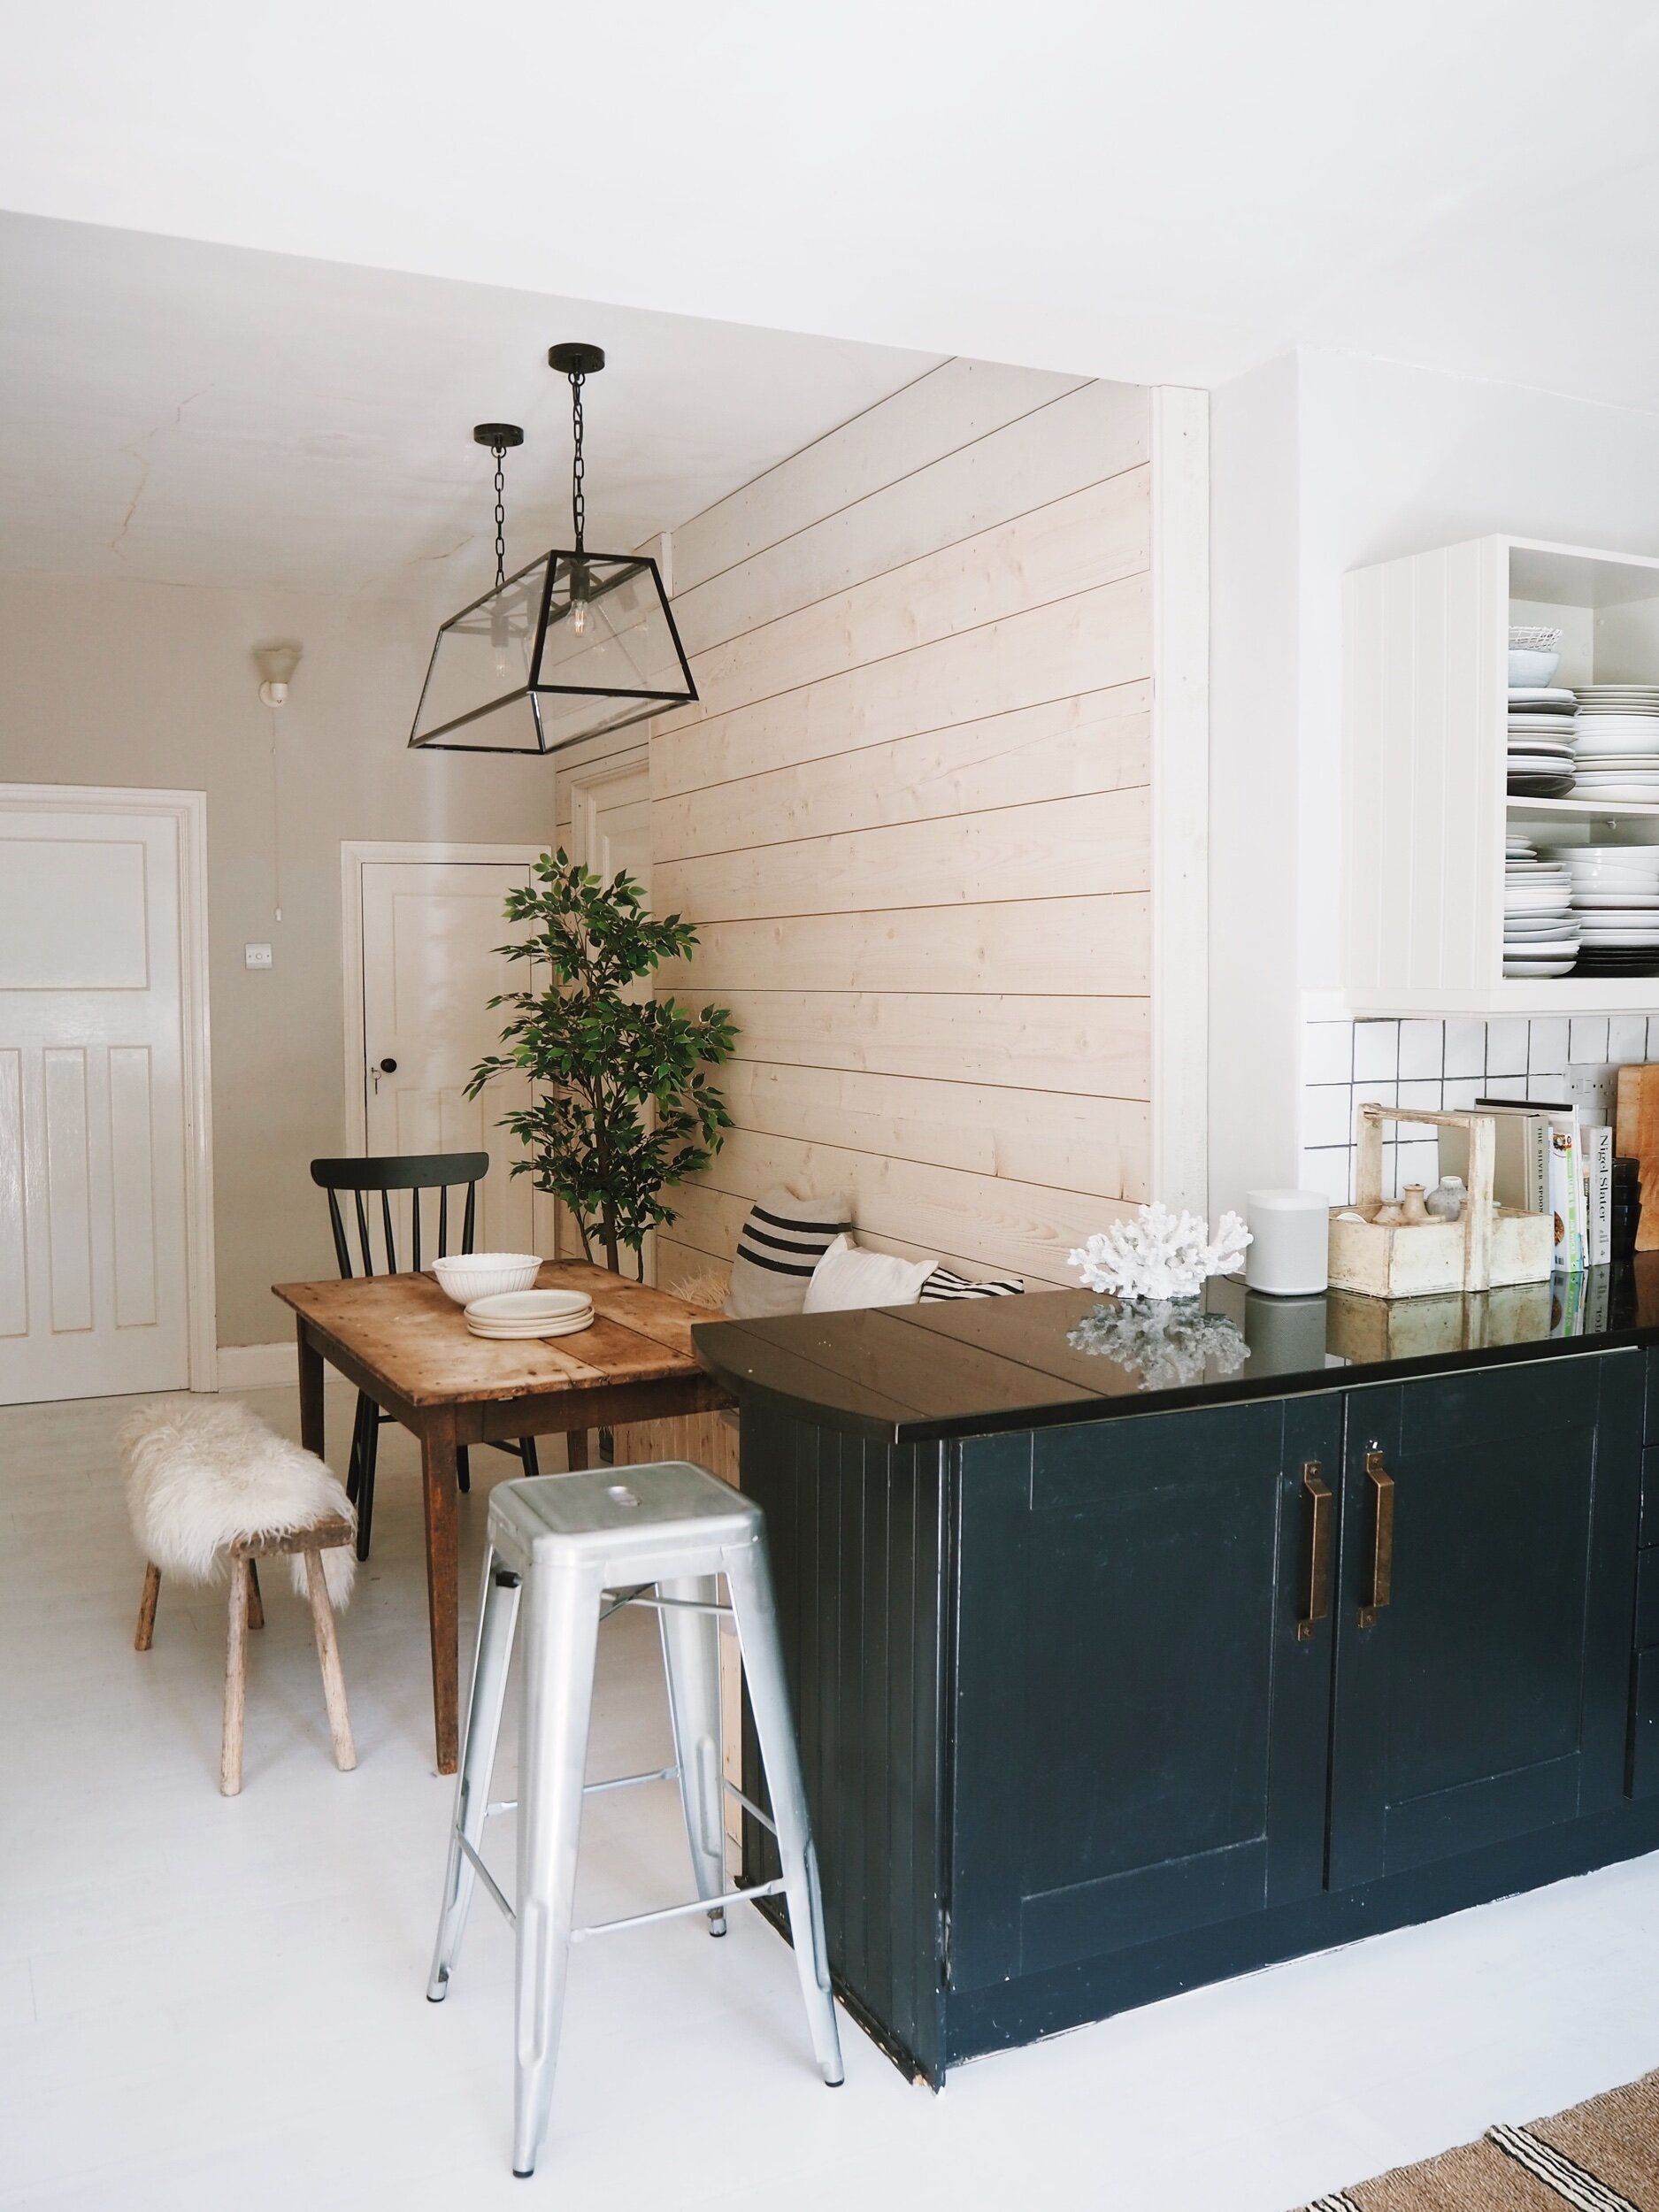
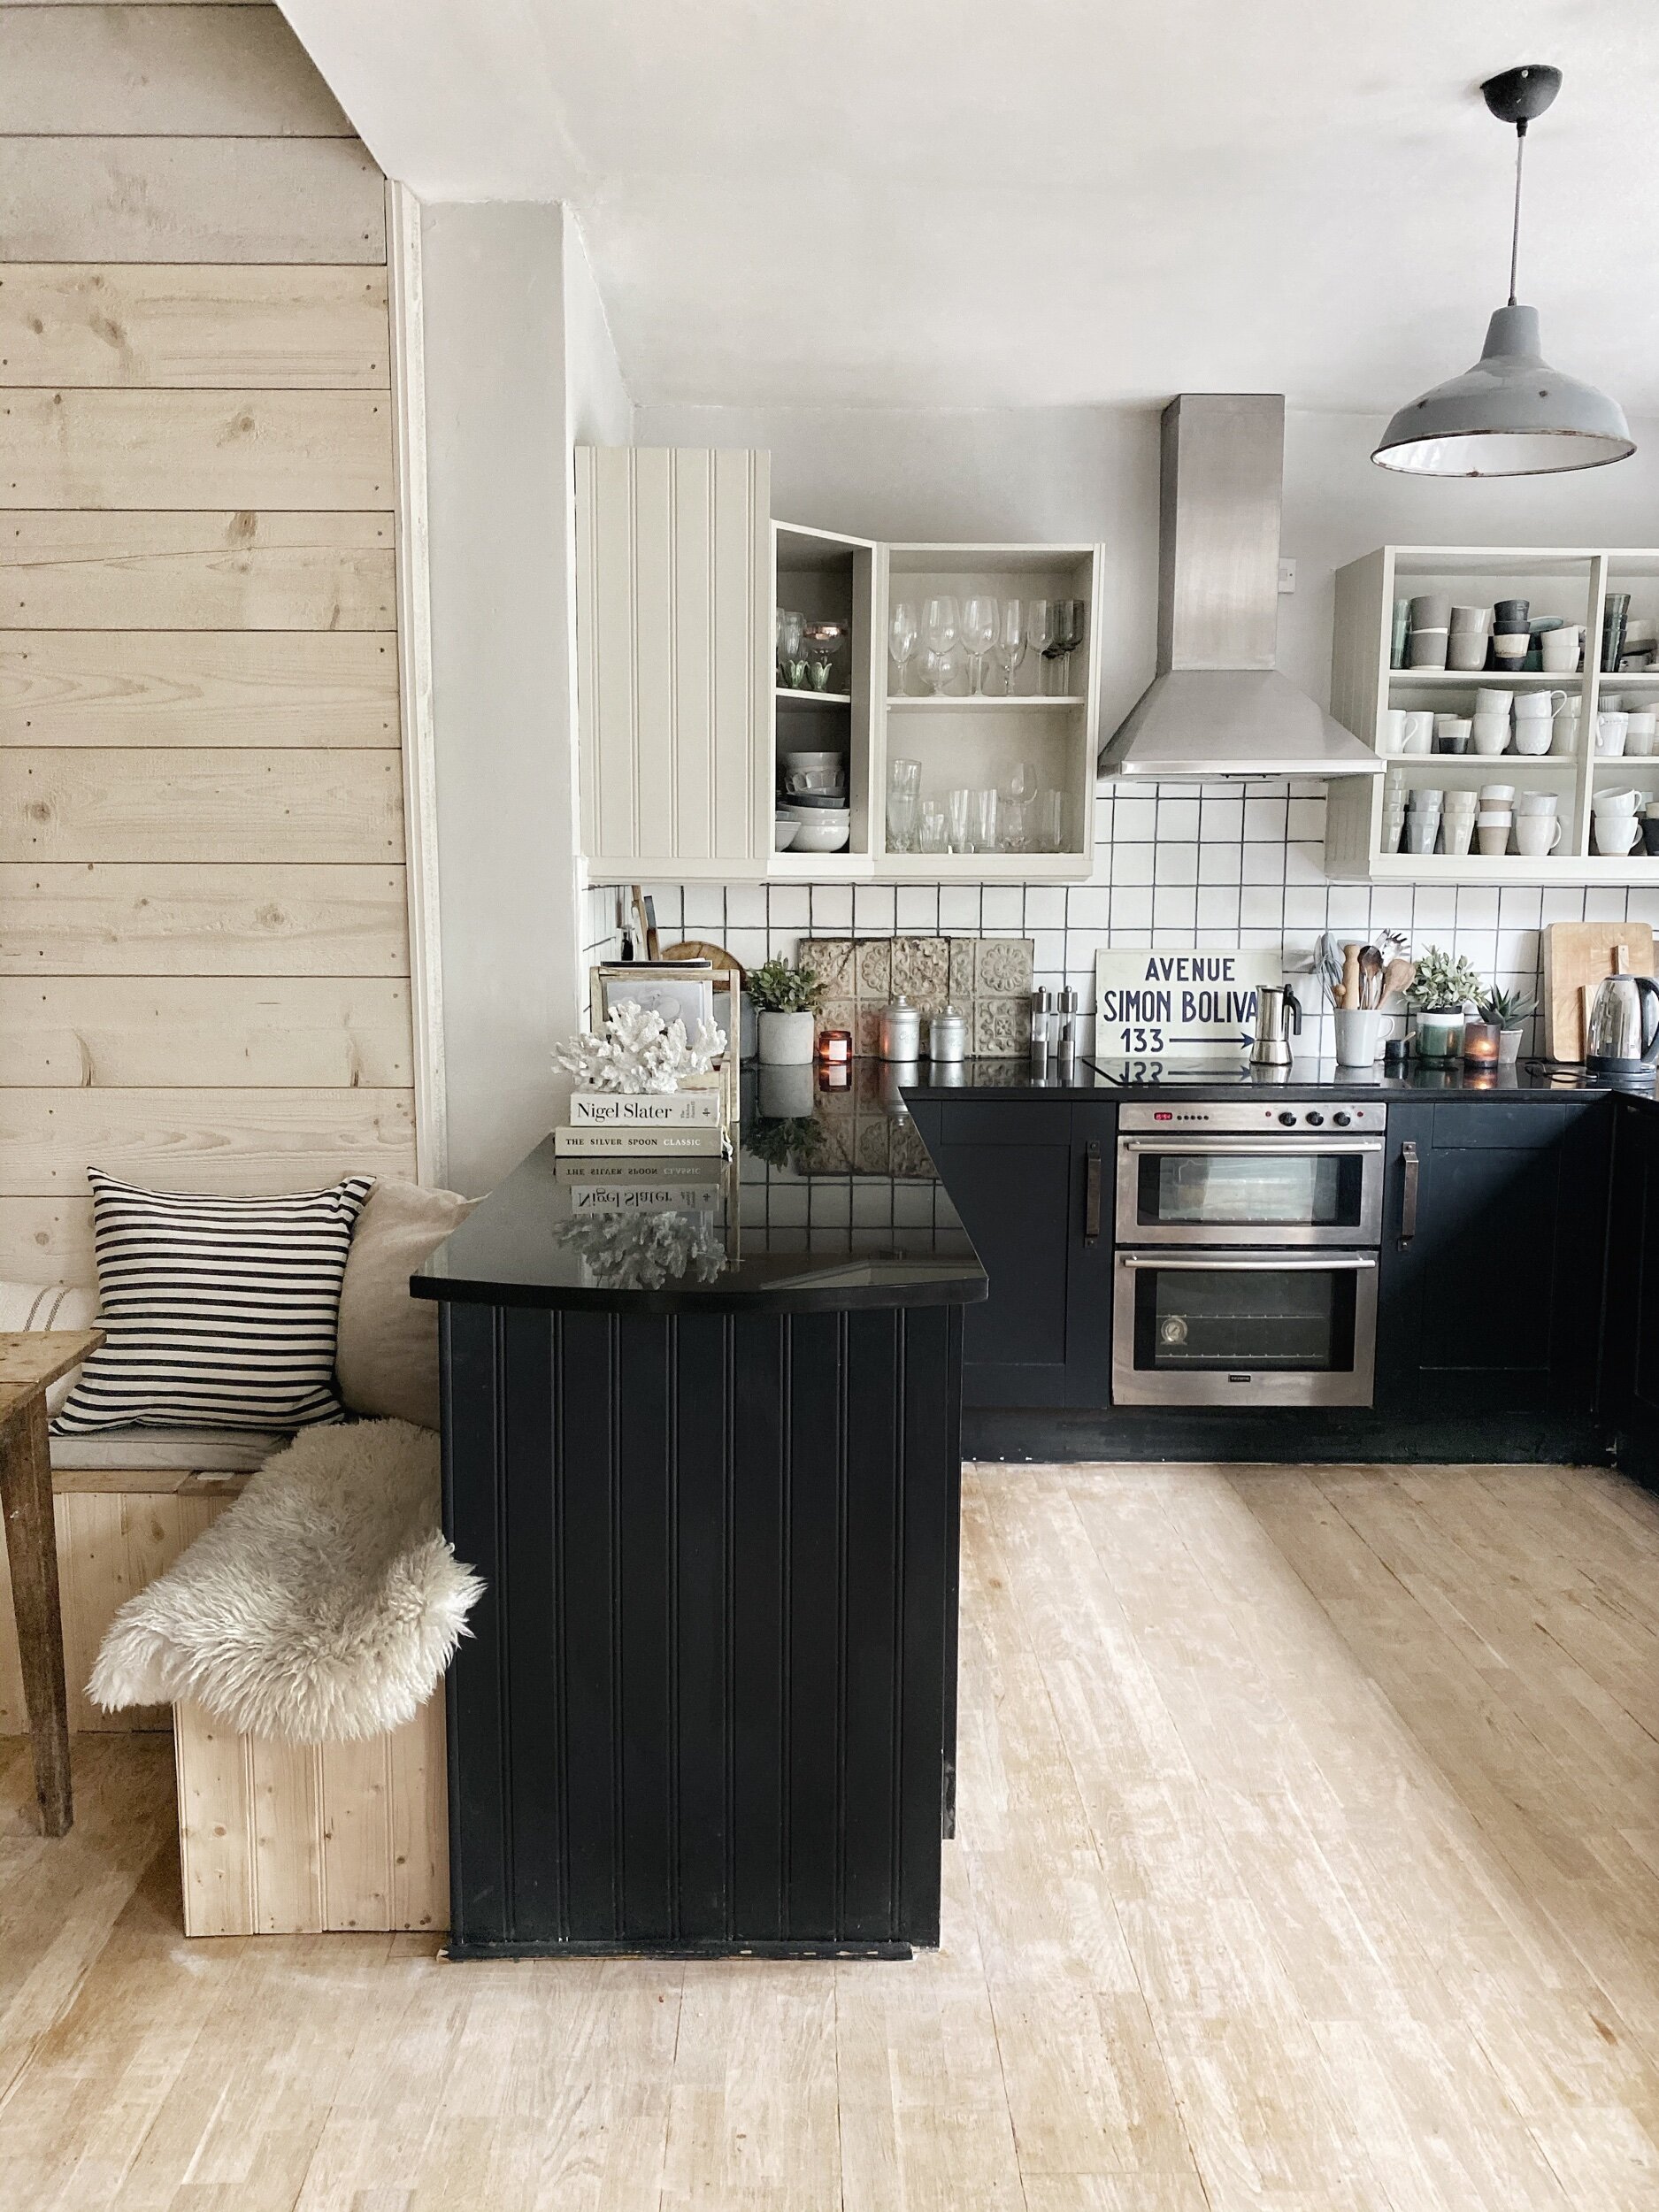
It has made the kitchen feel so much lighter and brighter


I have a new rug on order which is wider for this space
At the moment we have only done one coat as I want to still be able to see the grain of the wood (and because I am lazy and would rather watch Selling Sunset than do a second coat). Although I agonized a lot about painting the floor in the end I am really happy I went for it. The whole room feels instantly bigger, brighter and more spacious.


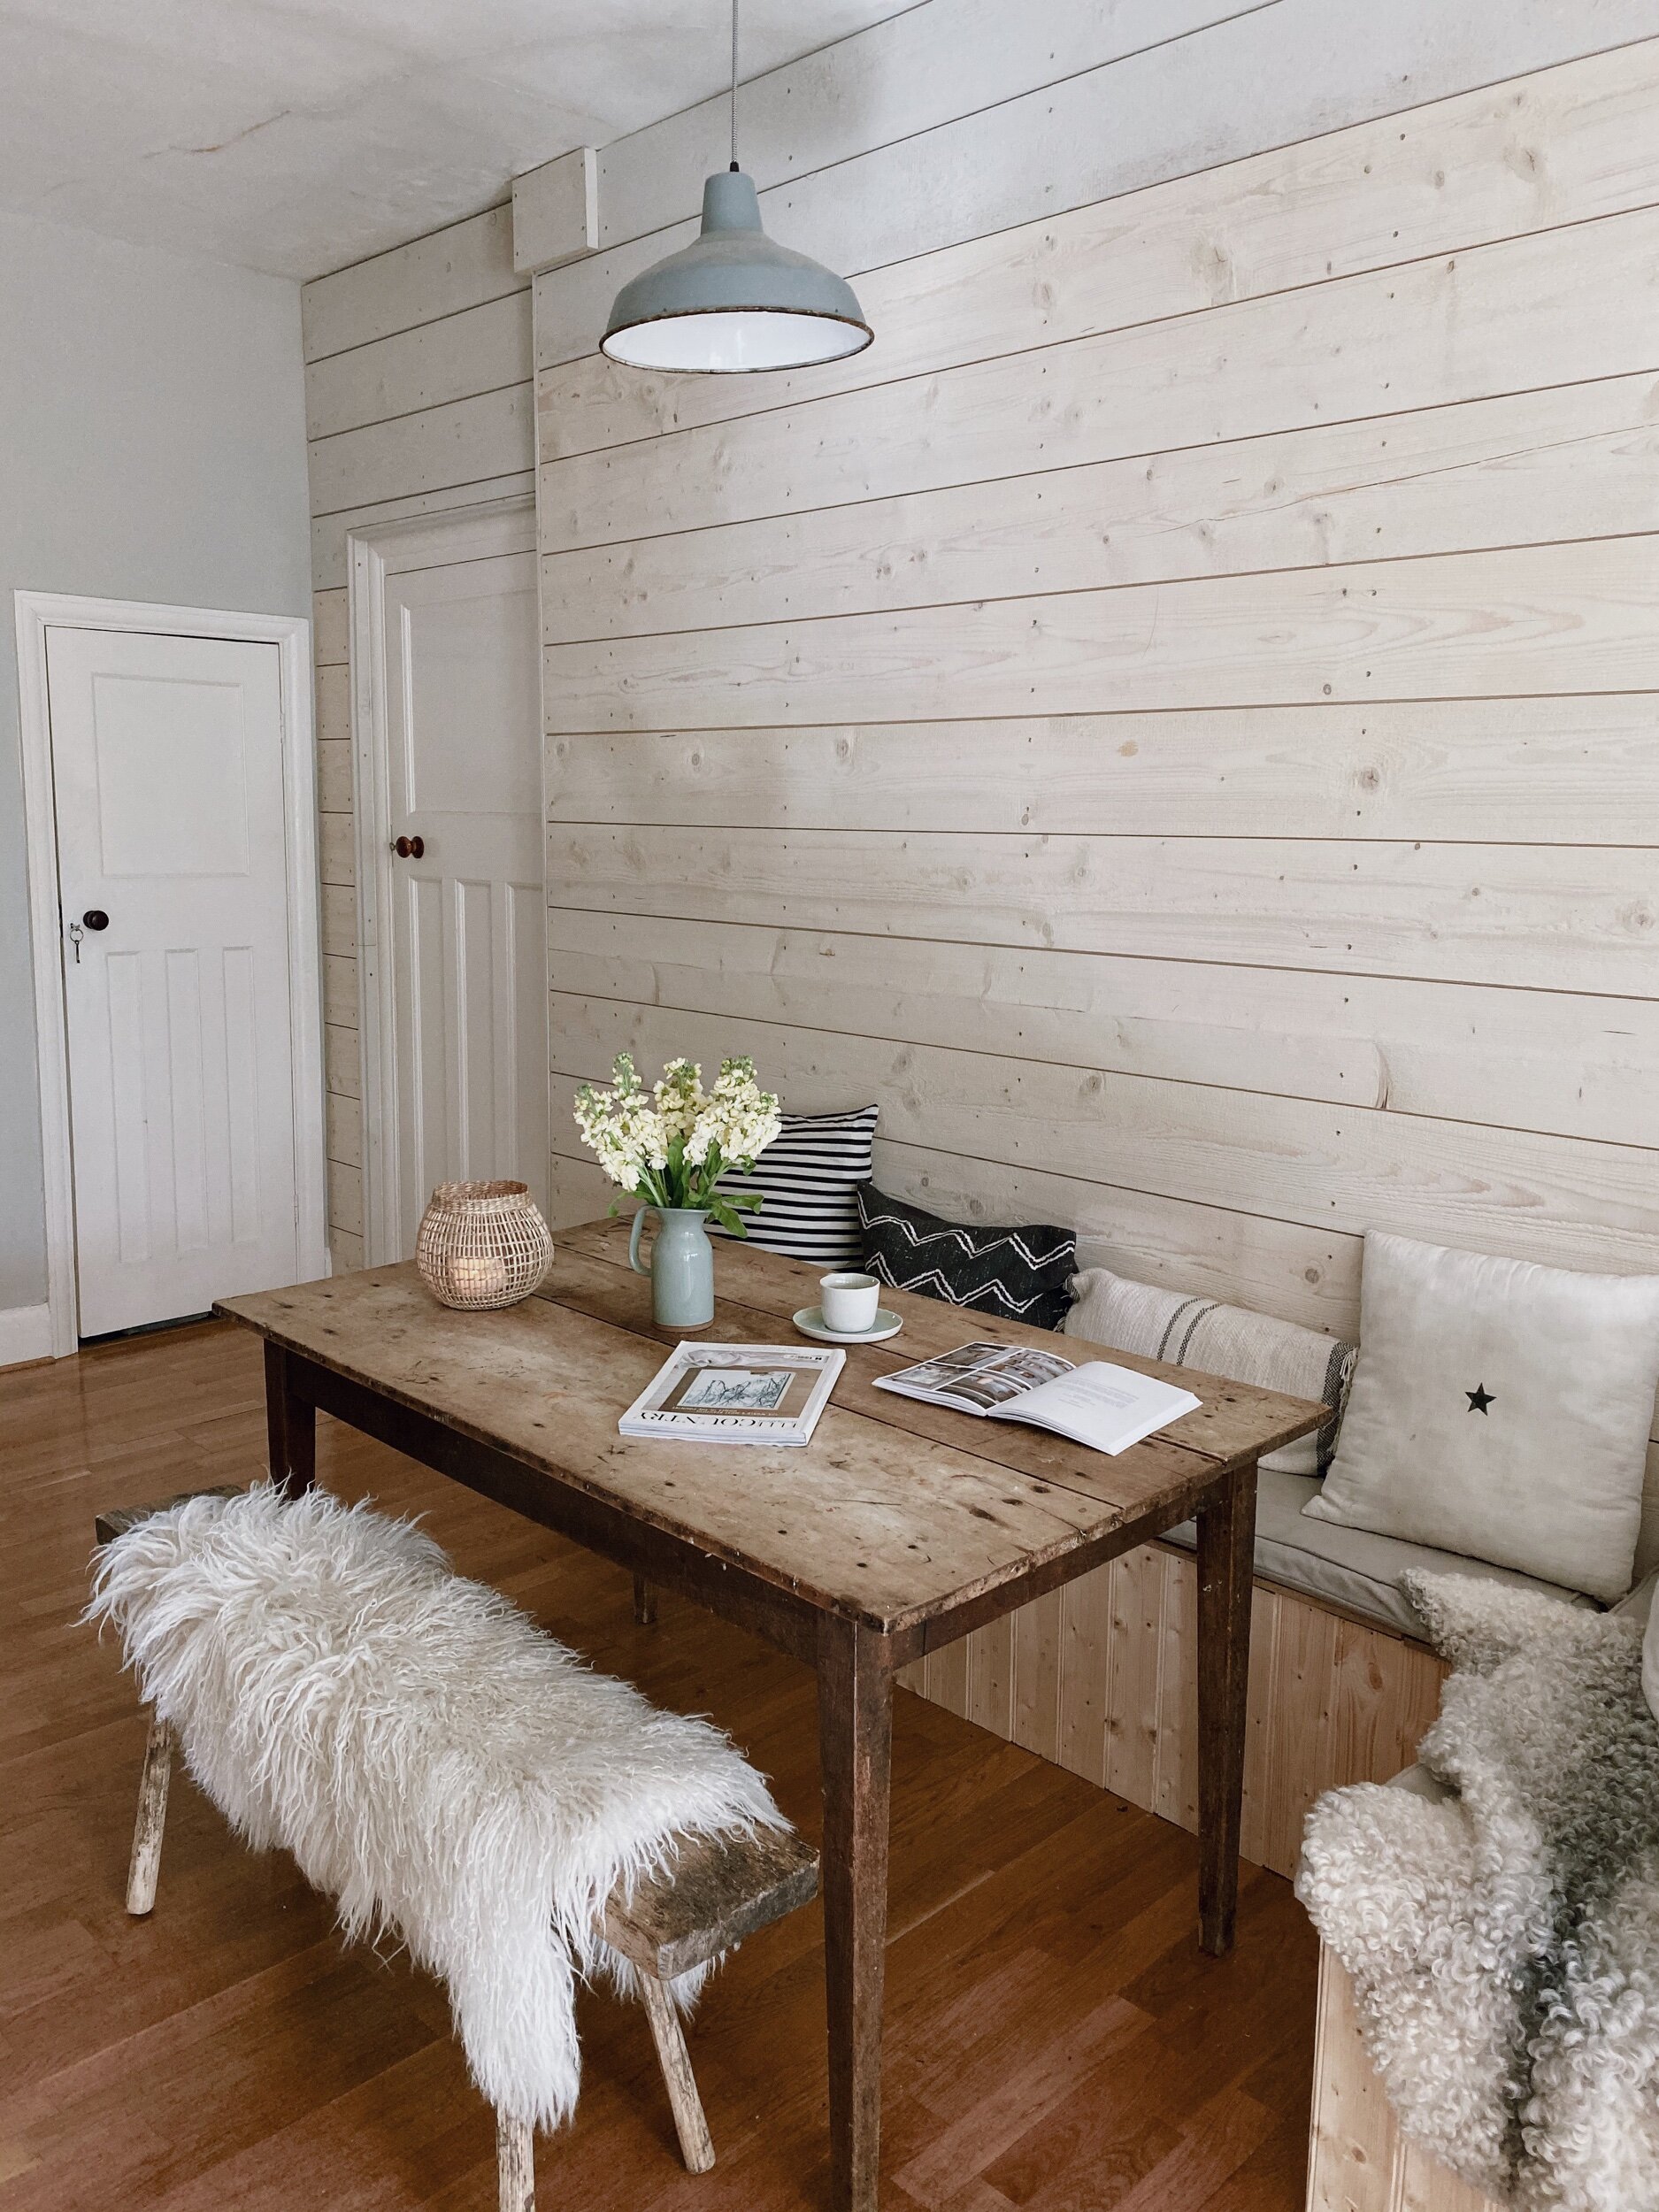
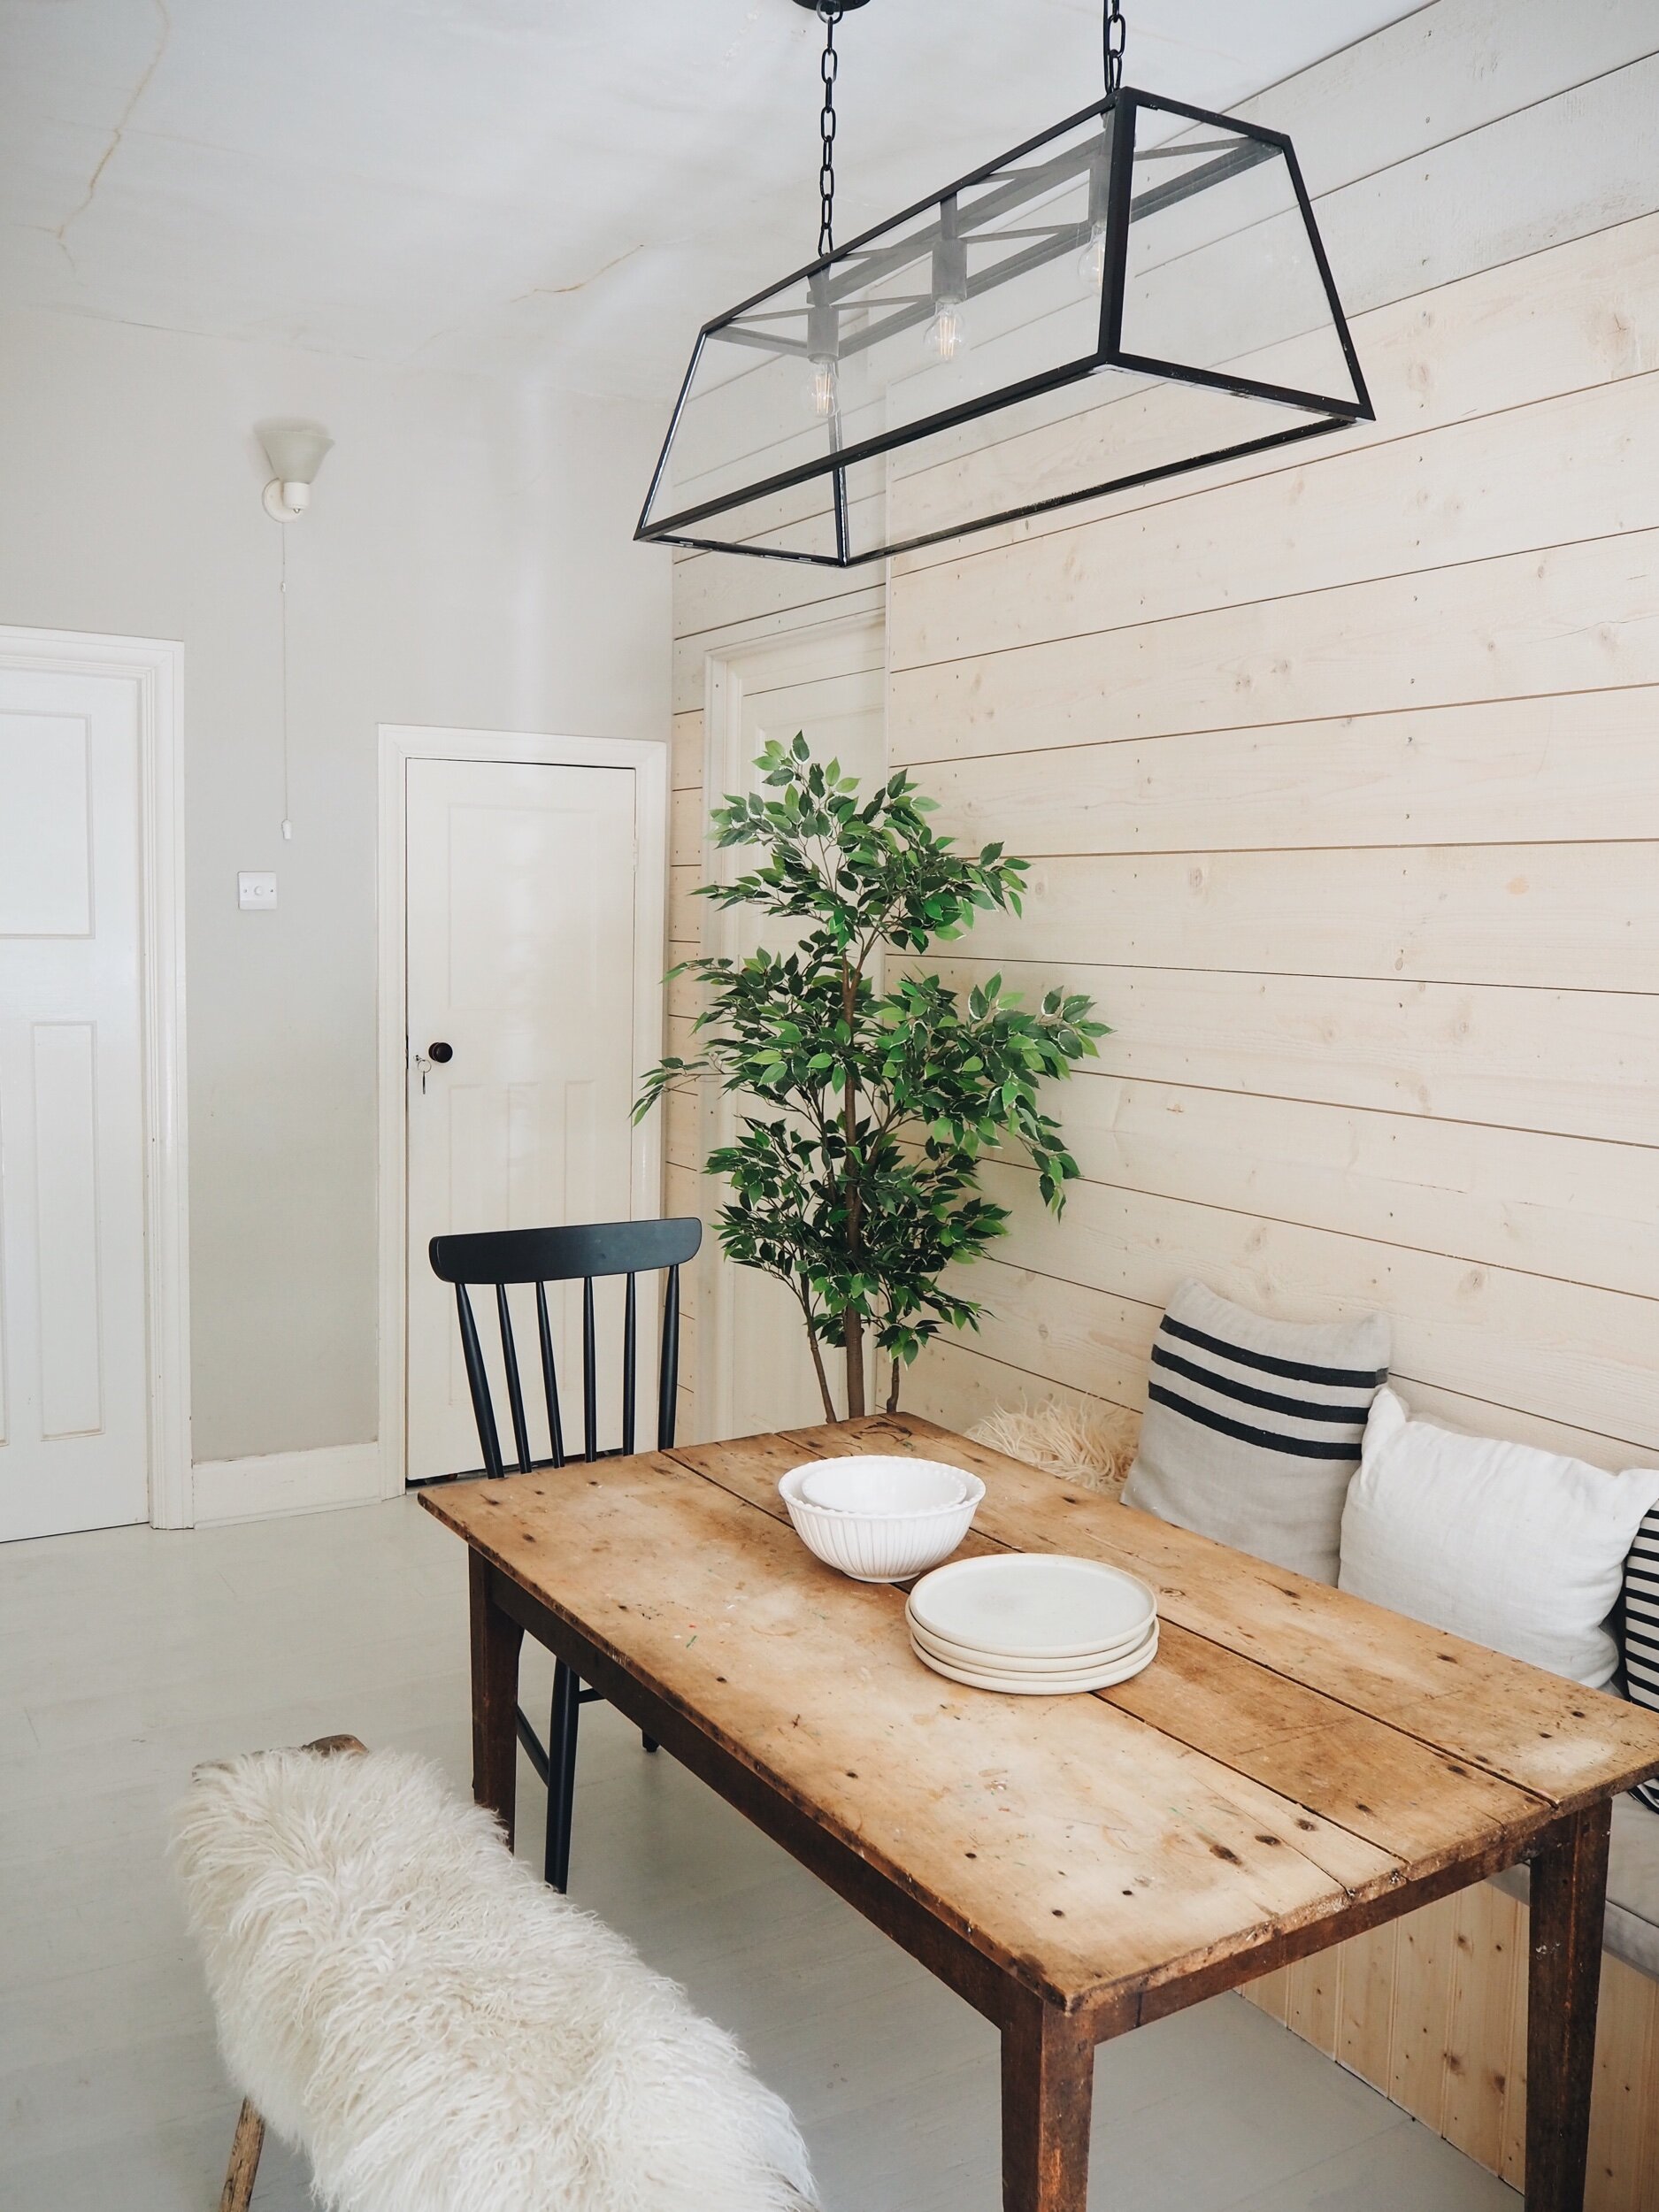
The eagle eyed among you will also spot that there has been another exciting lighting revamp development since last I blogged about the project. The ceilings are pretty high in the dining space so the single pendant light we had hanging over the table before lent the room distinct interrogation cell vibes. I wanted something that would fill more of the space without dangling down into our dinner- and creating a pendant in pasta situation. Step forward the Browning 3 light pendant of my dreams from Neptune. I love the contrast it provides to the cladding and the wooden table and it has really evened up the space.

The Browning 3 light pendant from Neptune is a much better light for this space, I love the slight industrial edge it adds

Next stop on the renovation express? The faux crittal door transformation. Prepare to see me wade even further out of my DIY depth with this one!
The Browning Pendant is part of my ongoing collaboration with Neptune on this project