2020: the year none of us could have predicted in our crystal balls on the 31st of December. Life as we once knew it has been turned on its head. Our morning commute has shrunk from taking a train into the city to walking across the landing to the makeshift office in the spare room. Although we are now being encouraged to get back to the office by Boris, with every fresh headline it seems less and less likely we will be returning to the 9 to five of old. And, in truth, having had a taste for working from home and the flexibility it allows, do we even want to go back to the old way of working?
With all of this in mind, an item that was on our “Maybe one day it would be nice to have” list has made it’s way to the forefront of our renovation priorities: a garden office. This had always been in our long term plans as one of the attractions of this house was that it came with a garden that was longer and wider with the ideal space at the bottom for a studio. As the kids get older we were anticipating a time when we might want to have a separate space where they could hang out (or we could hide from teenagers). Lockdown has made us realise we may need that extra space sooner than originally anticipated.
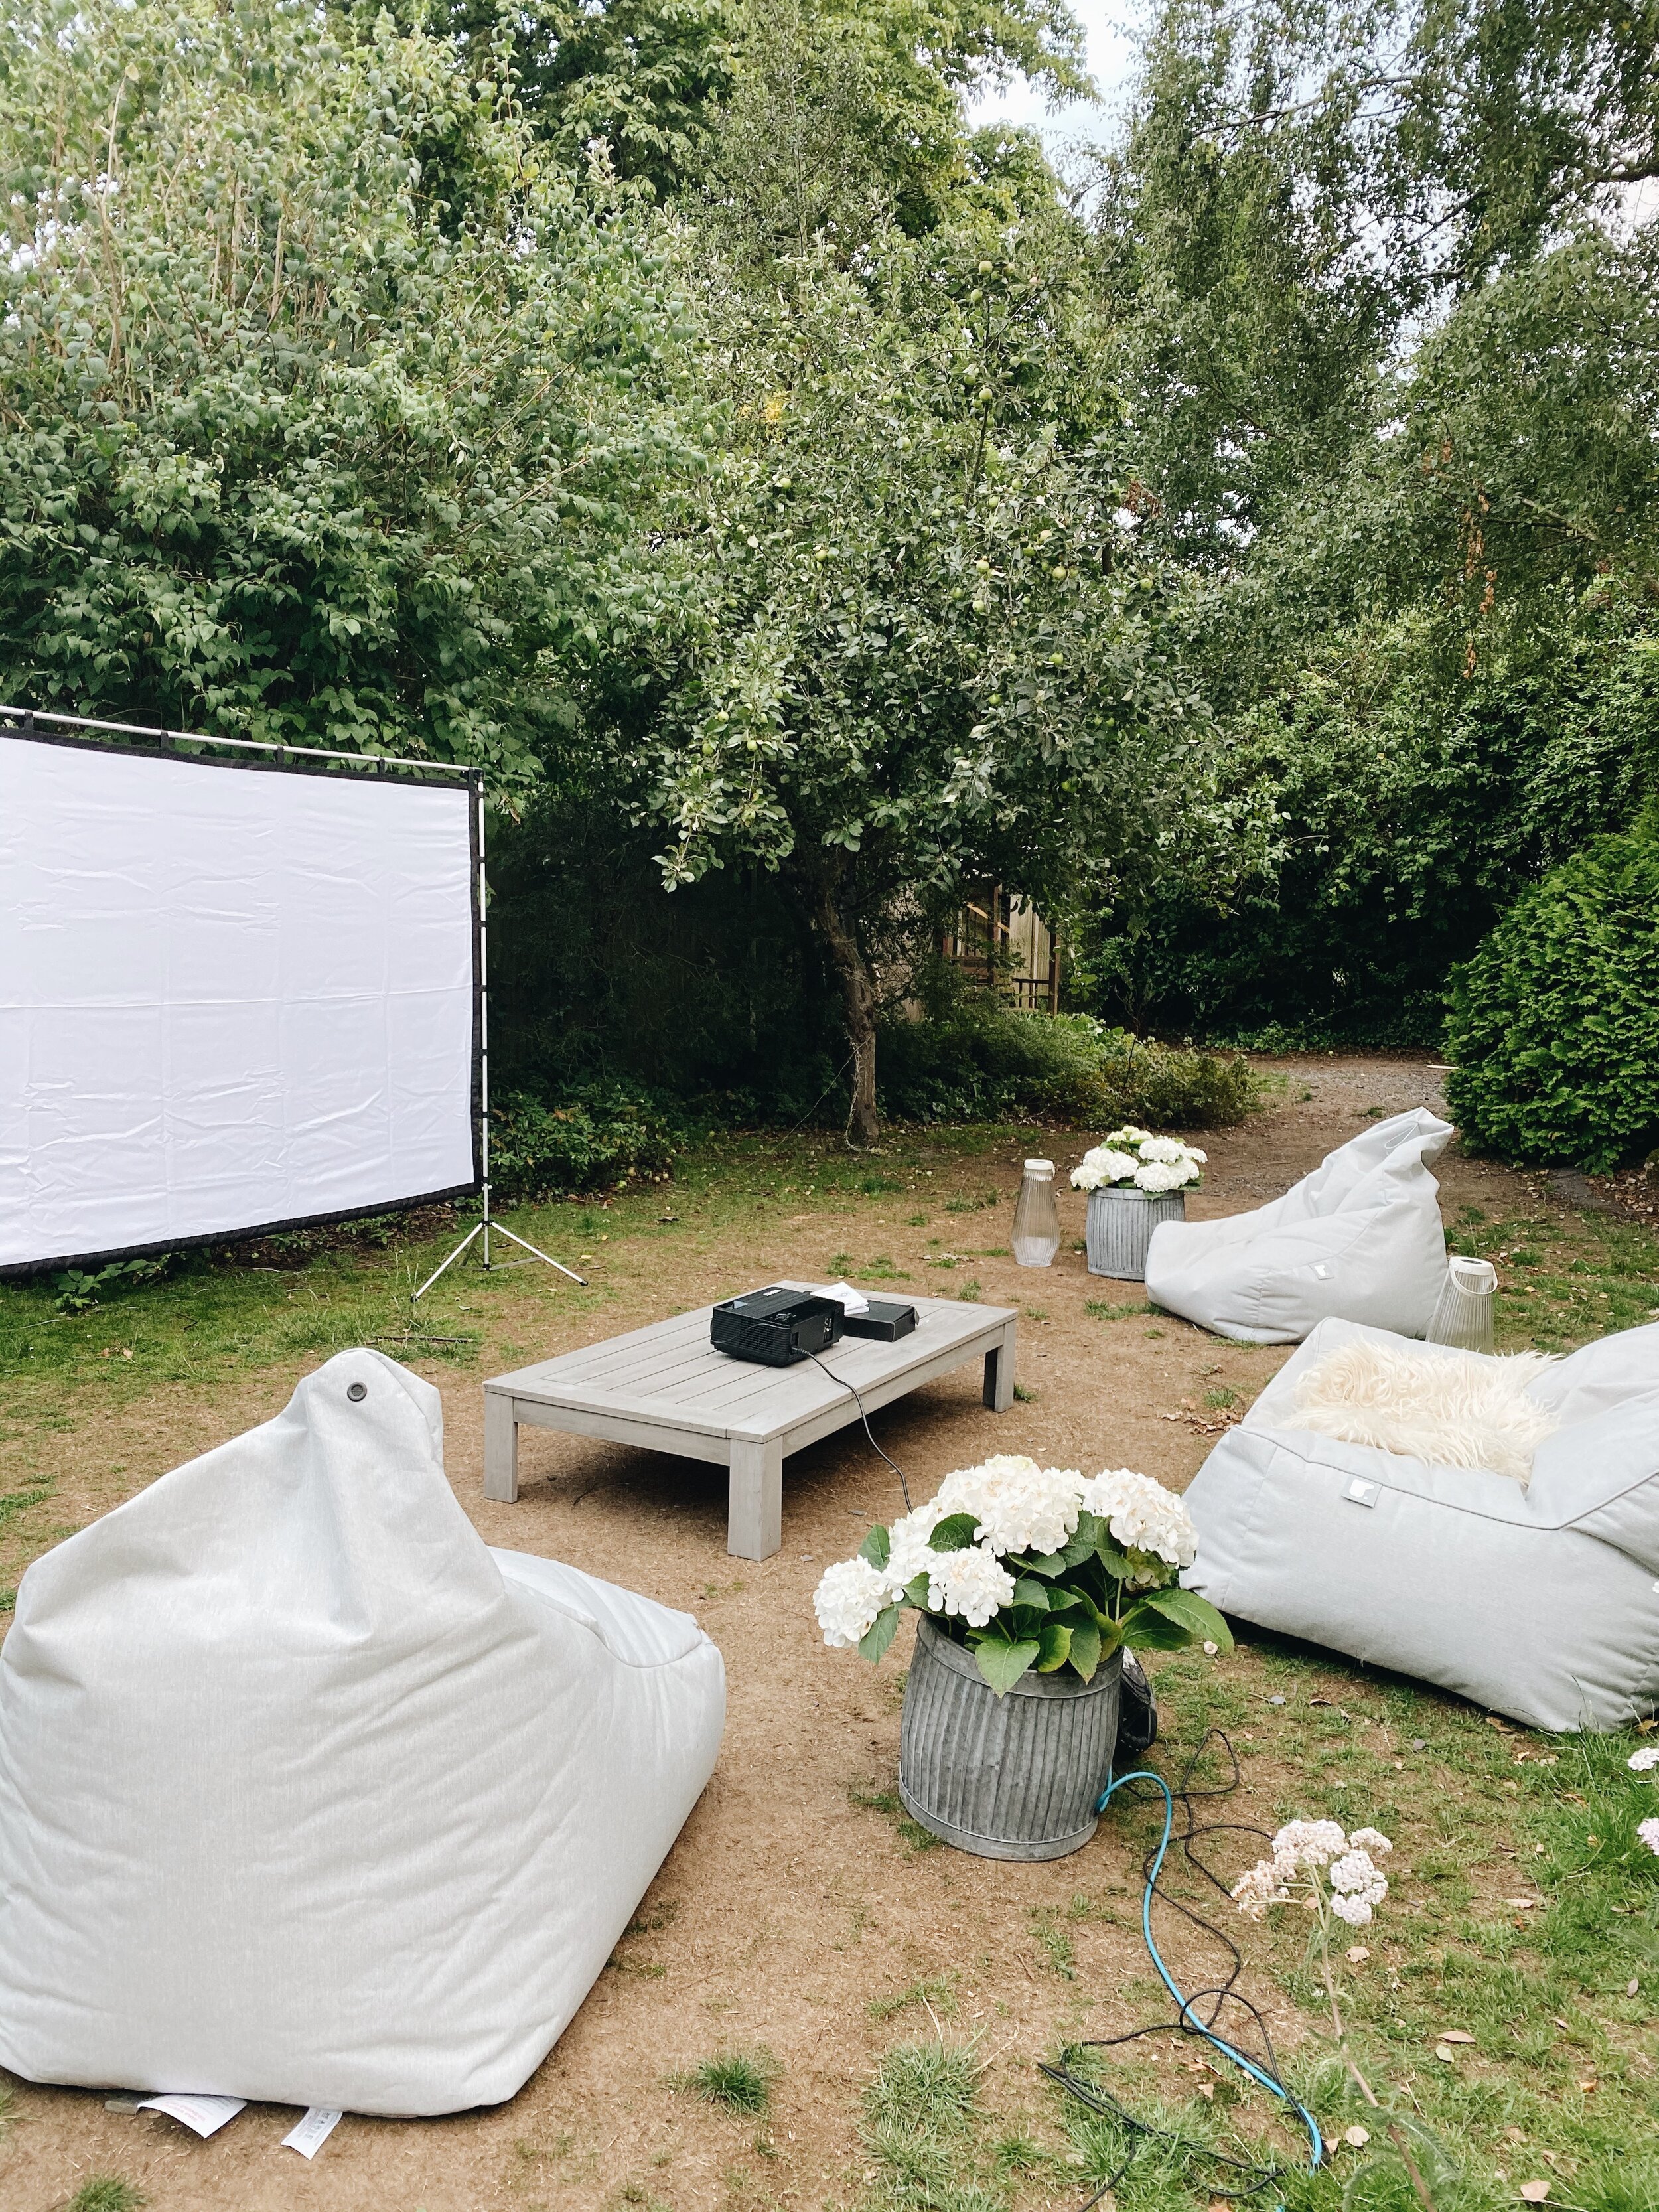
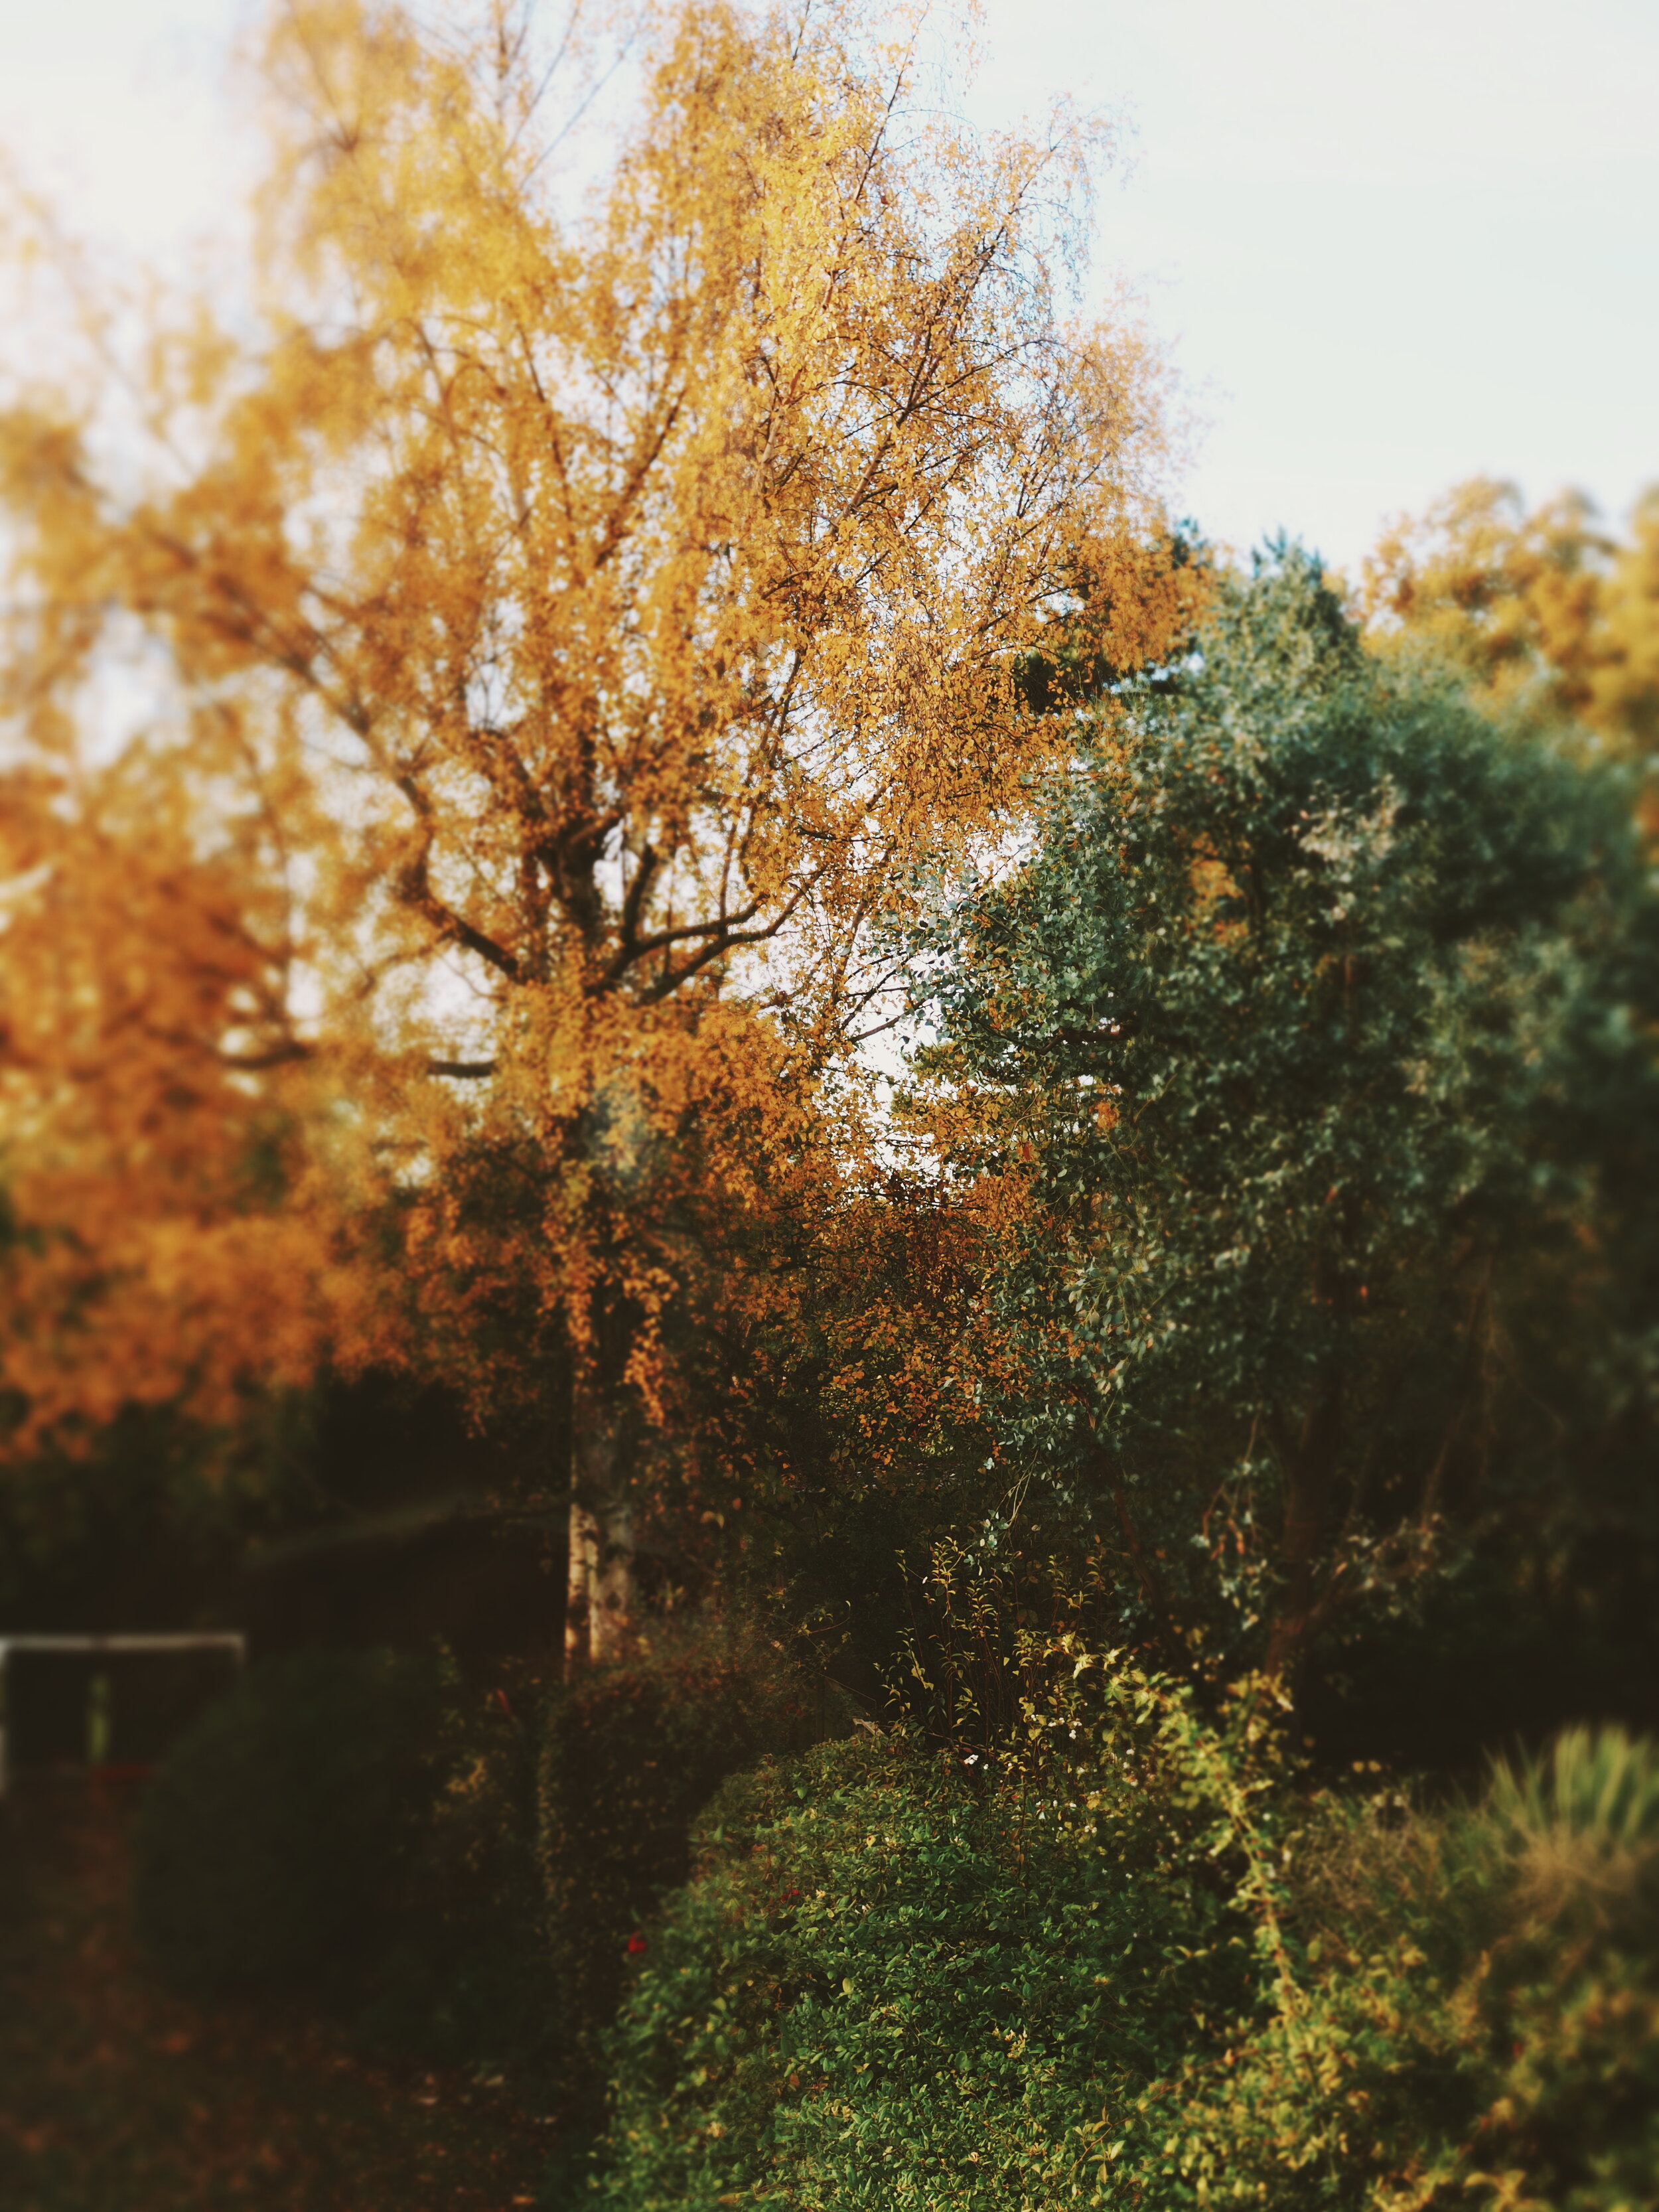
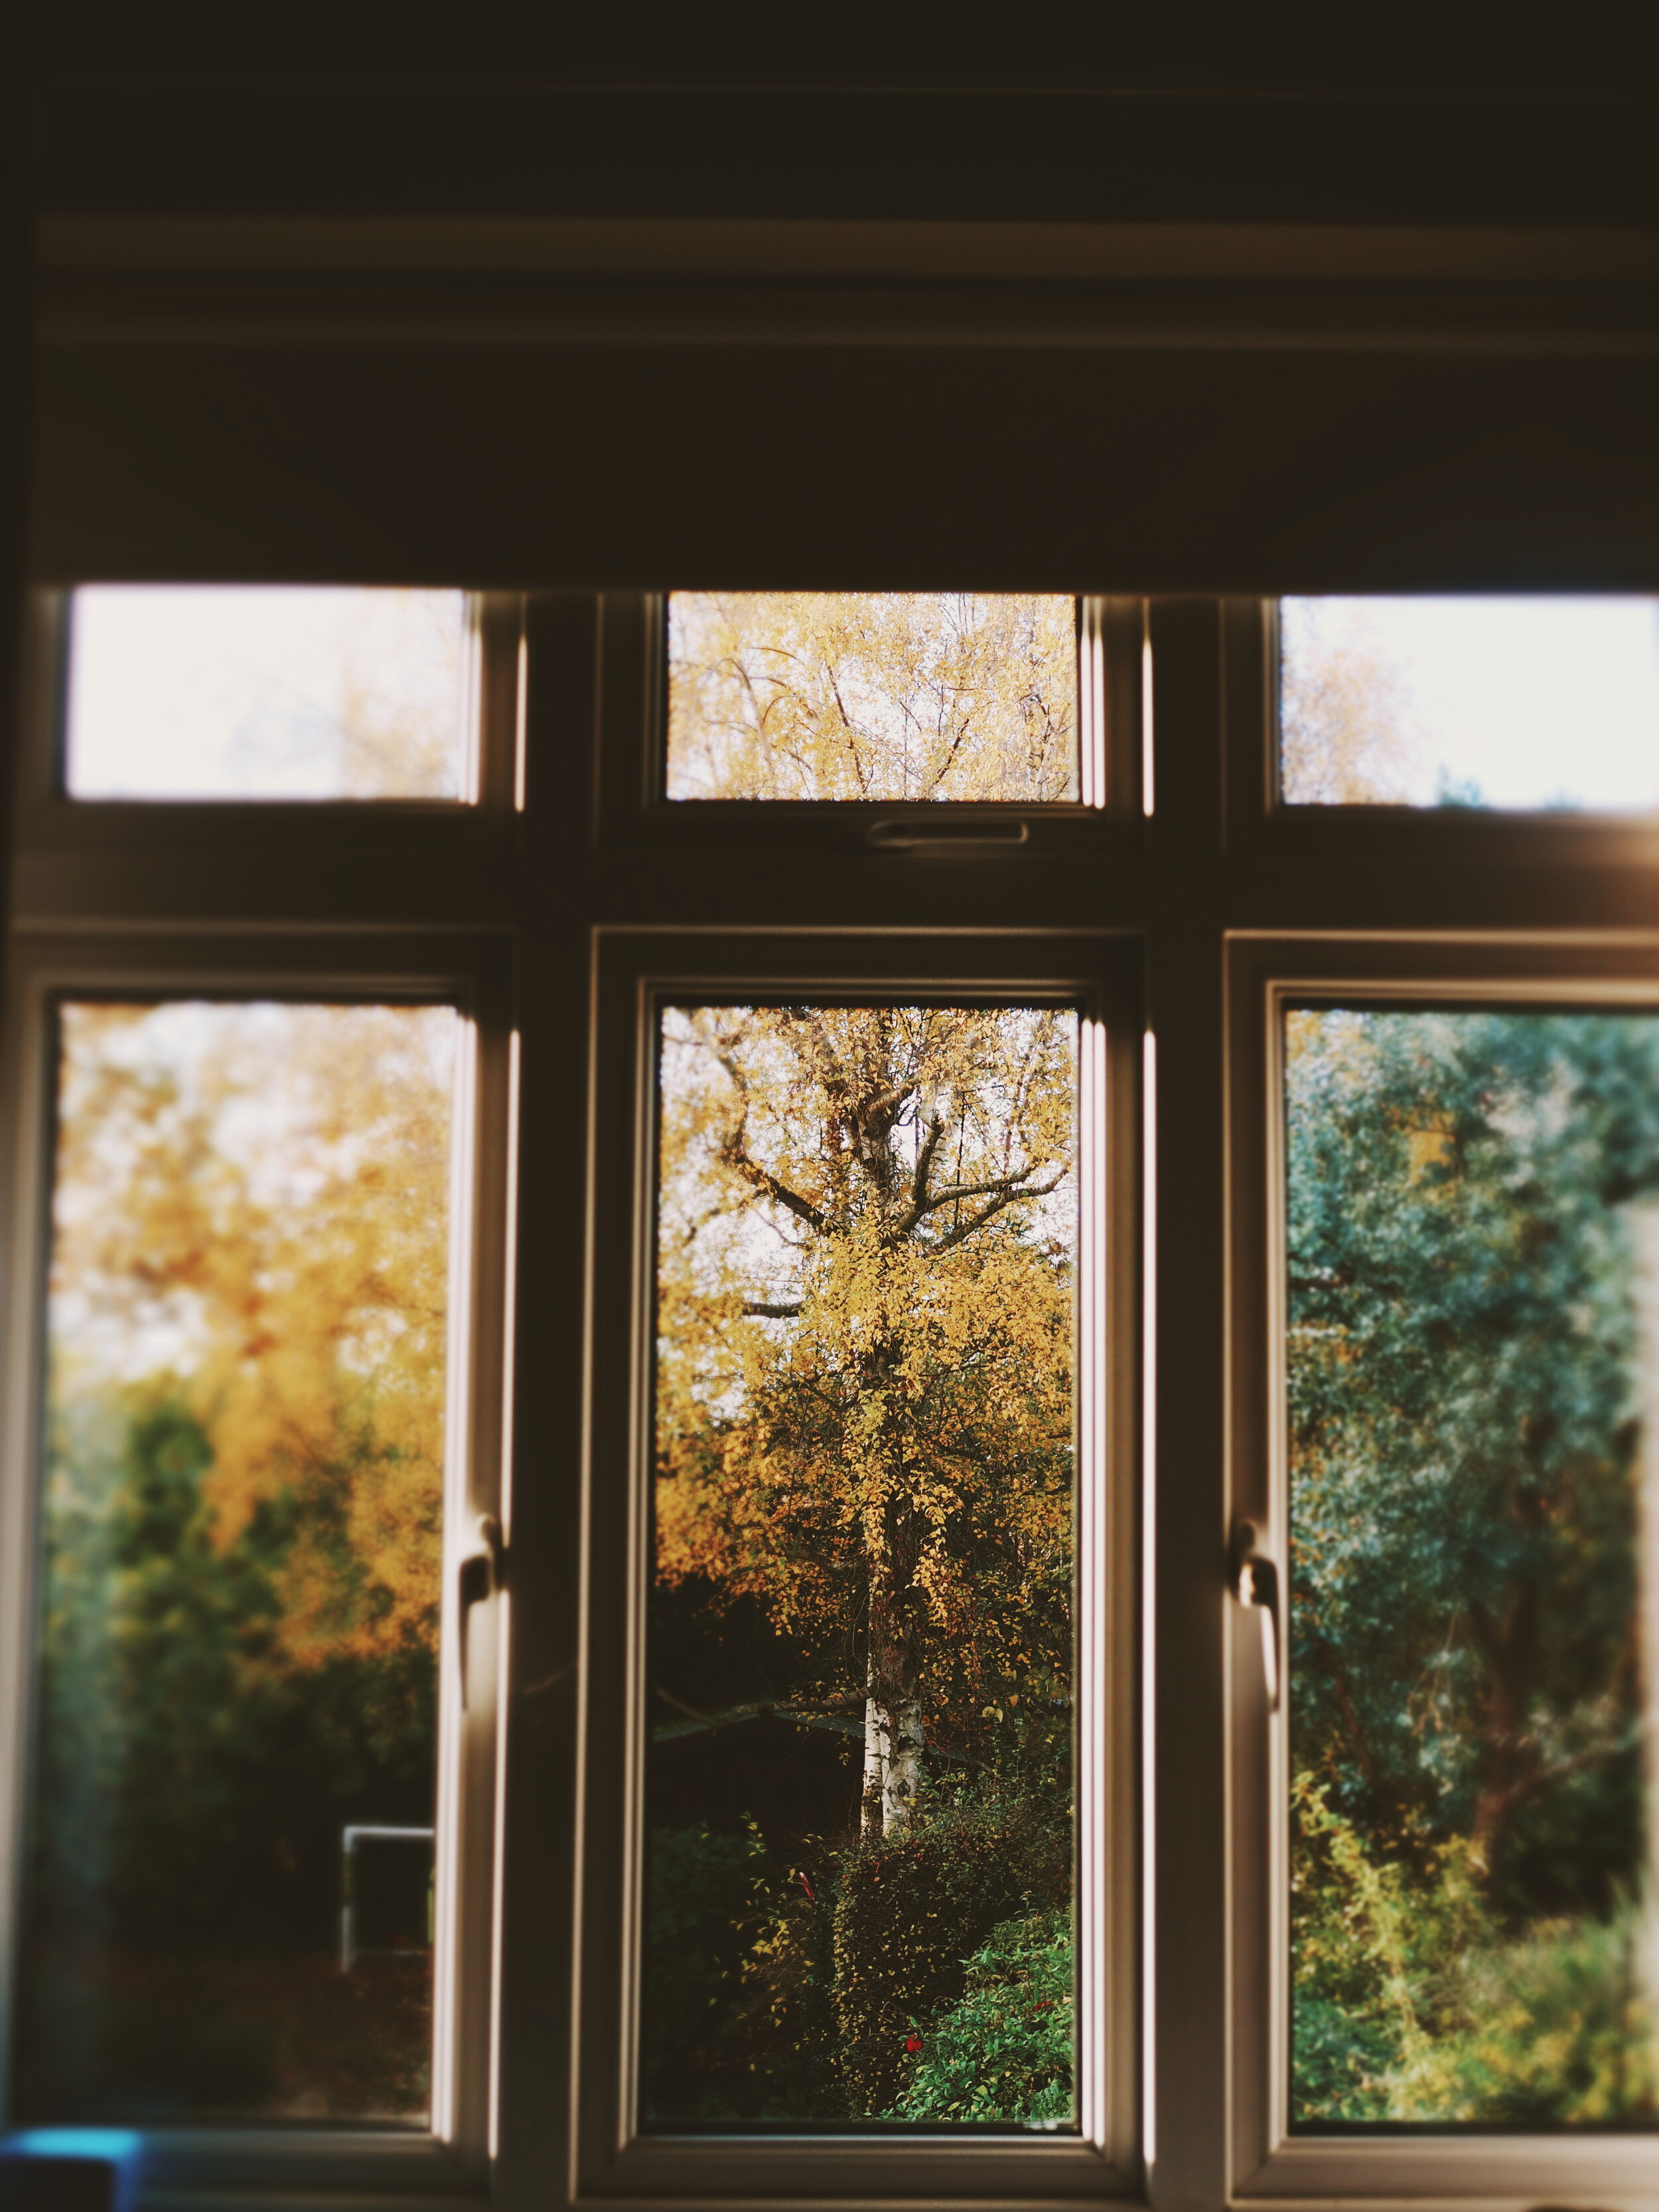
Forgive the slightly messy photo with B&Q’s finest extension cable taking centre stage but the area to the right of this picture at the bottom of the garden is where we thought would be a good spot for a garden studio.
Having decided to get our “Shoffice” on sooner than expected, last month we started to scope out our options. There are lots of different companies out there offering studios of all shapes and sizes and catering to every budget. It all depends what you want to use the building for and how much you have to spend. The more traditional log cabin style tend to be cheaper and the more contemporary tend to the more expensive but there are also good options in the middle and many ways to pimp a log cabin to give it a more modern feel .

Cabu create a range of modular buildings including garden studios with a modern farmhouse aesthetic

Koto have some really cool contemporary home office designs
We wanted something fairly big so that we would have space for both an office and a storage element (otherwise known as a shed). We actually came very close to buying an ex display Hanley Heritage model from Malvern, having discovered this great British company through @design_at_nineteen (go check out his feed for Garden Office Goals) but we ran into difficulties in terms of side access to get it into the garden without having to call in a crane and it didn’t have an integrated shed so we had to go back to the drawing board. All of the other options we looked at in the size we wanted from garden studio companies were, unfortunately, out of our current budget. So, instead, armed only with a rough drawing I had done after a glass of vino (that frankly looked like something a five year old had knocked out after an exhausting day at softplay) we decided to ask our builder if he would be able to knock us up something bespoke in budget falling within permitted development rules.
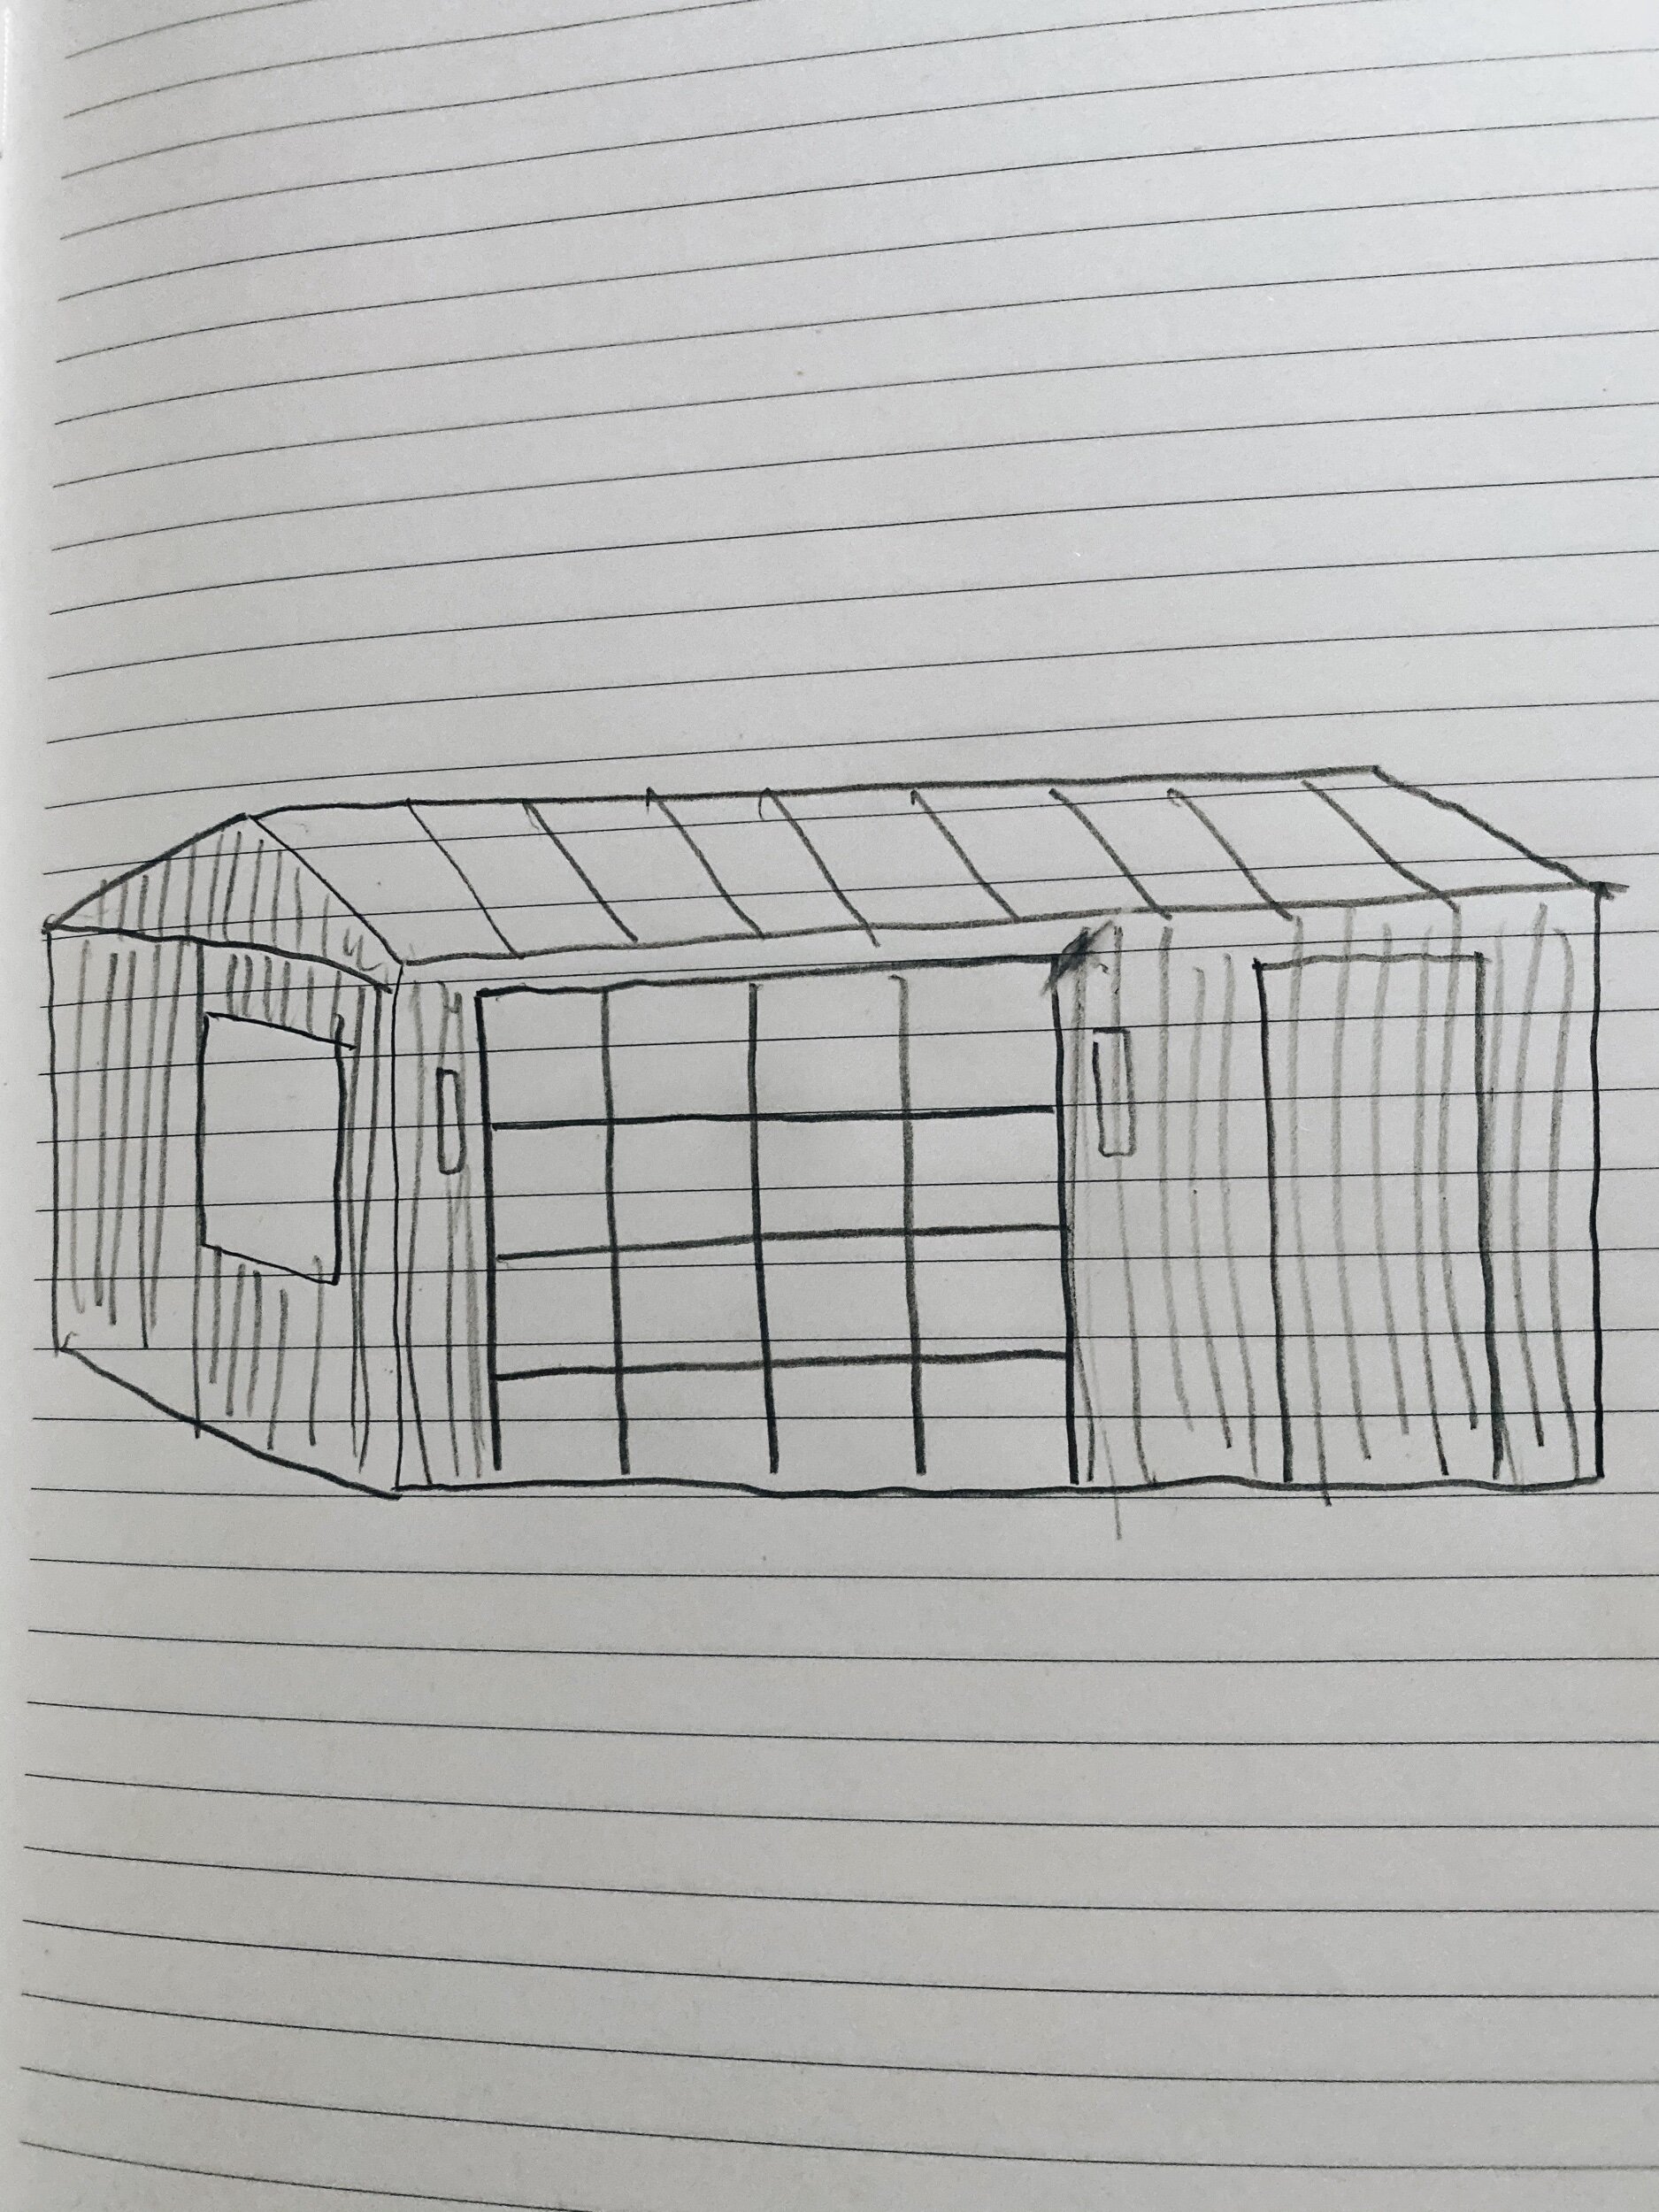
Ok so my art work will never be displayed in the National Gallery but hopefully you get the idea
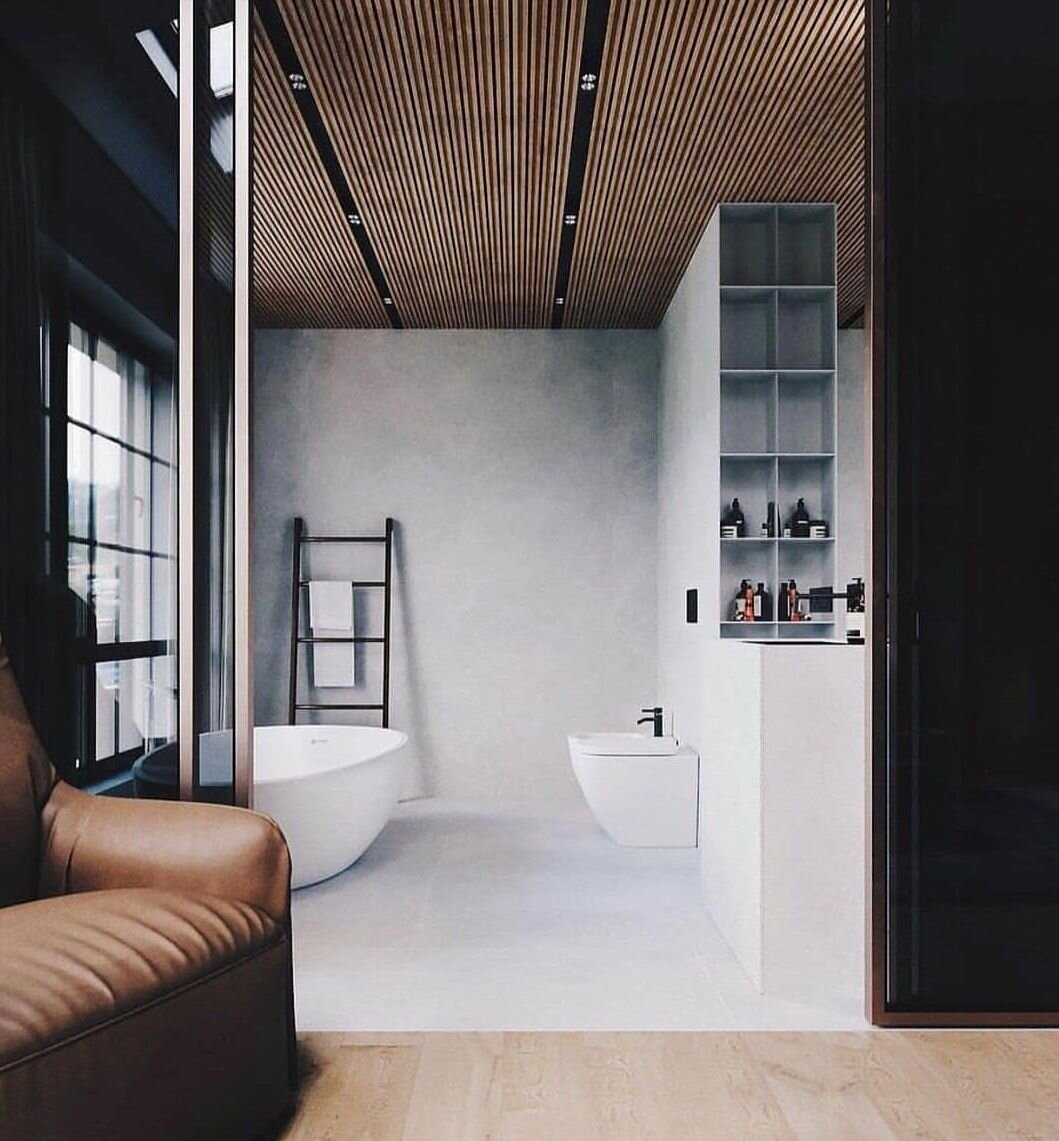
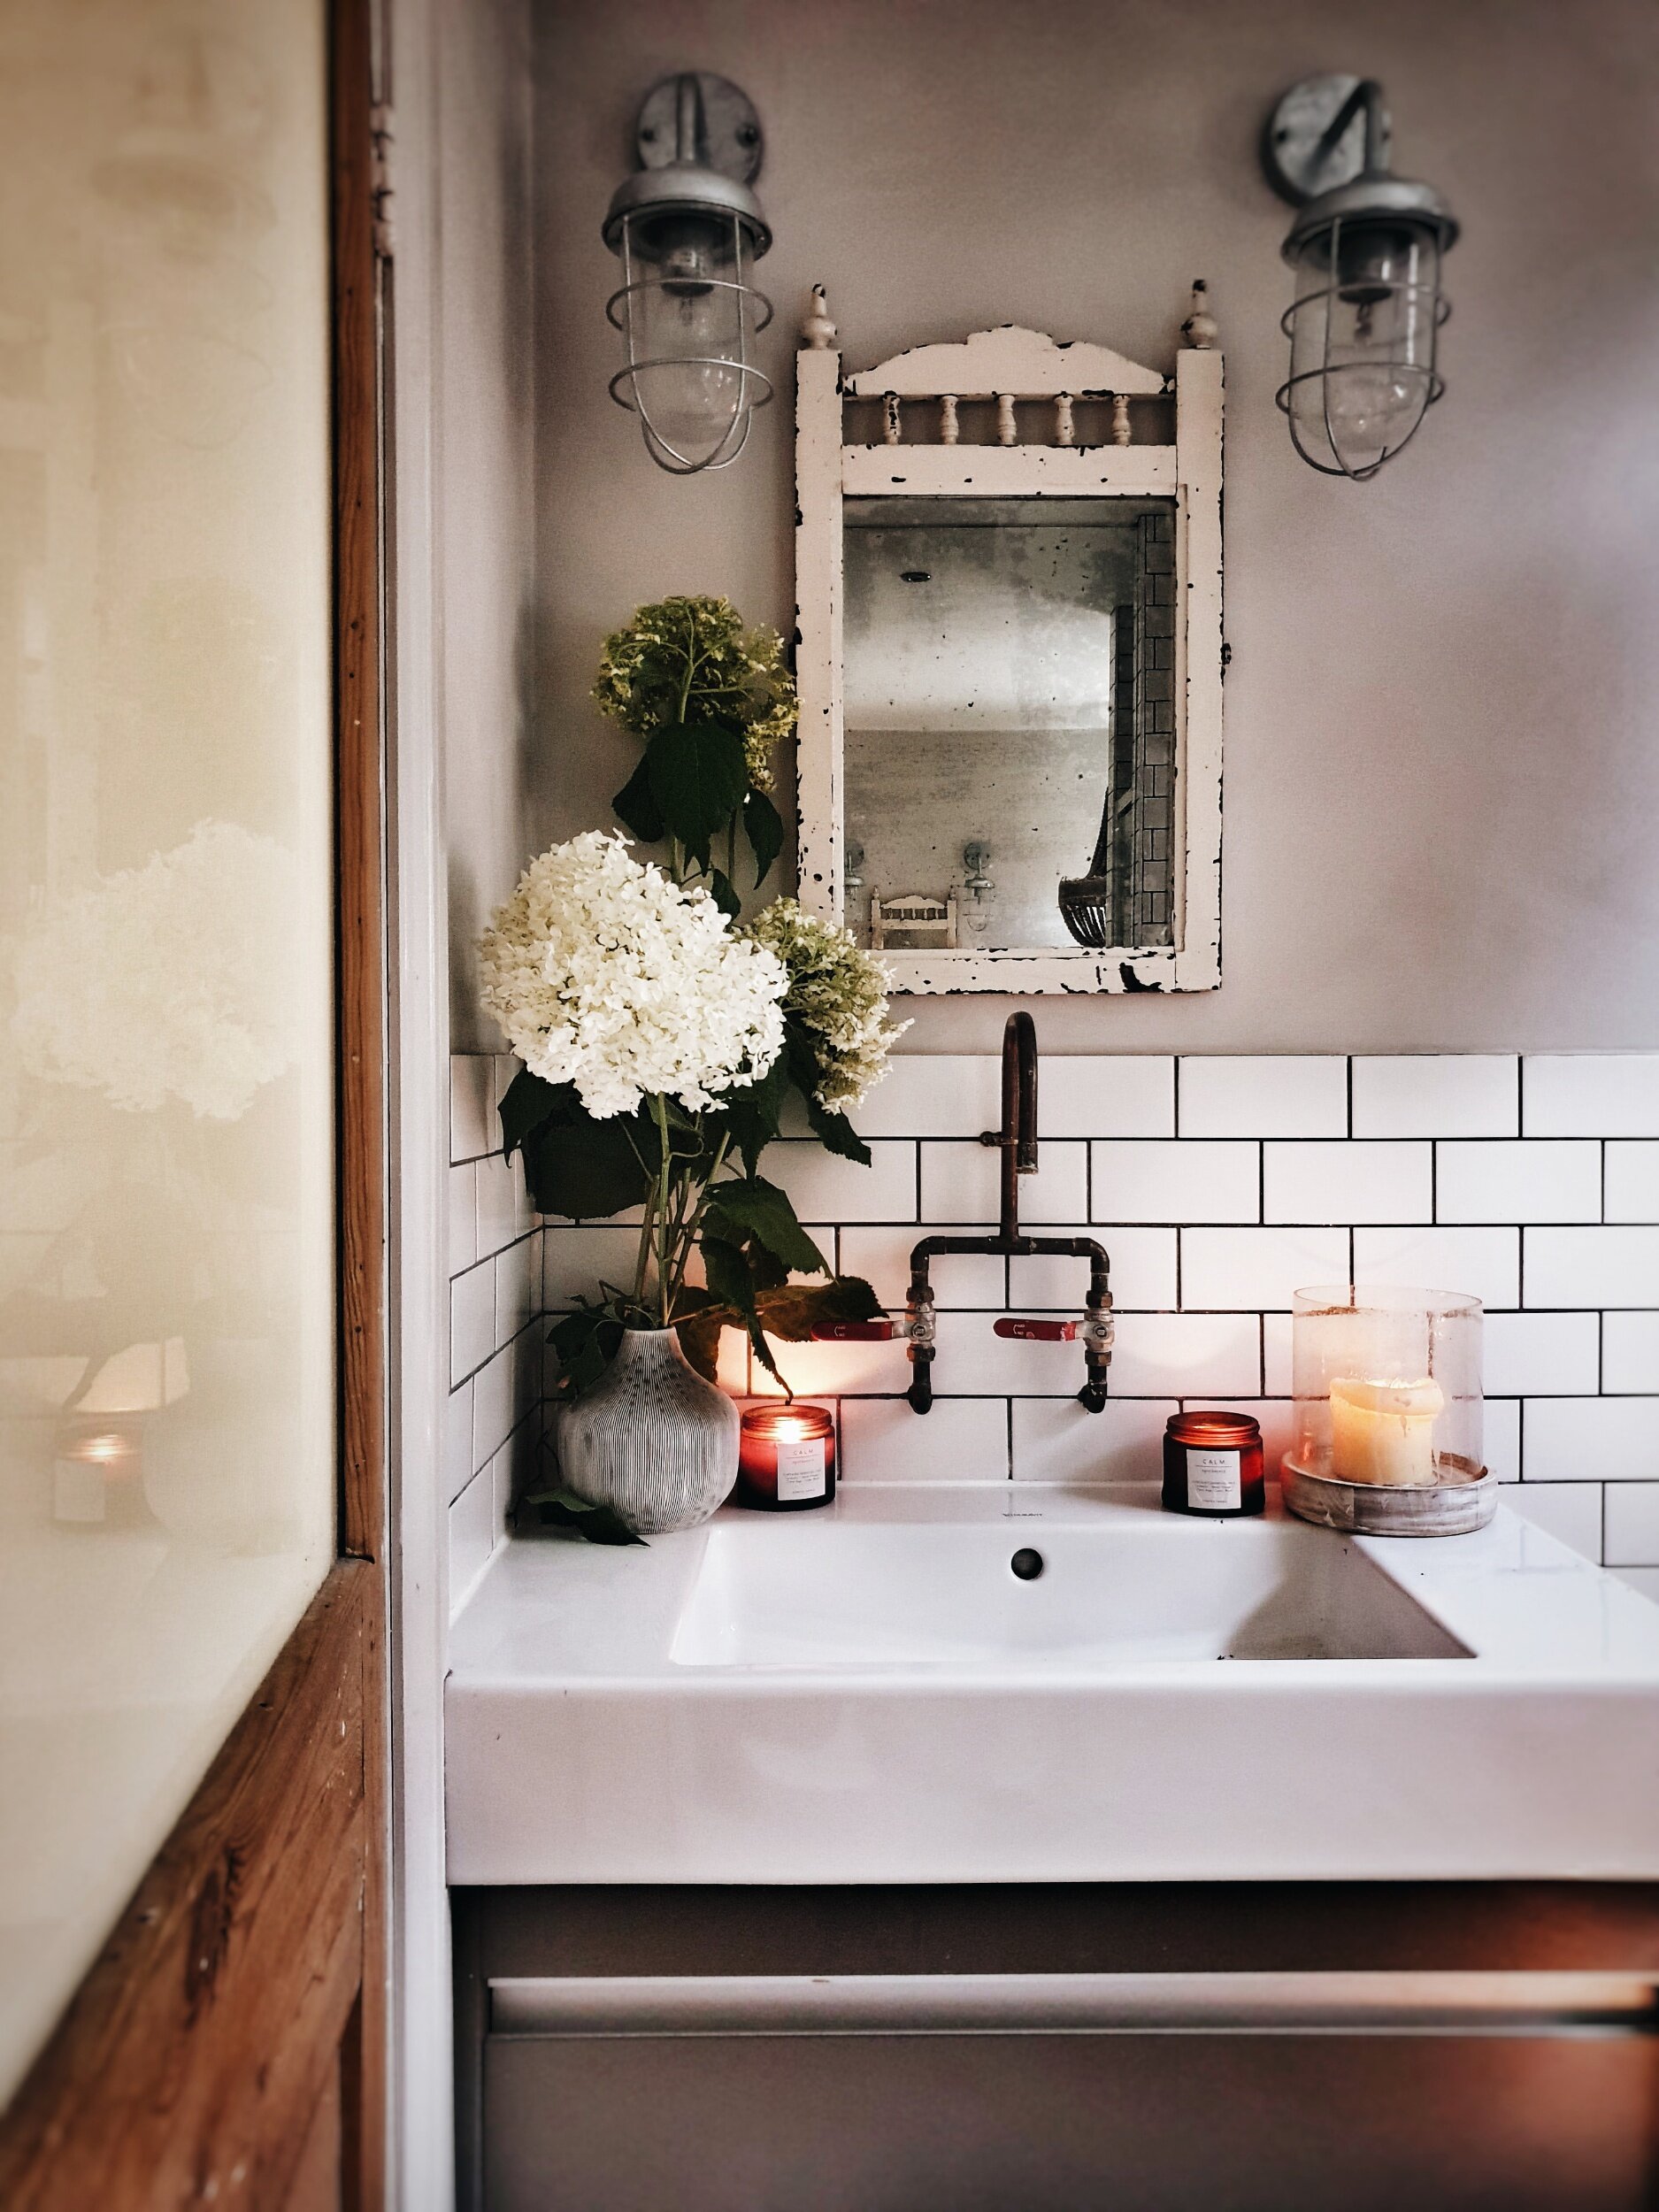
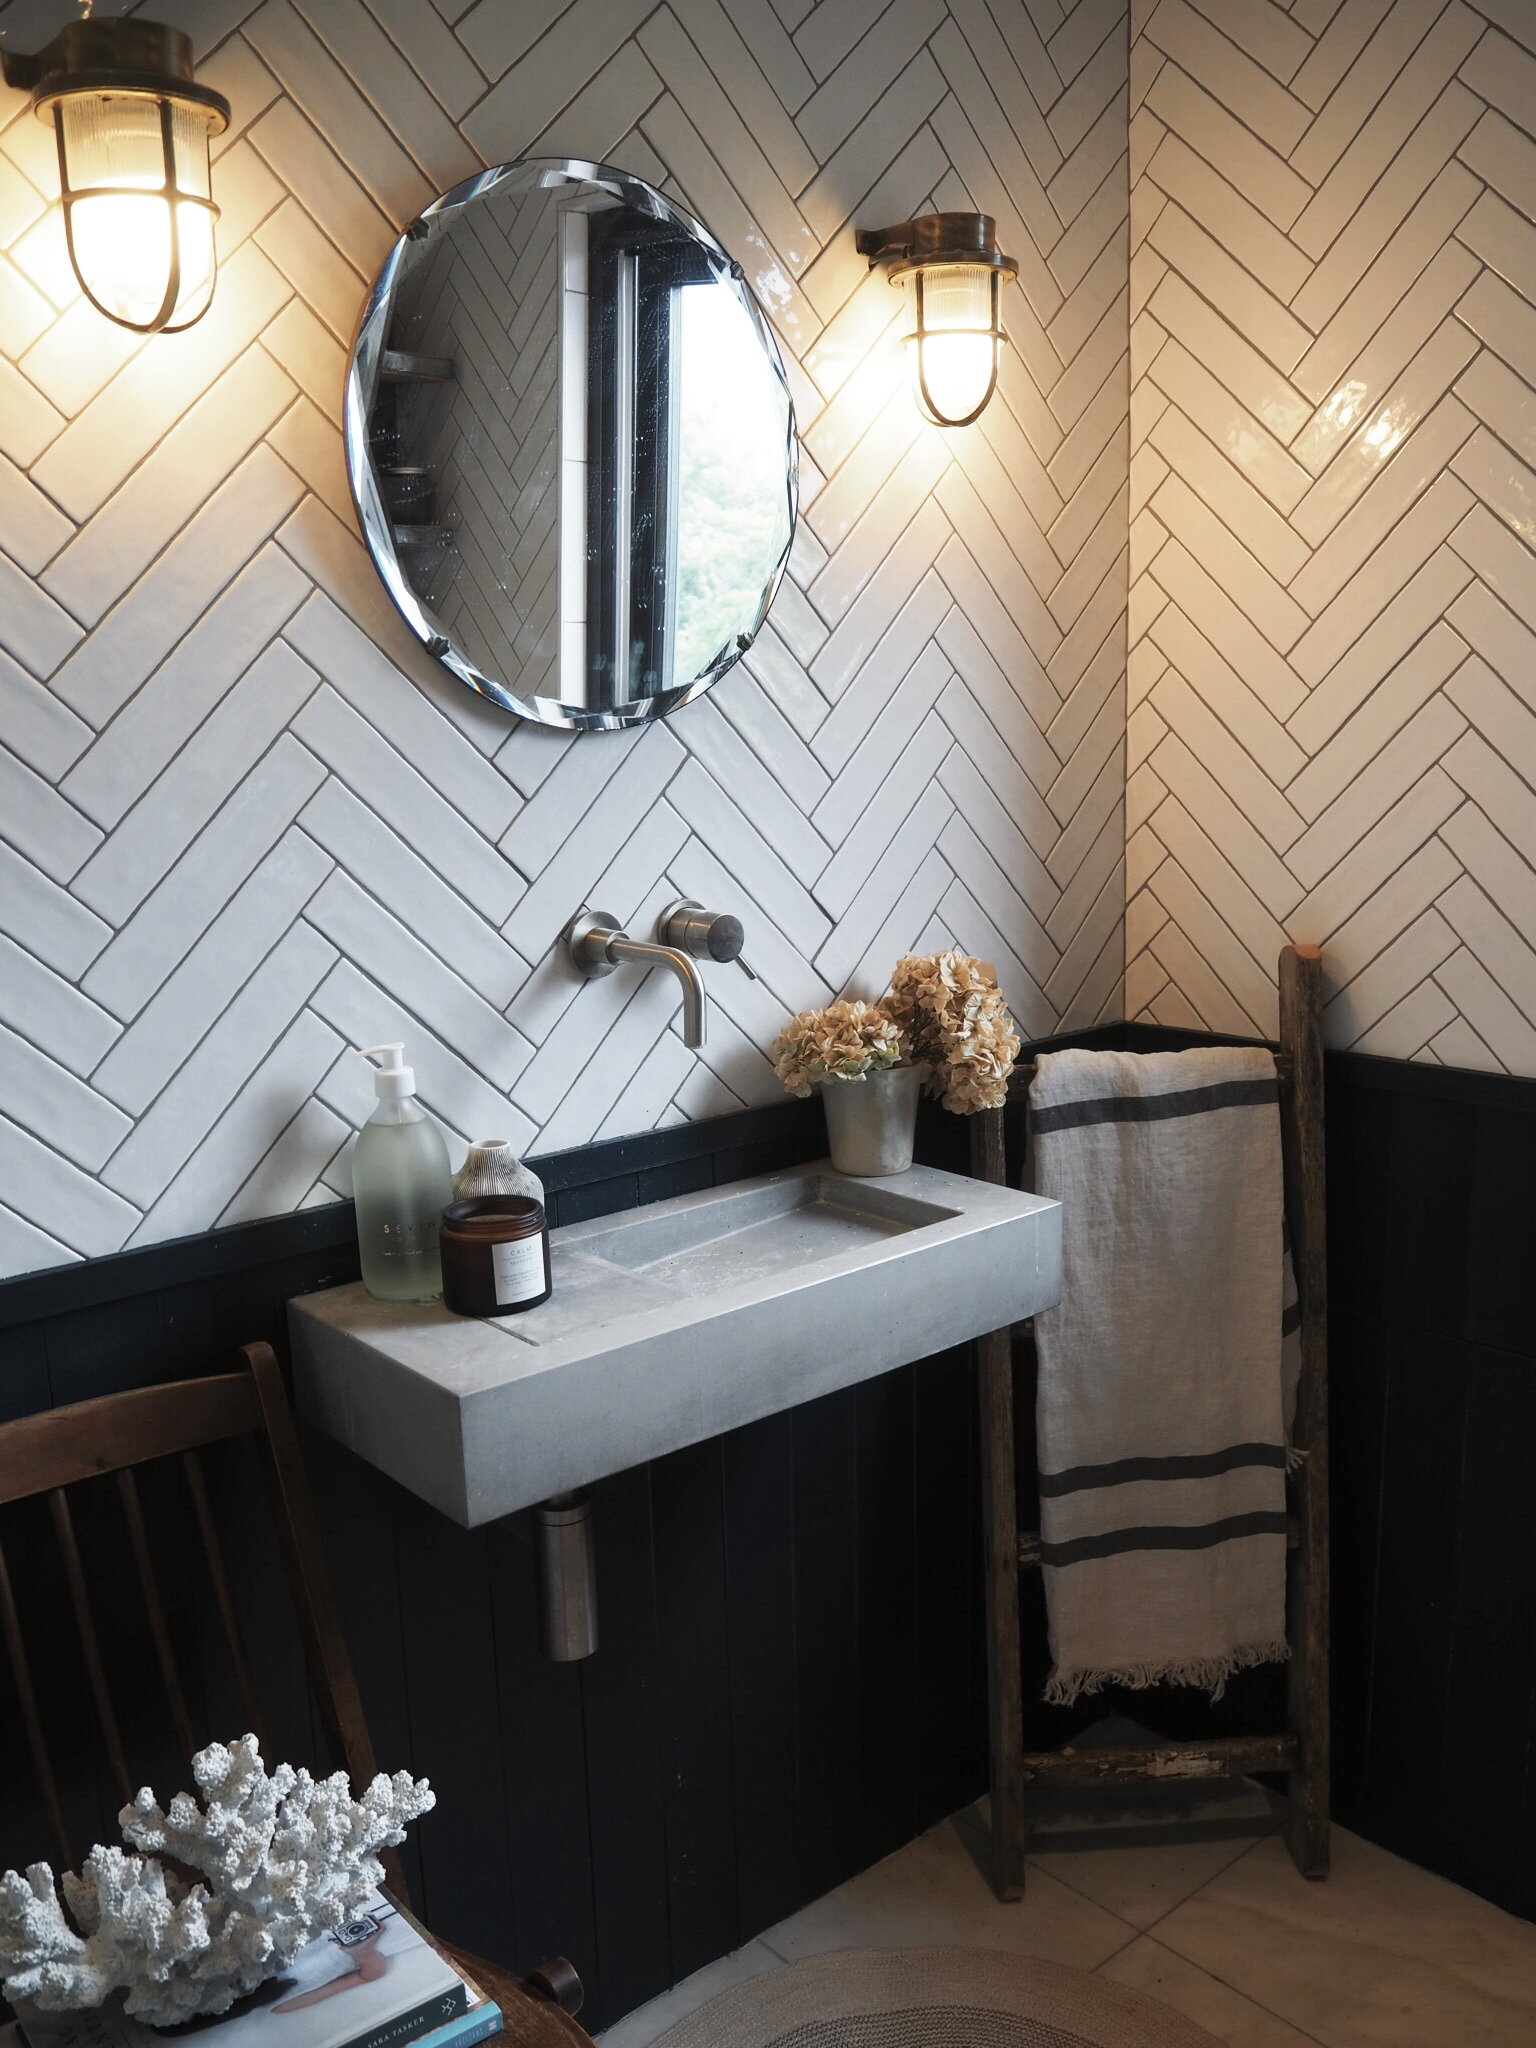
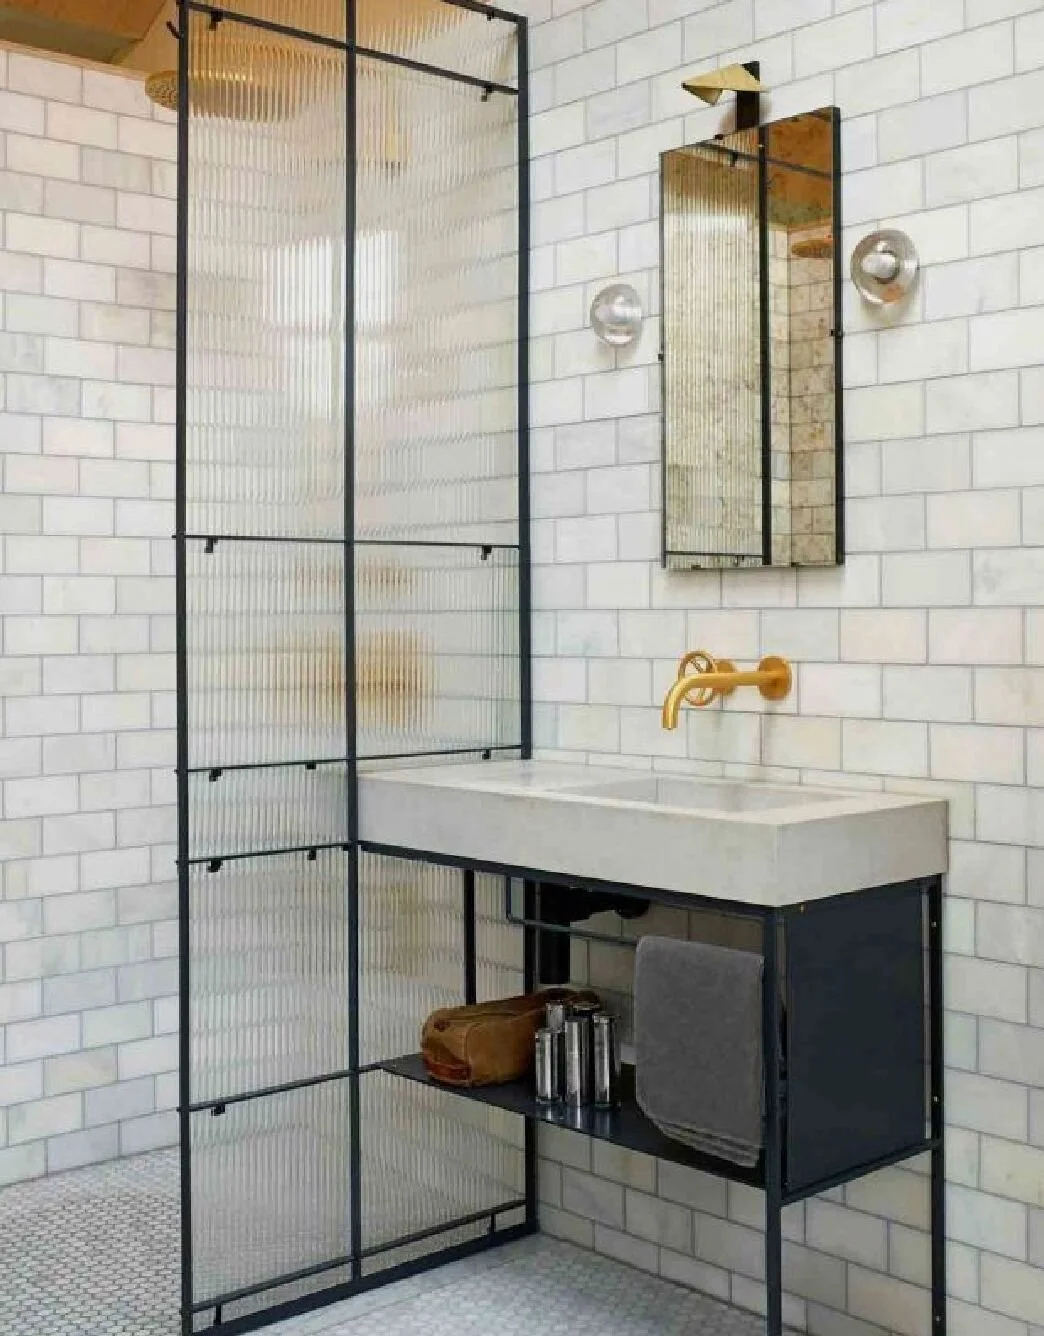
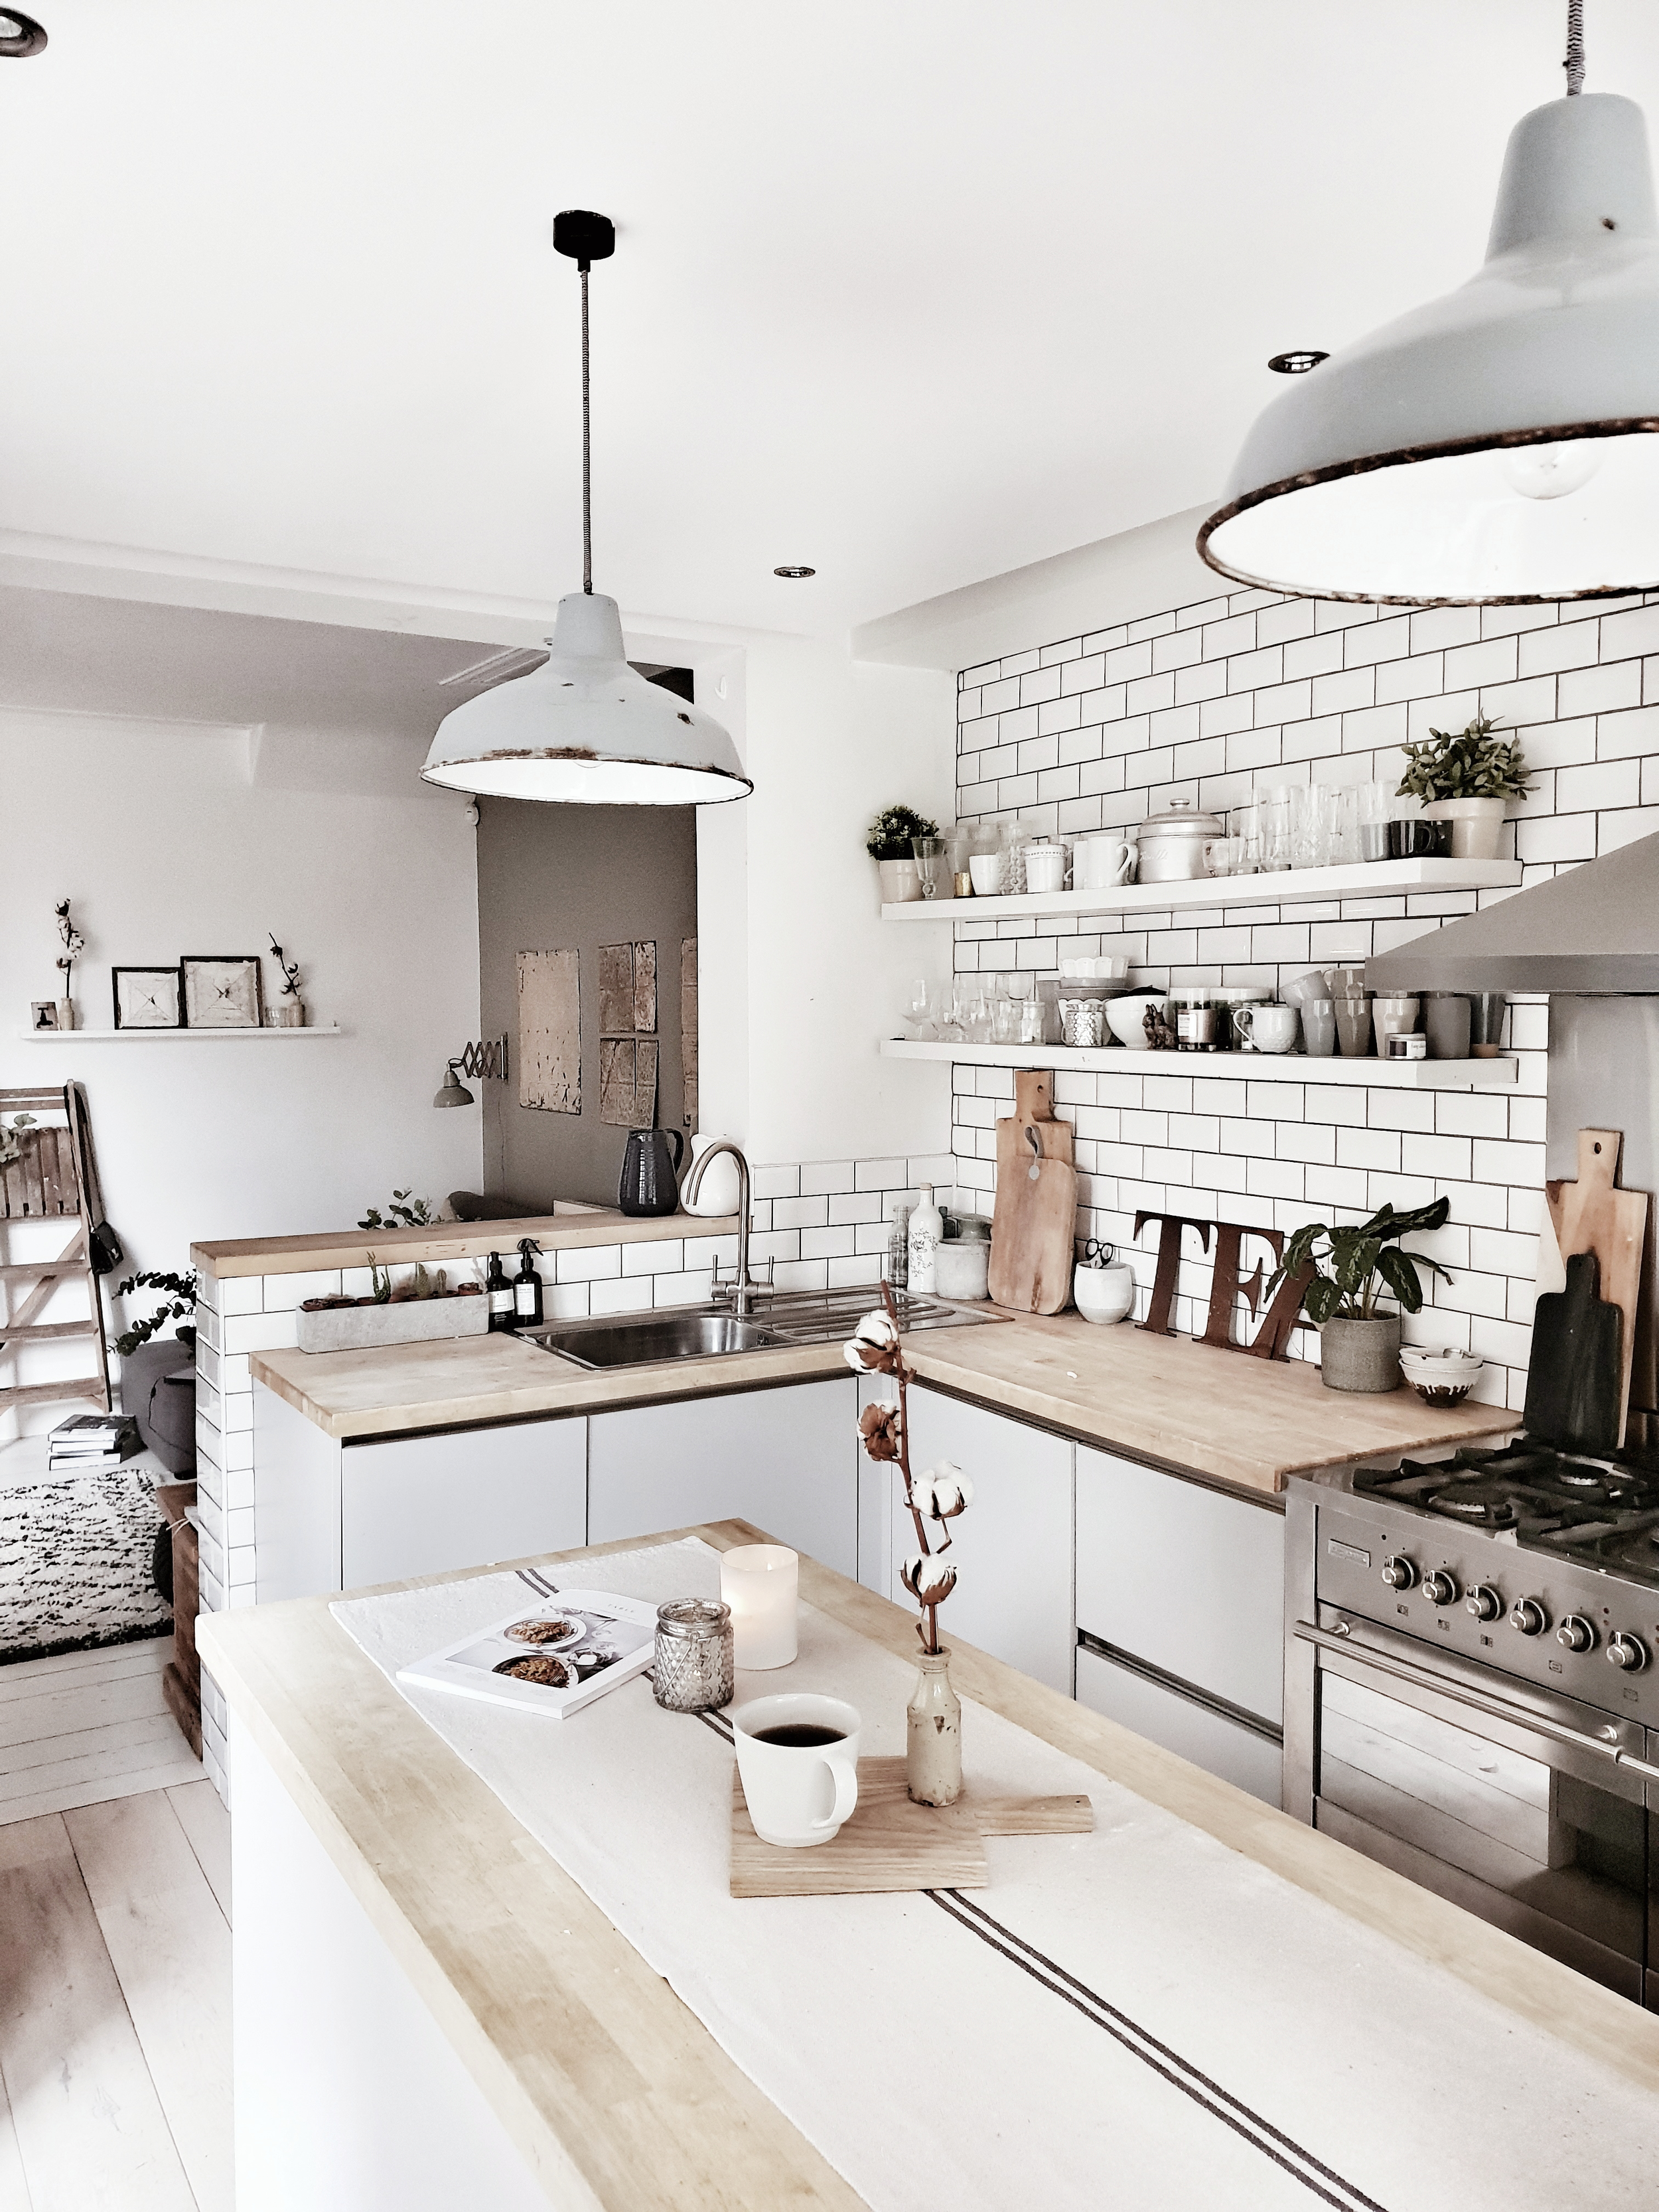
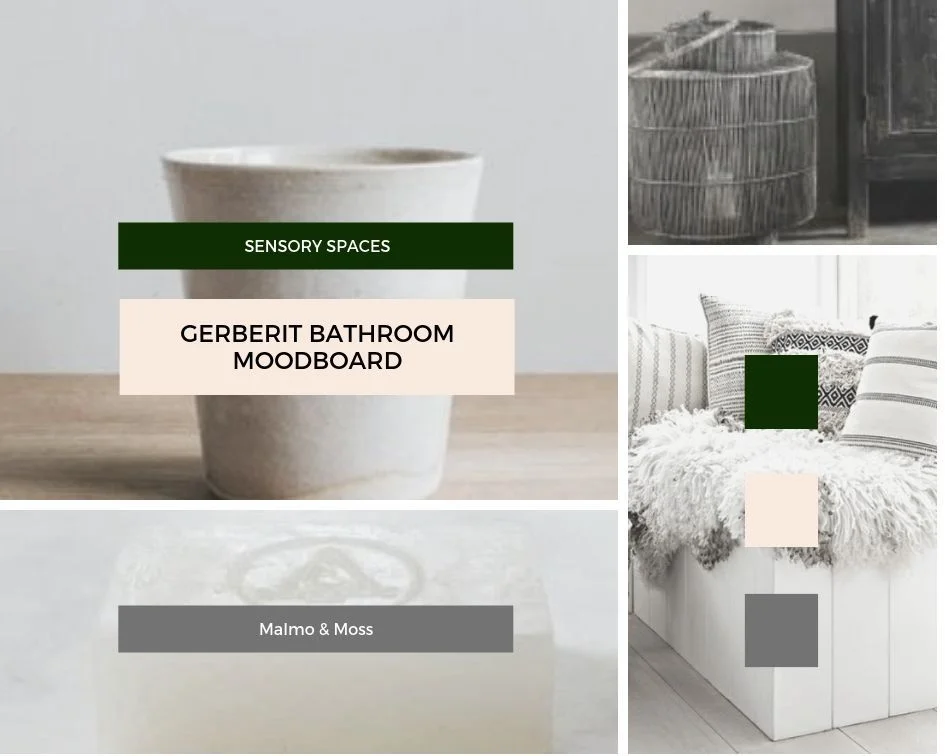
You are probably none the wiser as to the design having looked at my rudimentary drawing (Neil Buchanan I am not) so I have pulled together a moodboard that captures the key elements. The idea is to have one building with a apex roof that includes two separate spaces: an office and storage shed. Working within permitted development means that it can have a max height of 2.5m but I still like the idea of having an element of slope even if it is not going to rival Notre Dame for ceiling height. The top left image on the moodboard is major inspiration for the whole design and belongs to an instagram account I think you would love to follow called @barnhousecabin. It is the forest cabin that two Copenhageners have built on preserved lakeside land in Denmark and if our Shoffice (on a much small scale) turns out 5% as cool in our non lakeside North London suburban setting I will be happy. In terms of the glazing I am hoping to include a set of crittal style aluminium doors that will span much of the width of the office space to bring lots of light into the space. With the cladding I want to keep things feeling contemporary by opting for vertical planks and I have been investigating composite alternatives to timber as that may prove to be a more cost effective option in the longer term when it comes to maintenance.

Top left image is of Barnhouse Cabin, middle image from Pinterest, Top Right image from the Local Project, bottom left image of Cabu Cabins, middle bottom image from Chatsworth Road project completed by Shakadelic and bottom right image is via Remodelista and of David Kohn’s Stable Acre Project.
Excitingly after a couple of days of mulling it over (and probably trying to decipher my drawing with a cold towel around his head) the builder came back to say he could deliver what we wanted within our budget so Project Scandi Shoffice is go! I can’t want to share the progress with you as it takes shapes over the next few weeks and hopefully inspire a few of you to maybe try something similar. In the meantime I am off to pitch a TV Series called #PimpMyLogCabin to MTV.