This week will mark one year since we moved into our “new” house. I don’t think we could possibly have foreseen in July 2019 quite how much time we would be spending in it during our first 12 months of residence!

Moving Day July 2019


Two slightly nervous new home owners trying not to panic about the number of Roger’s Renoval boxes awaiting them inside
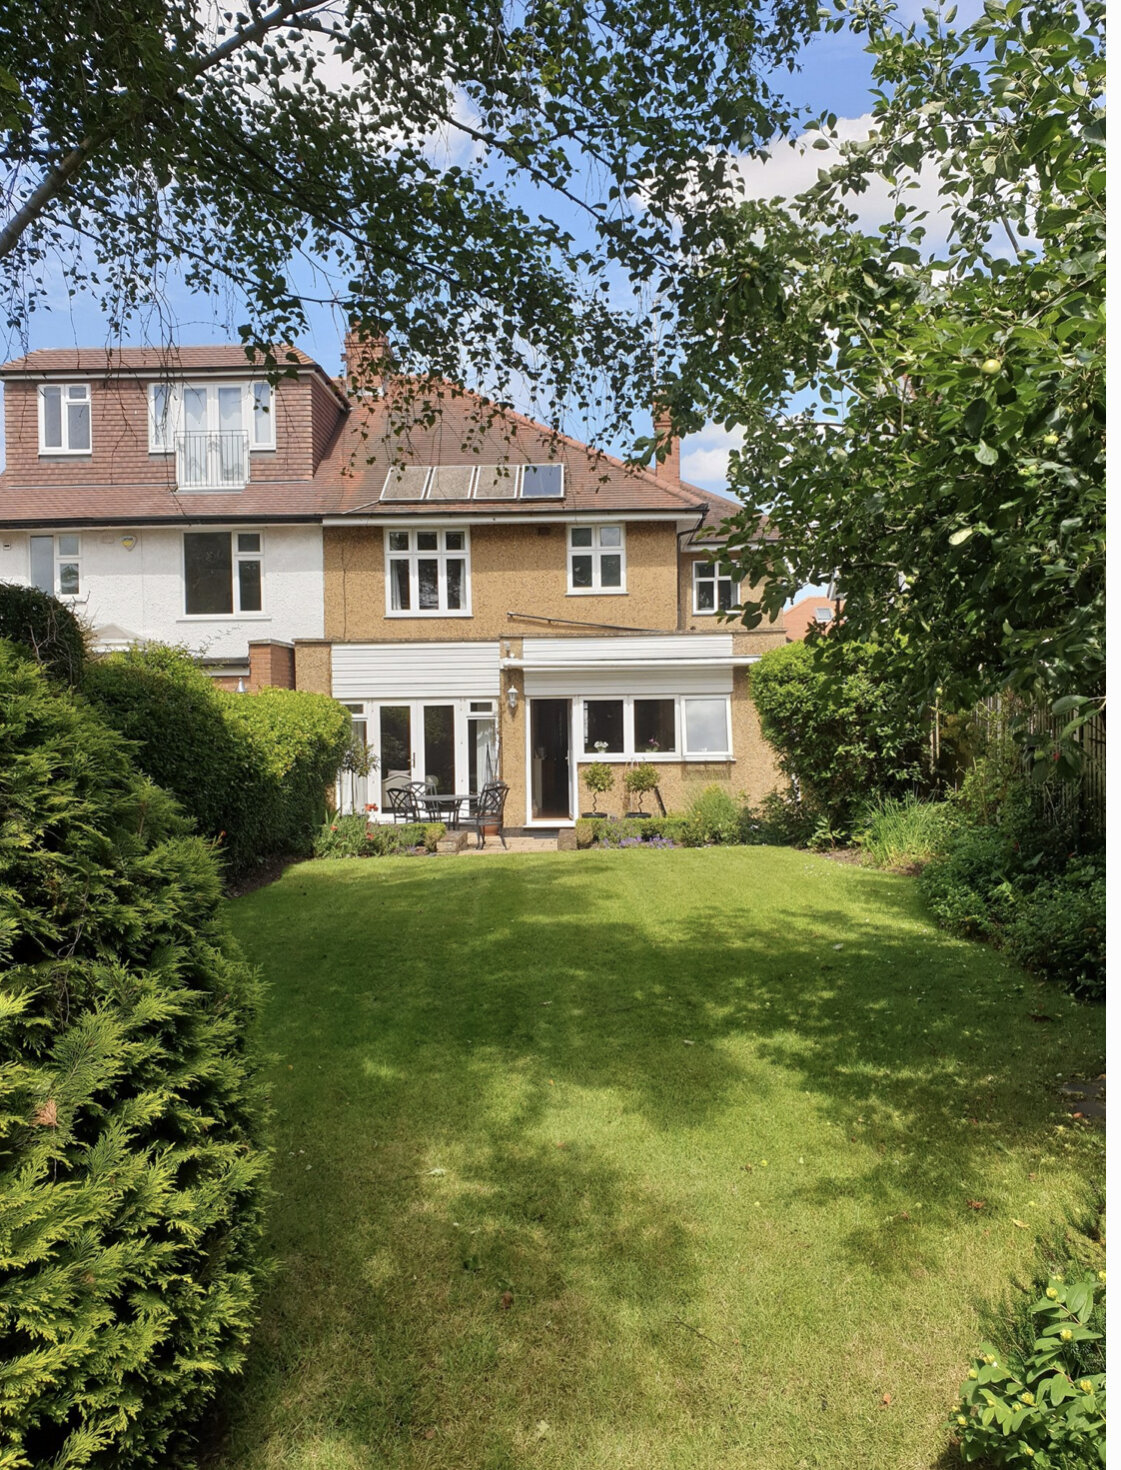
The day we moved in when we still had a nice green lawn that hadn’t been obliterated by football mad boys
Over the course of the last year we have made a start in making it feel a bit more us with renovation projects on the hallway and living room and most recently a budget revamp of the kitchen/diner. But behind the scenes we have also been working with Detail.Architects to draw up bigger plans to transform our Pebble Dash Princess into a Modern Rustic Swan.
Actually I lie, getting rid of the massive radiator cover that hogged the hallway and adding a lower radiator and scaffold bench is my favourite change!

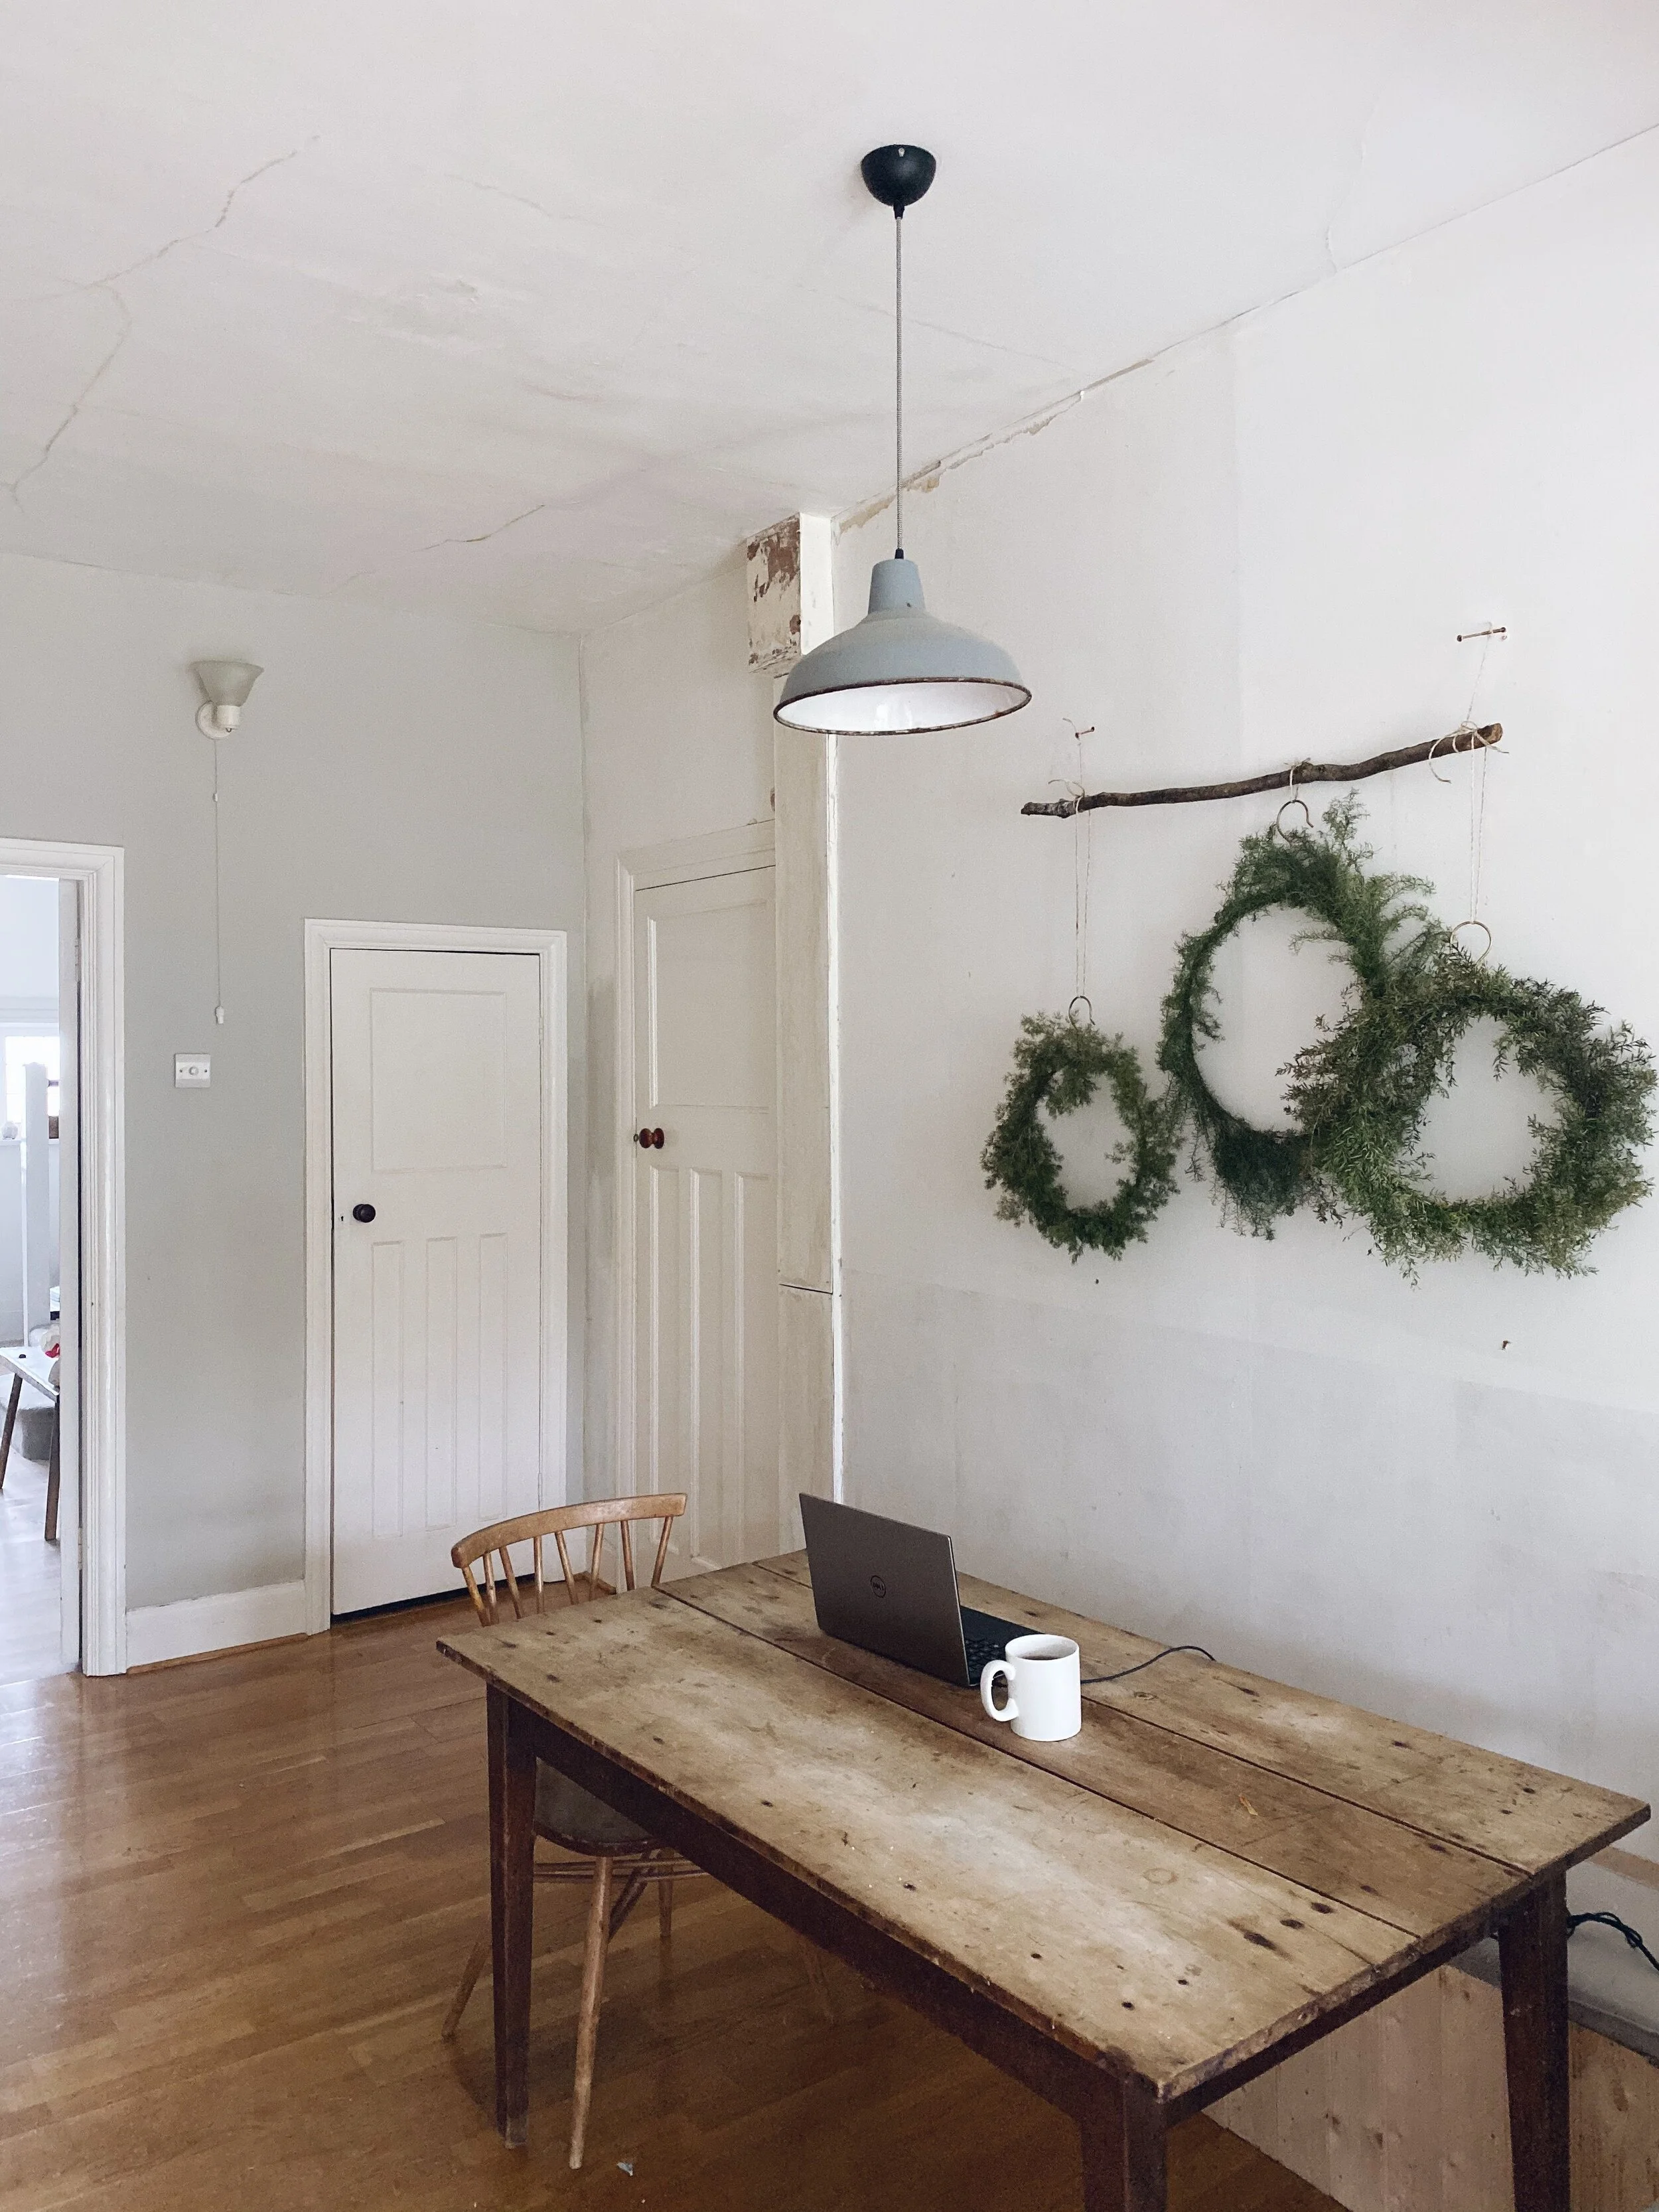
My latest DIY project, sanding back the kitchen floors

I never thought I would be a power tool owner 12 months ago

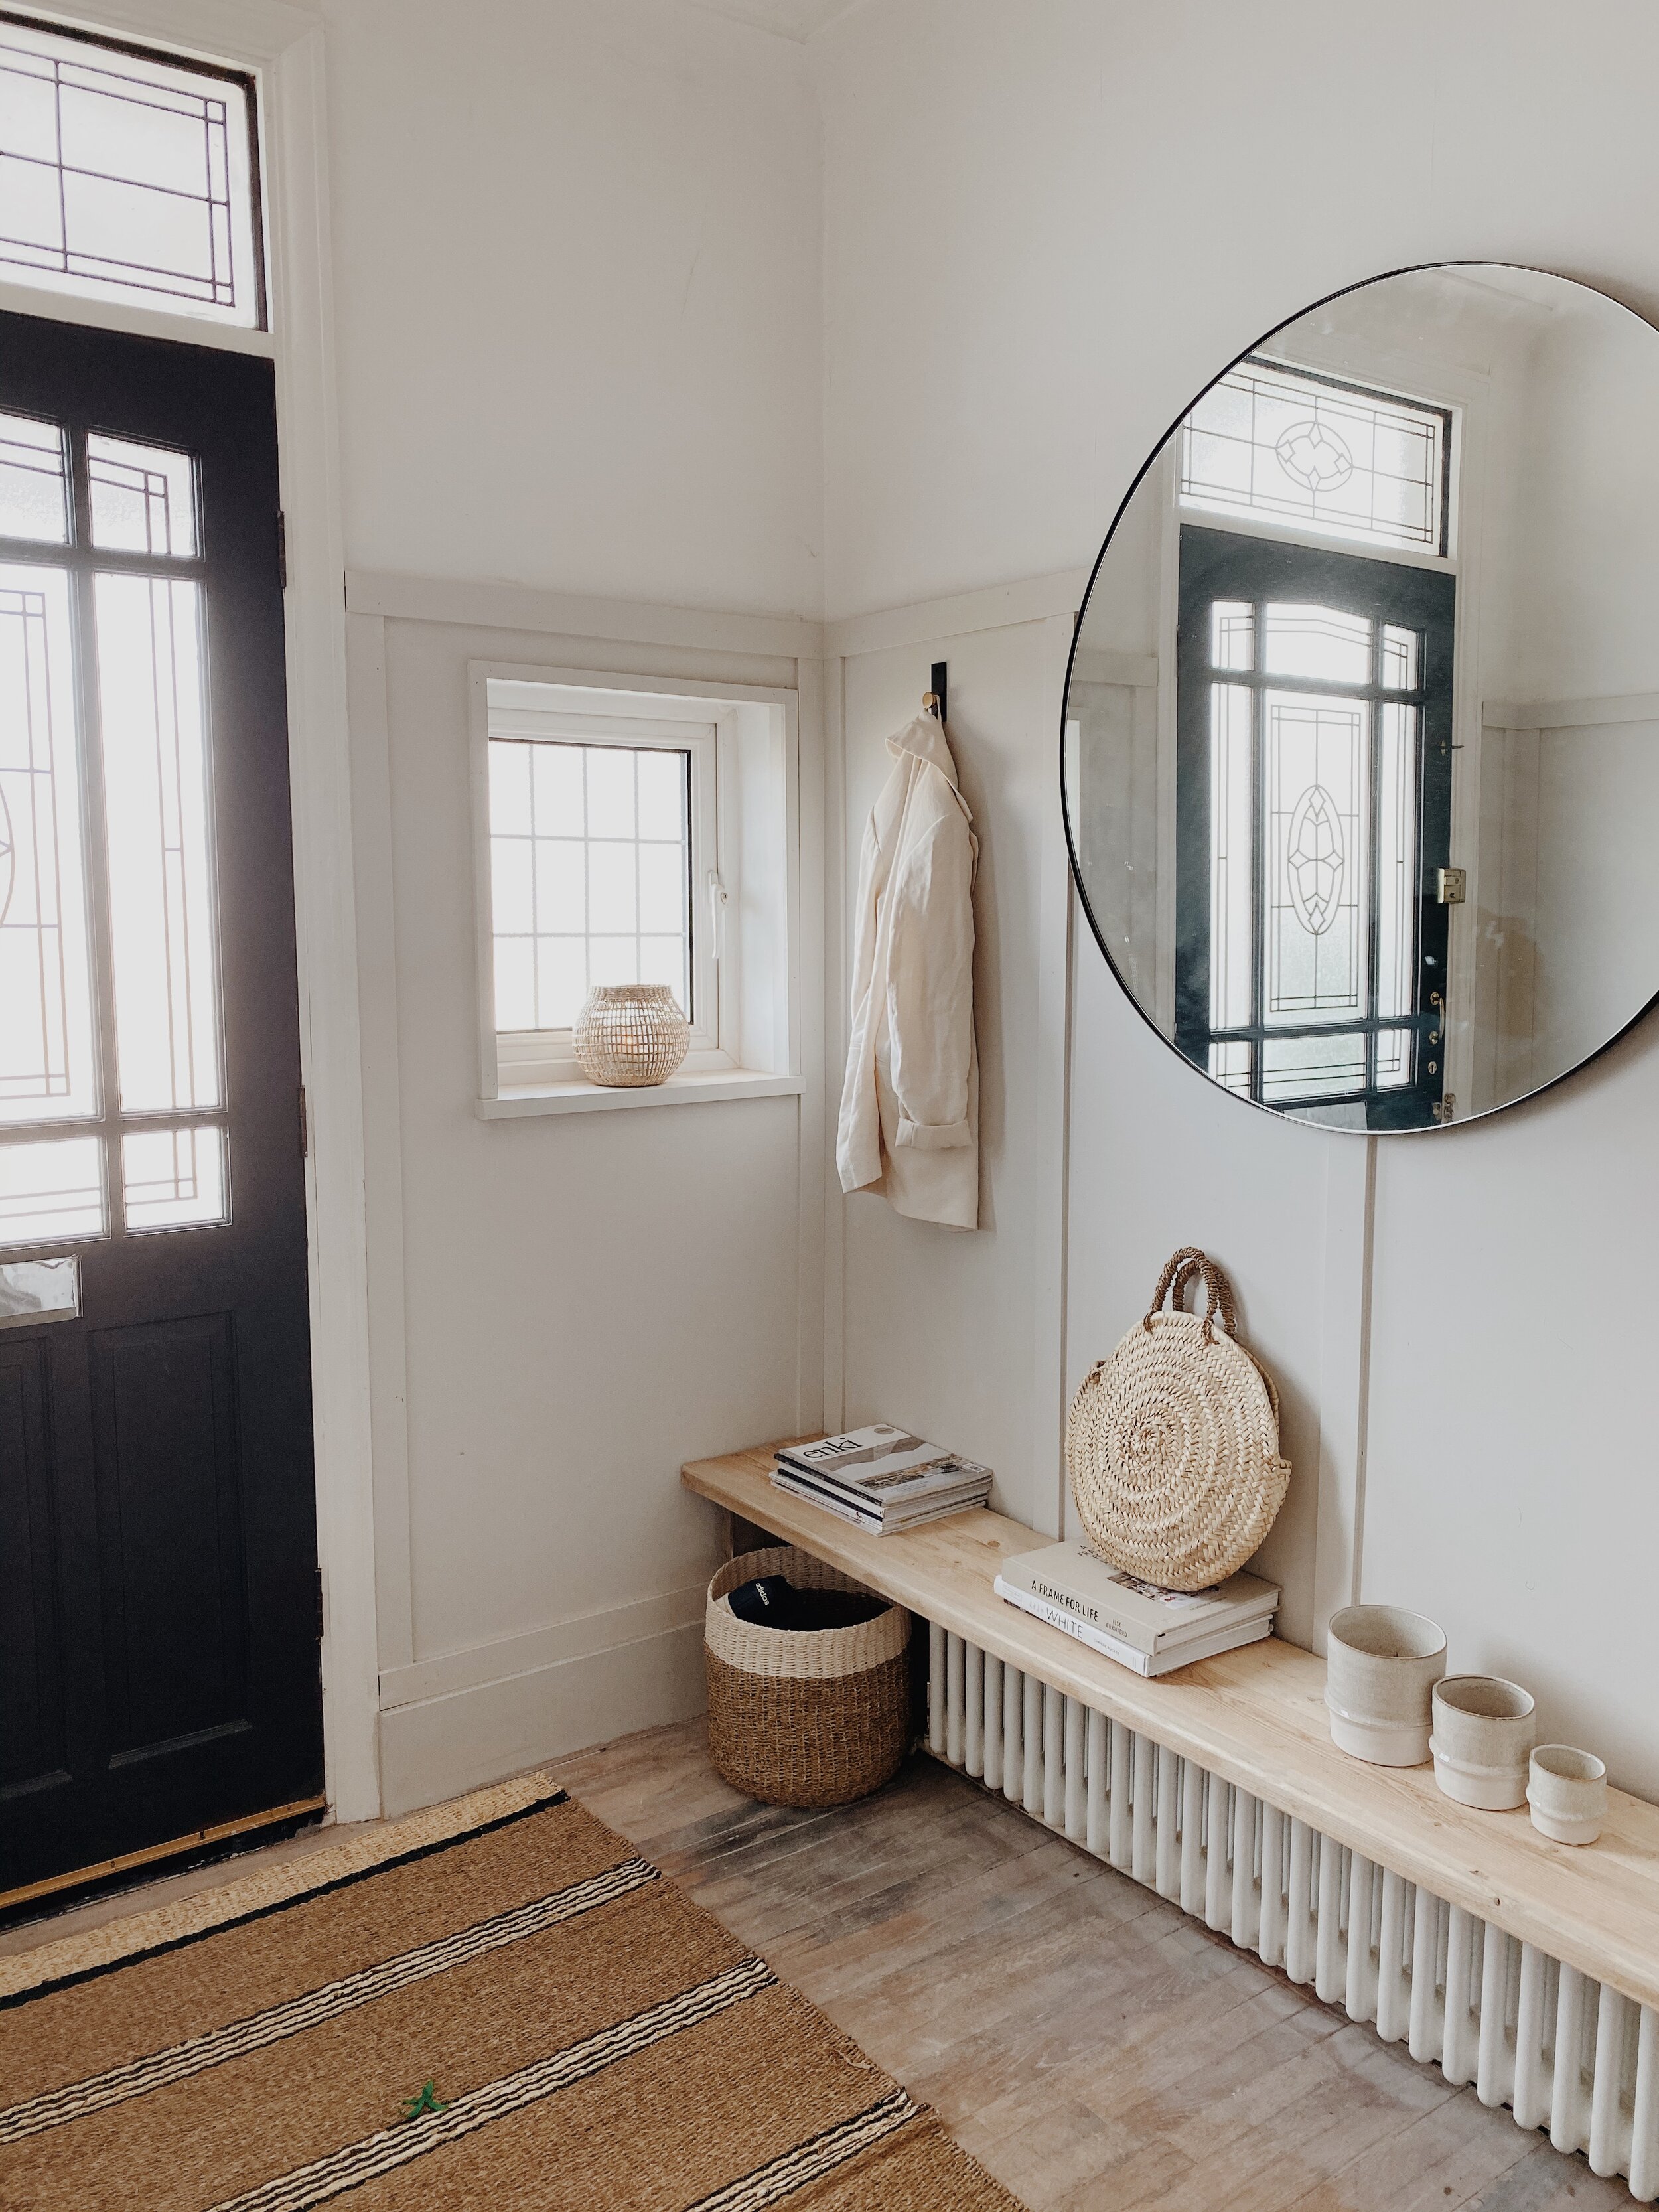
Adding paneling painted in Farrow & Ball’s Ammonite to the hallway is one of my favourite changes we have made so far.
As I think I have mentioned before, gaining extra (house) girth was one of our main motivations in buying the Pebble Dash Princess (our affectionate nick name for the house). It is at least a third wider than our old house creating the possibility of having the open plan family living space downstairs that I have always dreamed of. However, in its current configuration the ground floor is a bit like the layout of the Crystal Maze so part of our brief to Reah our architect was to redesign the floorplan so that it doesn’t feel like you have to navigate the Aztec zone to get to the utility room.
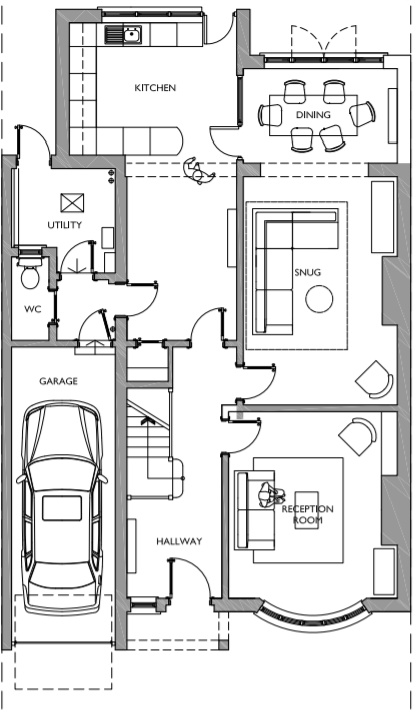
Welcome to the Crystal Maze! The existing downstairs layout is a bit of a rabbit warren of rooms
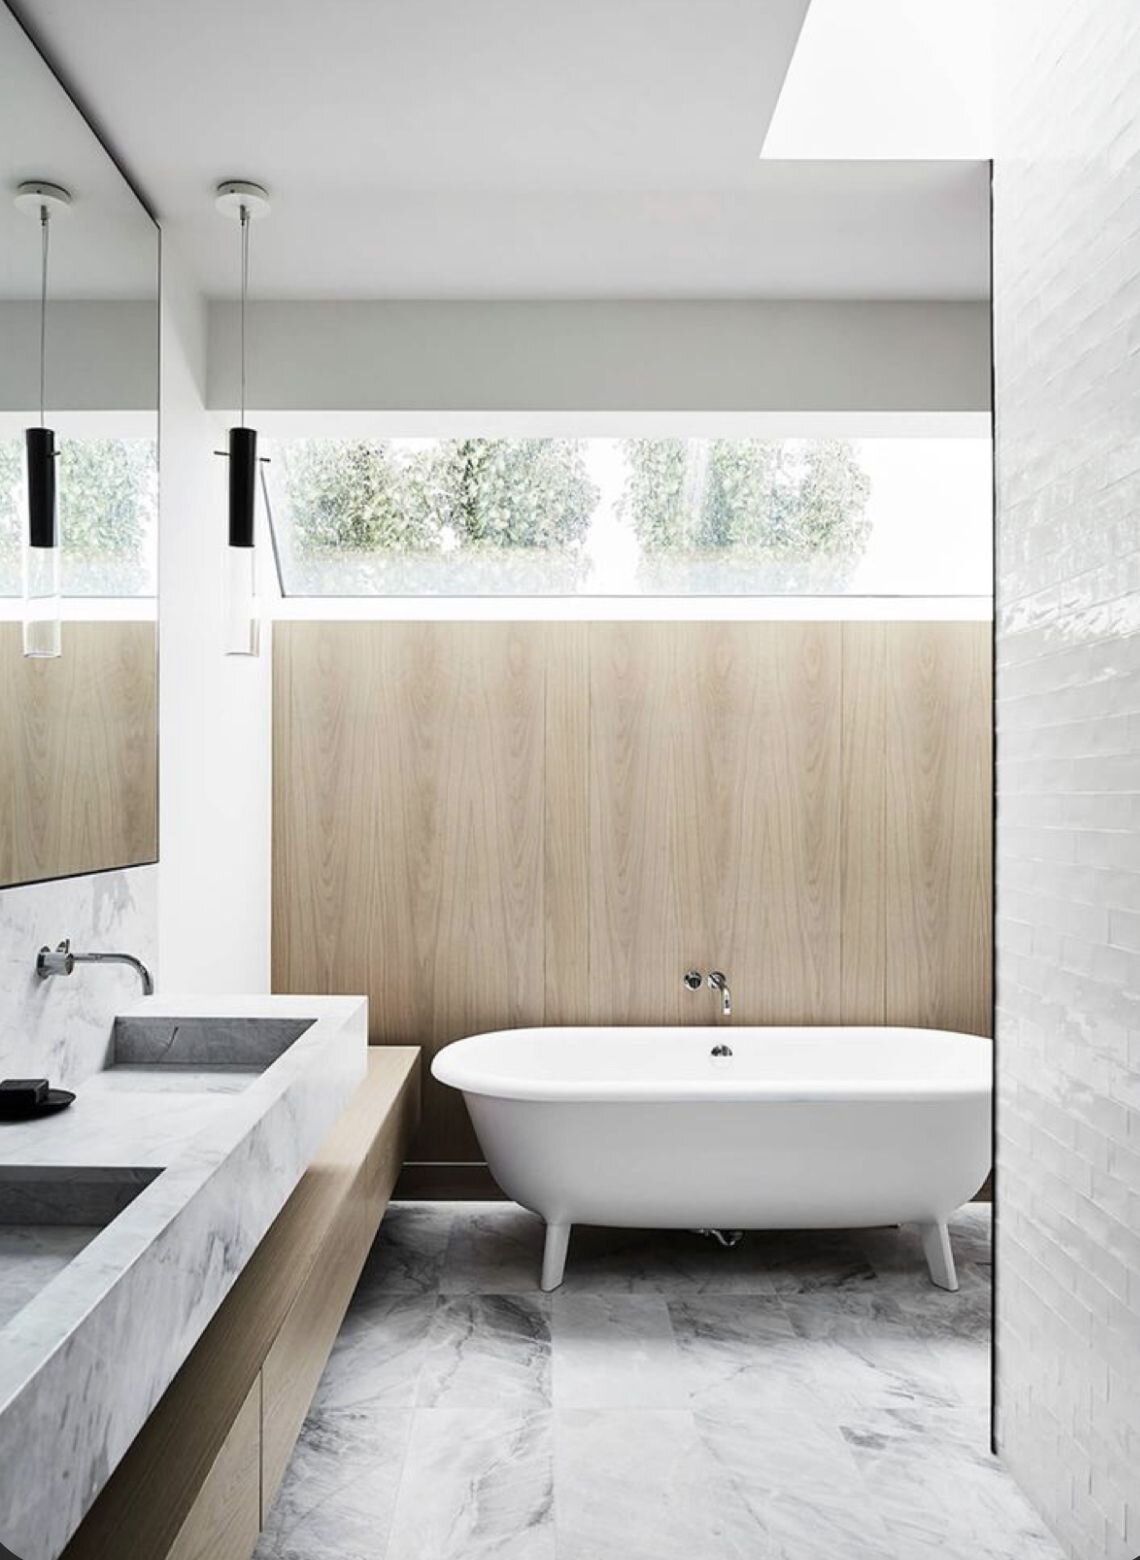
Upstairs has the same number of bedrooms as our old house but they are not quite as big and as the kids get older we are conscious that the younger two, who currently share, might not want to go on doing that forever. So we also wanted to add a fifth bedroom and an extra bathroom and then, by removing a hot water tank the size of a small submarine from an airing cupboard, also make the family bathroom bigger.

The submarine size water tank is sandwiched in between the toilet and bathroom
So now you have seen what we were starting with do you want to see the design Reah came up with that achieves everything on our wish list and more?

The final design worked up by Detail Architects
What do you think? I hope you love it as much as I do! We are extending at the rear but actually not by much - filling in an unused passage at the side that leads to the utility room then going out a little bit on the right hand side to fulfil my ultimate dream of having a window seat. Inside we are going to take down the wall between the kitchen and second reception room that currently makes this room feel narrow and dark.

Crystal Maze be gone the new layout creates a much better flow to the downstairs space.
We will then move the utility backwards from its’ existing position, borrowing a bit of space from Mr Malmo’s beloved garage. This, along with the extra space we are adding, will hopefully give us a nice big wide, open and airy room with great connection to the garden. These 3Ds that Reah put together really give you a sense of what the space will ultimately be like.
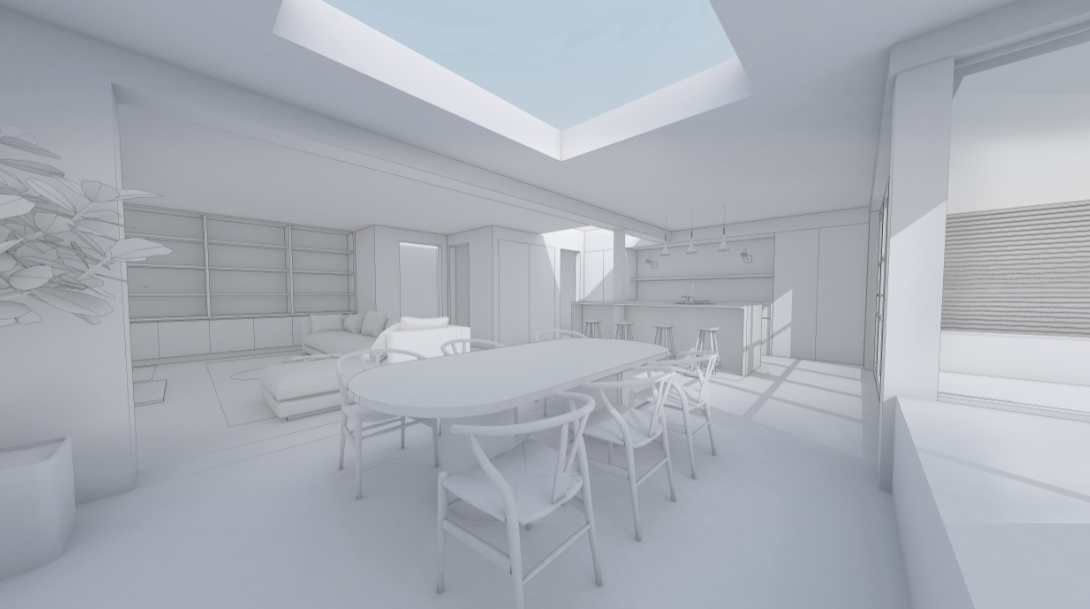


There is a pillar through the Island shown here but we are hoping the structural engineer will come up with plans that allow us to avoid this.
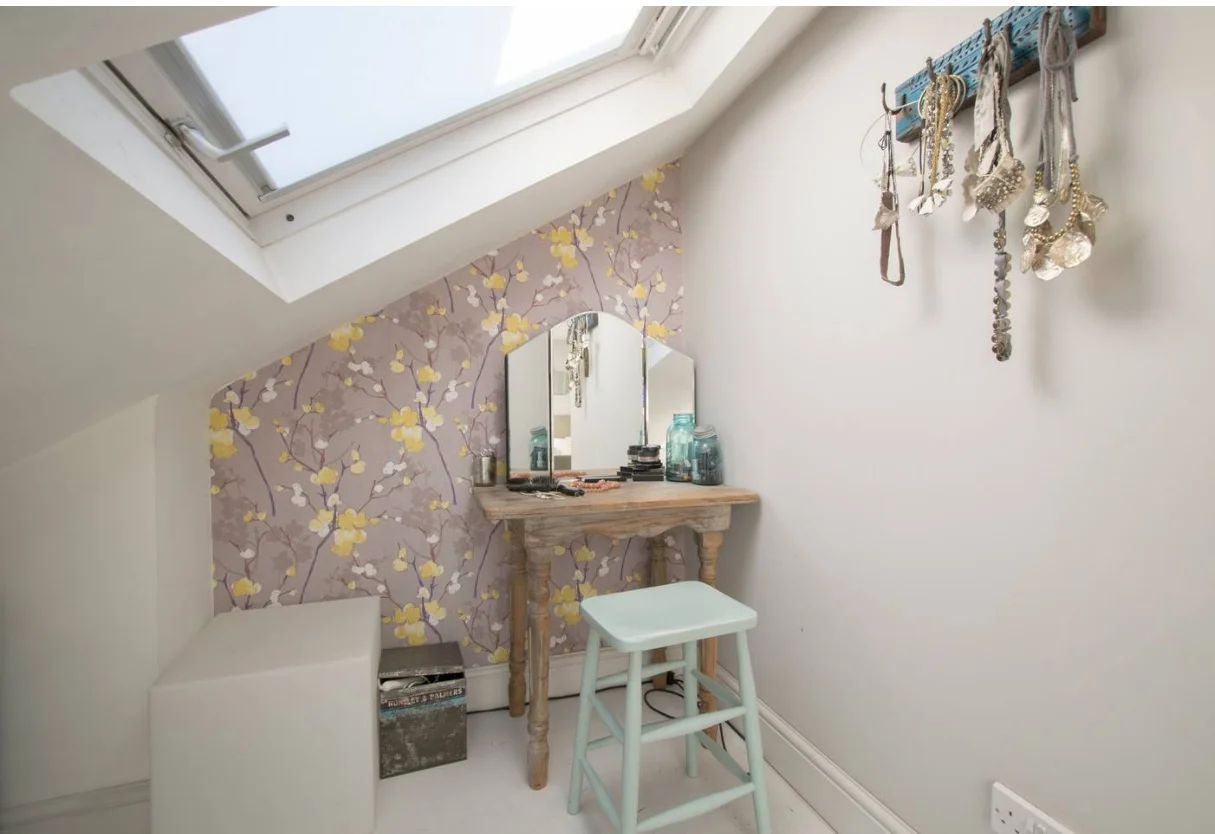
Upstairs we will be adding a loft which will have enough space for a bedroom, dressing room and bathroom. On the middle floor taking out the small submarine will enable us to new, bigger family bathroom that has room for a separate shower. I have shared the plans for the loft in a previous blog. Click here to have a read.
Externally the look I am hoping to achieve is what I would describe as modern Scandinavian farmhouse - I thought that had more of a ring to it than New Nordic Agricultural. The pebble dash is hopefully going to be replaced by a smooth render unless I find out chipping it off will cost the same as a new car in which case I will be seeking to persuade you guys that pebble dash is a material favored by hip Scandinavian farmers. The ground floor will have timber cladding (expect detailed chat about how different types of wood weather coming your way in 2021) and I will be paring that with slimline glazing, with crittal style doors to one side.

The vision for the exterior. Pebble dash replaced with smooth render and timber cladding
The journey through planning has not been without its bumps and compromises. Our original design was turned down owing to concerns about how the roofline would look in comparison to other houses in the street. If I could go back in time I would definitely have paid to have formal pre planning discussions with the council at the outset so that we could have understood their views and incorporated them into the design from the get go. However, we got there in the end and the changes we have had to make to address the Council’s concerns don’t materially alter the space we will end up with internally so all is well that ends well.
I don’t think we can afford to do all of the work at the same time and, to be honest, after the way 2020 has panned out so far, I am not sure I am up for cooking us meals on a camping stove in the garage with only the outside tap and a hose to shower under right now. The current plan (bar a lottery win) is to start with the loft and first floor and then tackle the ground floor work later on when we have saved up a bit more.
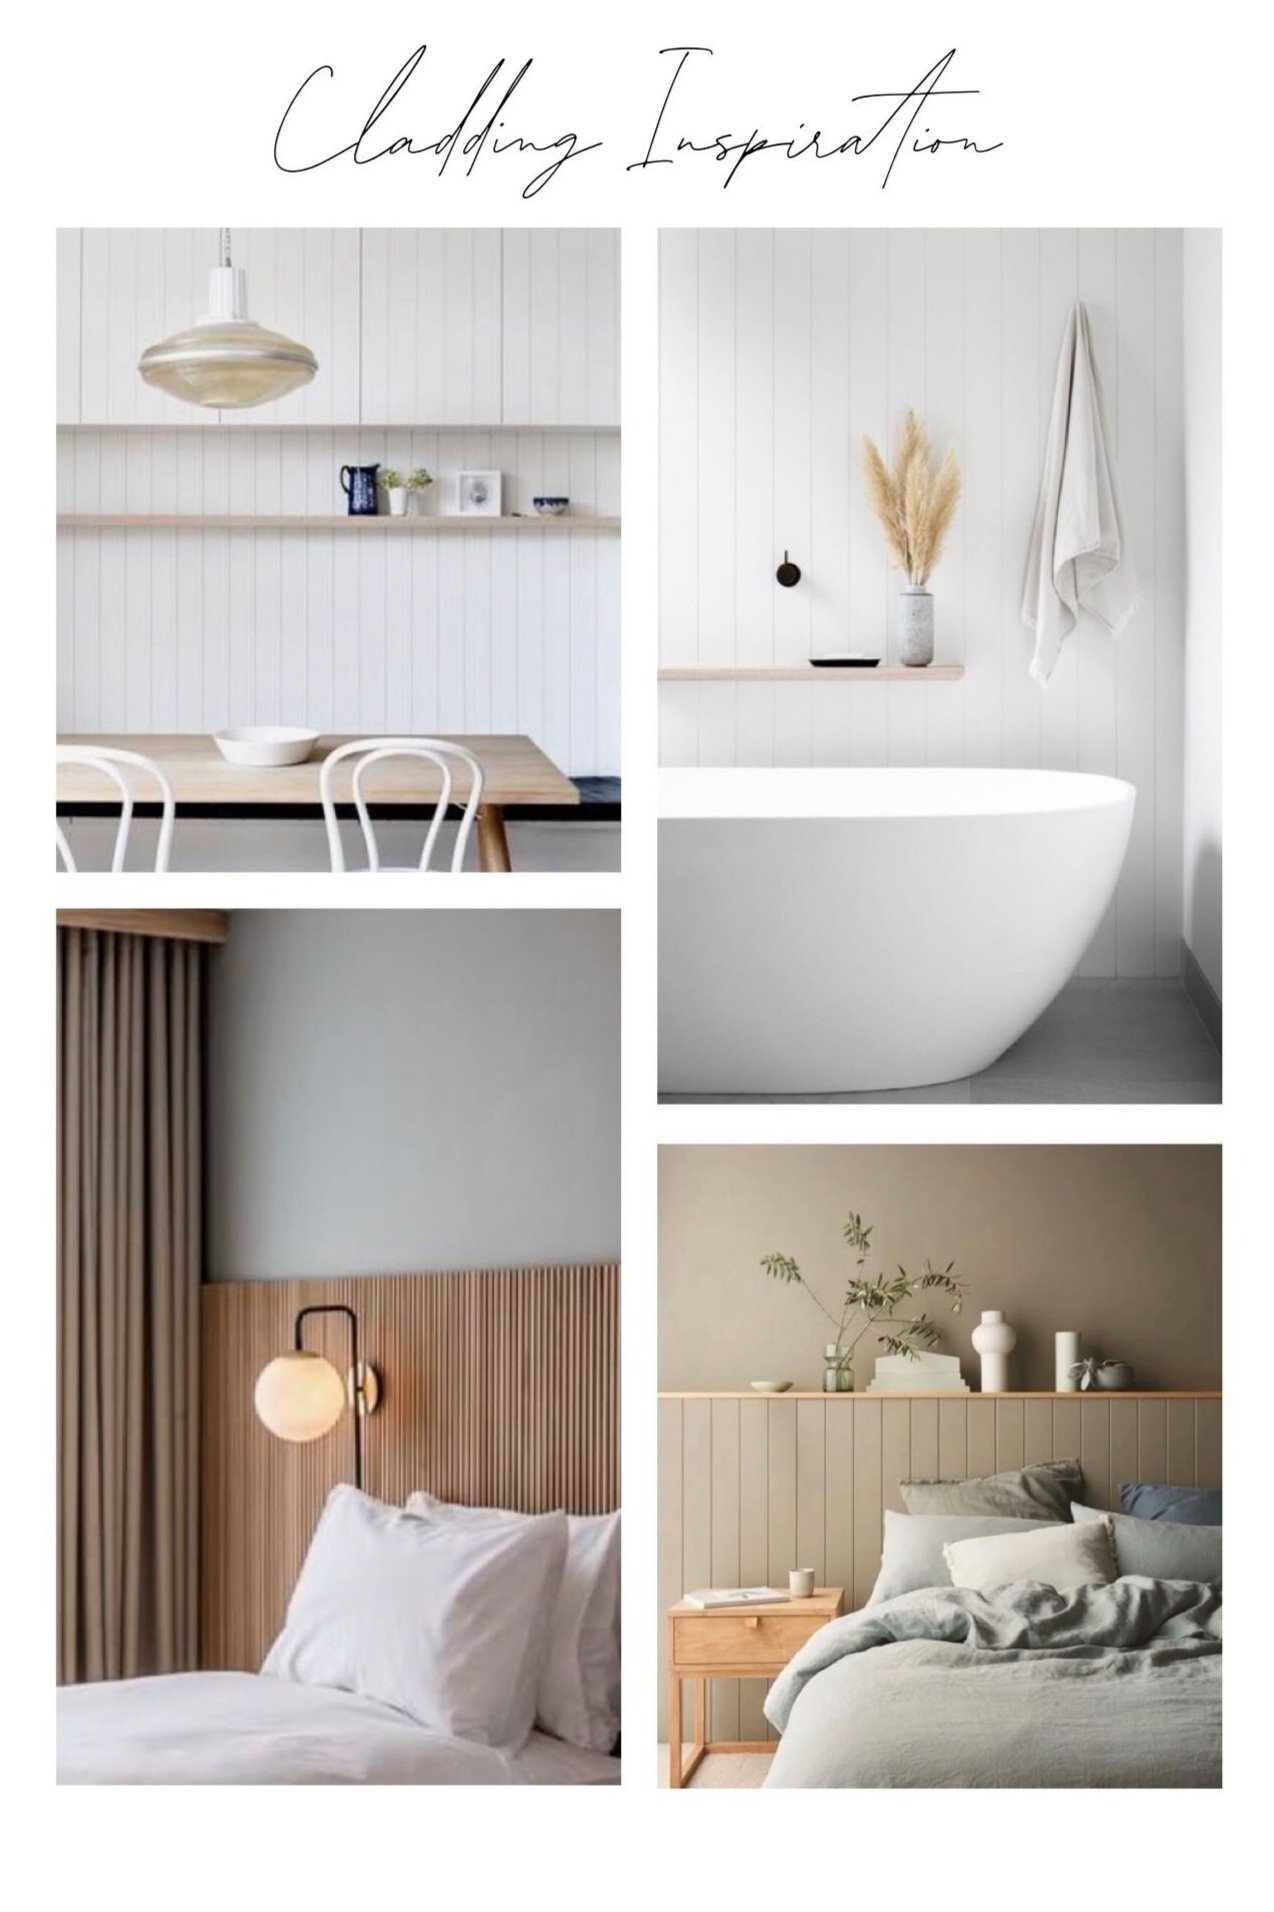
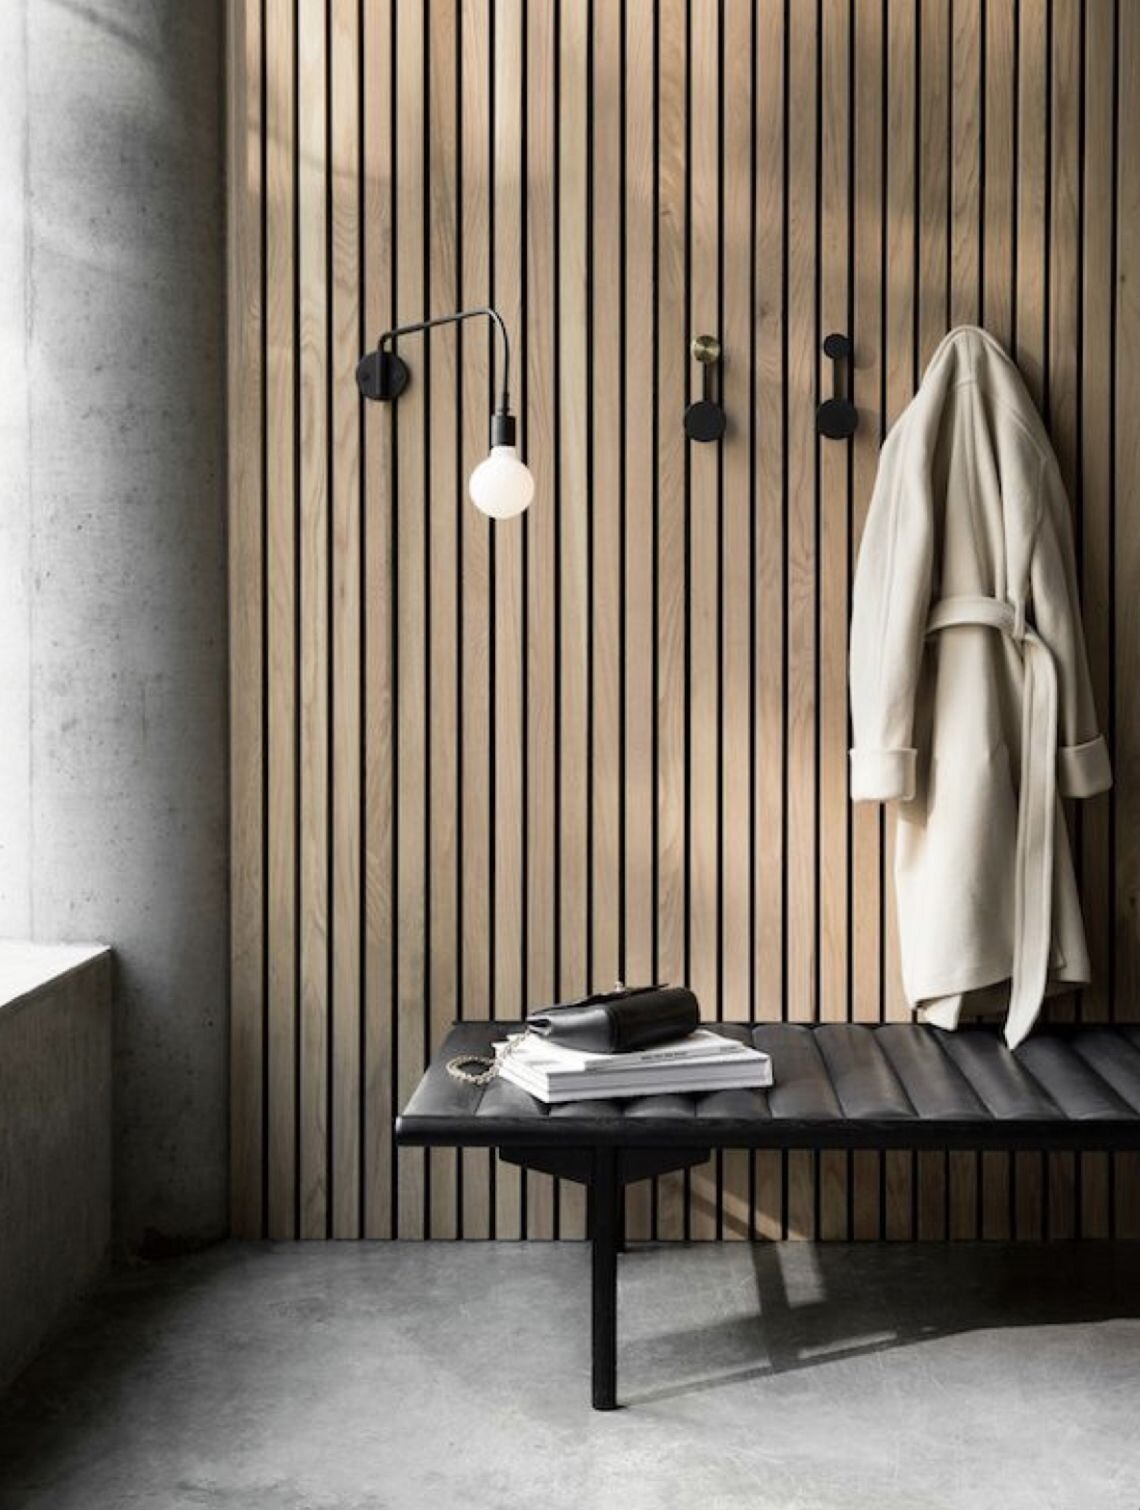
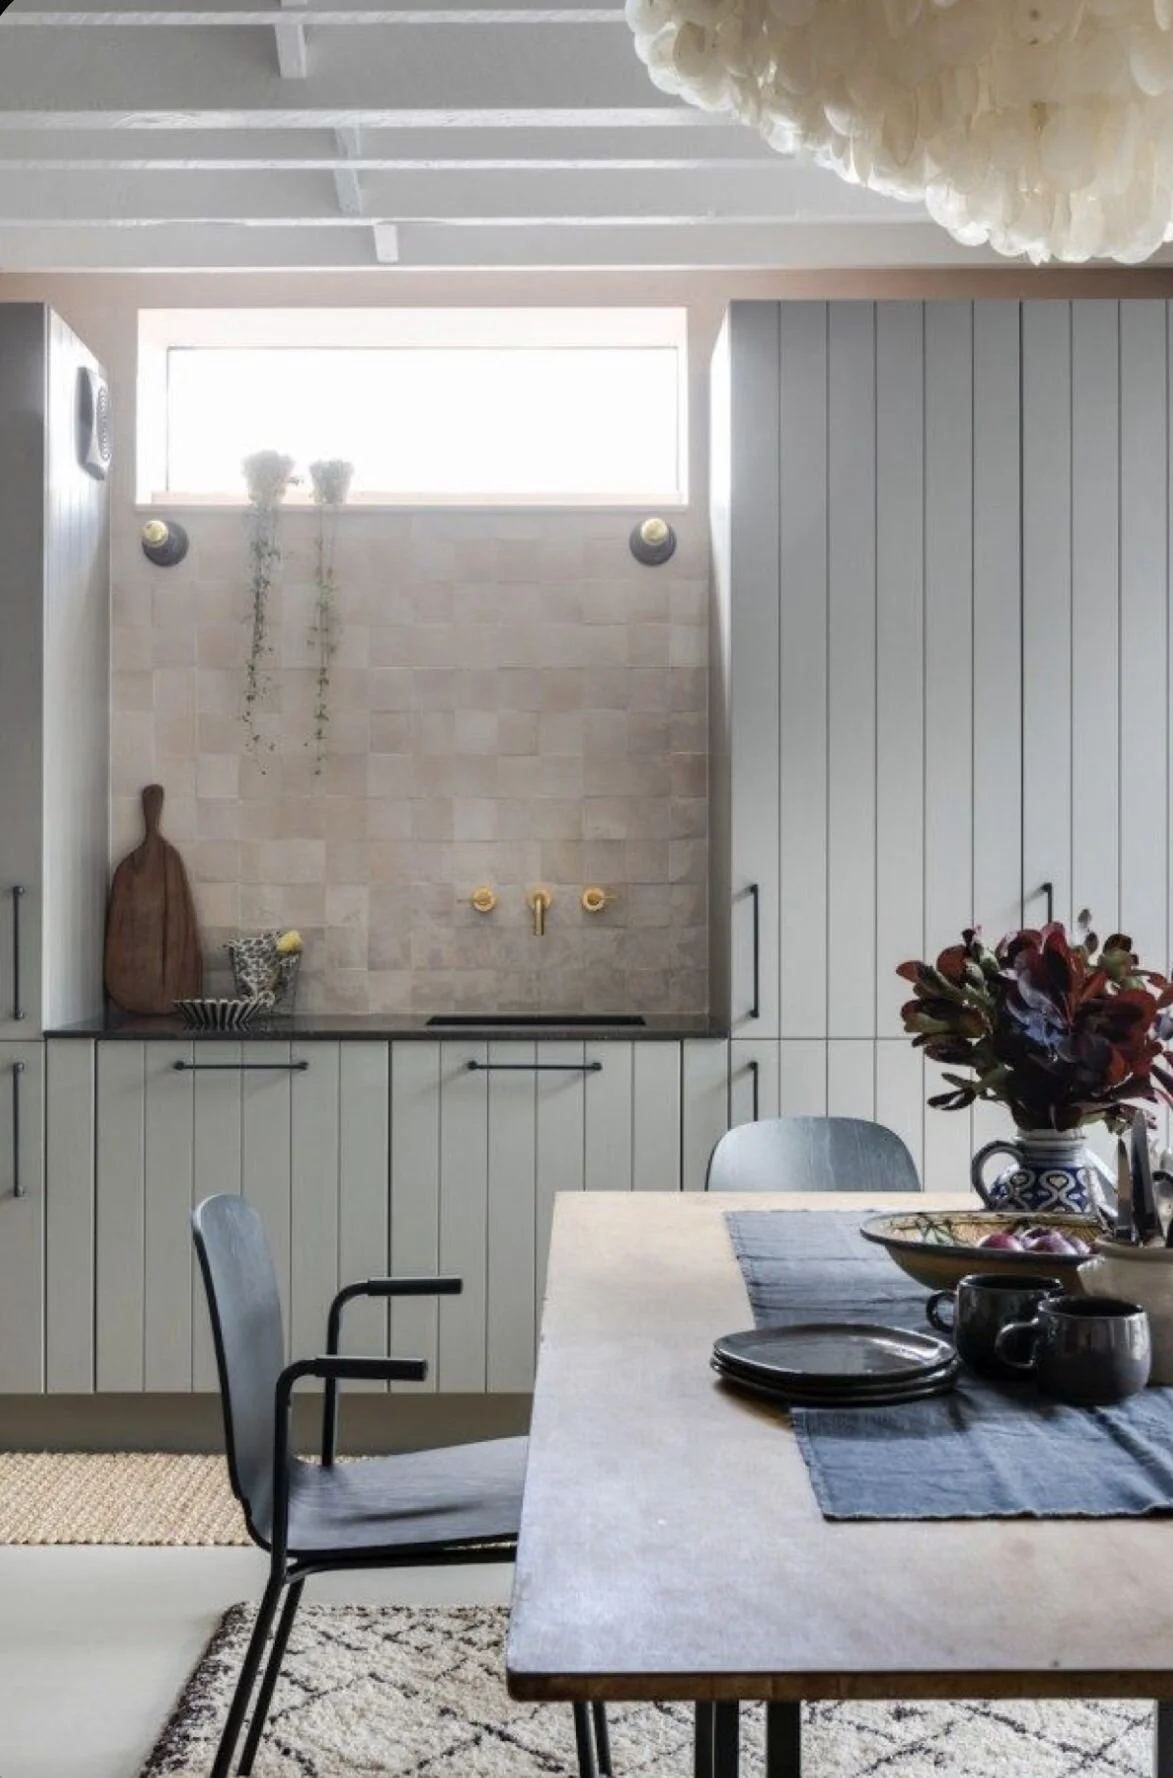
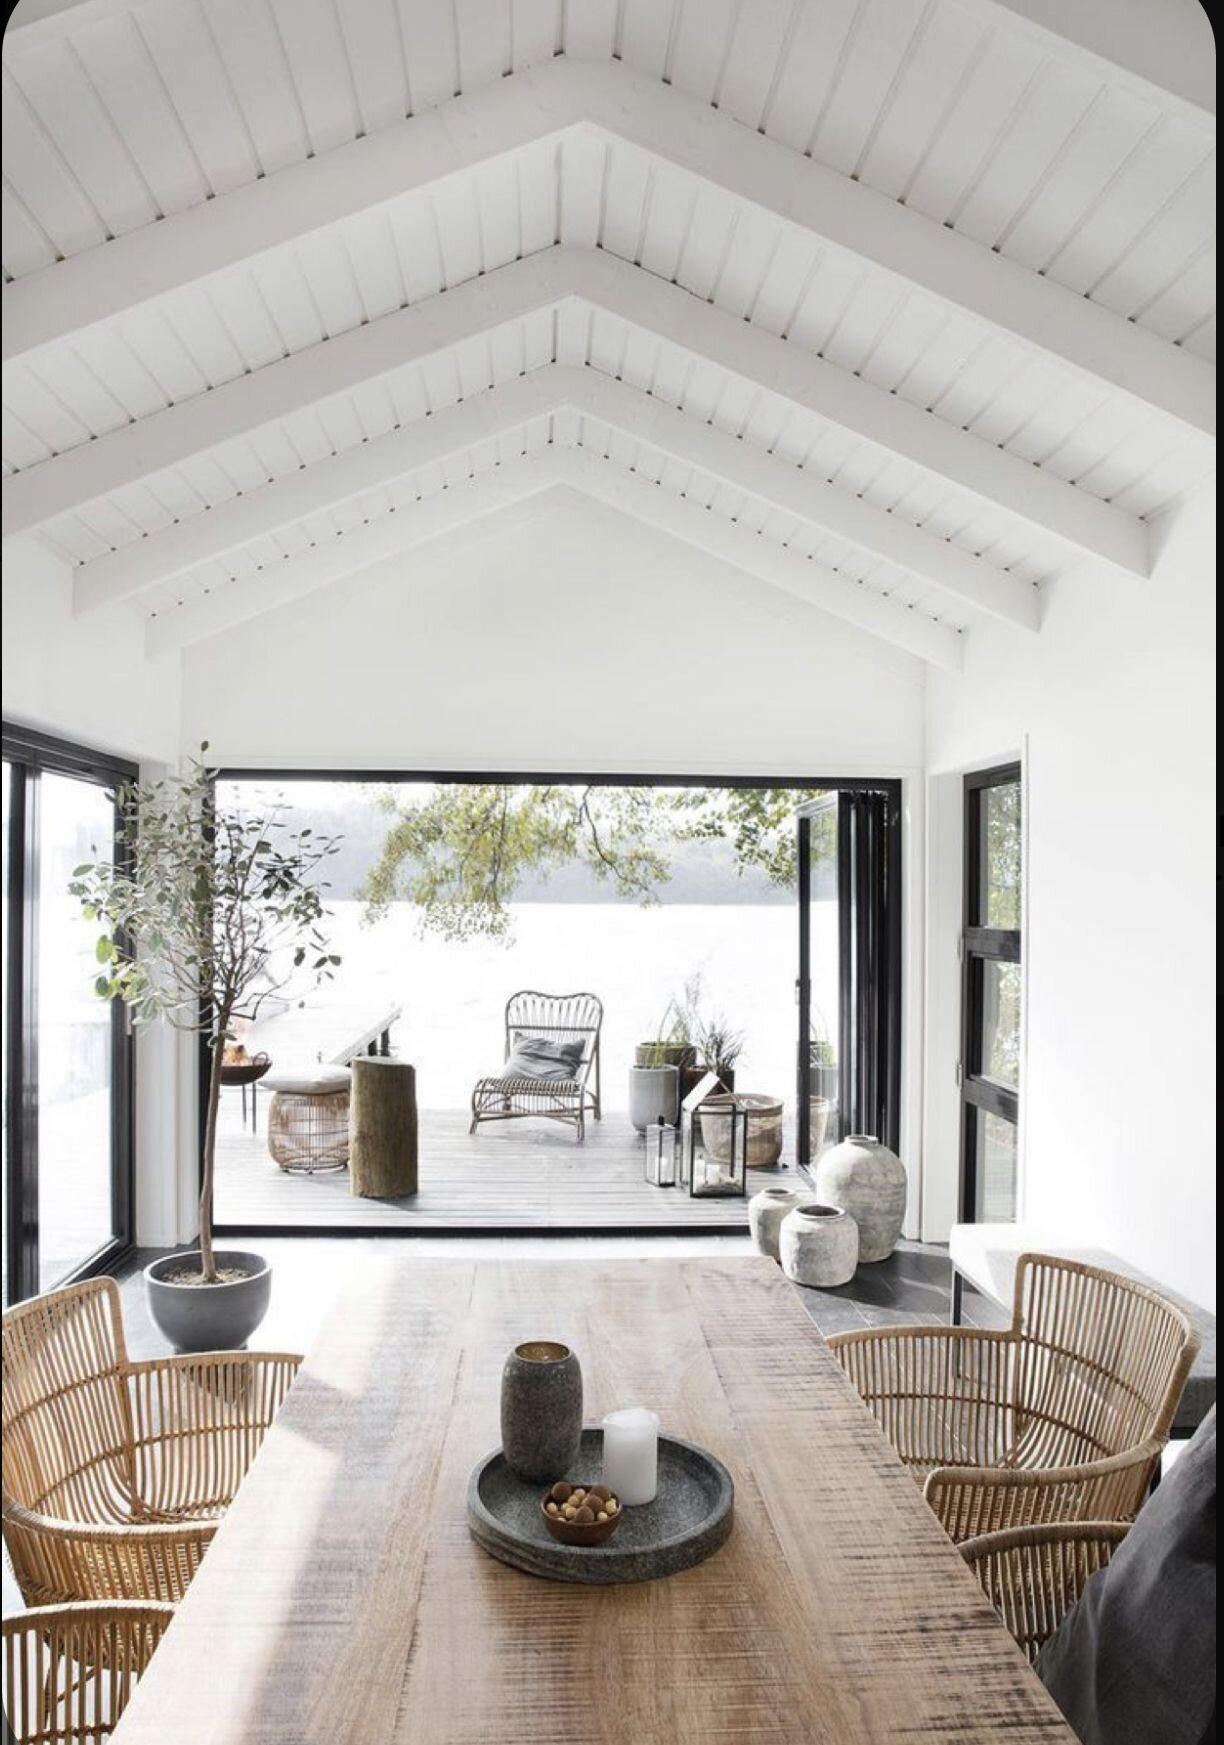
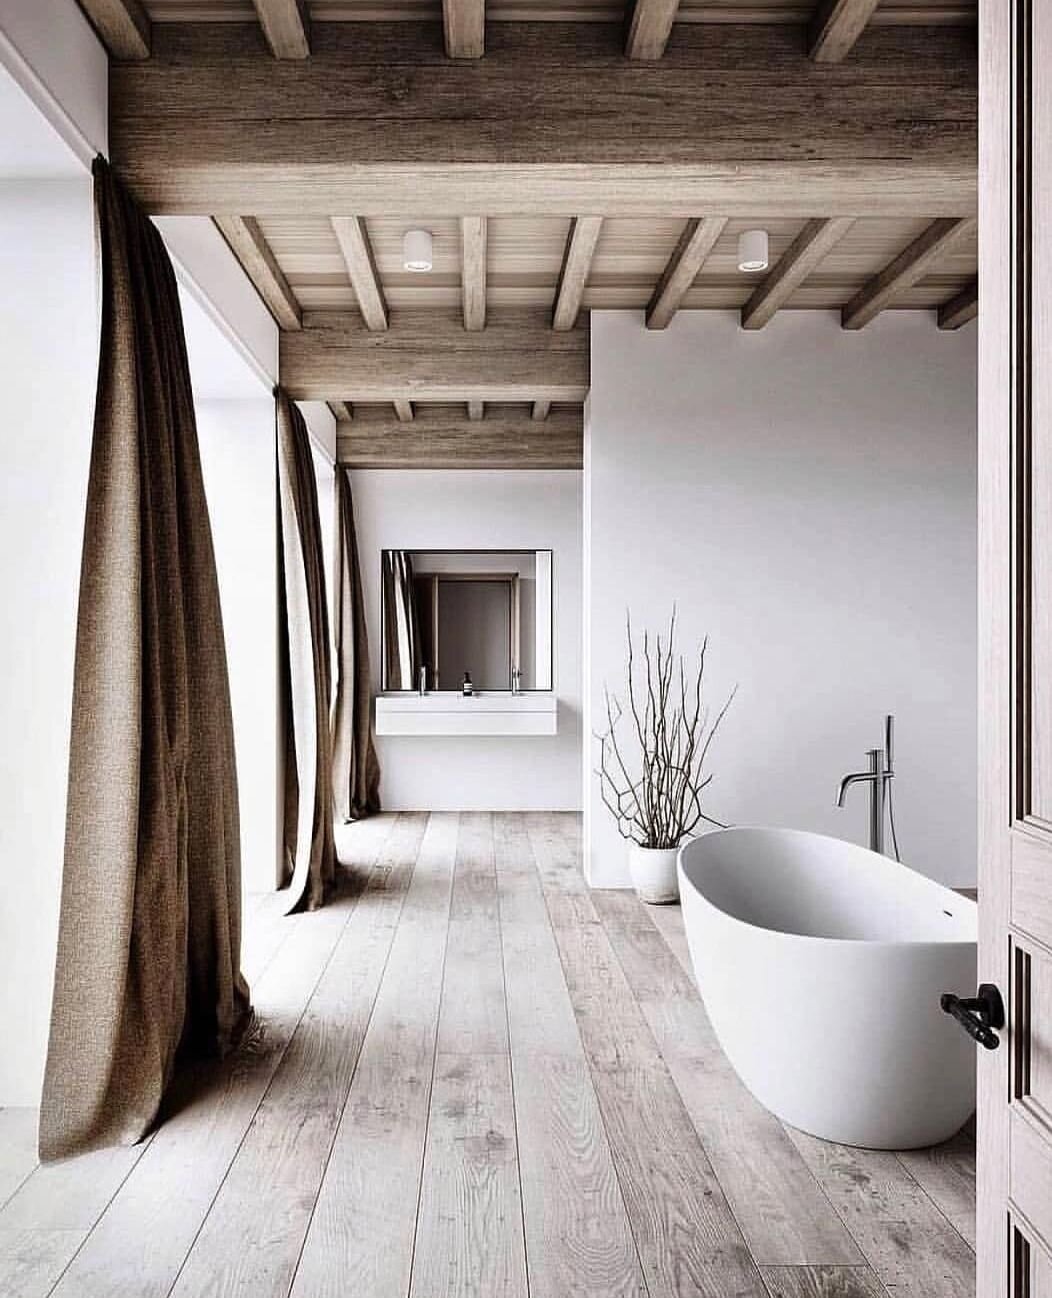
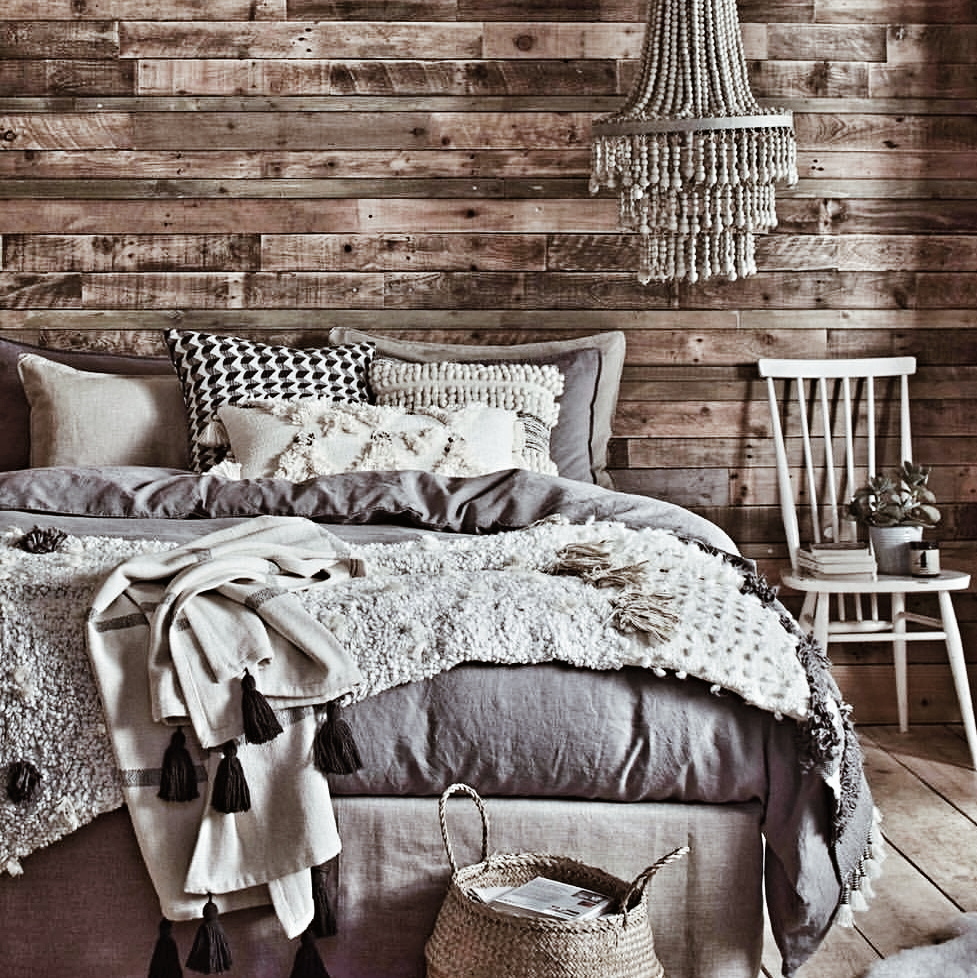
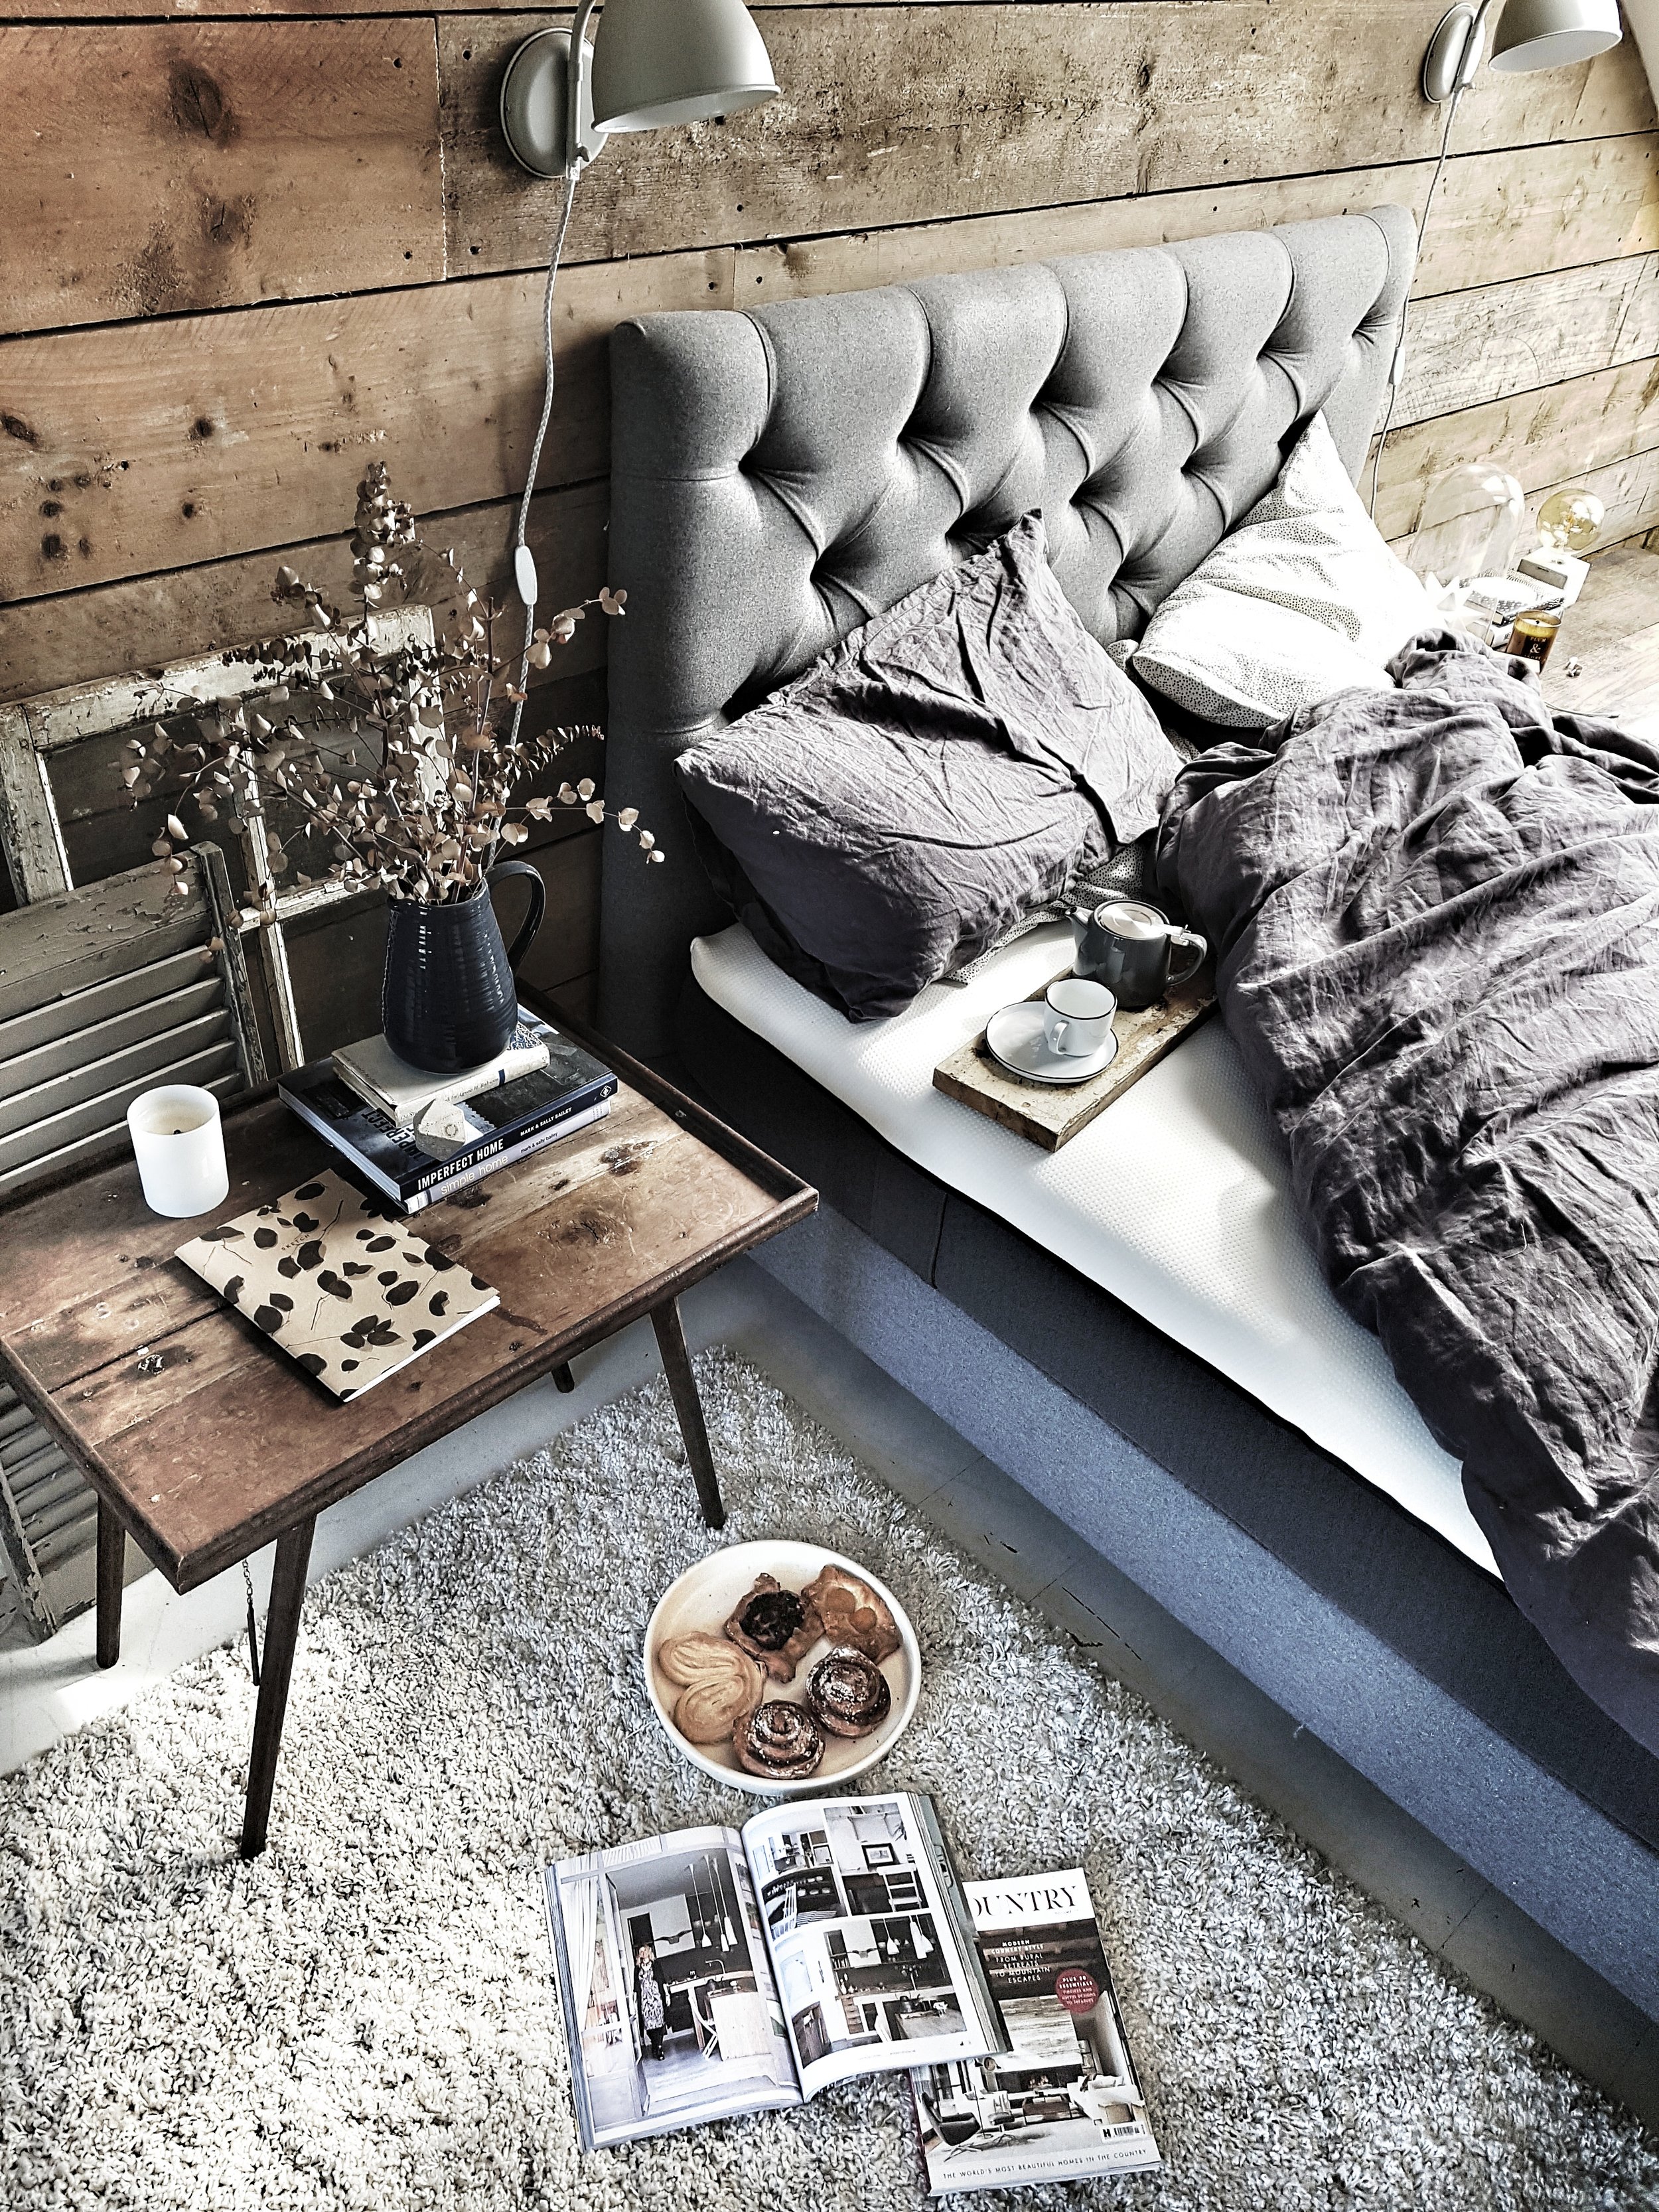
The next immediate task now that we have secured planning permission is to get a structural engineer on board to help with the structural drawings and to then get builders quotes for the work once we know how much steel etc we will need (Laksmi Mittal if you are reading call me :-)). It obviously goes without saying that I already have about seventeen pinterest boards on the go to help me plan out the interiors and I am excited to start sharing my ideas with you once we get going but for now here is a little snapshot of what has been inspiring me. I hope you will enjoy following along with our renovation ups and downs.

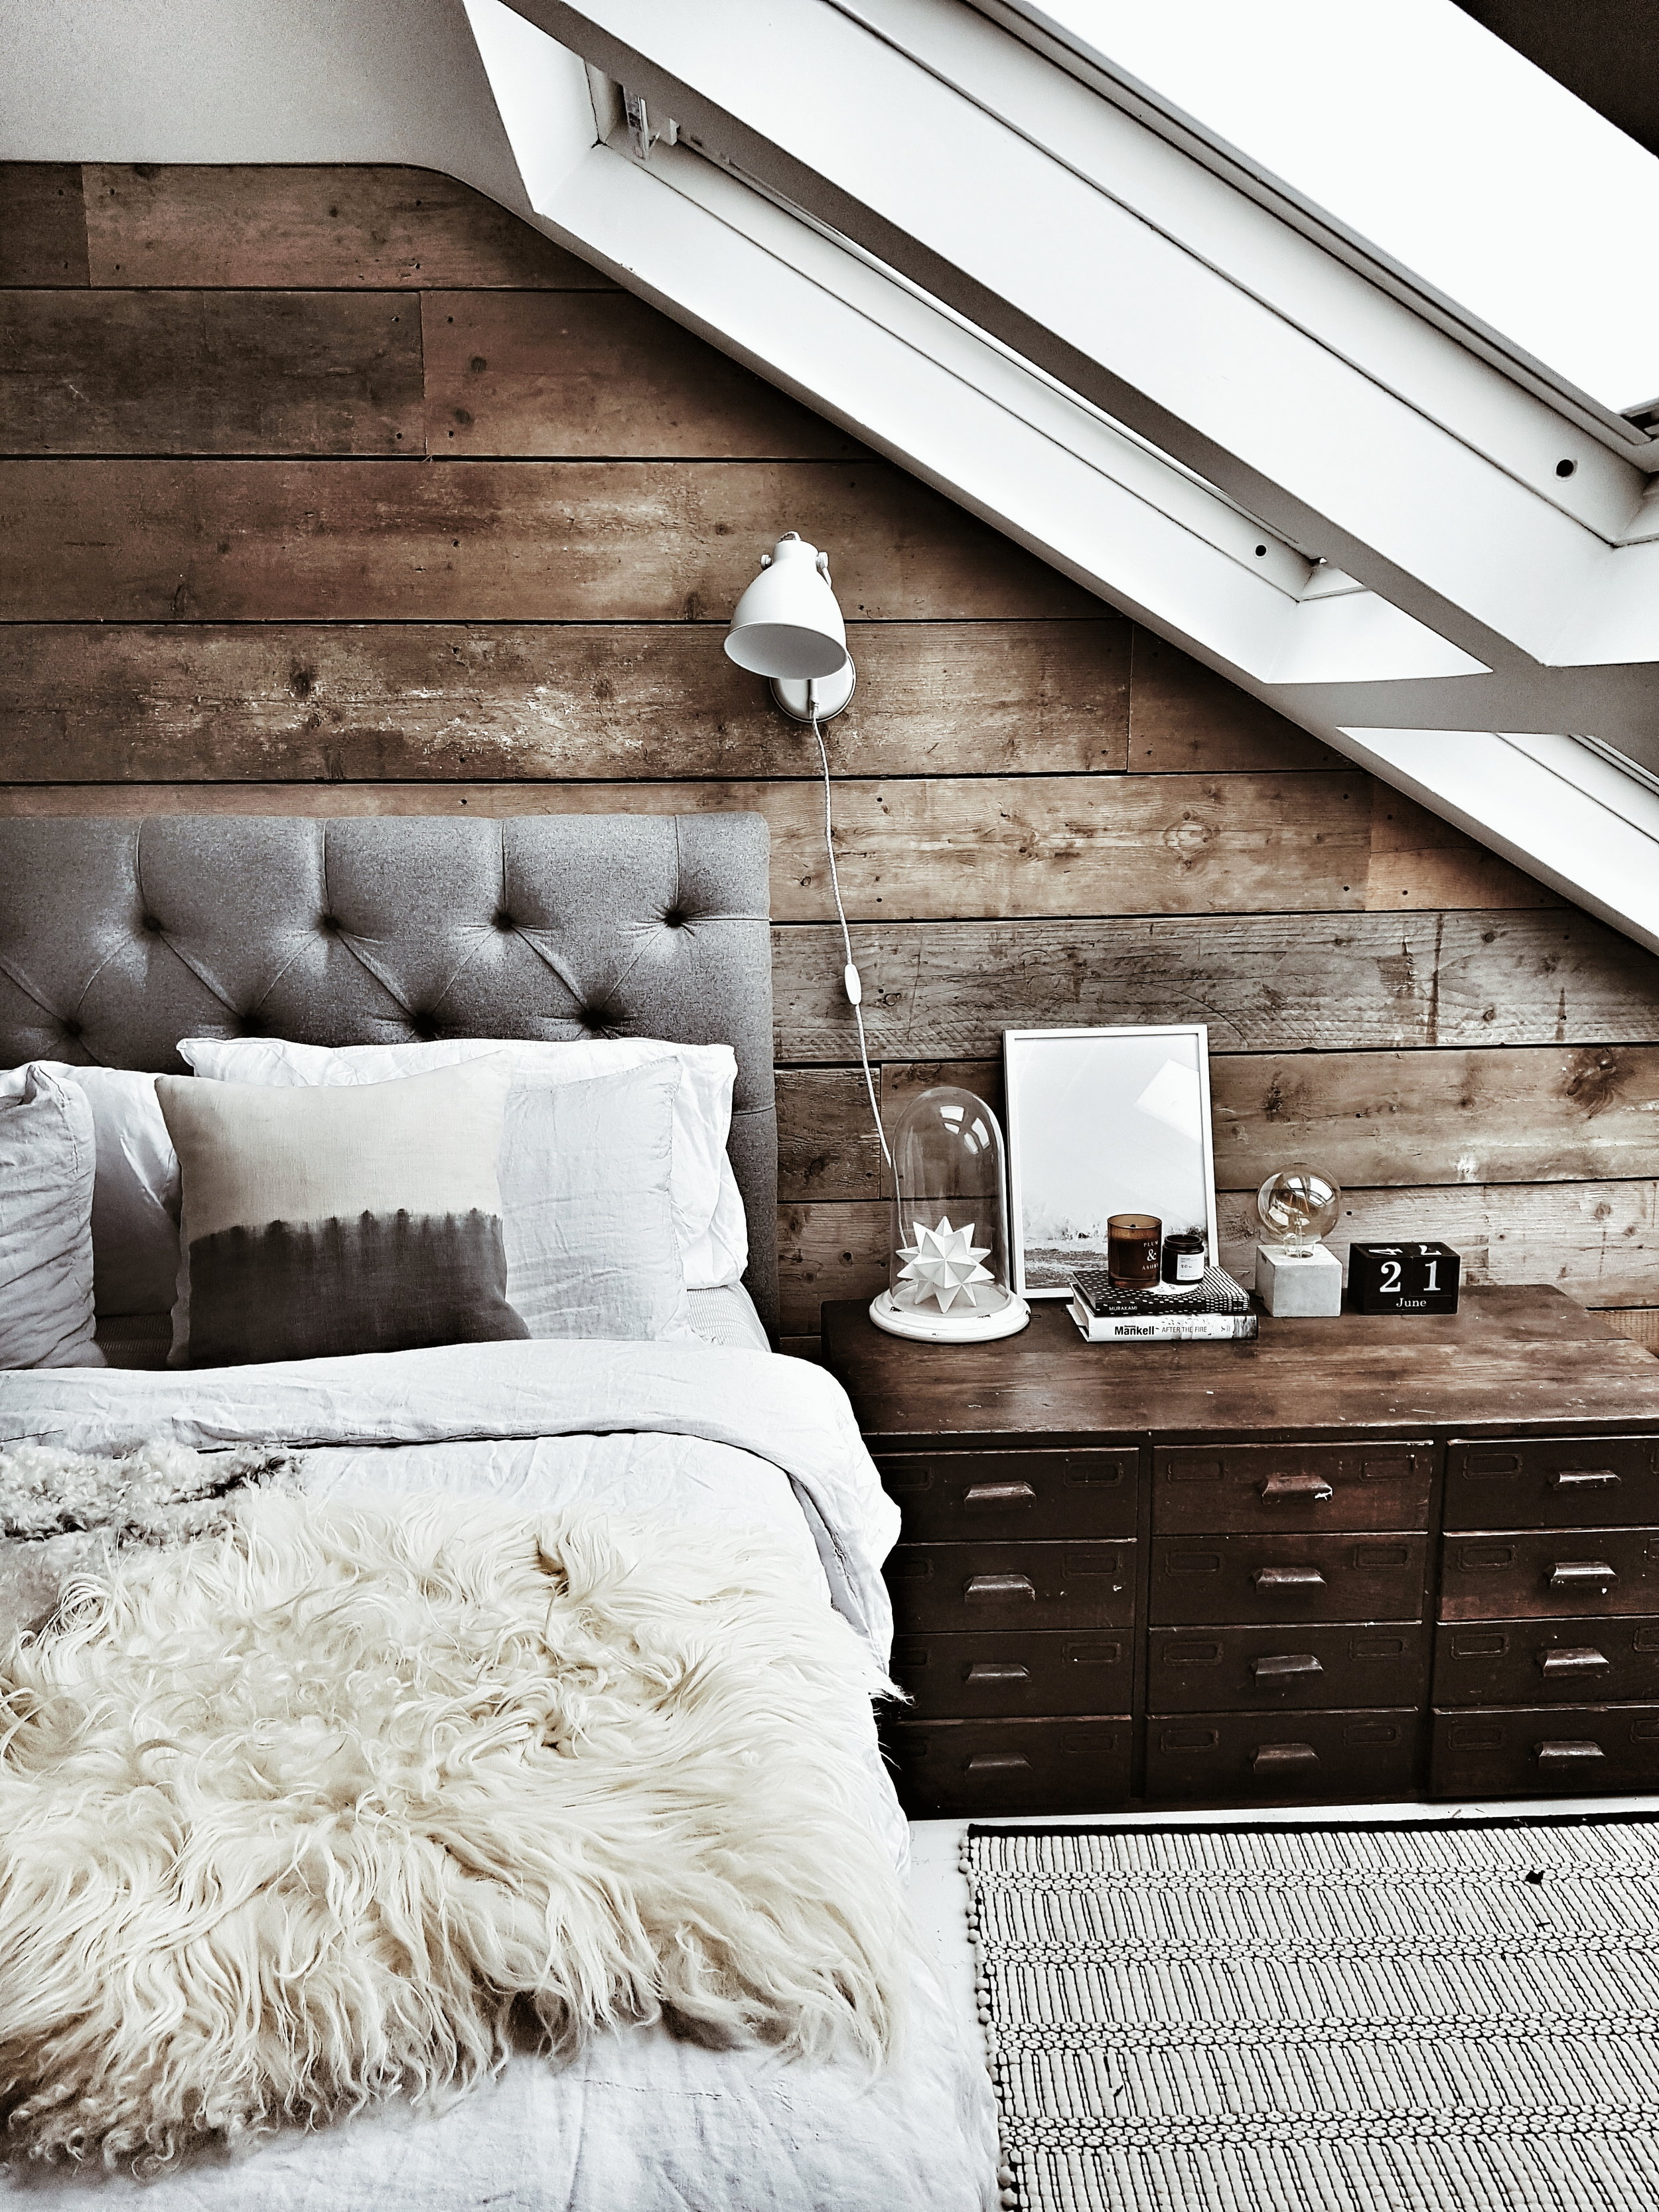
With planning permission secured I can now start pinteresting with purpose to pull together my ideas for the interior