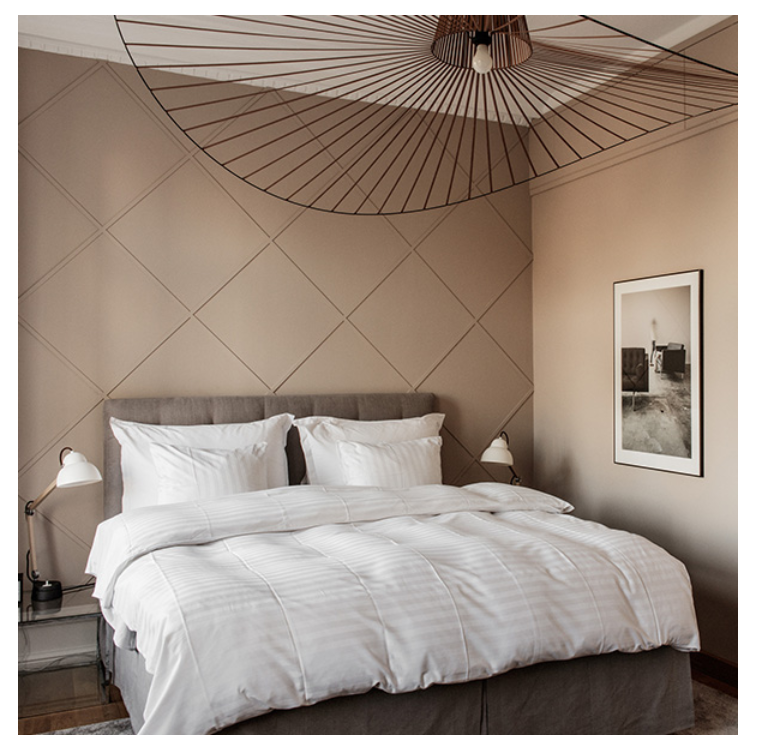
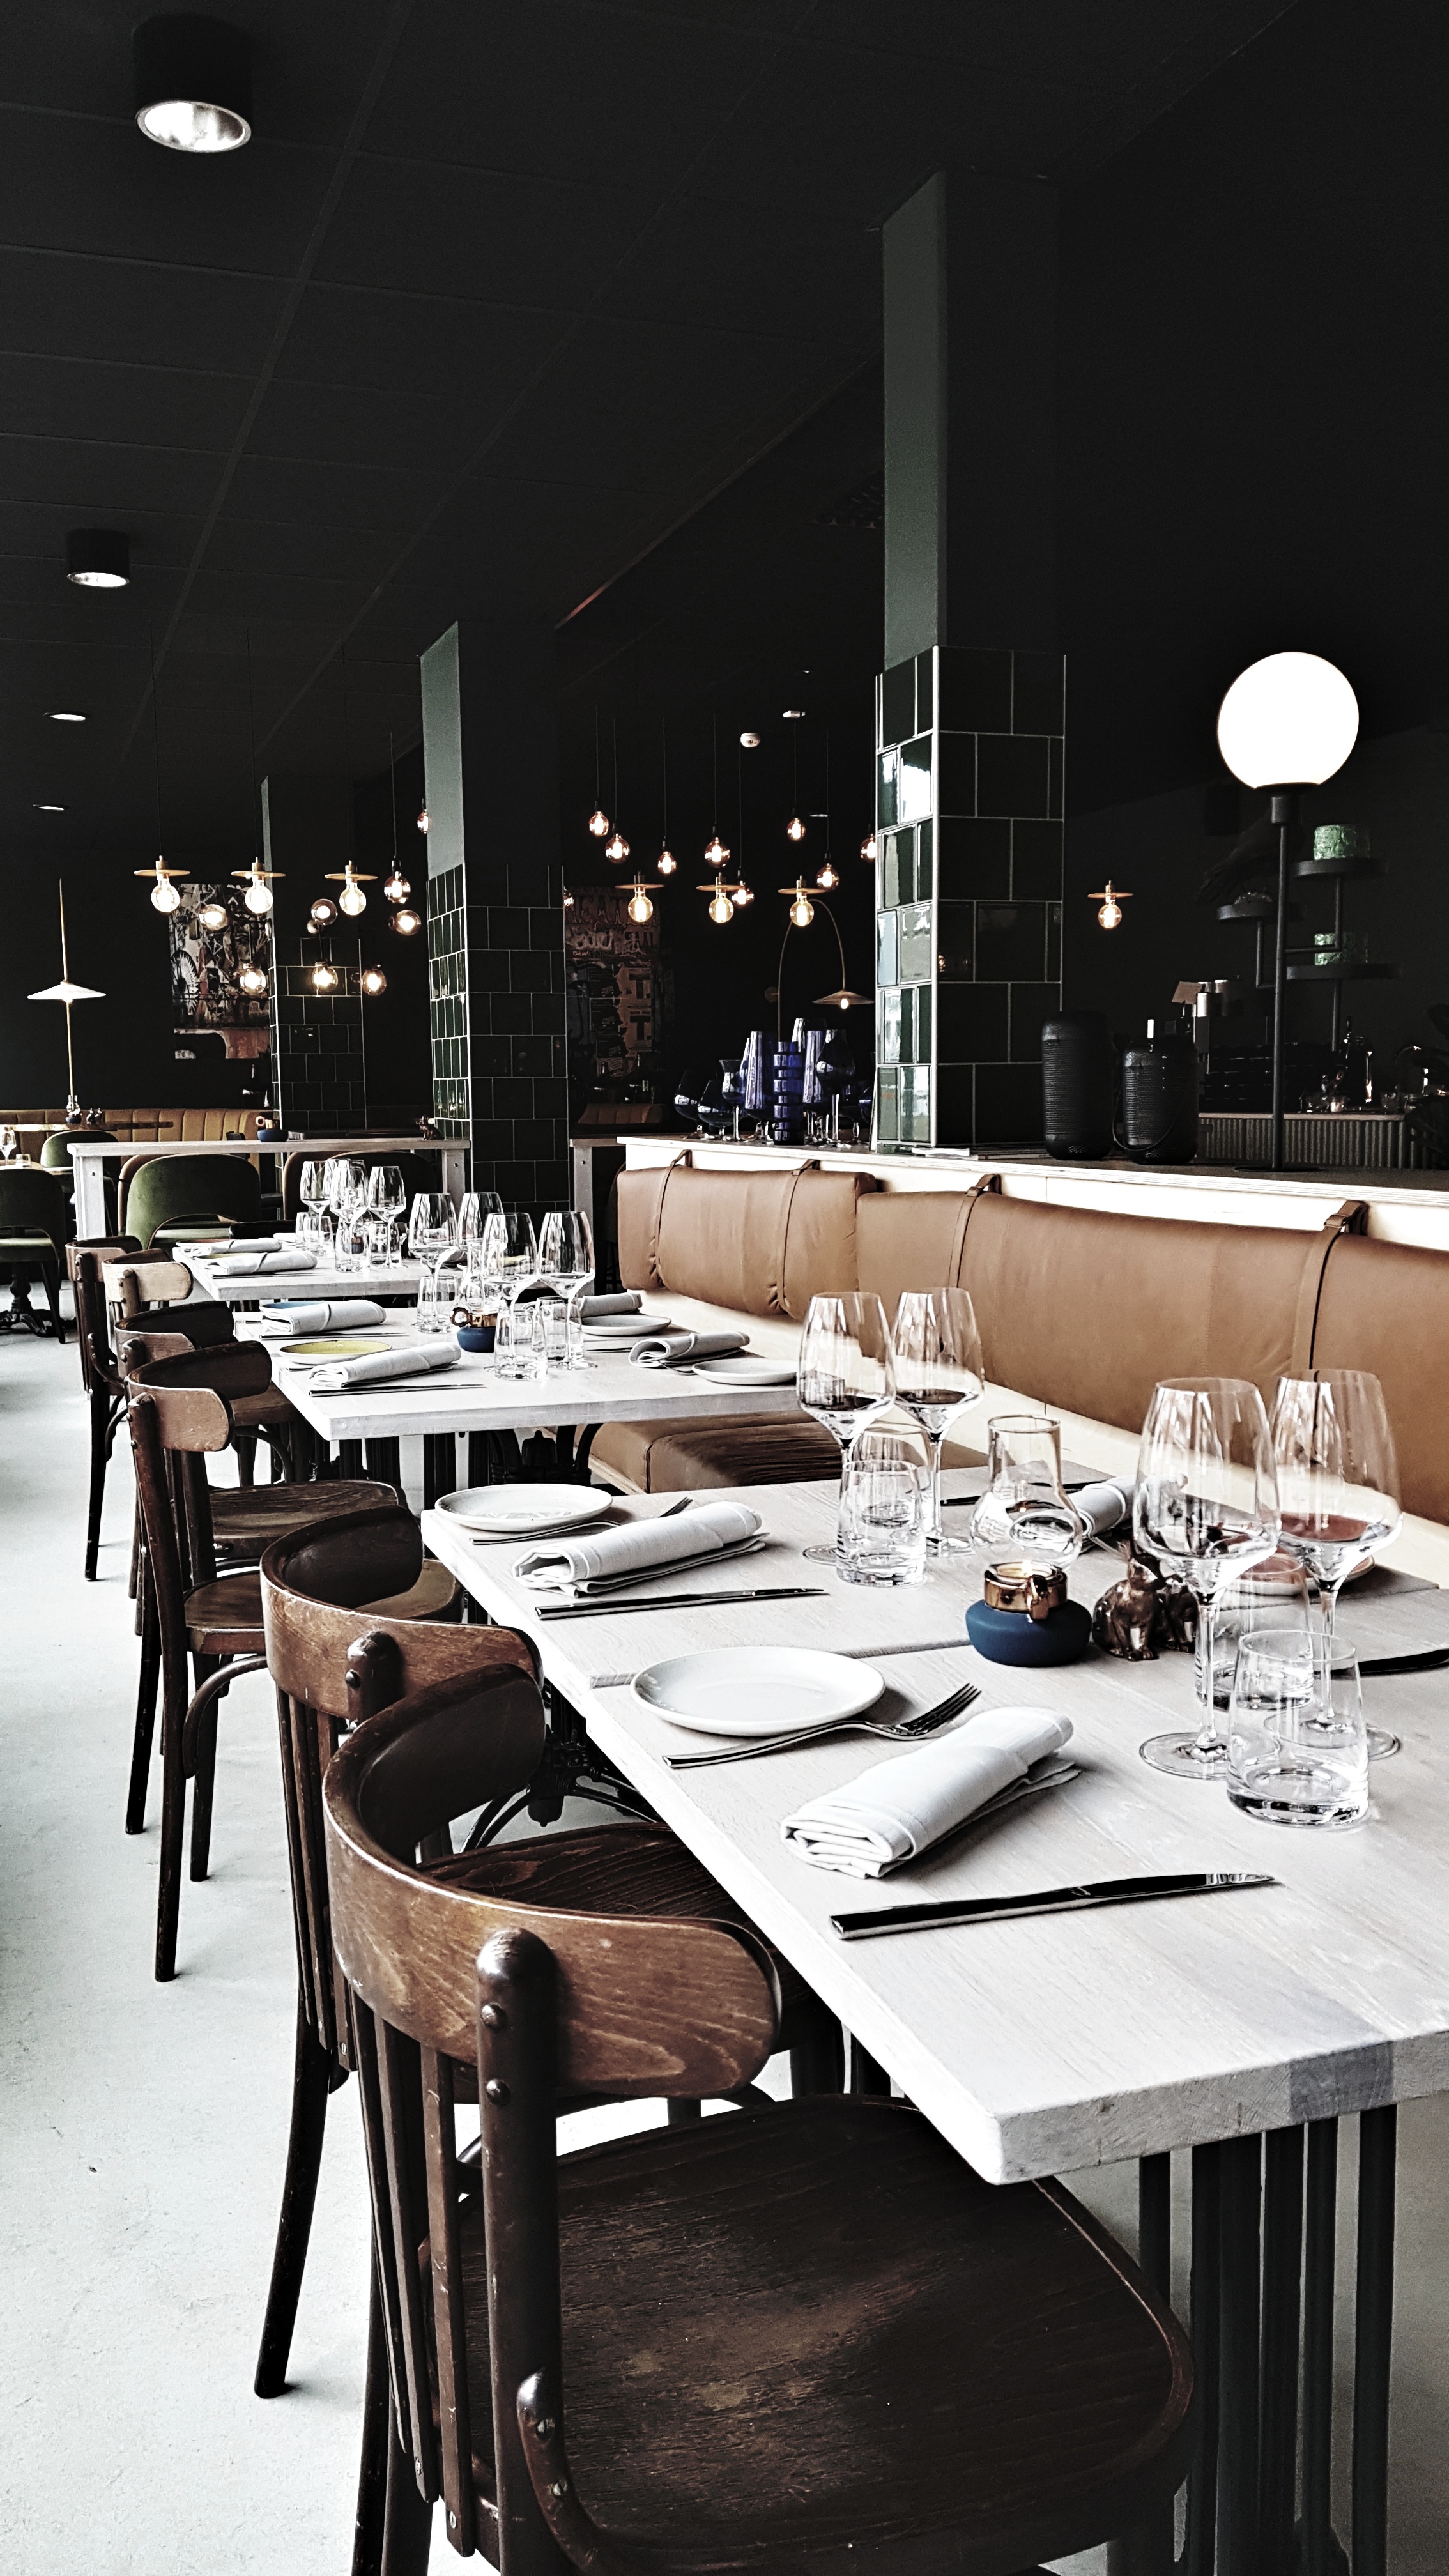
When people ask us if we can ever see ourselves moving house, Mr Malmo and I often give contrary answers. He is very much “Remain” on the basis that moving involves a) spending money and b) the very real risk of me “losing” in any move i) his collection of Sheffield Wednesday Programmes dating back to 1989 and ii) the maroon sweatshirt he loves but which I think makes him look like a cross between a teenager on day release from Borstal and a Songs of Praise presenter. My answer is also “Remain” but with the caveat that I would instantly trigger Article 50 and leave for a house with a double width hallway like this.

The spacious hallway of my dreams. Picture credit www.livingetc.com
I have this yearning for double width because our house is semi-detached and the hallway is an L Shape. You can’t see the stairs when you first come in the house as they are located in the middle of the house. If that makes about as much sense as inviting Jim Davidson to be the keynote speaker at a vegan mindfulness seminar then hopefully the two photos below will clarify what I mean.
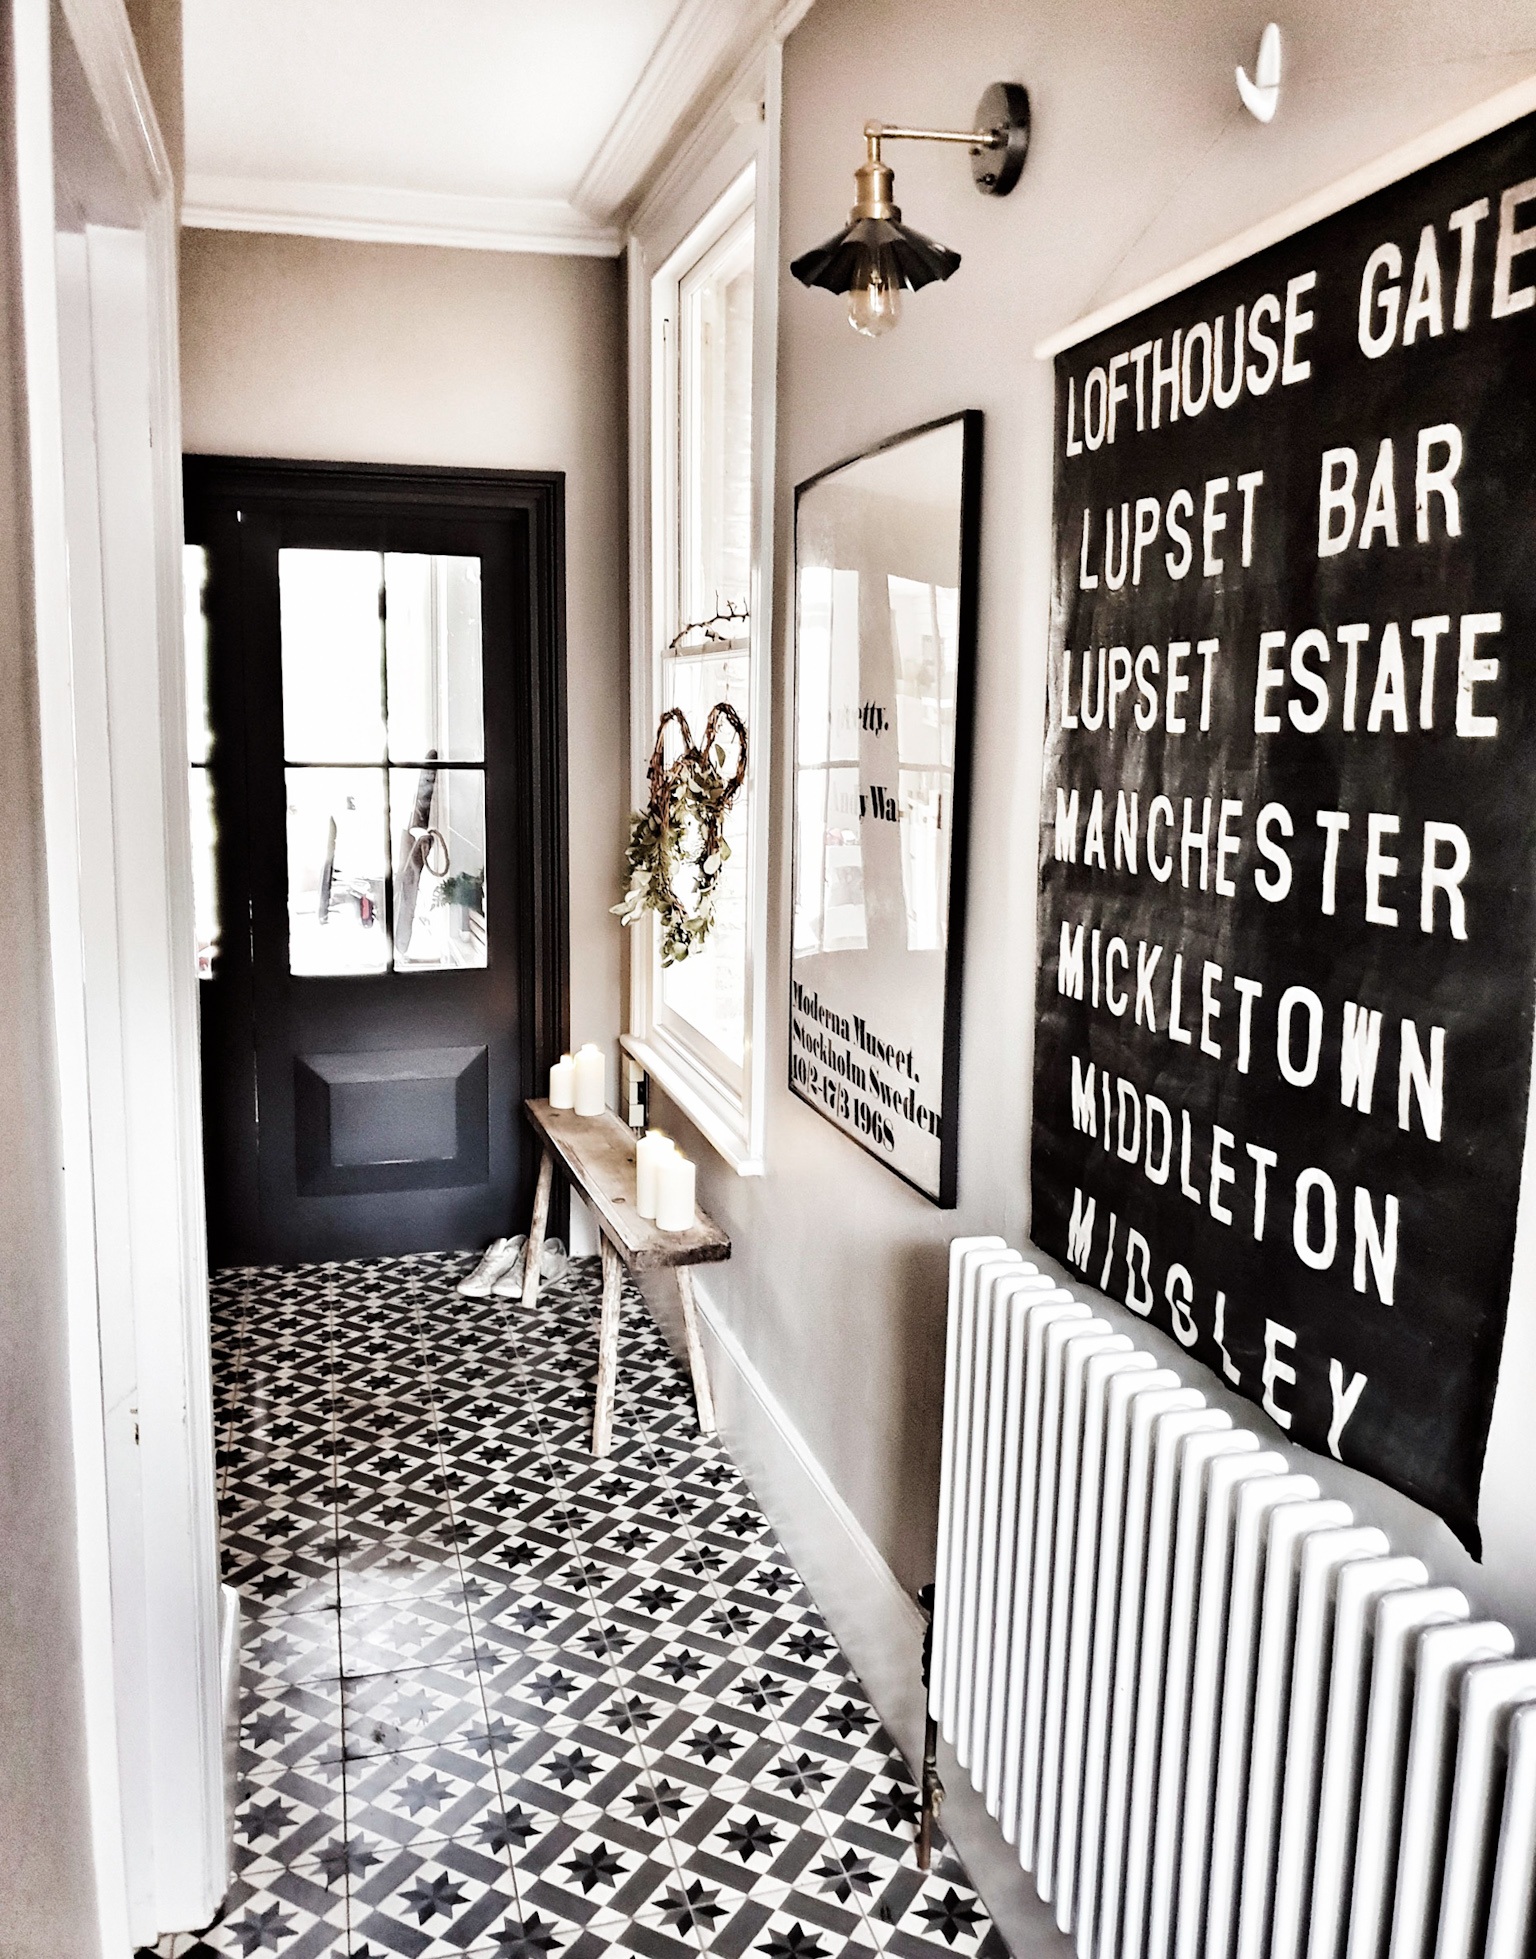
The hallway as you come in the front door

The view looking backwards towards the front door. With the stairs in the middle of the house to the right
When we first moved in the hallway was dark, narrow and a bit damp (which I realise sounds a bit like a tagline for a vaginal deodorant). My first tactic to brighten it up was by painting both the walls and floors in a lighter colour. From memory the colour I chose was Farrow & Ball’s Slipper Satin although I could be suffering from a bad case of middle class amnesia and getting my Slipper Satins and Wimborne Whites mixed up.

The hallway after my initial attempts to brighten it up by painting the walls and floors in Slipper Satin
This definitely helped to bounce more light around the space but there is only so much Slipper Satin can achieve when your only source of natural light is a window on to a side alley and you have to contend with the shadows cast by the army of anoraks that come with having three boys (and a husband with a penchant for a Liam Gallagher mac). I started dreaming of a more radical solution to the problem involving replacing the wall between the hall and dining room with a crittal partition like this.

Crittal doors in the hallway of House Curious (Picture credit www.livingetc.com )
However, after getting a couple of quotes, I started to realise I had crittal dreams on a cornflake budget. They were coming it at around £7-10K for doors to fill a 2 x 3 metre space. It was actually Kevin my quotes guy (who had come round to price up making the opening for the doors) who came up with the idea of installing timber panelled doors instead of crittal ones. A quick Pinterest later and I realised this was a compromise I could live with. Compared to crittal the price of having bespoke timber doors made was just £2K (with the labour for knocking the wall through and making the opening about £1.5K ).

These timber doors from Plain English (pic credit www.remodelista.com) made me realise that there was life after crittal!
This is what the space looked like just before “Project Partition” began. Although it was to be hastily renamed “Project Opening” after realising the former sounded less like a plan to remove a wall and more like Hitler’s code name for his plans to annex the Sudetenland. Project Opening admittedly did have slight working title of a 1970s porno connotations but it at least had less #annexationovertones.

The view from the kitchen before “Project Partition” commenced

The night before work commenced on taking out the wall and putting the doors in
The builders took the wall down in stages and I have to confess that I nearly called the whole thing off after they took the plaster off the wall and left me alone with the exposed brick wall of my dreams for a night. #BareBrickBradPitt as it became known even scooped me the honours in #myhomevibe after the addition of some festive pom poms and illuminated Noel letters around Christmas time. But just like Angelina Jolie, I ultimately waved Brad goodbye with the rest of the wall being knock down and temporary supports being put in place.

For one night only: #BareBrickBradPitt in all his glory

It’s totally normal to decorate your building supports in the style of a Winter Wonderland right?
The builders had originally thought that it might be necessary to put a steel in above the doors as it is a load bearing wall but it turned out there was already a timber beam in place that did the job which saved us a bit of money. After the opening had been made good, the bespoke doors were installed unpainted.

The unpainted doors installed and waiting for me to decide on a paint colour
Only one of the doors opens (the furthest to the left if you are looking at them with the front door behind you) but it has hinges that mean it can be folded right back. If I was to go back in time I think I would have opted for them to be concertina doors so that we could have the option to fold all three of them all the way back. However, that is but a minor quibble because with the doors in place we now have a view straight through the house out to the garden when we open the front door and there is so much more light in the hallway.

This door folds right back but the other two are fixed in place.
After much deliberation about what colour the doors should be I ultimately decided to go for a really dark colour and chose Charcoal from the Valspar paint range at B&Q (not an ad!). I am really happy with that choice now but I like the fact that because they are timber I can change the paint colour to change the feel of the room in future if I wanted to. (something I couldn’t do if there were crittal!).
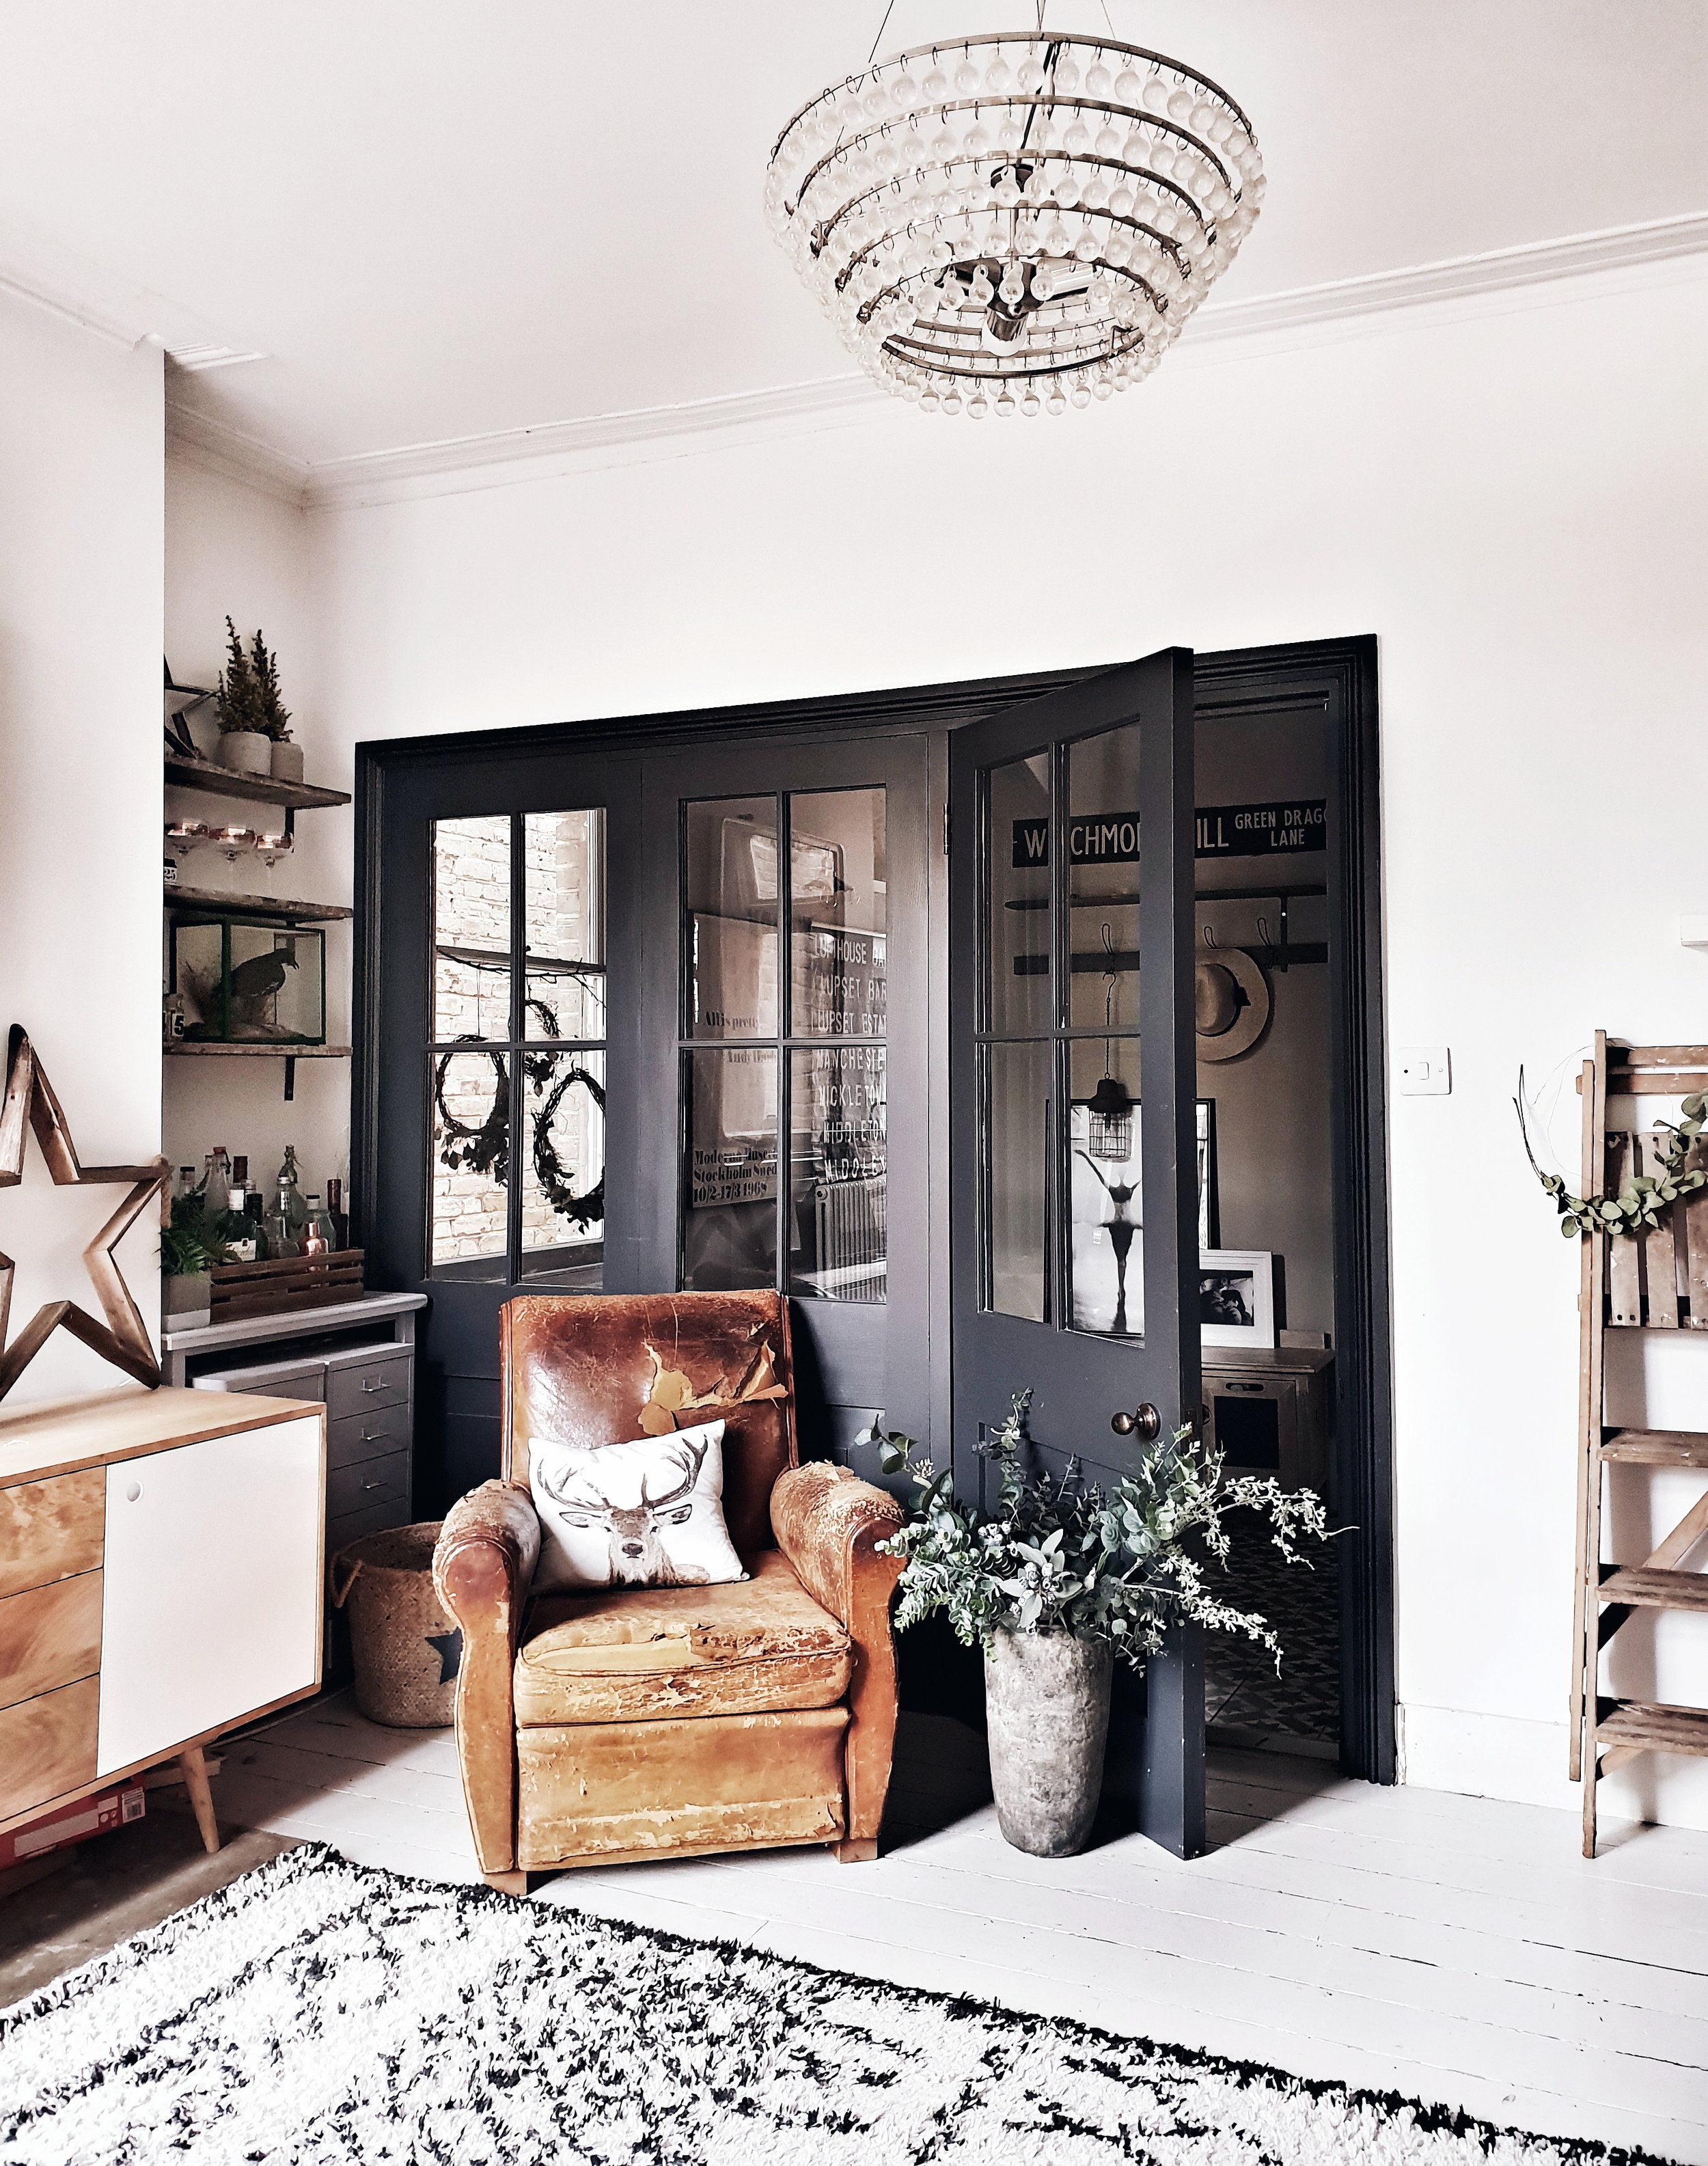
The finished doors in Charcoal paint by Valspar. I wanted to them to look crittal-esque which is why I went dark with the paint colour

A lovely spot to hang out pretending to read an interiors book.

Having the doors in place lets lots more light into the hallway from this room

I love the new view from the kitchen with doors in

The other big change we made at the same time as installing the doors was to replace the original floorboards with a tiled floor instead. Whilst I love wooden floors there were lots of gaps in ours so that in winter it was like being on the set of “Whistle Down the Wind”. I was really torn as to whether to go for a statement Victorian style floor with some colour in it (inspired by the picture below from Living Etc) or something more muted.
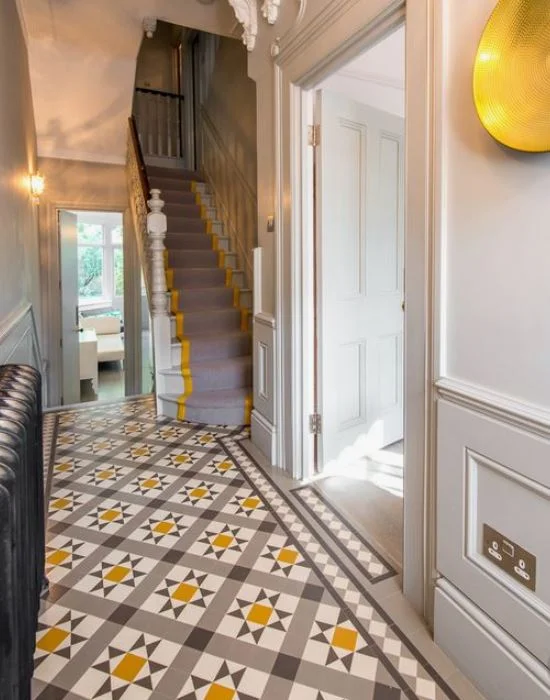
The tiles I spotted in Living Etc (Pic Credit www.balancemedesign.com) which for a brief moment tempted me to go for something bold in the hallway
Ultimately I chose a monochrome design from Mosaic del Sur which at about £900 came in about £4000 cheaper than the Victorian tile option! They have proved pretty hard wearing so far. We don’t clean them with any special products (perhaps mistakenly so!) and they actually show up mud much less than the wooden floors they replaced. Every now and again I have a pang and wonder if I actually ought to have gone for polished concrete floors but that is a project for a different house me thinks, maybe one with that double width hallway that makes me trigger my Article 50

I am really happy with my ultimate choice of monochrome encaustic tiles from Mosaic del Sur.. Sheepskin placed there entirely for instagram purposes…

They are a good balance between a modern and traditional tile


The next step in our hallway renovation is to tackle the stairs and bannisters. The sisal carpet we laid after a couple of years suffered a horrendous middle class atrocity when it had a tester pot of Annie Sloane Chalk Paint thrown down it by our toddler. Let’s just say Sloane and Sisal don’t mix. What I would actually like to do is to replace the Jackson Pollock carpet with a runner, painting the stairs and banister at the same time. The current banister is the kind of shade of mahogany that David Dickinson turns after 5 weeks on the Costa Brava so I am desperate tone it down or potentially paint it dark but even thinking about the amount of sanding required to get that project going makes me feel tired so, for now, it is on the back burner.

David Dickinson banister is on my 2019 hitlist as in the #SloaneOnSisalShitShow you can see on the stairs!

Hopefully this view will include the carpet runner of my dreams once I have found the motivation to sand down and repaint 30 plus stairs

But for now I am just going to enjoy hanging around here holding an impractical hat
Thanks for reading all about my hallway overhaul hope it inspires you to see that you can achieve a crittall look on a cornflake budget afterall!